Author Archive

The Vault below the Nutshuis, The Hague

zaterdag, december 4th, 2021

Hidden in plain sight are the obsolete vaults in old bank buildings. What do you do with them when they no longer serve their purpose? Tearing down the vault is usually out of the question, as the buildings are cultural significant and therefore protected. But you can make it in something useful again, as long the main structure remains intact.

Most bank building conversions are quite dramatic, as where others leave the vaults mostly intact. Walter send me the suggestion to show a famous geocache: GC2JV5X, van “Kluis tot Kookhuis”, this bank building is converted into a shop for high-end cookware. One of the deposit boxes in the basement is the geocache.

In this case, I wasn’t looking for a vault, but with just dumb luck I came across one while giving trainings. Specifically, I was in The Hague at the Nutshuis named after the Nutsspaarbank, this savings bank that used it as headquarters from 1921 to 1992. While staying in an old bank building is kinda crazy, the ‘nut’ in either building and bank is the Dutch word for utility.

The host was very kind and let me in the vault to take pictures, hopefully these will give you a nice insight in the 1920s vault technology. Most of the building and vault is still original, they removed most of the safe deposit boxes to make the room function in its new purpose as a movie room. To enter the vault there are originally three heavy doors of which two are prodded open and one is permanently closed.
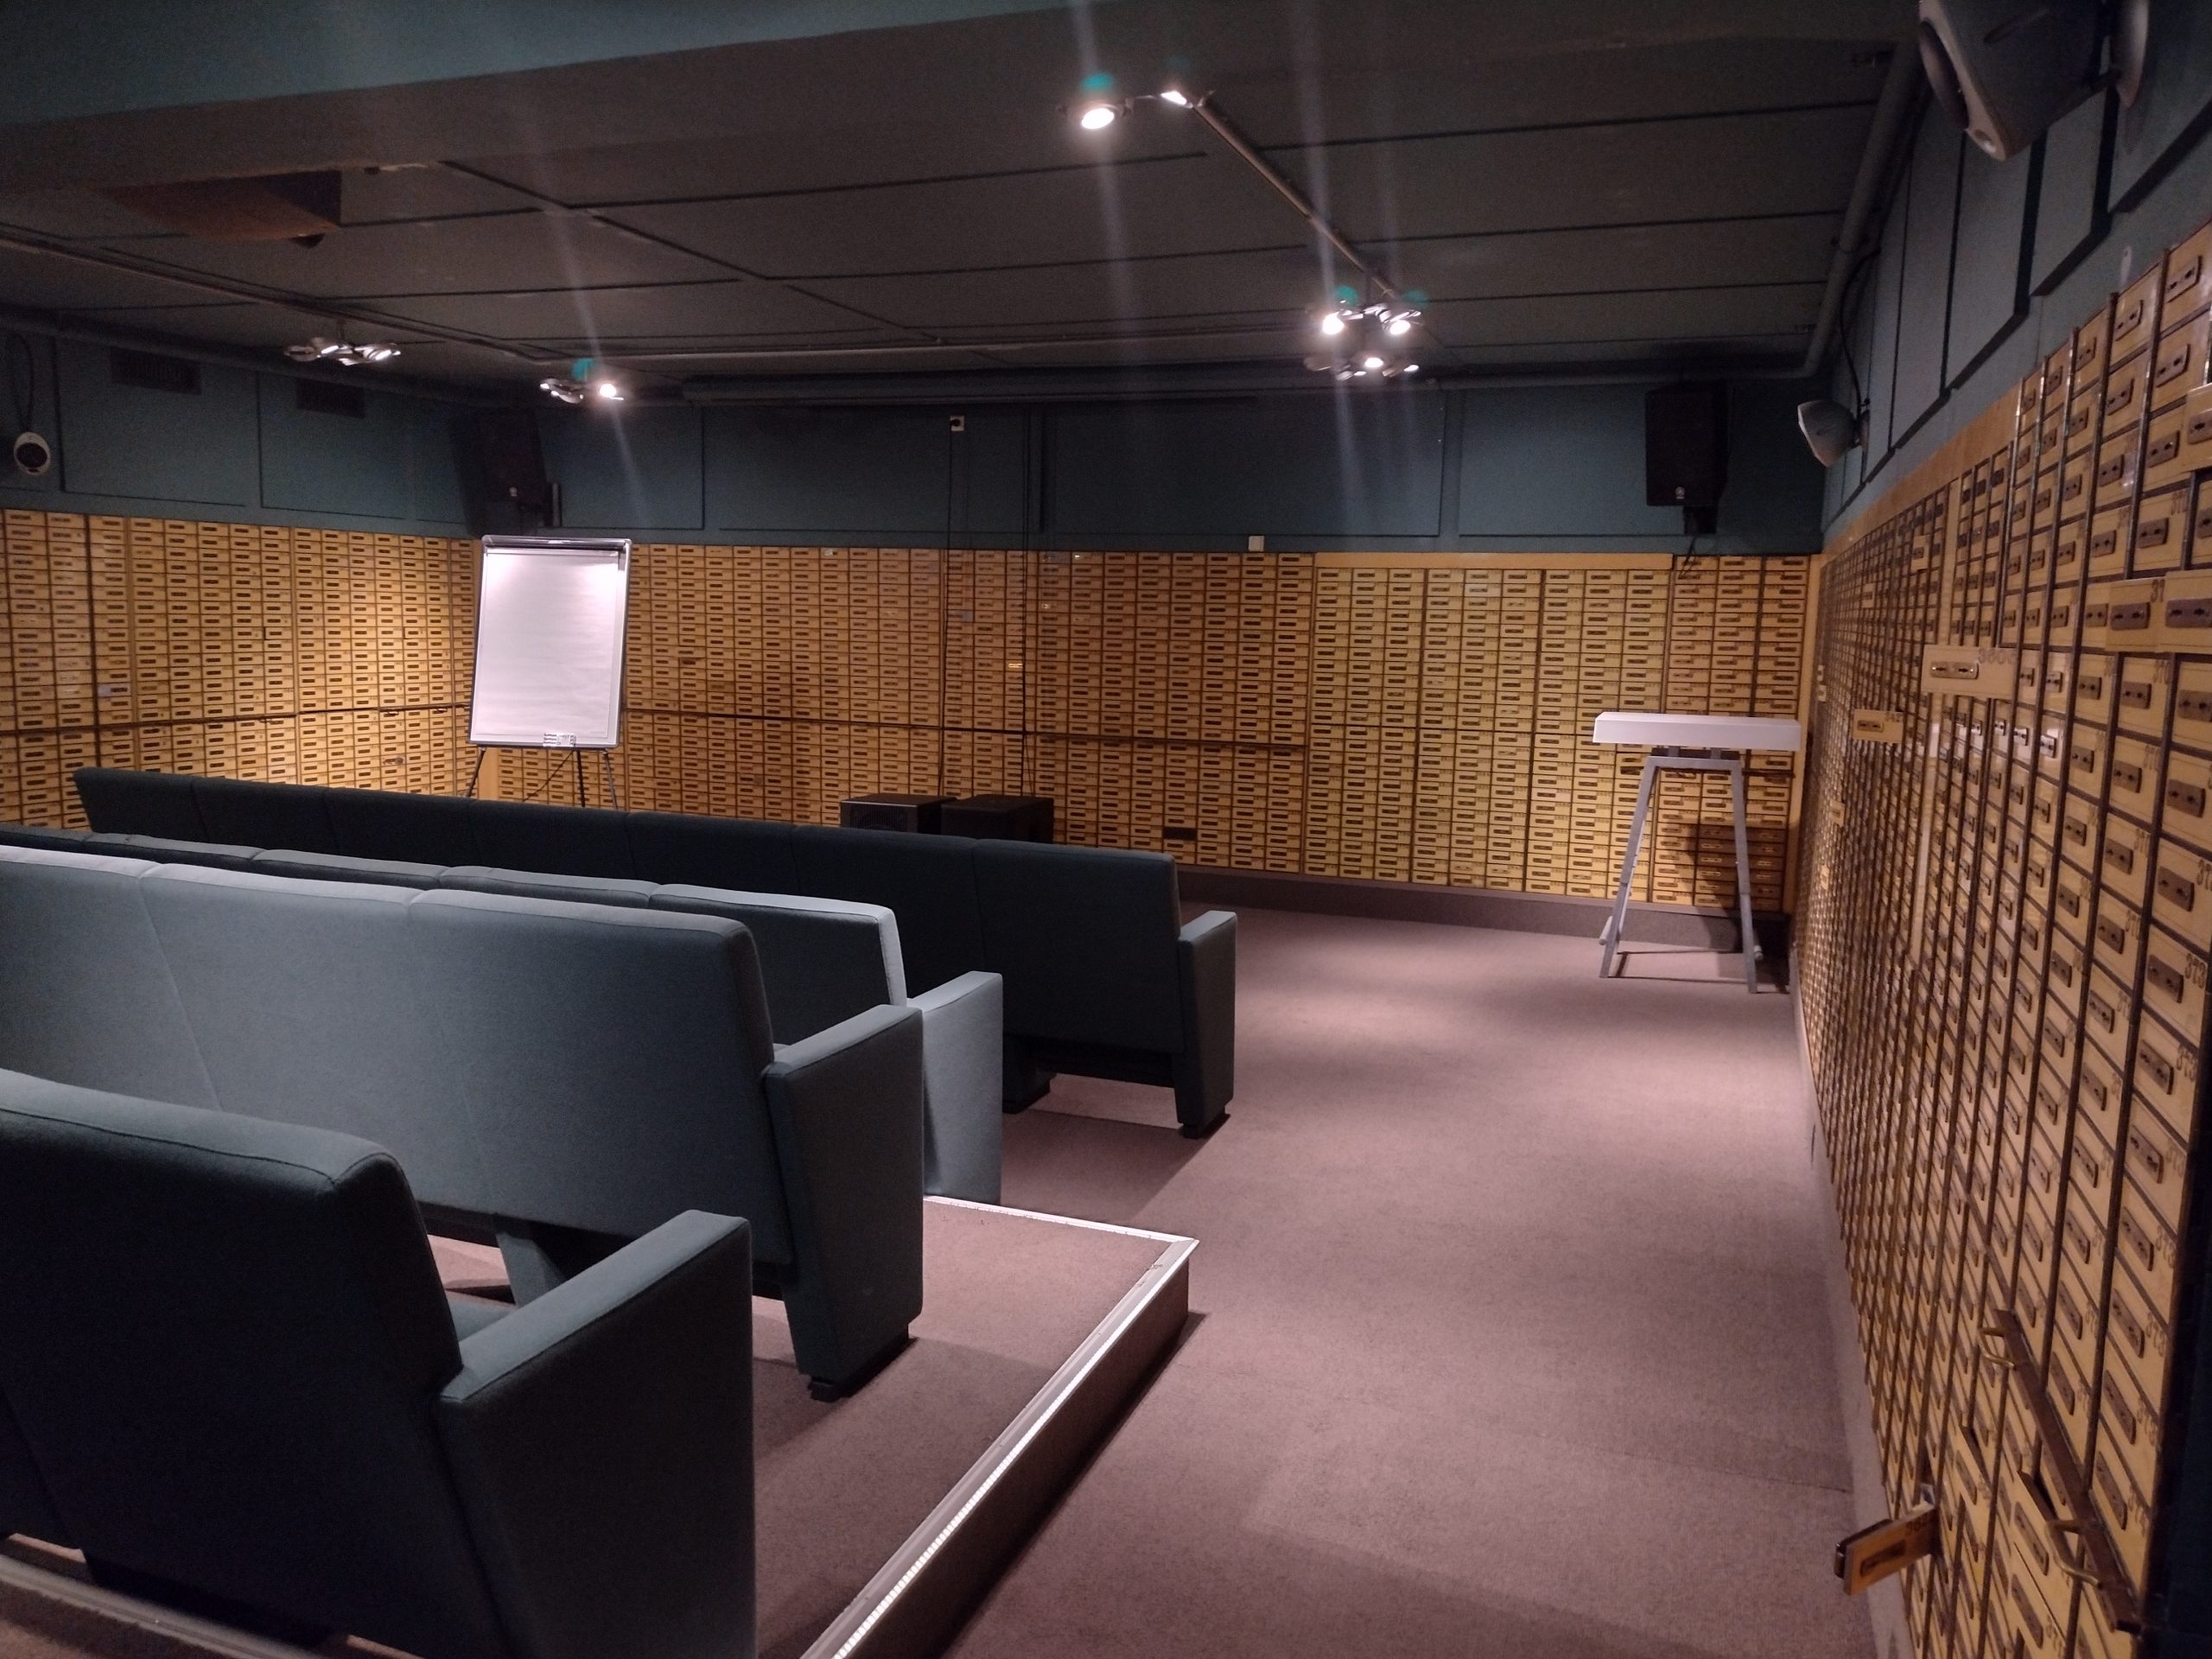
Inside the movie Vault.

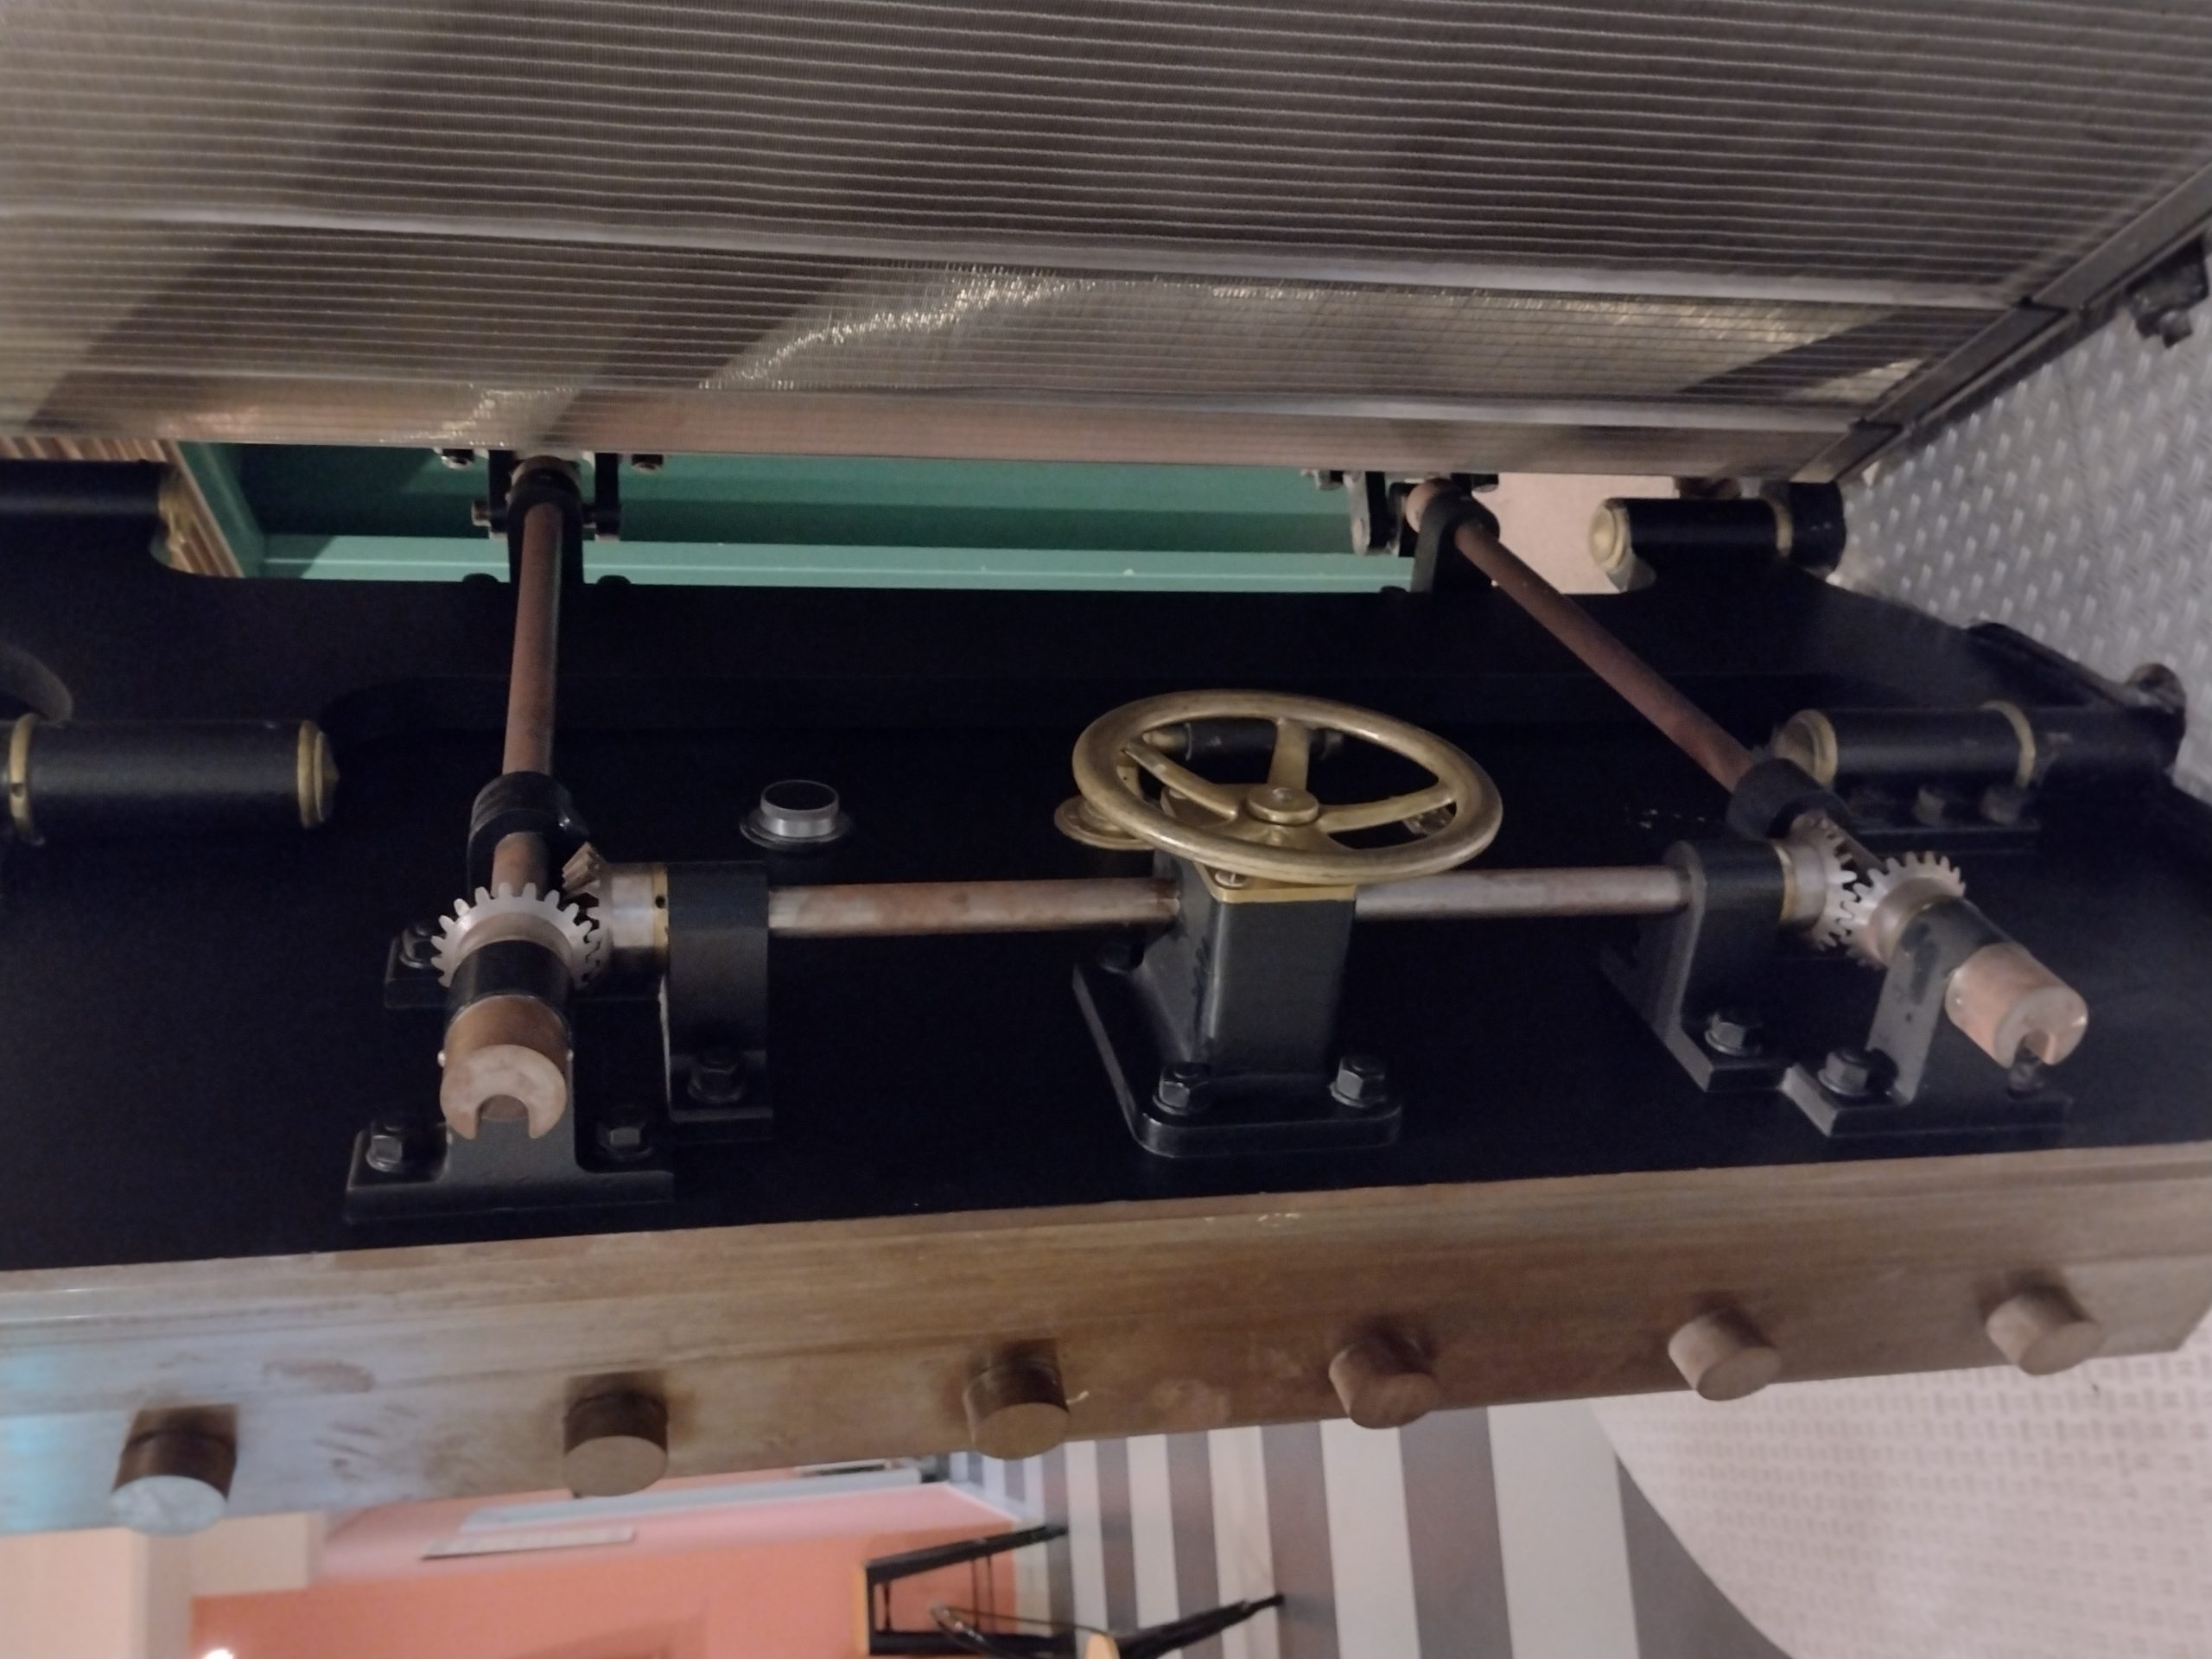
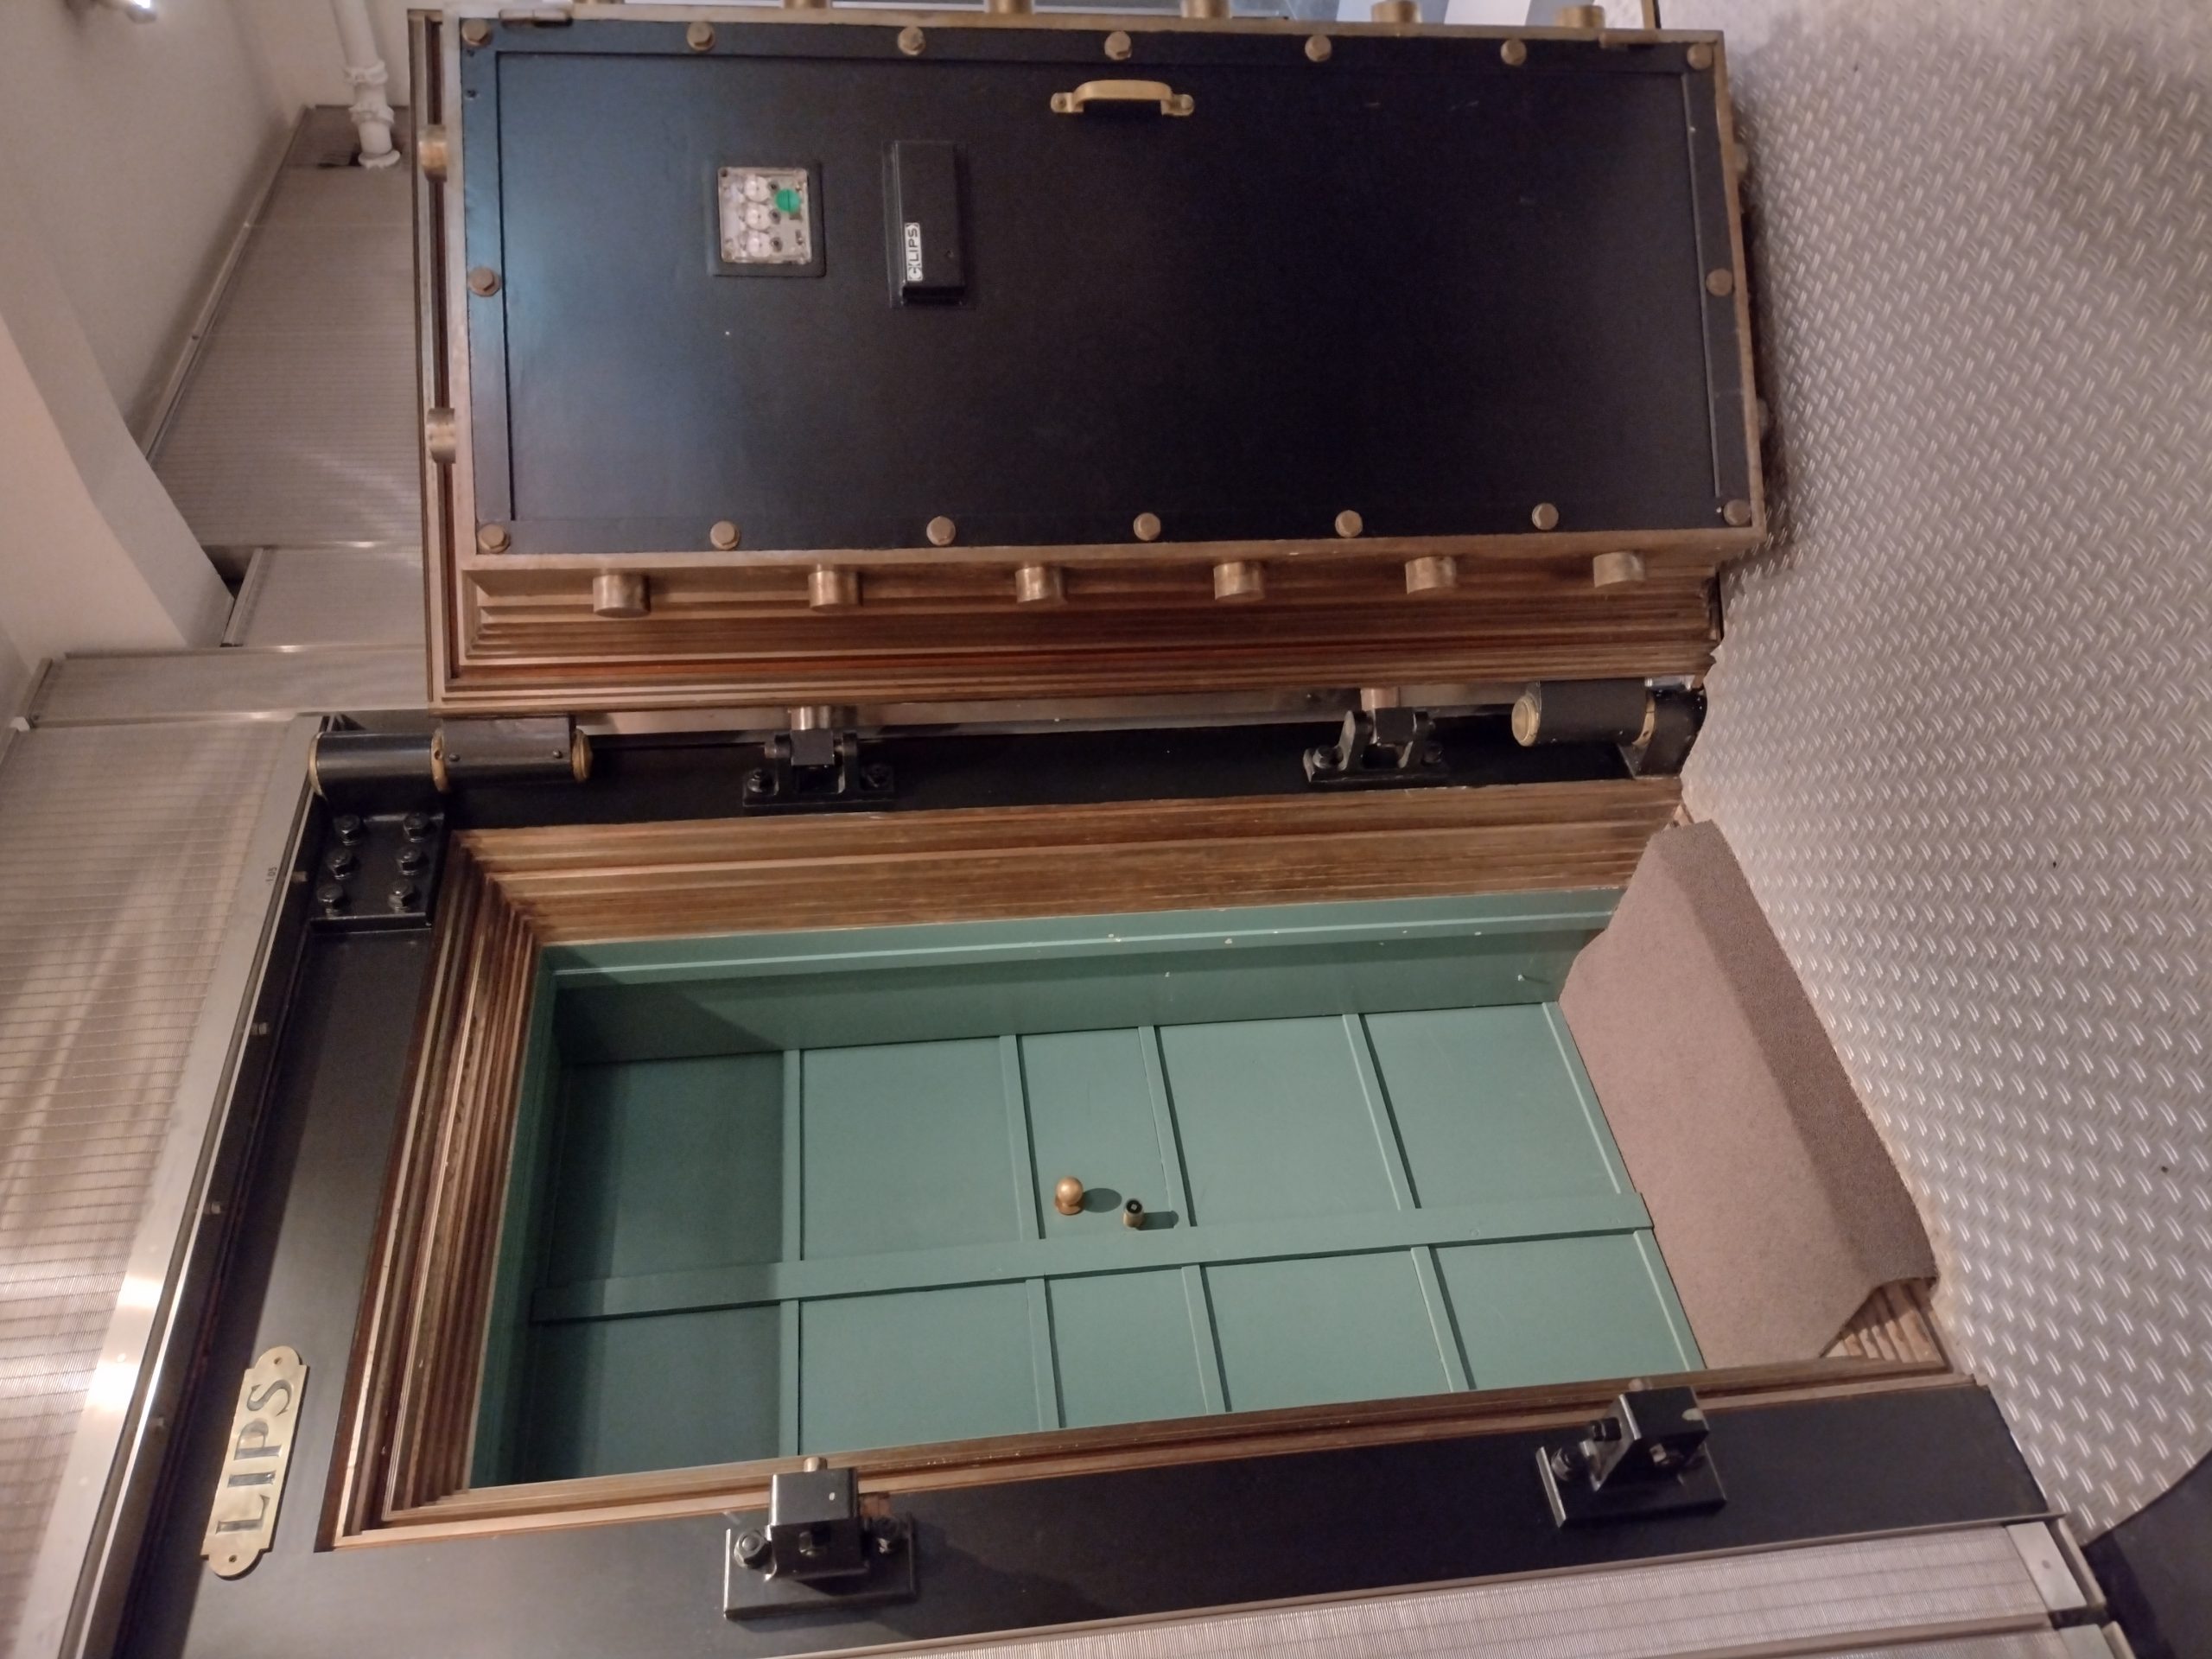
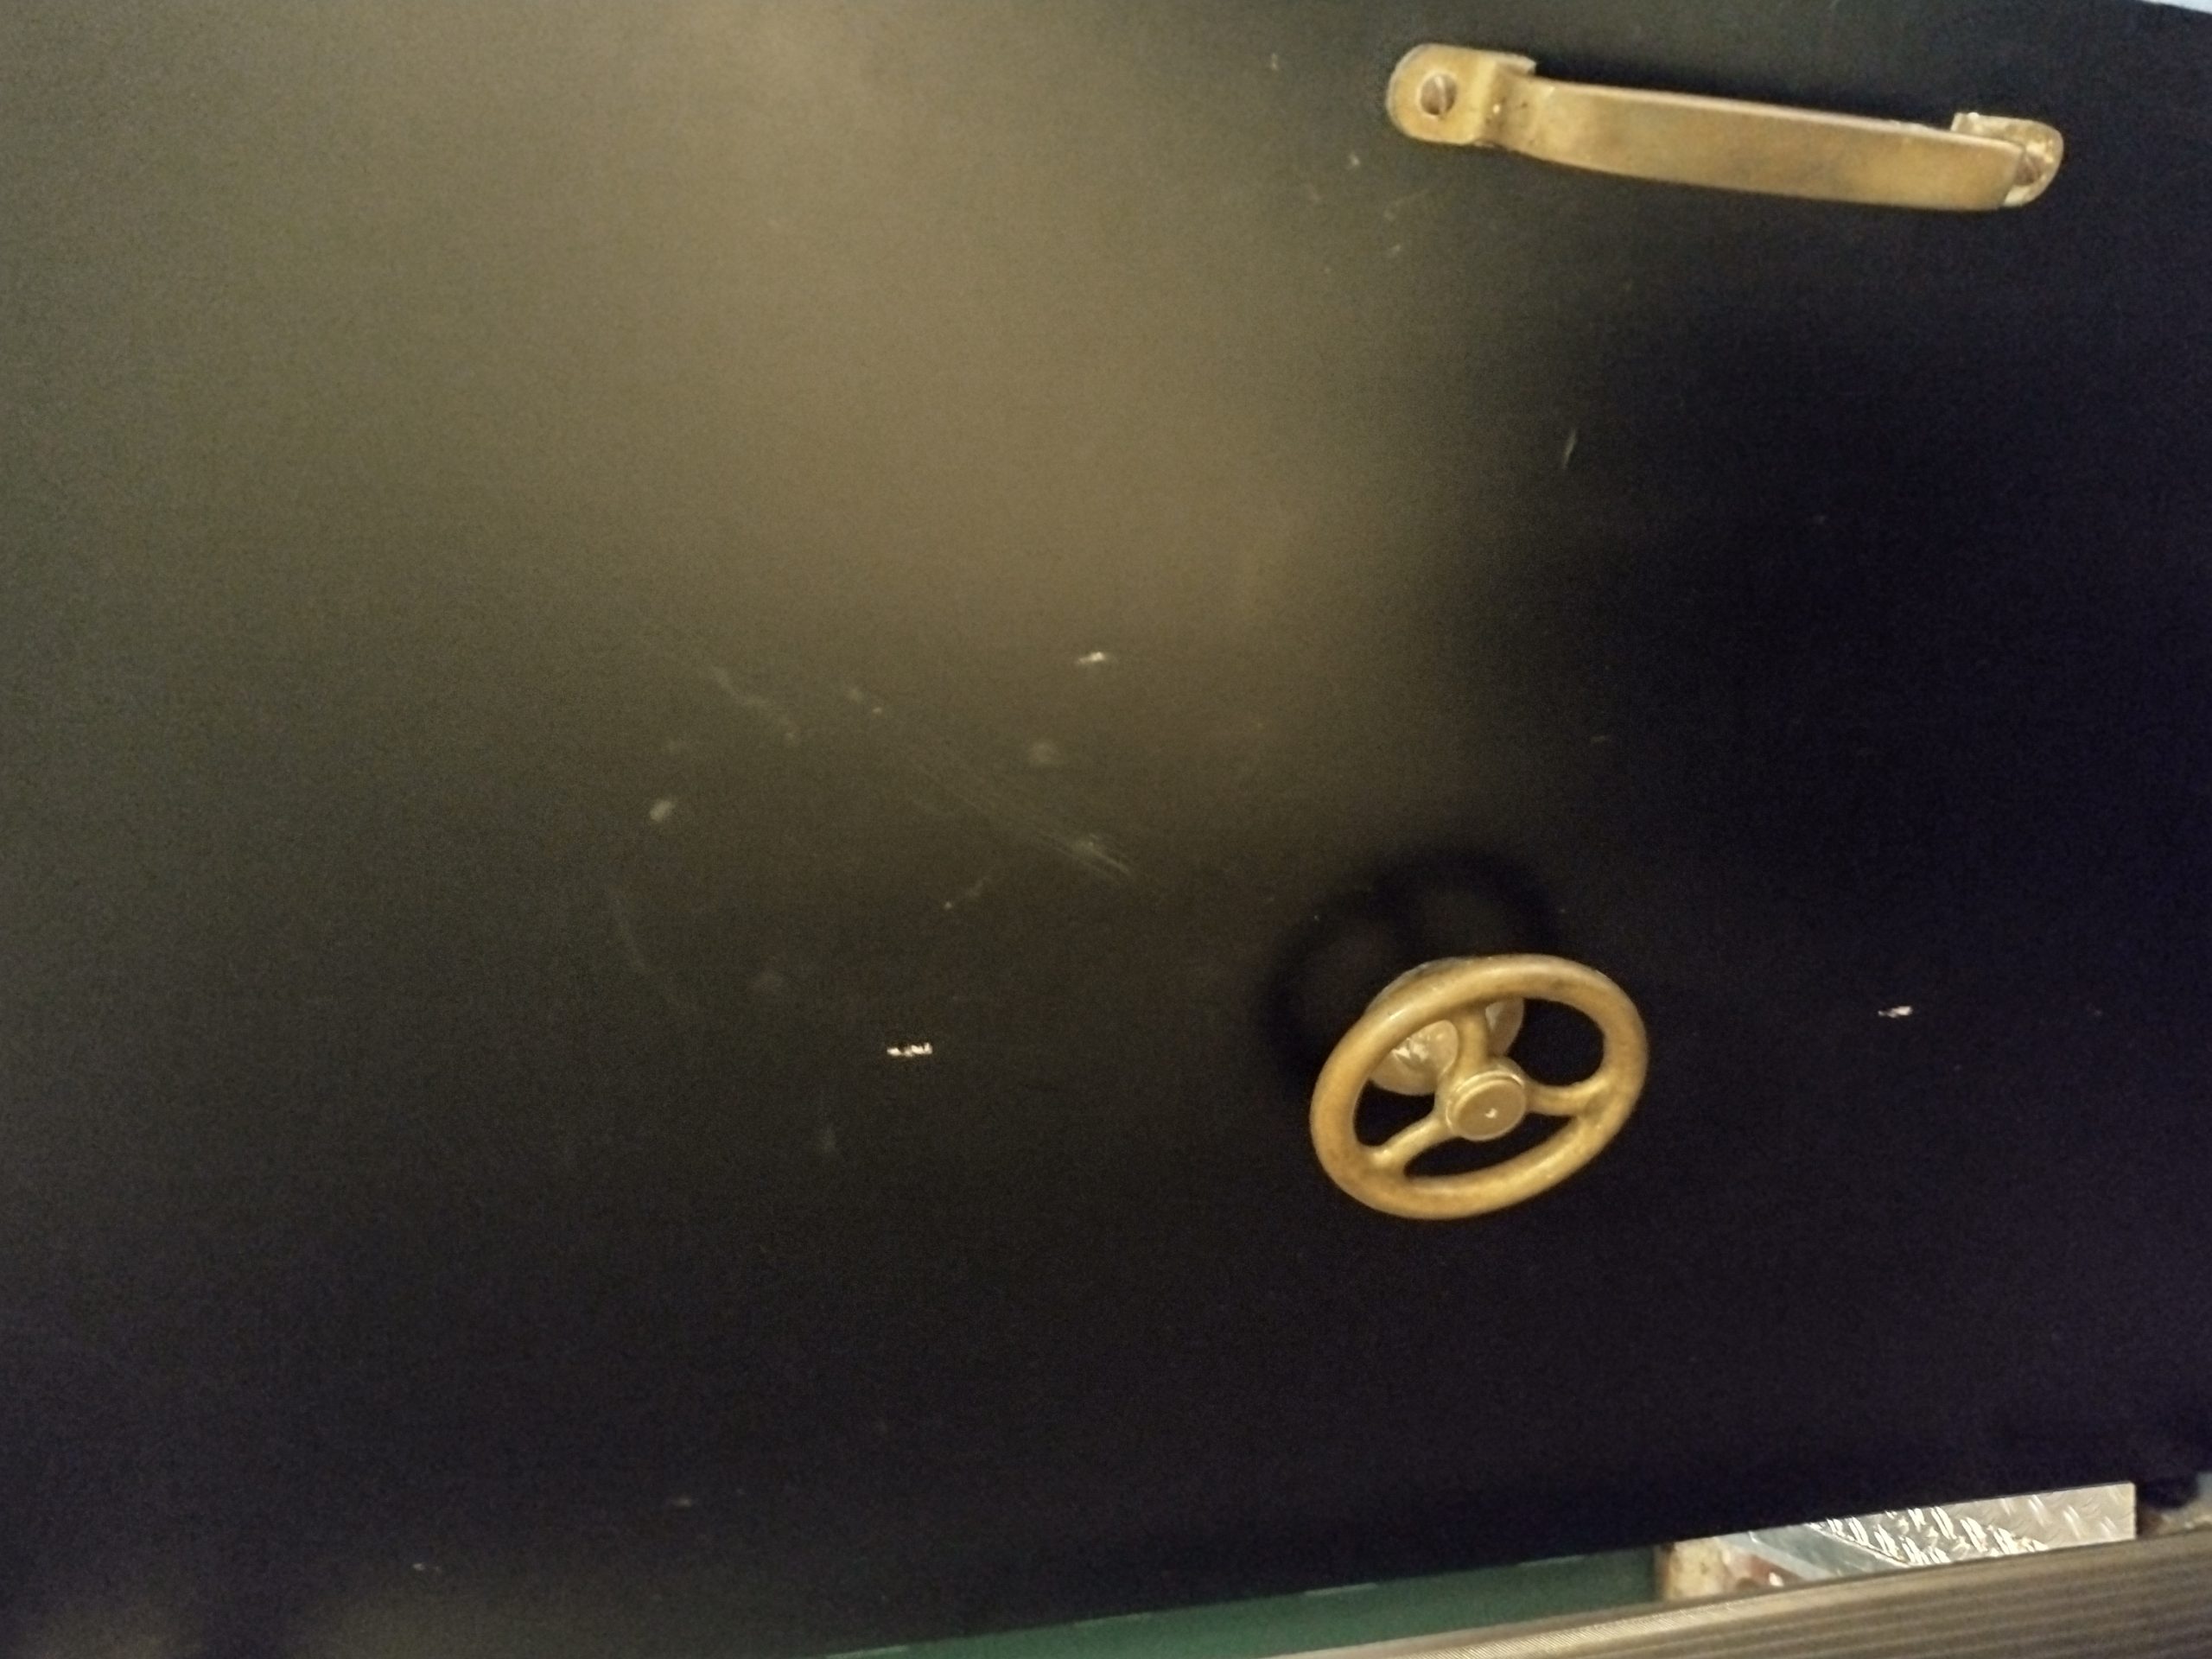
This is the door on the right side of the building. The door is heavy and impressive and clearly designed to intimidate, as it has many more locking bolts than necessary and large handle and gearing on the outside. This door has three locks: One keyed safe lock, one Chubb/Lips vault combination lock, and one Kromer time lock, similar to one I’ve in my collection.
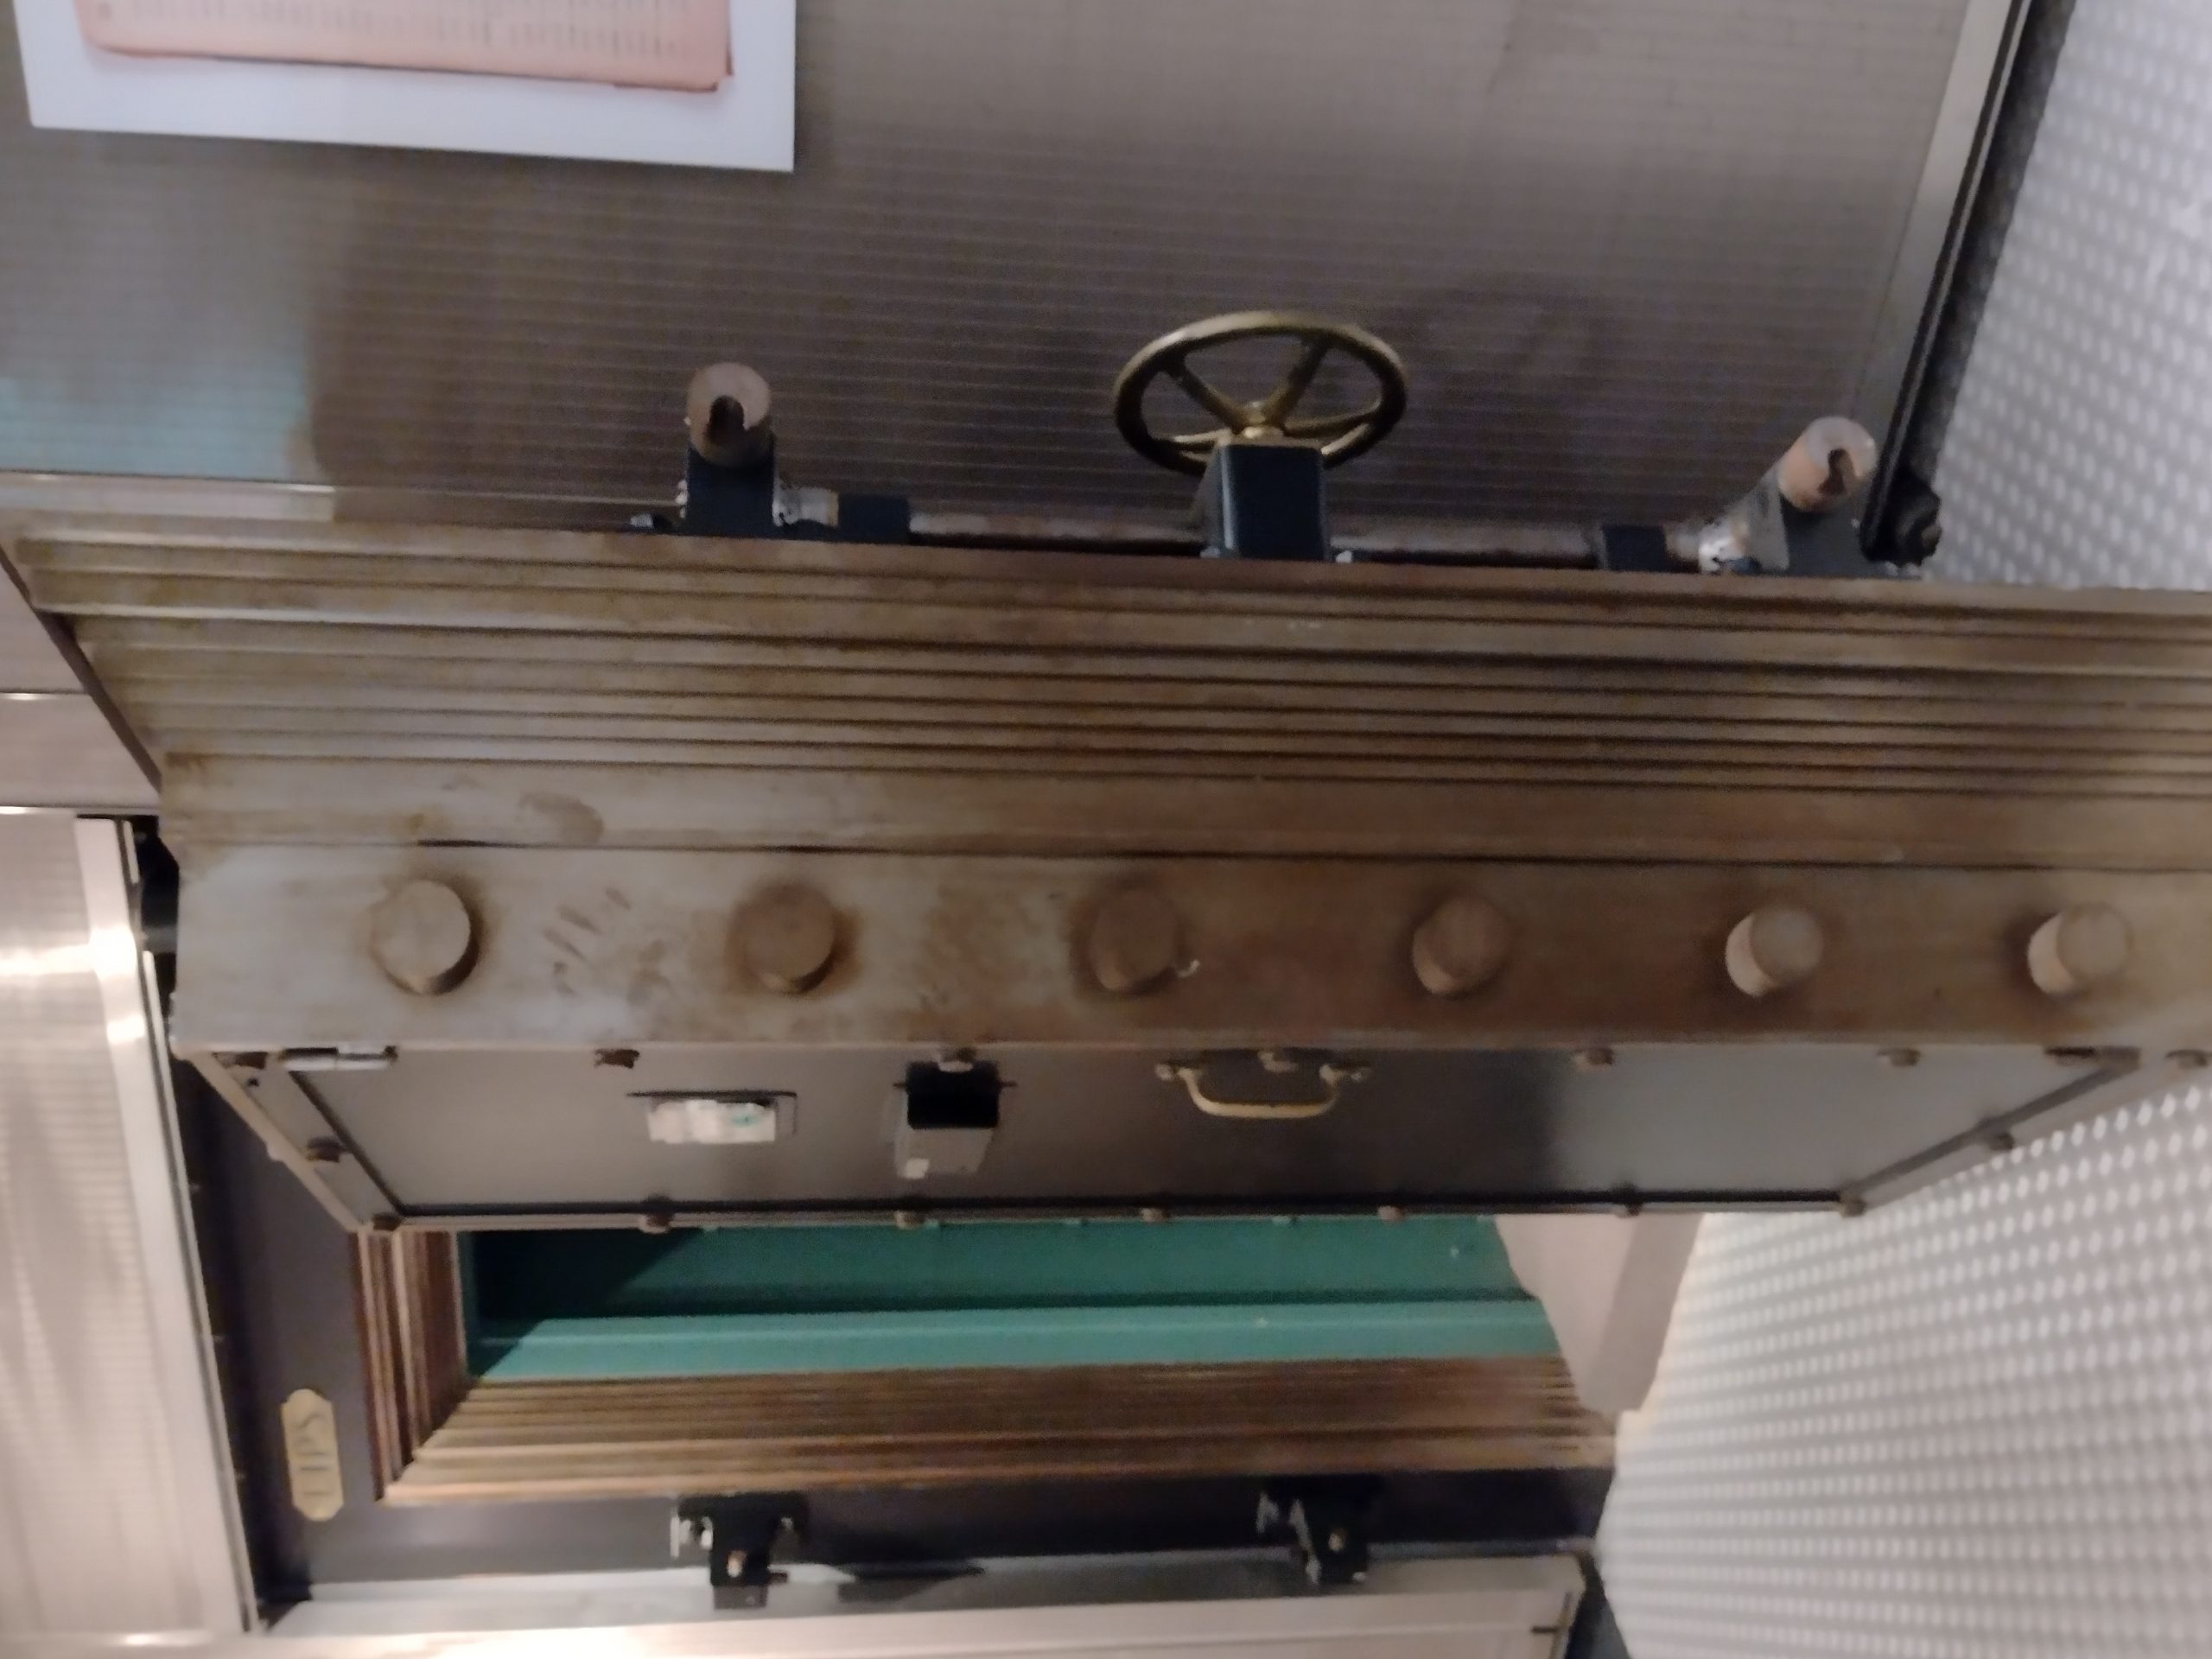
Vault door two is less impressive looking and has a completely different style: it has a flat, unimpressive looking door with two keyed safe locks and a normal size handle. What locks they are, we can only guess at.
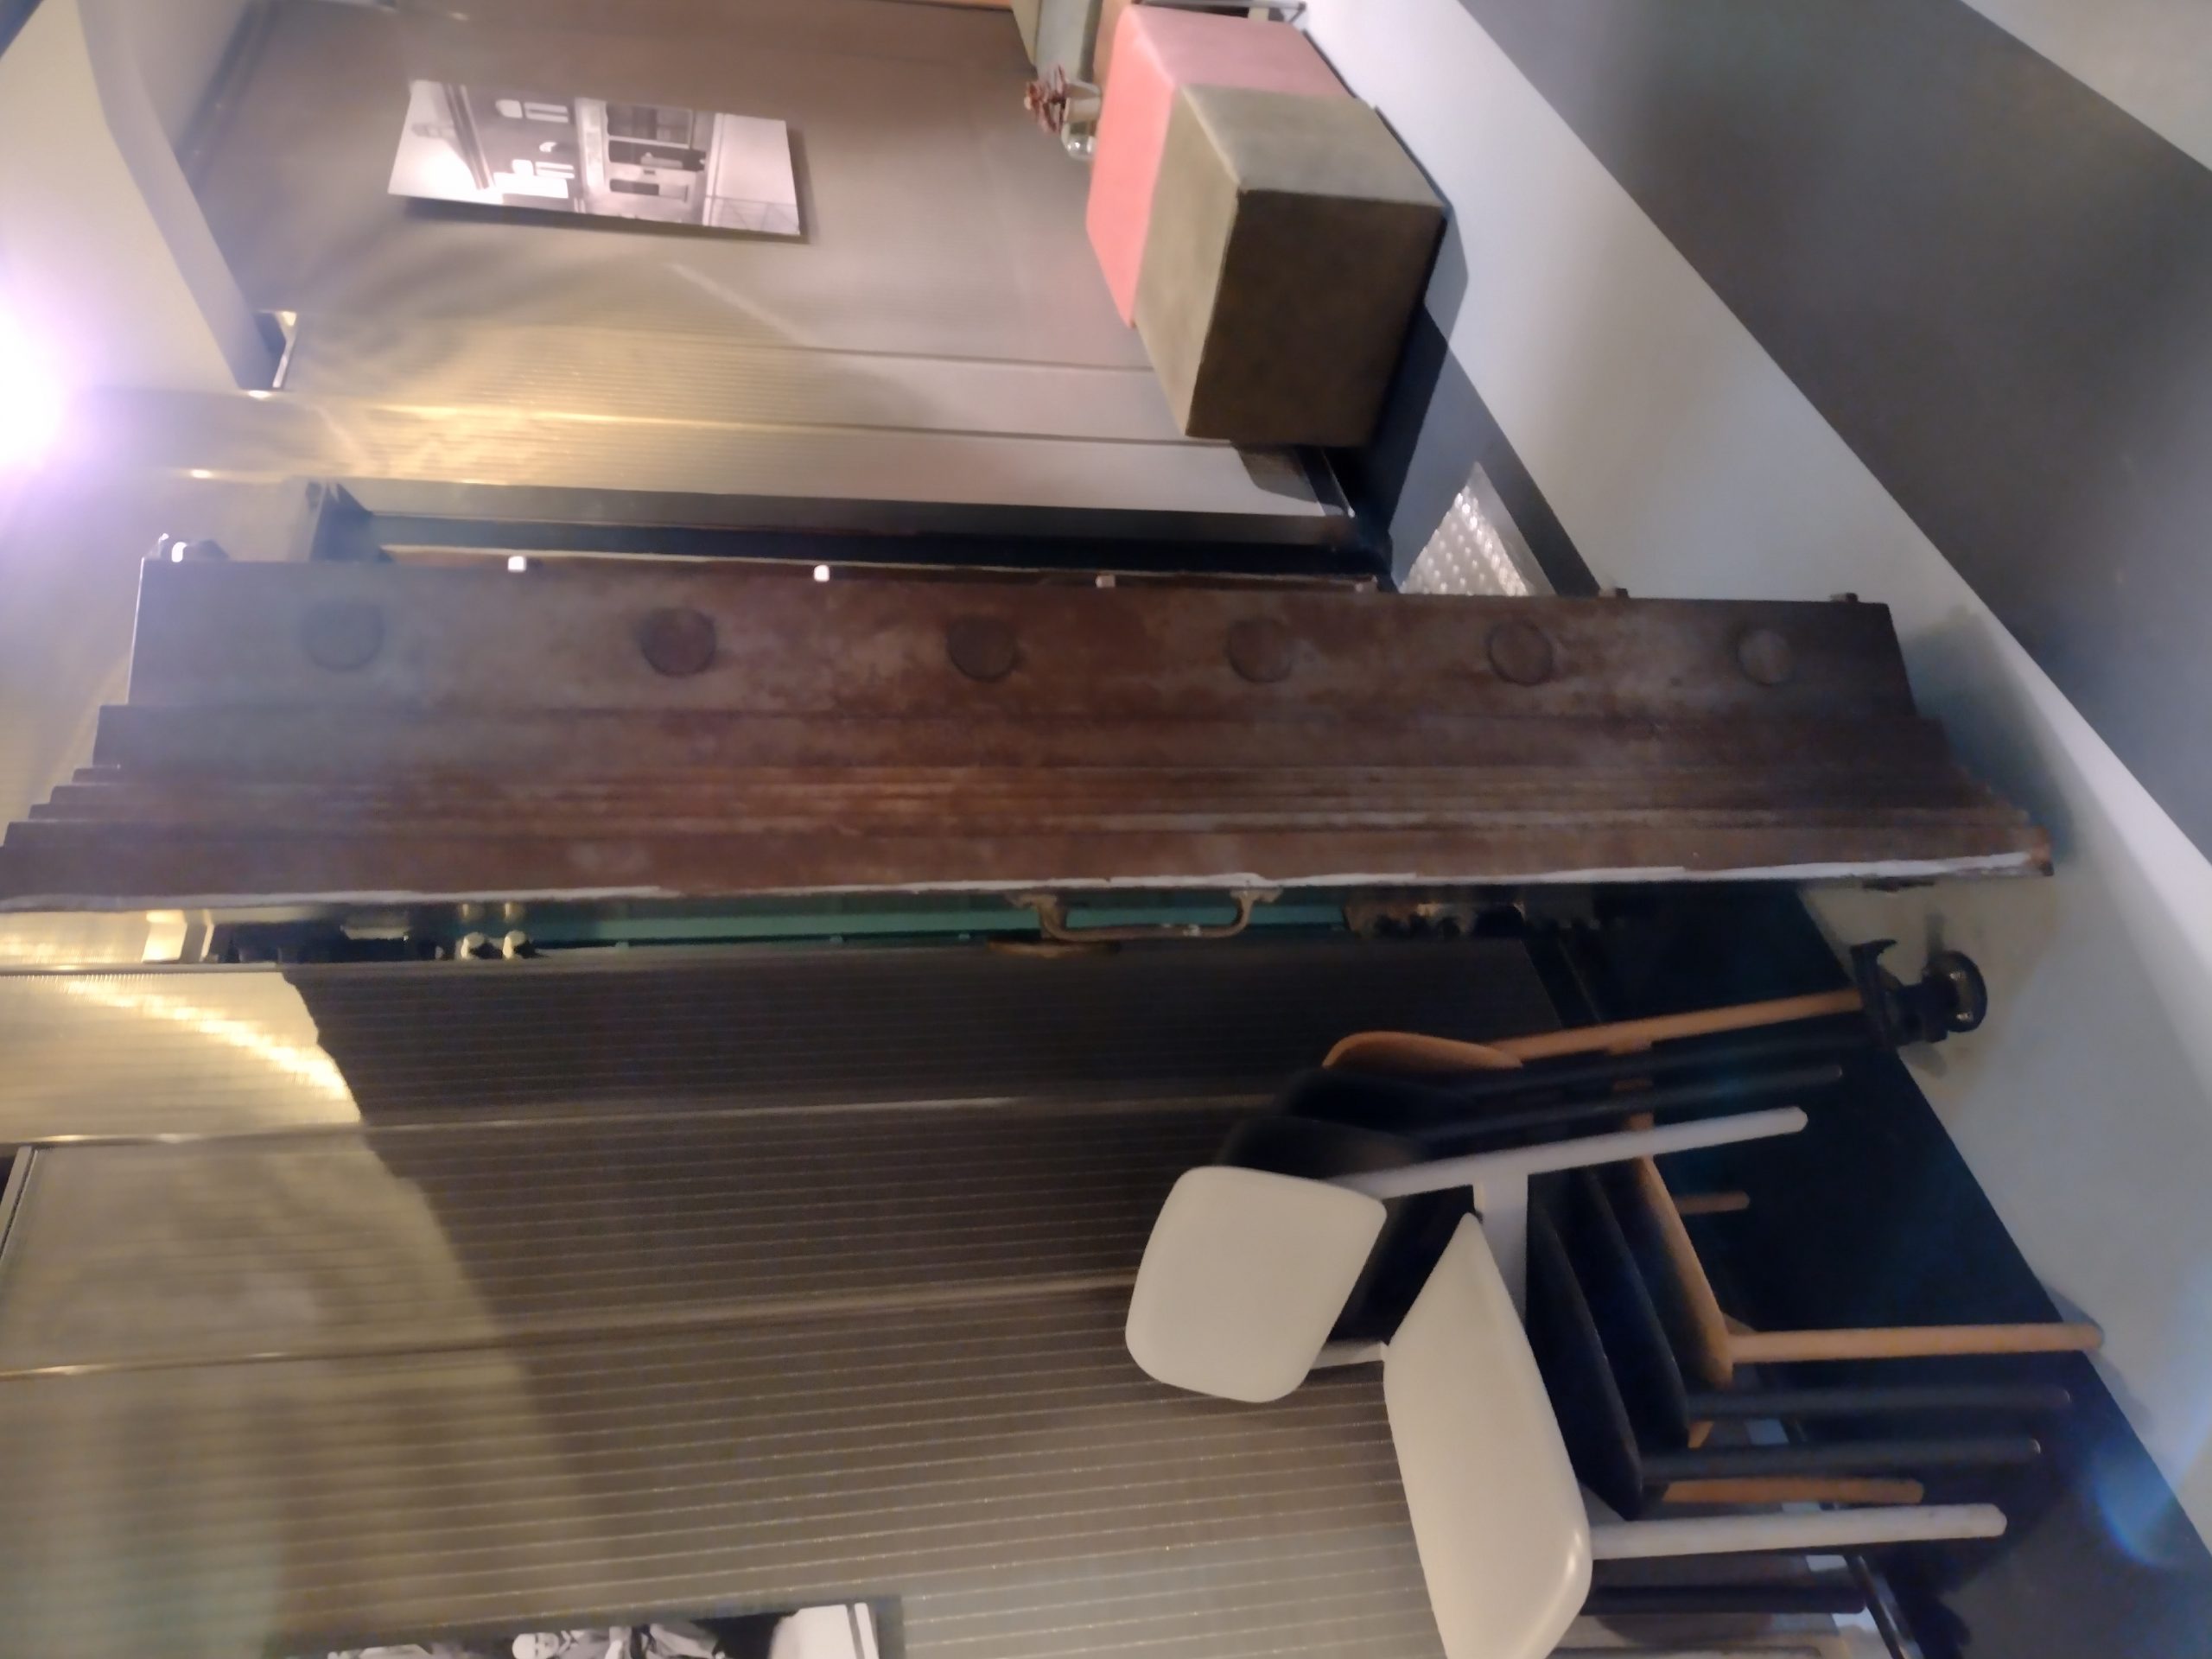
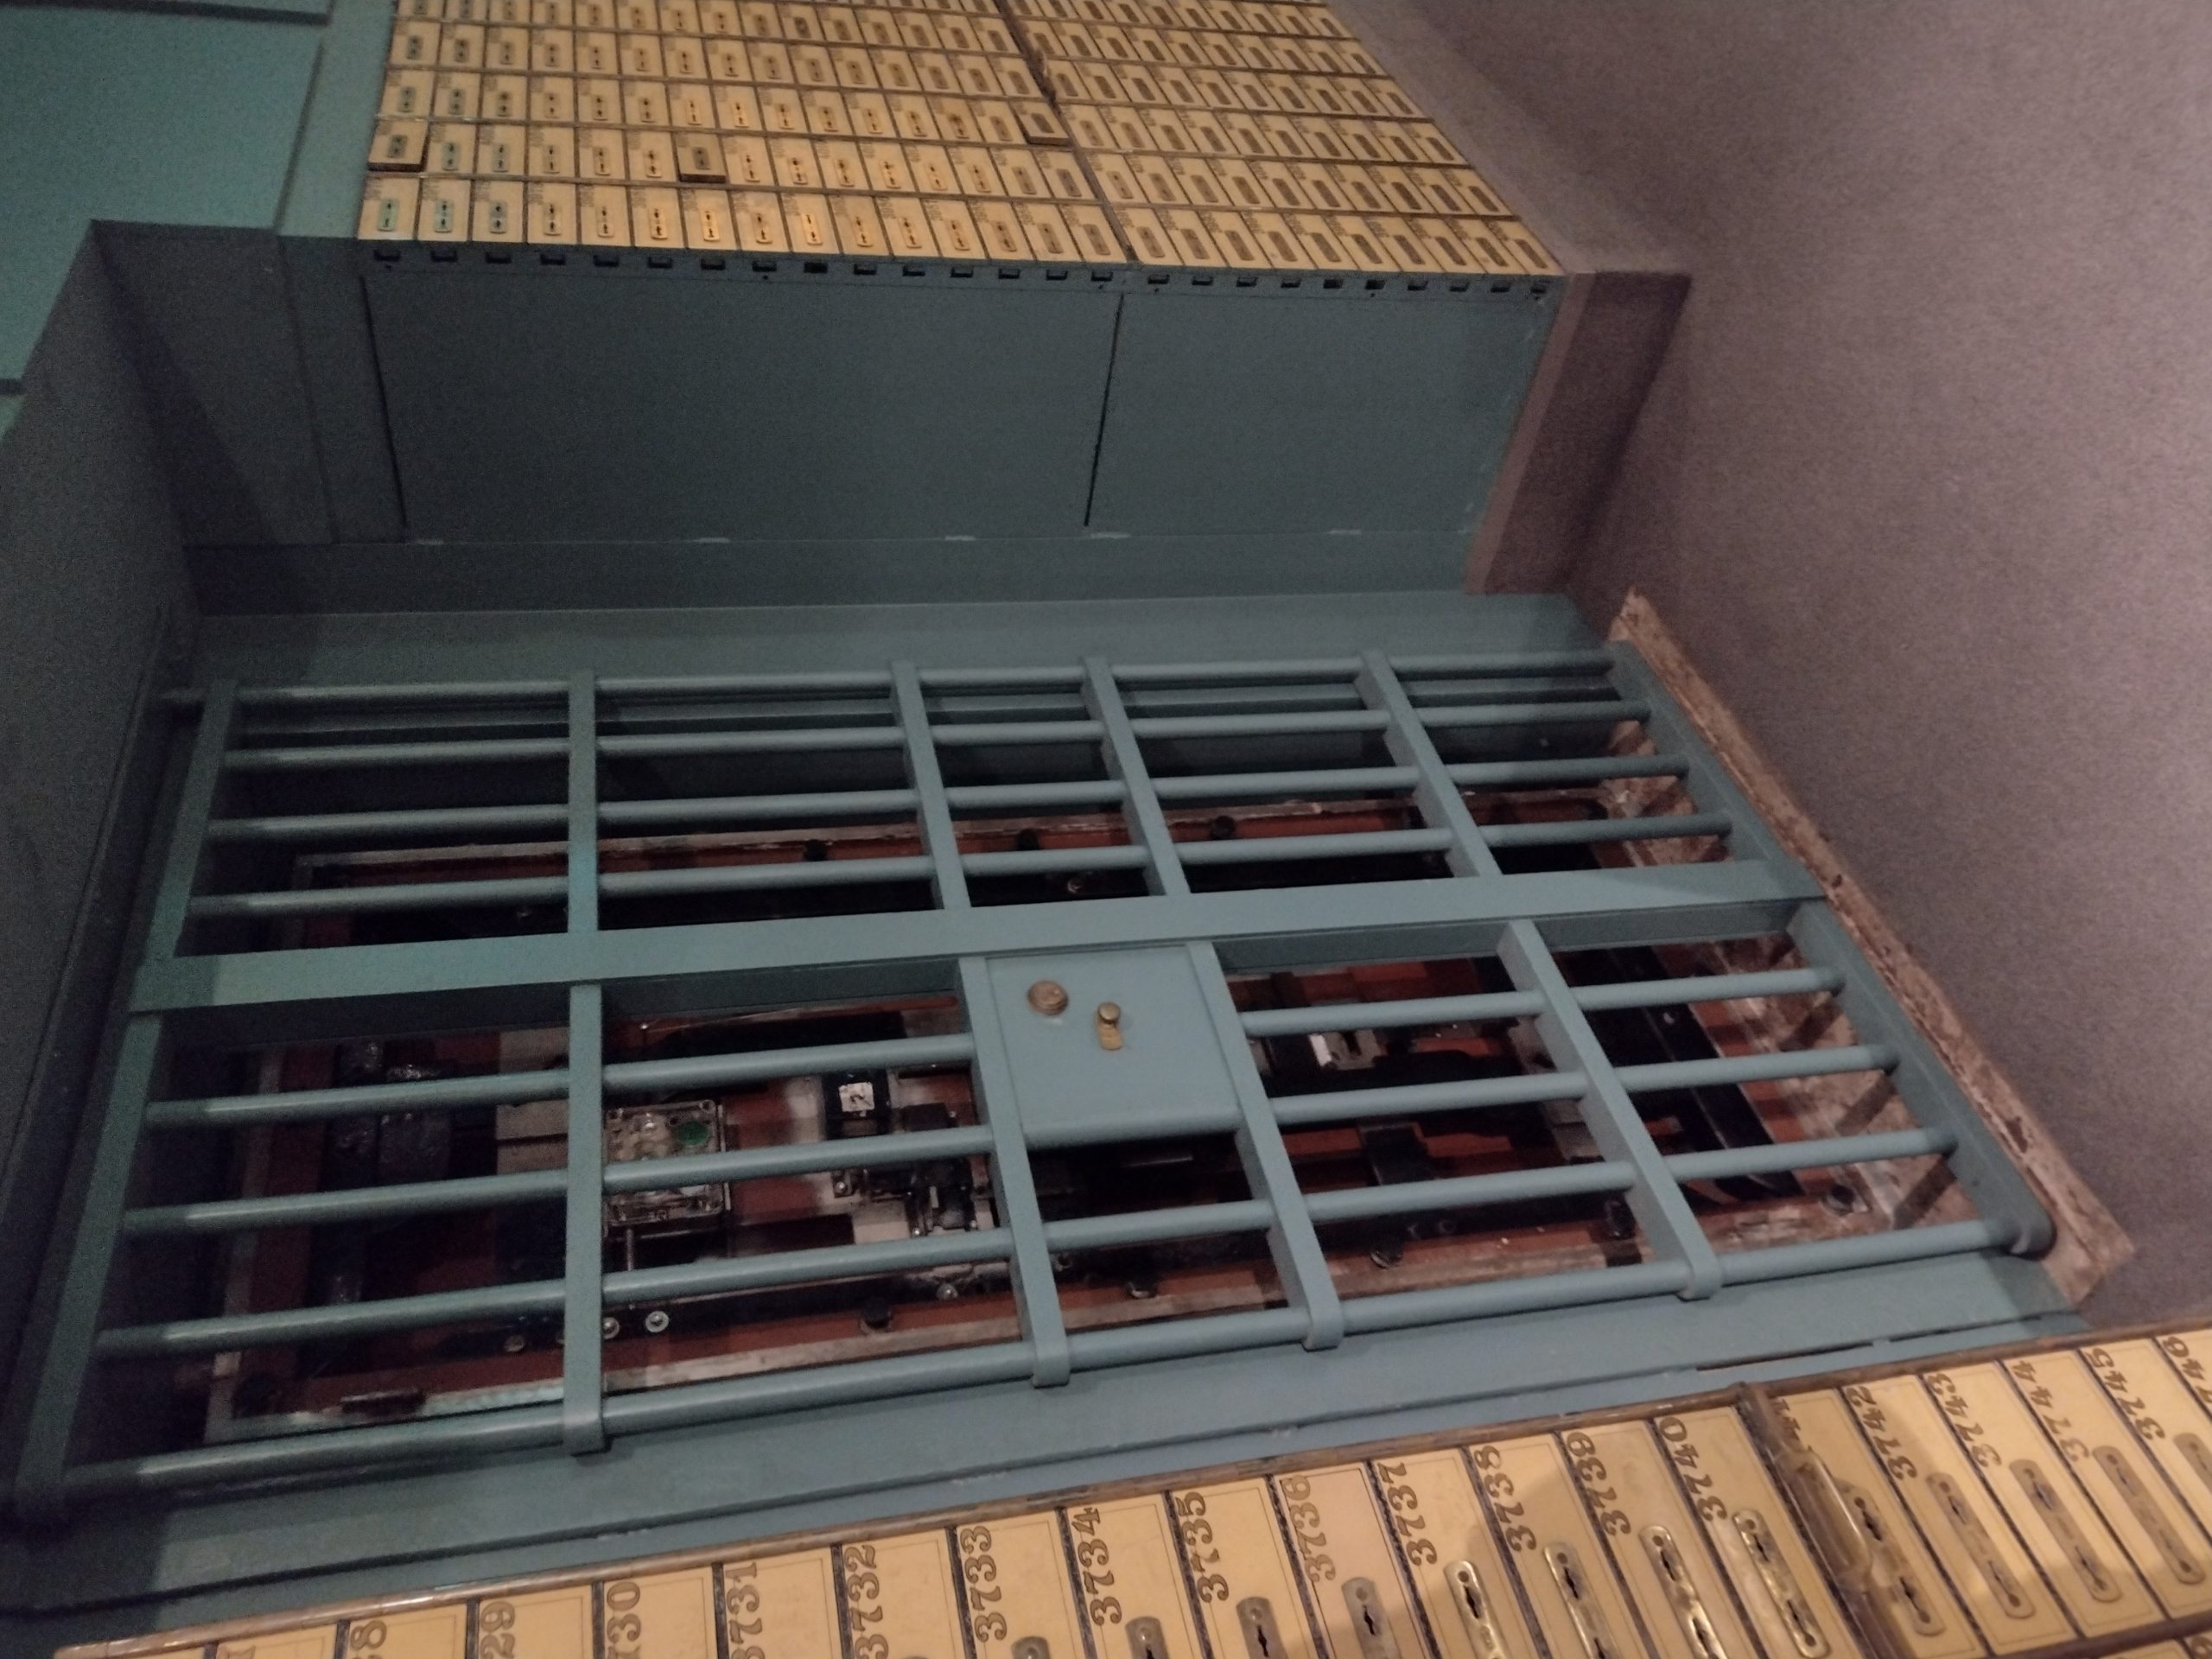
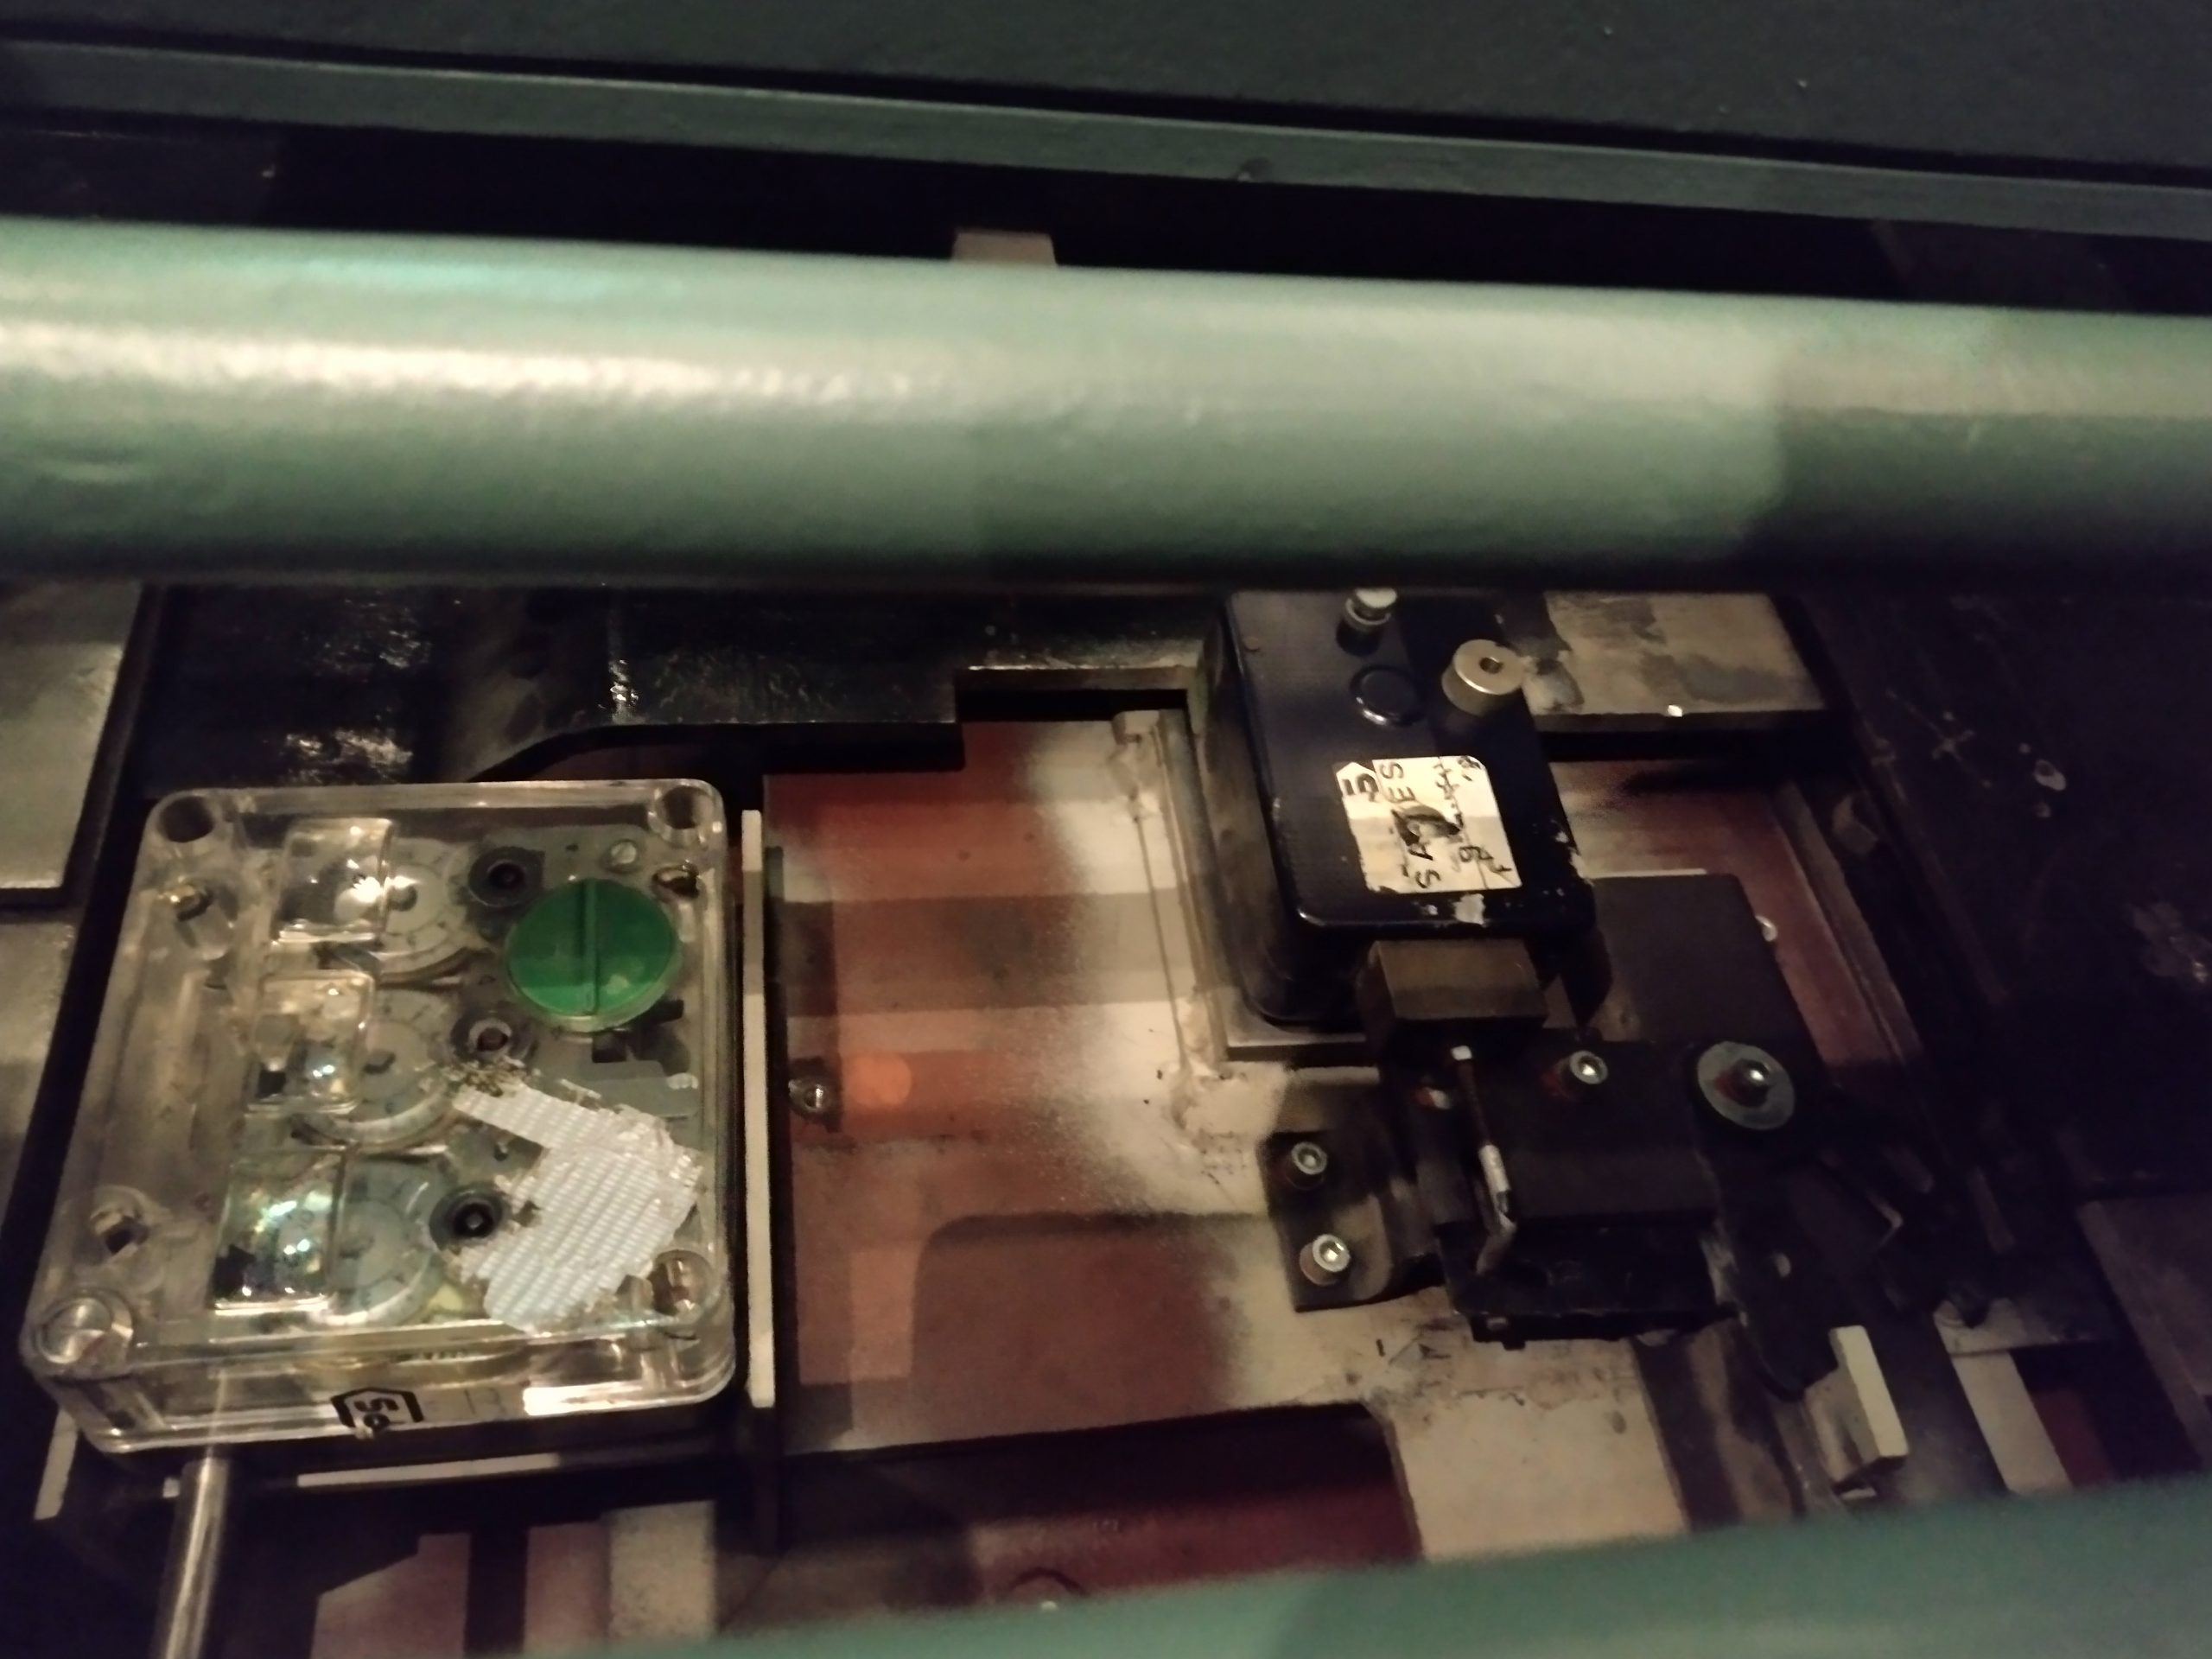
The third door is similar in style to the first door in the list. However, the day gate was still in place, and they removed the back cover from the safe. From the picture, we can see the same Kromer time lock and a Chubb/Lips vault combination lock.
Here are a few links I’ve promised. While the pages are largely uninspiring and the photos aren’t as clear. These will give some idea of what is out there and the hidden treasures there are to discover.

Amsterdam’s Archive: http://www.lucvandelagemaat.nl/category/voice-over/
Deventer, Carlos in huis: Furniture and living https://carlosinhuis.nl/winkel/
The Hague, Nutshuis filmkluis: https://nutshuis.nl/zaal-huren/filmkluis-en-foyer/#et_pb_dp_oc_custom_0_3
Den Bosch, Robbies concept store: https://www.verwersstraat.nl/robbies/

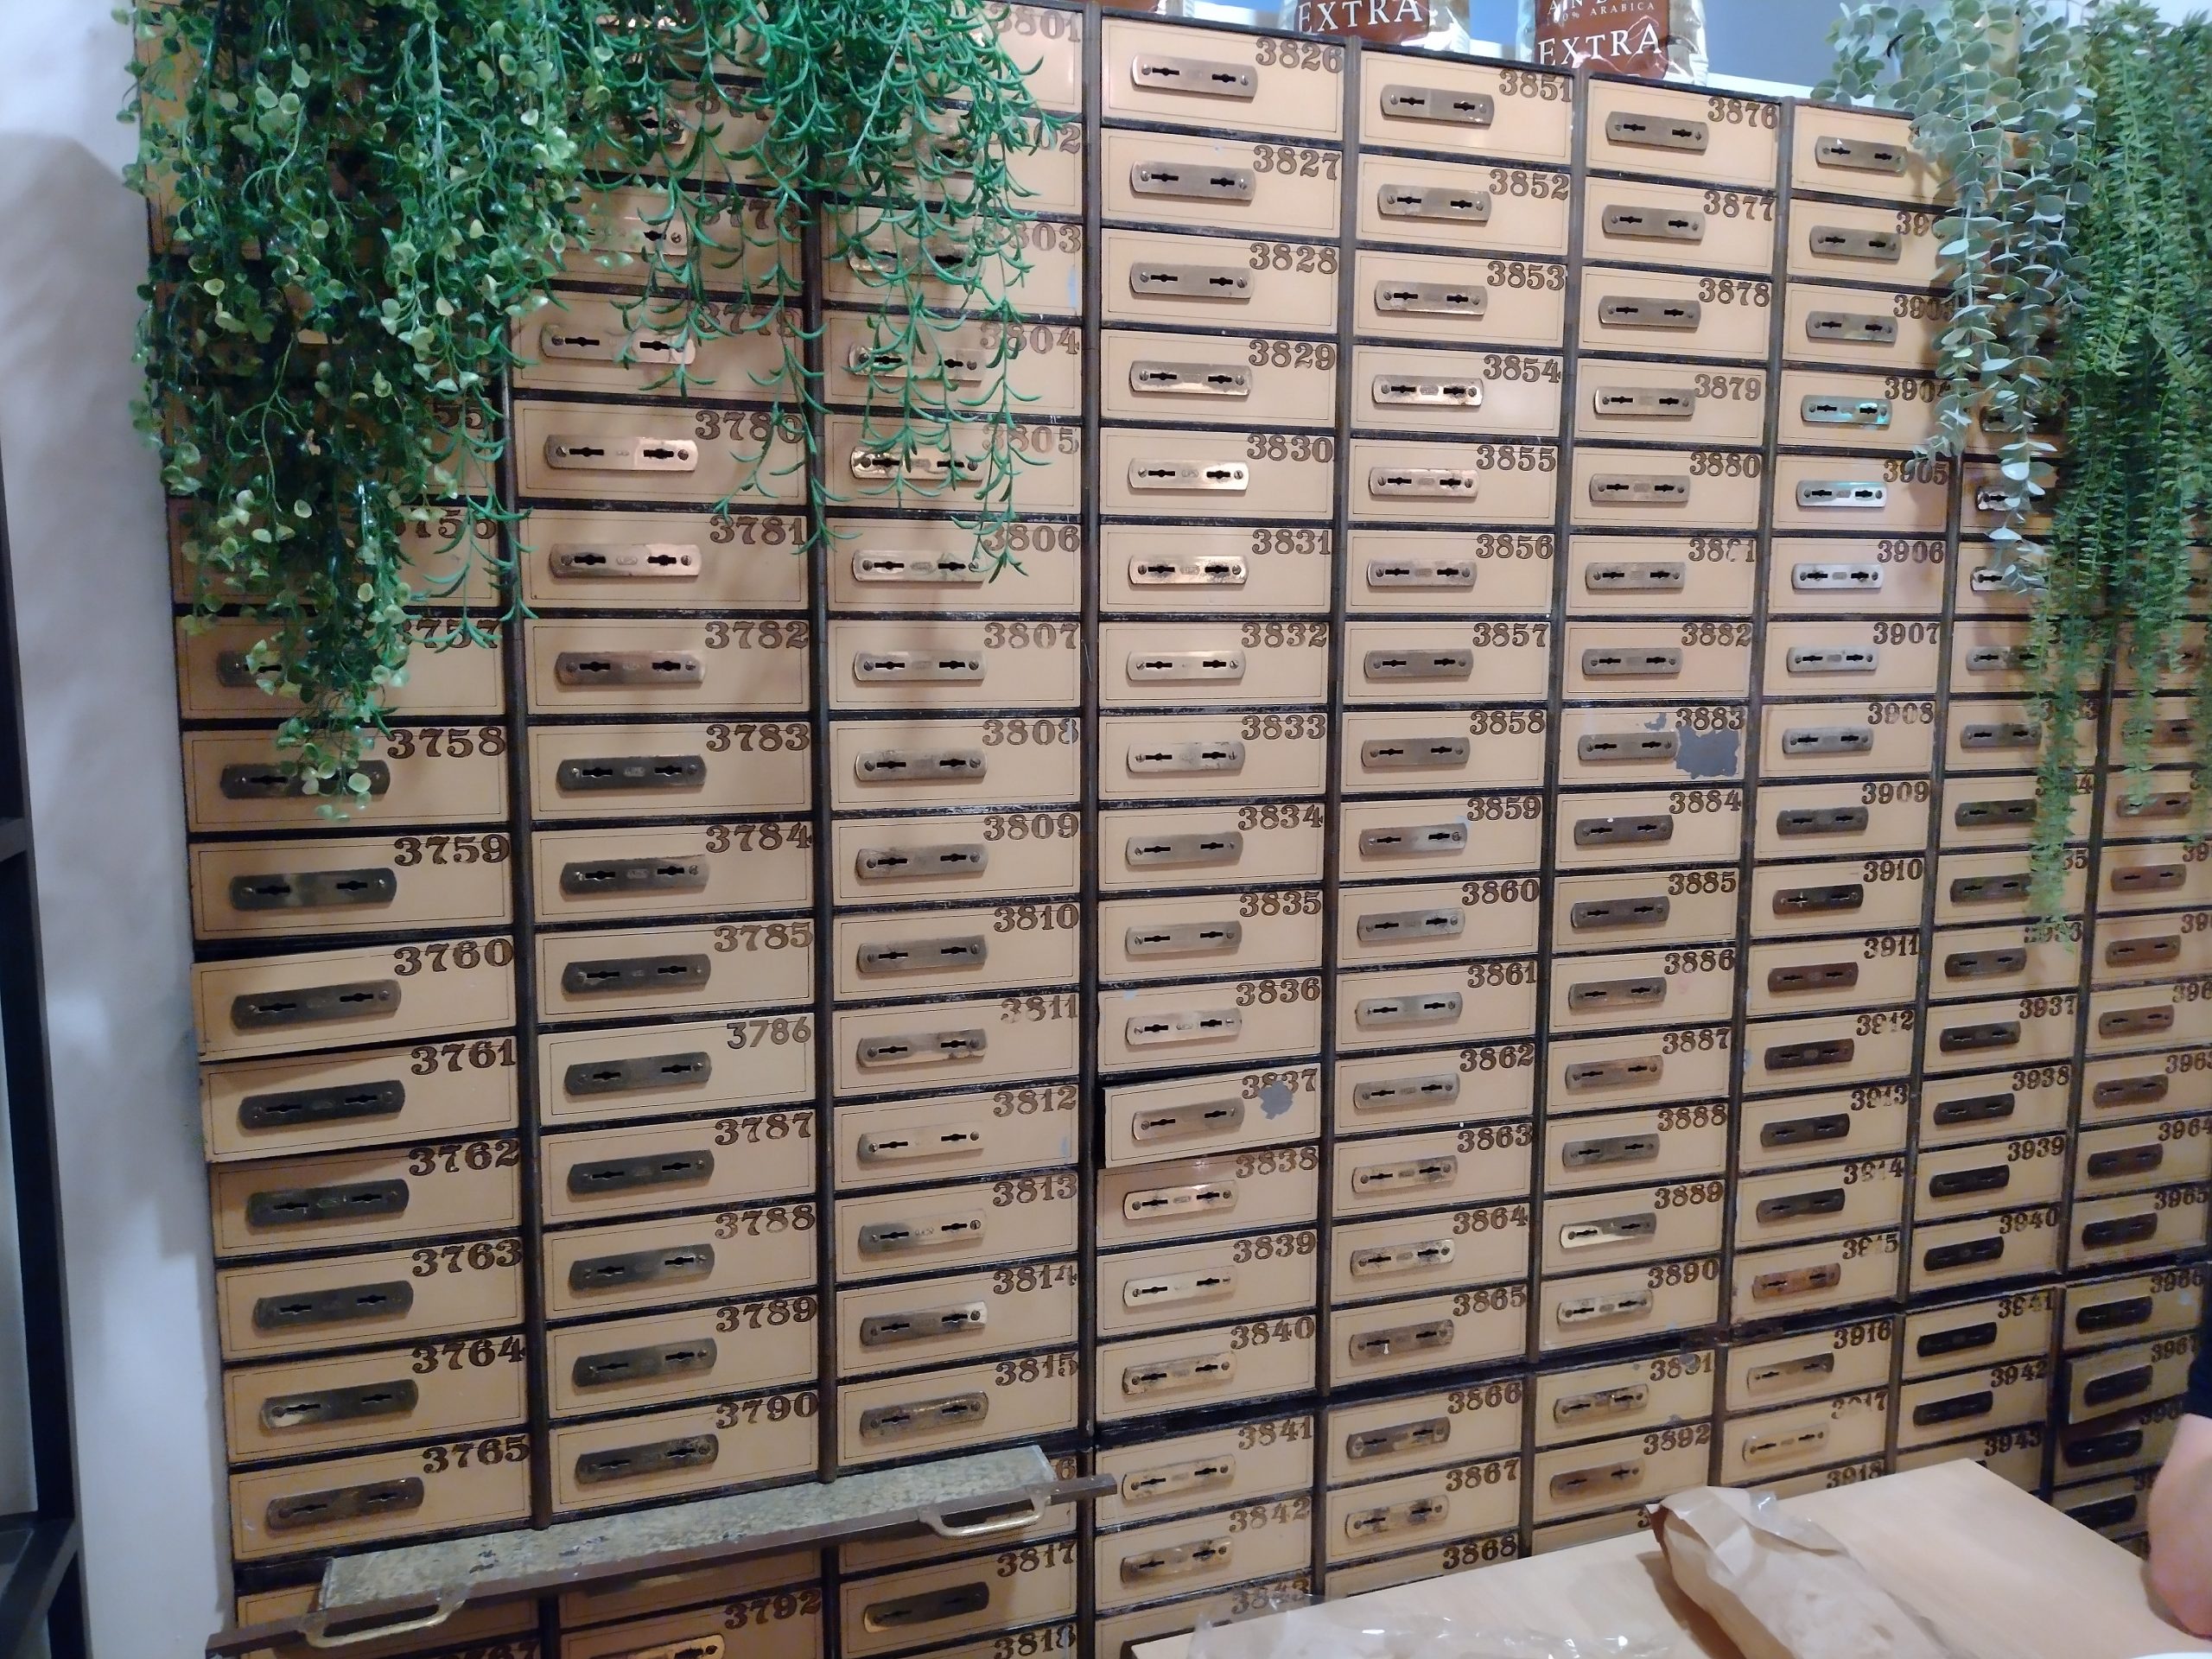
I’ll finish this post with a these safe deposit boxes used as props throughout the basement.
Article and pictures CCBY4.0 Jan-Willem Markus at Toool Blackbag.
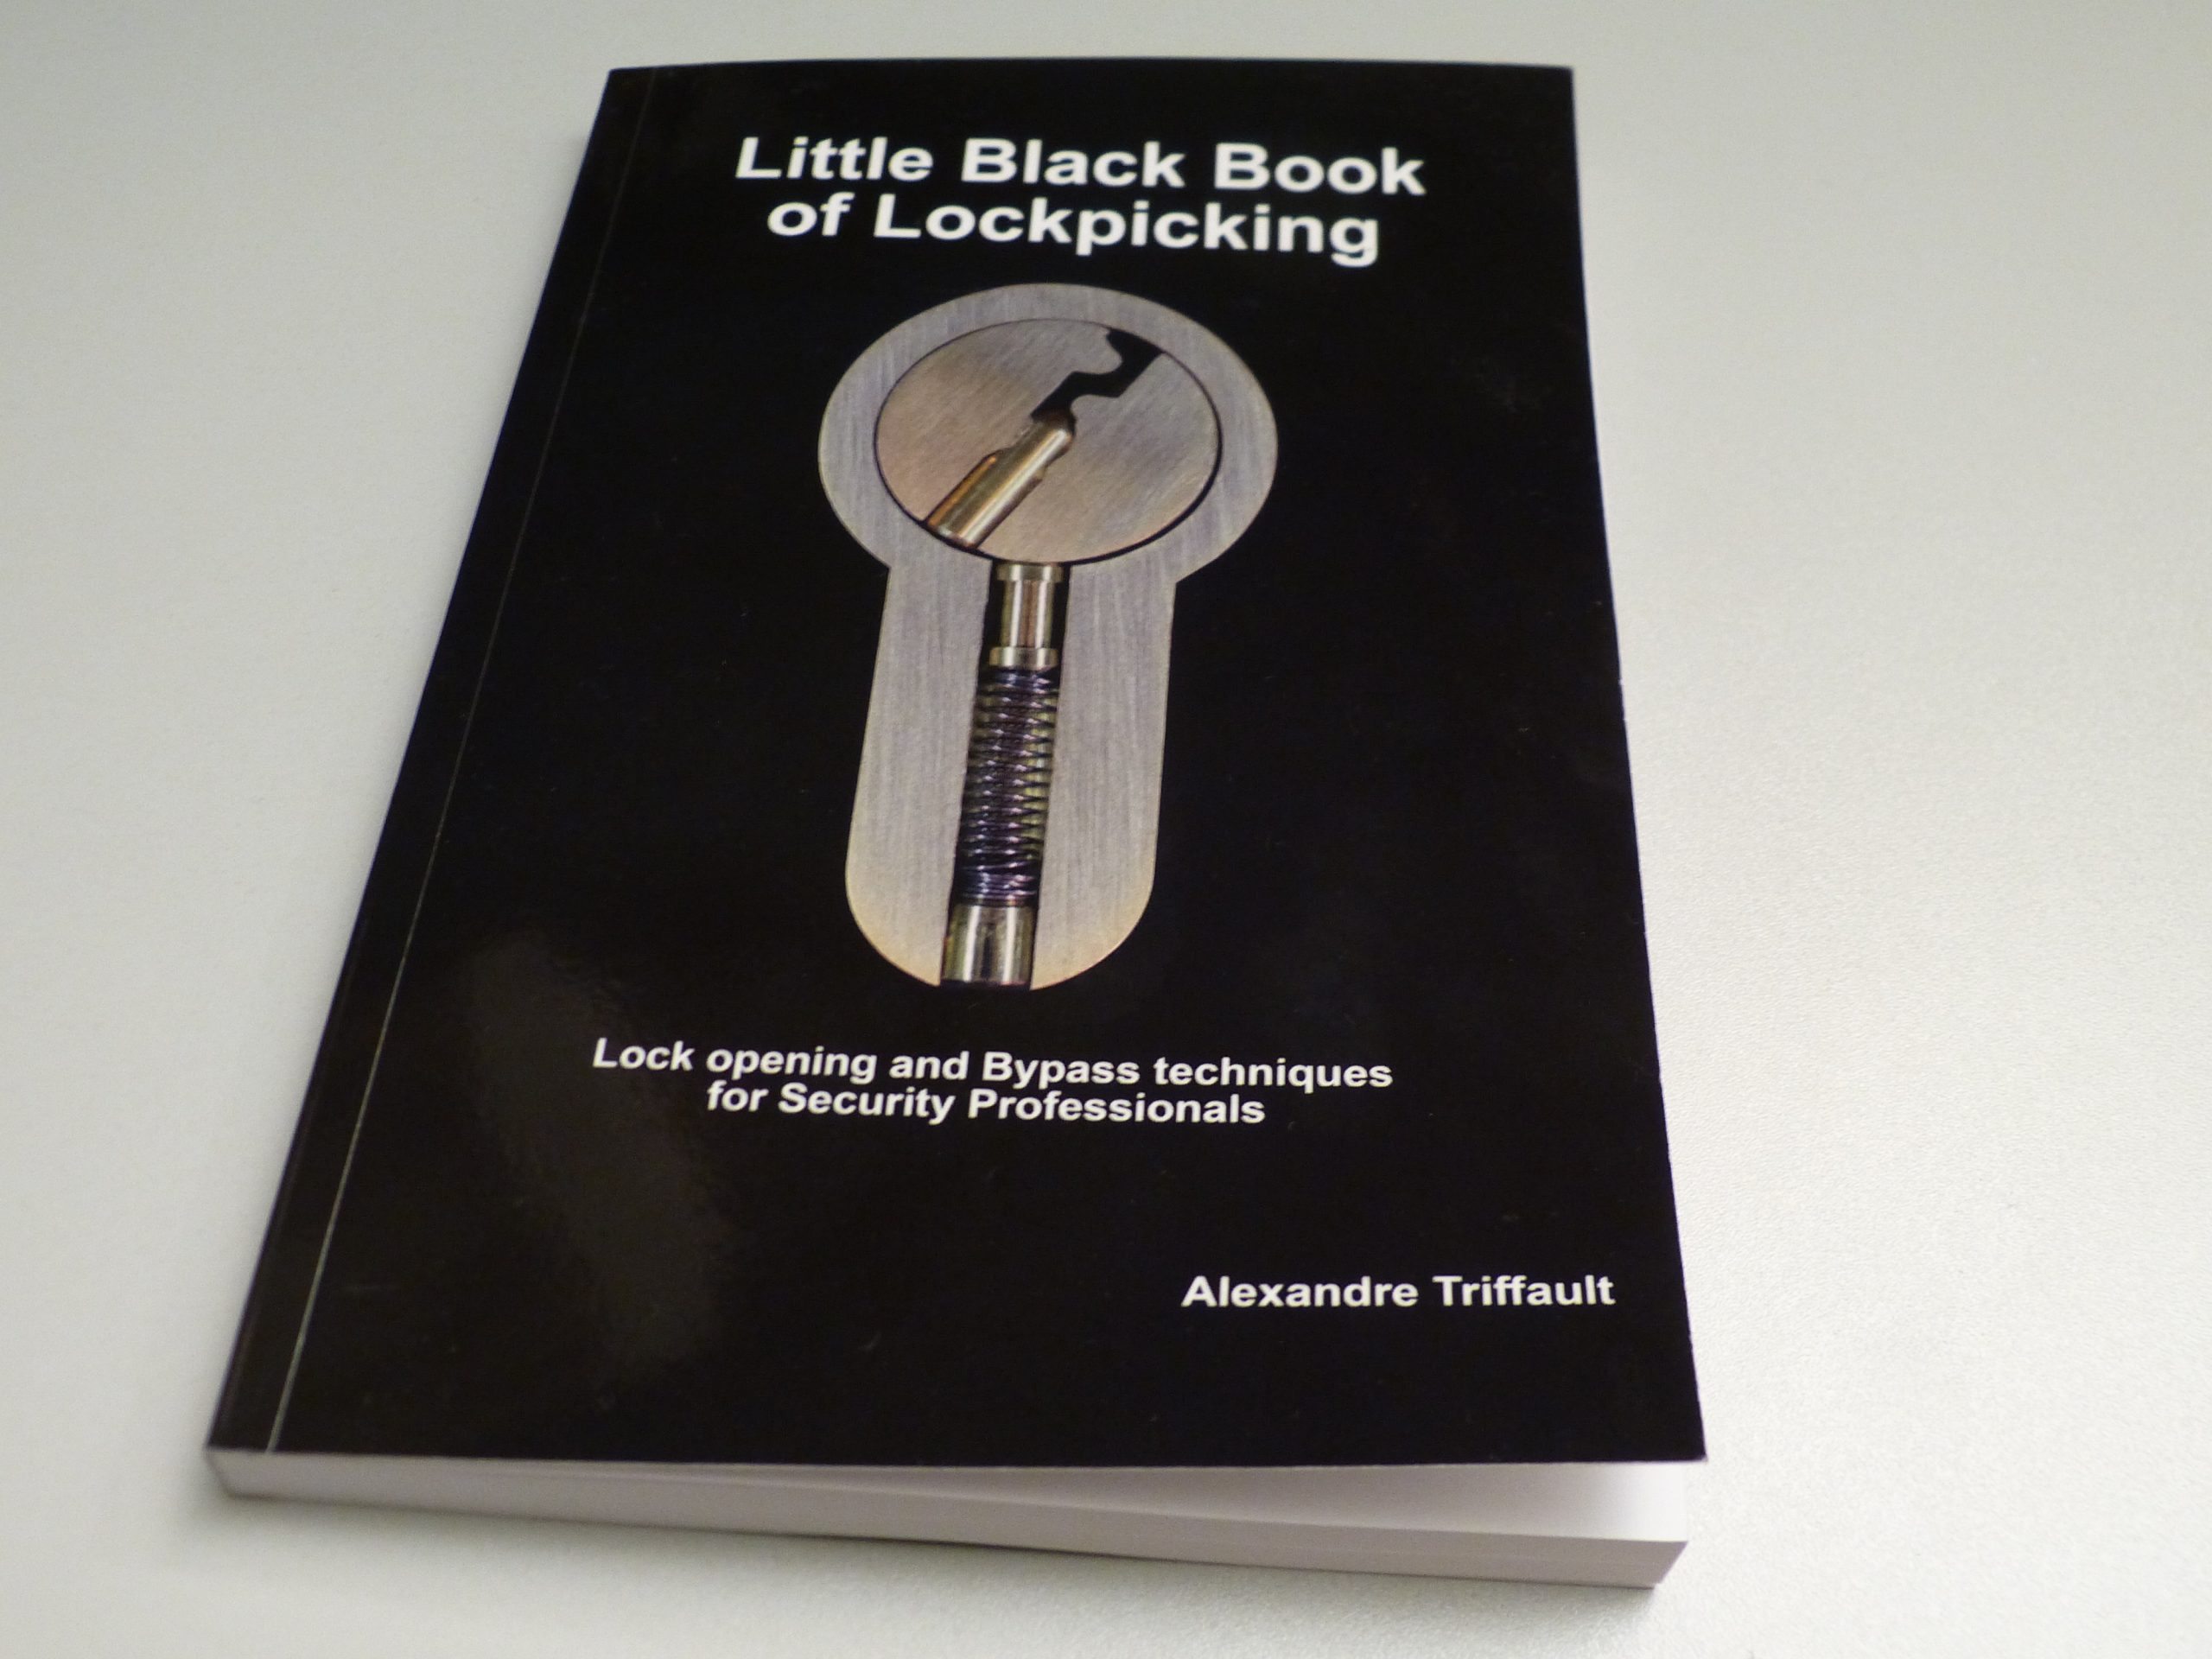
Book review: Little Black Book of Lockpicking

donderdag, september 30th, 2021

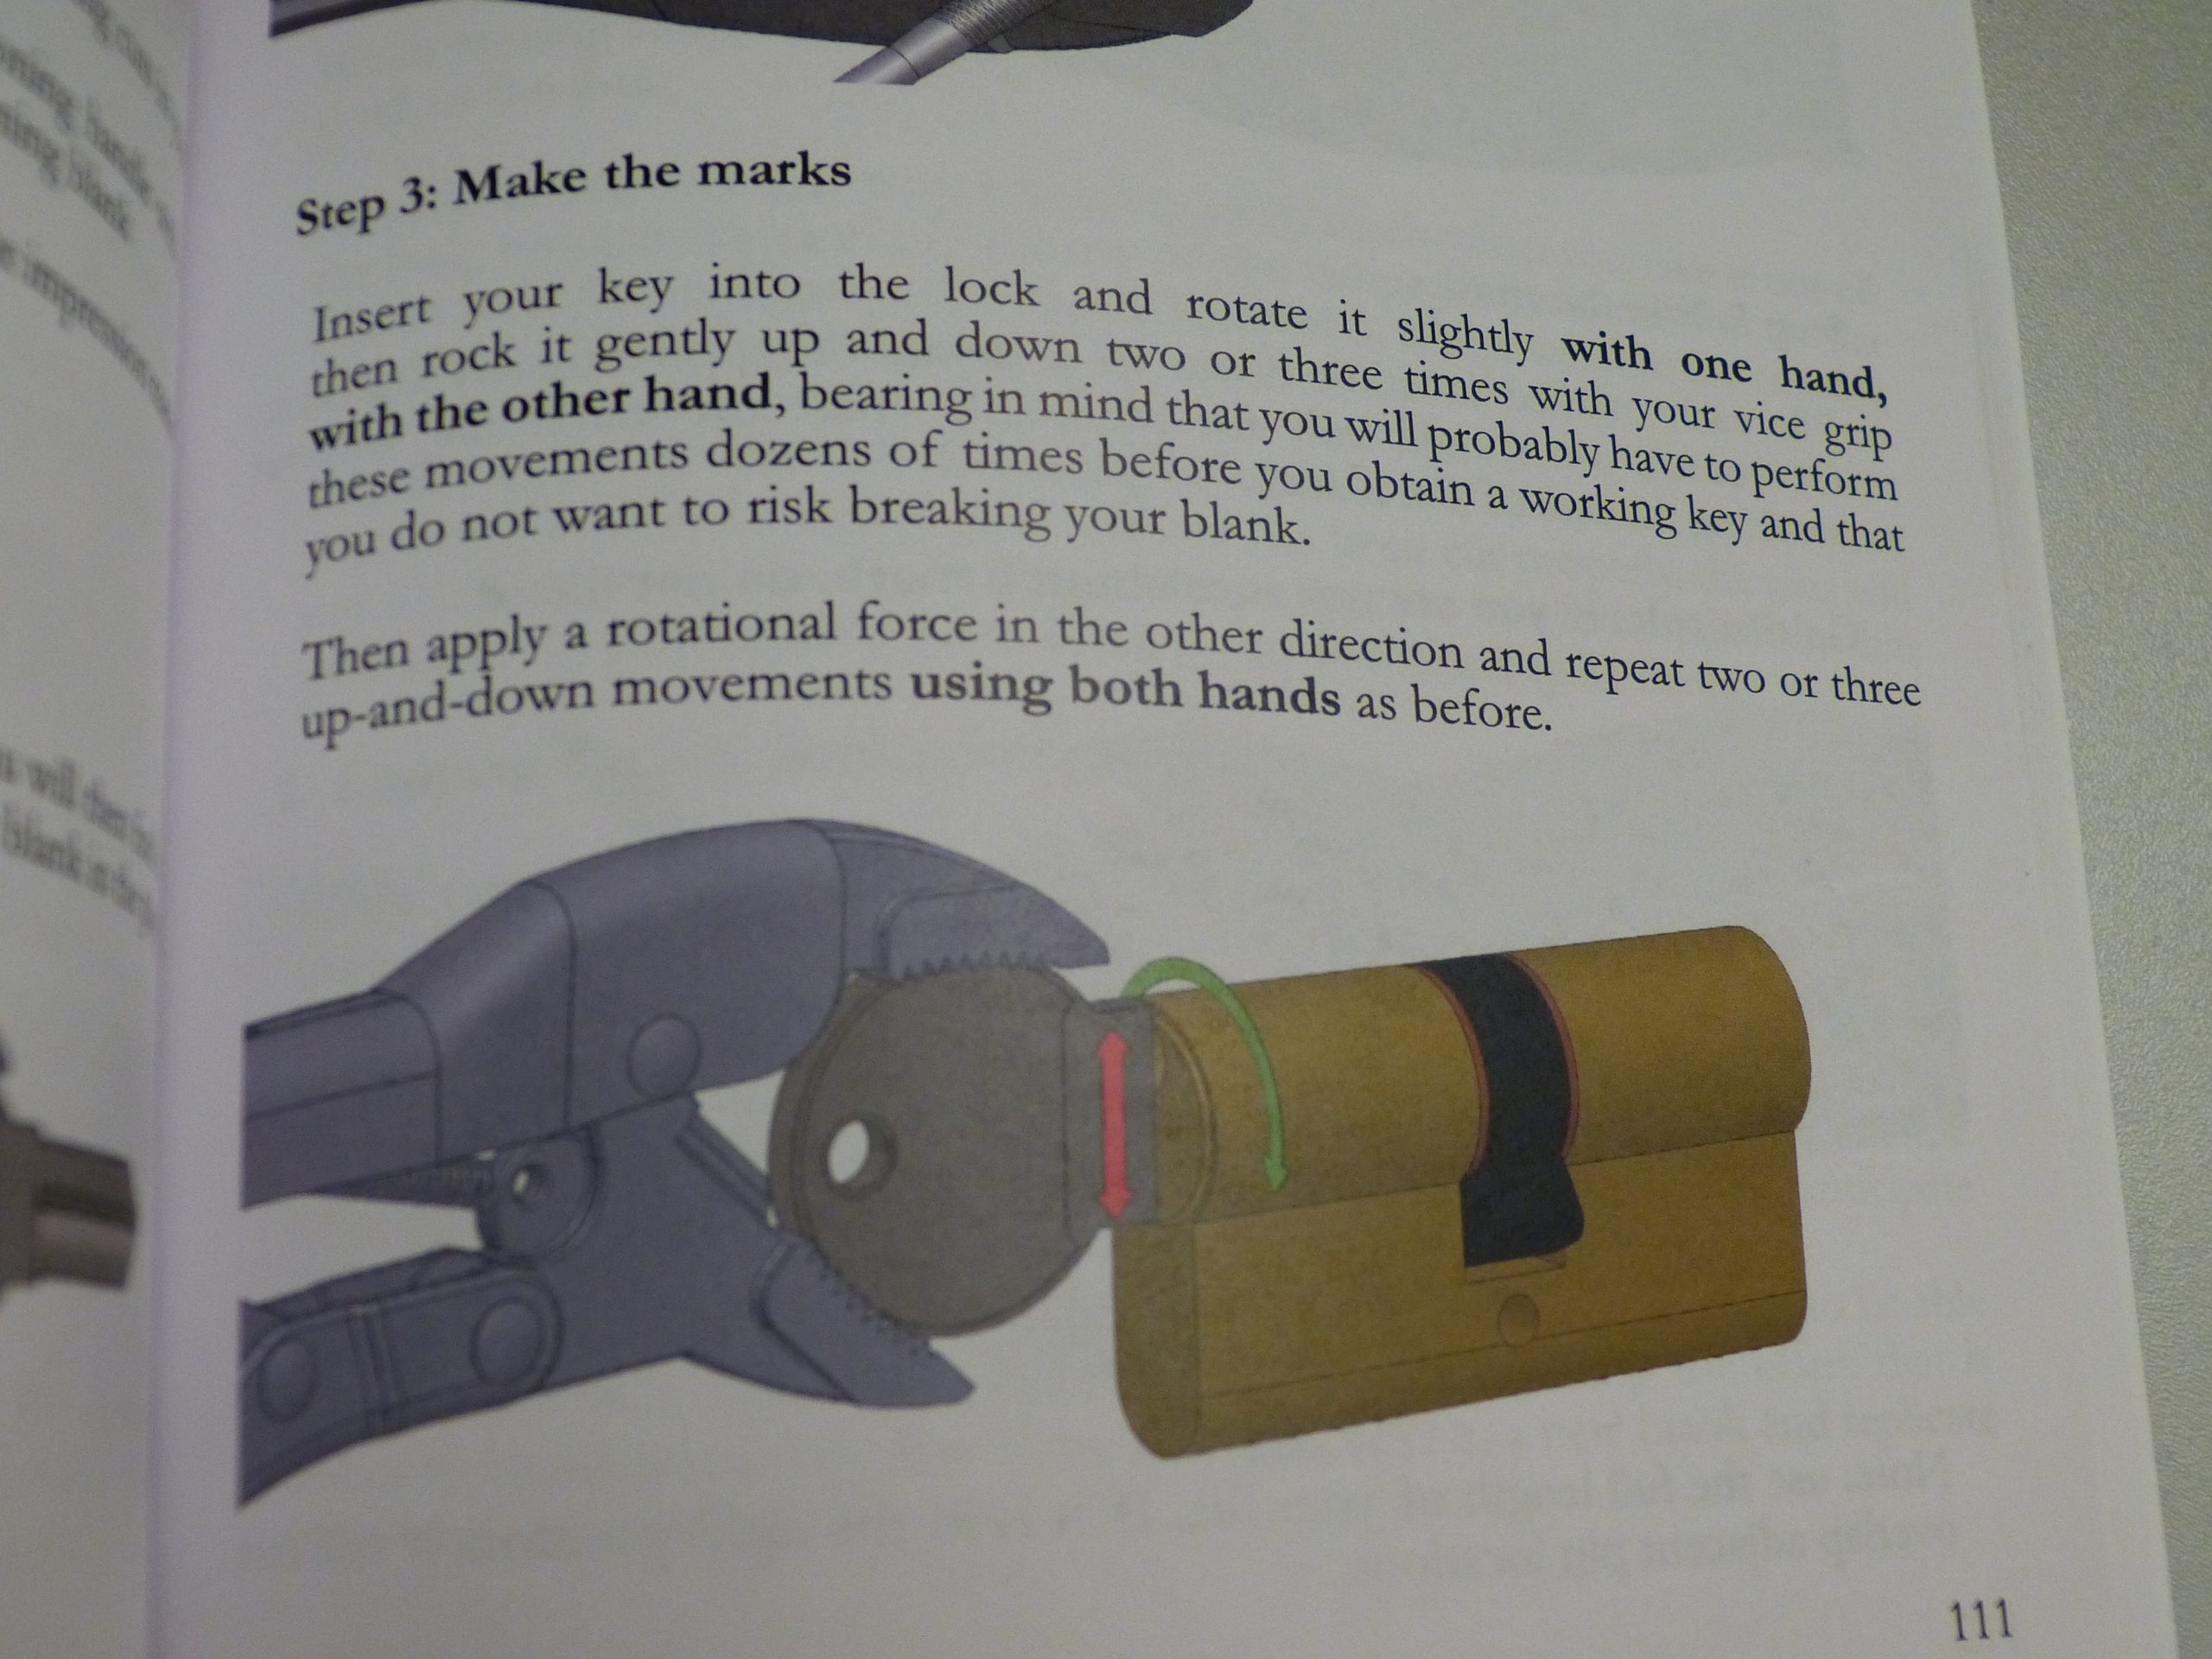
Two weeks ago Alexandre “FrenchKey” Triffault published the book Little Black Book of Lockpicking on NDE techniques for Red teams and security professionals. The book has 171 pages with a broad variety of lock types and opening methods, from lockpicking to impressioning, and from making cutaways to decoding combination padlocks.

Whenever there is a new book about lockpicking I pick up a copy especially when it’s written by a friend. It sold for €35 Amazon that does the printing and distribution of this book. The book is a good read and is a continuation of the OFC guide to lockpicking (free pdf) that’s also written by Alex and translated by MrAnybody. The OFC guide is all about lockpicking while this book includes many more topics including bumping and impressioning, both topics I’ve paid extra attention to.

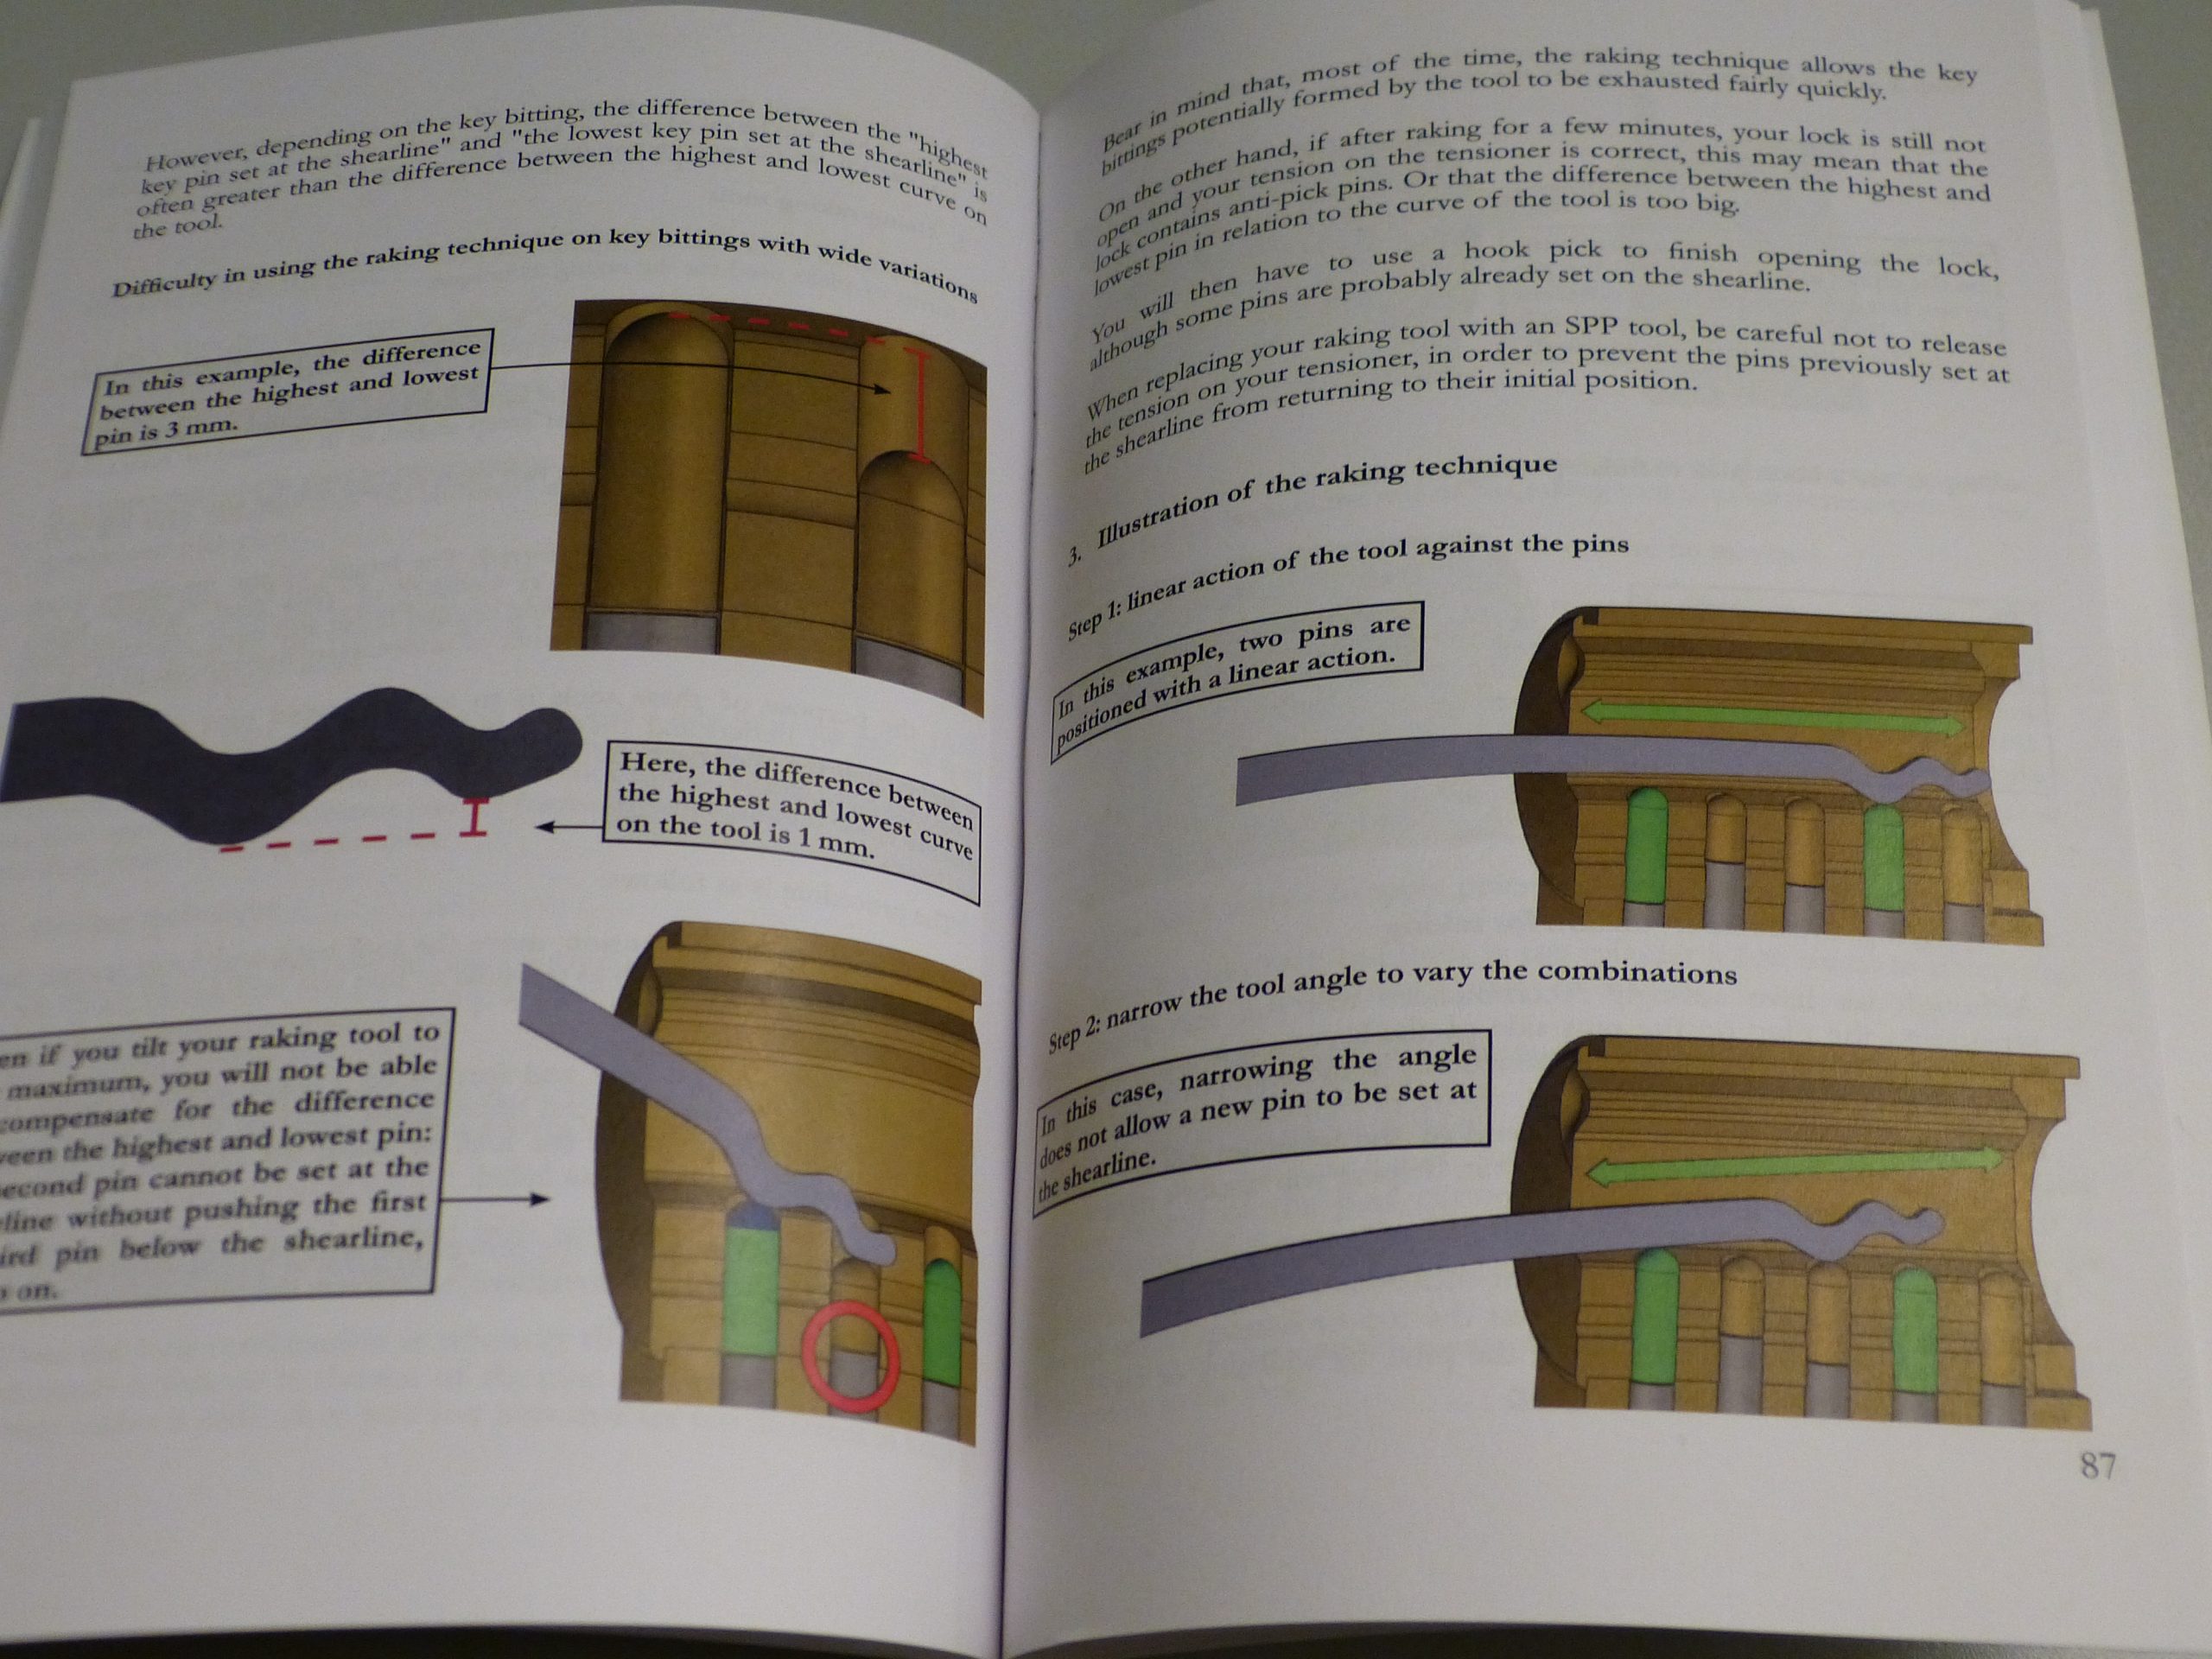
The first thing I noticed was the many high detailed graphics used. Alex modeled the locks, lockpicks and other tools and included 3D renderings in the book as virtual cutaways. The style works very well for this book. It does not just write about a concept but also shows how it is done.

The book is 27 chapters and on average six pages for each subject, this inevitably means there is not too much room for details or nuances. This is a pity as Alex has the ability to give insights I would never think of.

I want to mention that the advanced topics in the book like (self) impressioning will take a long time to get good at. For me, I’ve experienced it takes many failed attempts to do these attacks, even in a controlled environment. Attacks like self-impressioning took me a very long time to make work. I can only imagine how it would be to attack doors on an assignment.

This is one of the better books on the basics of NDE and I recommend getting a copy for yourself or to to share. When you share the book, do keep in mind the book is written for red teams on an assignment and not for hobbyists. It is never a bad thing to give a small lecture on the locksport ethics and our view on locks as a puzzle with the book.

JimyLongs’s Lockpick Project

maandag, augustus 2nd, 2021

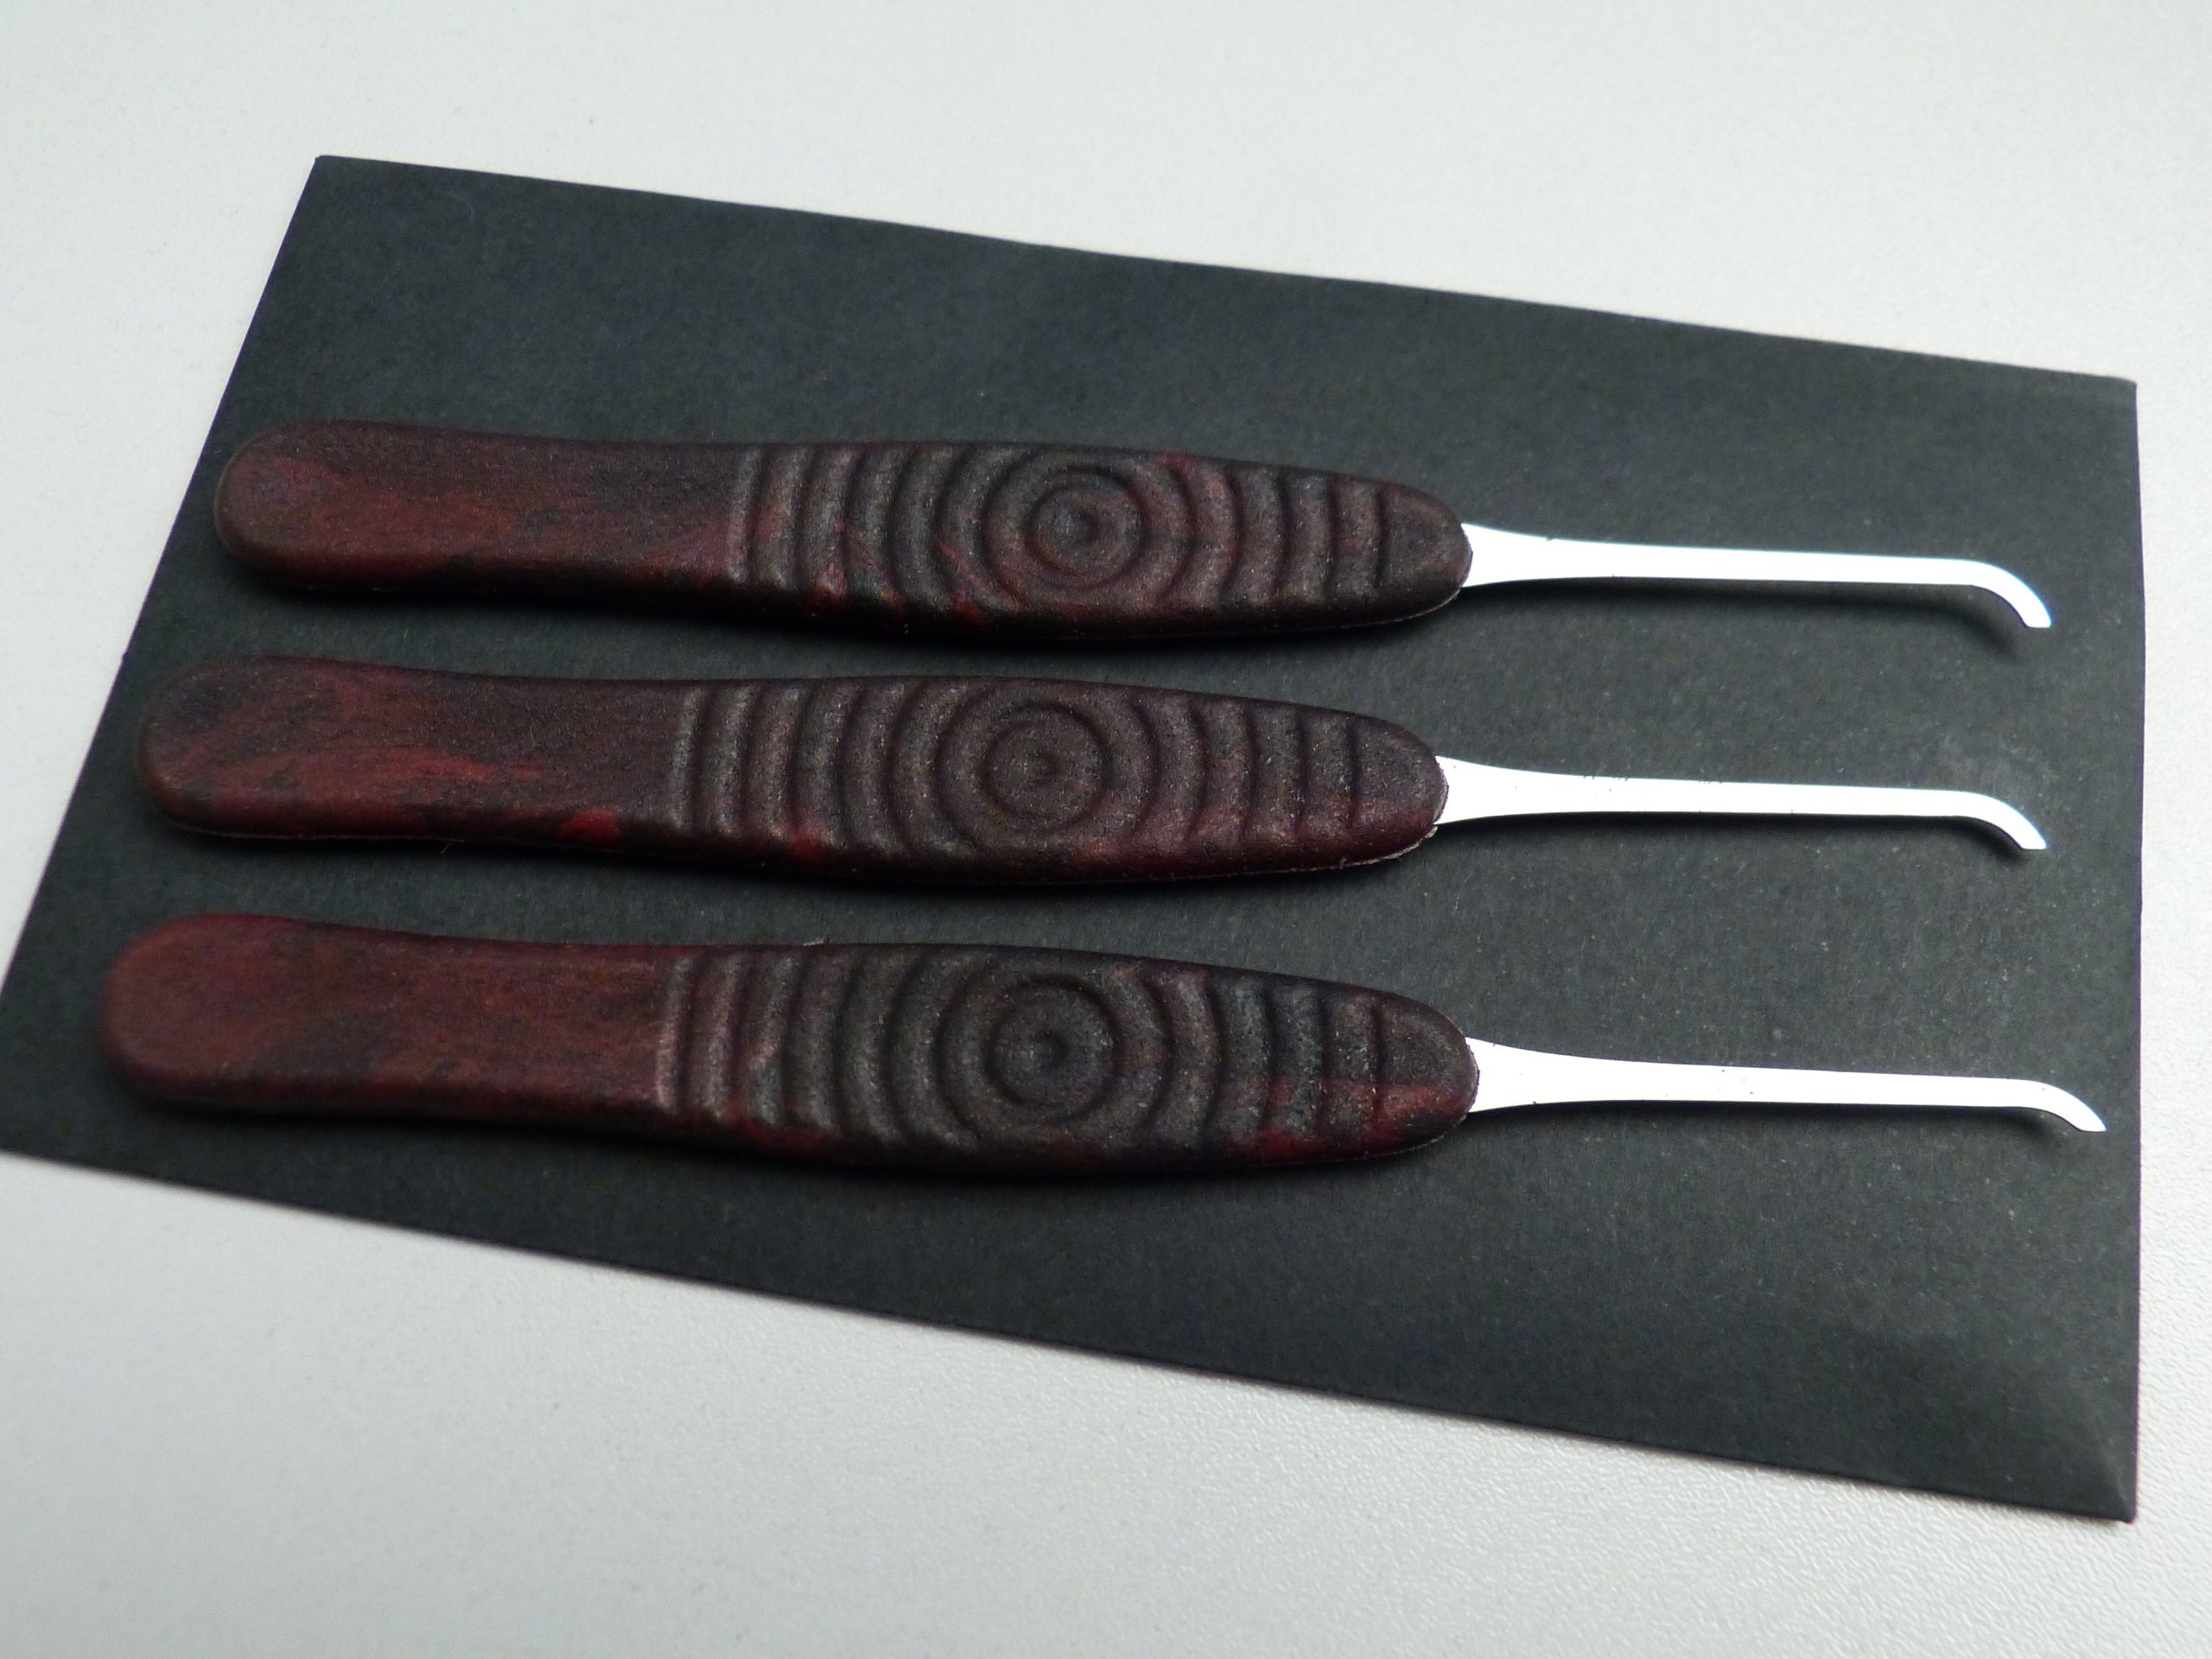
JimyLongs made a small batch of custom lockpicks and shared them with his friends to get feedback on the design and to make them better. I was fortunate enough to be included in the European distribution and testing of the picks.

The pick making process is pretty involved from selecting the right materials to endlessly simulating and tweaking the design. Jimy had the picks laser cut and it was not without issues. It turns out laser cutters can be too powerful and ruin the picks in the process. Furthermore Jimy build his own injection molding apparatus for the handles.

Let’s have a look at the picks. 🙂

The set contains three picks; short, medium, and long hook in 0.5mm. The picks are full tang tempered & polished 1095 carbon steel with characteristics similar to High Yield SS 301.

I like the picks very much. They give great feedback as they are very stiff. No chance I’ll snap the handles like I did once with a Southord Max (Sad image). Can’t wait to bring these picks to a meetup and gather more feedback for Jimy.

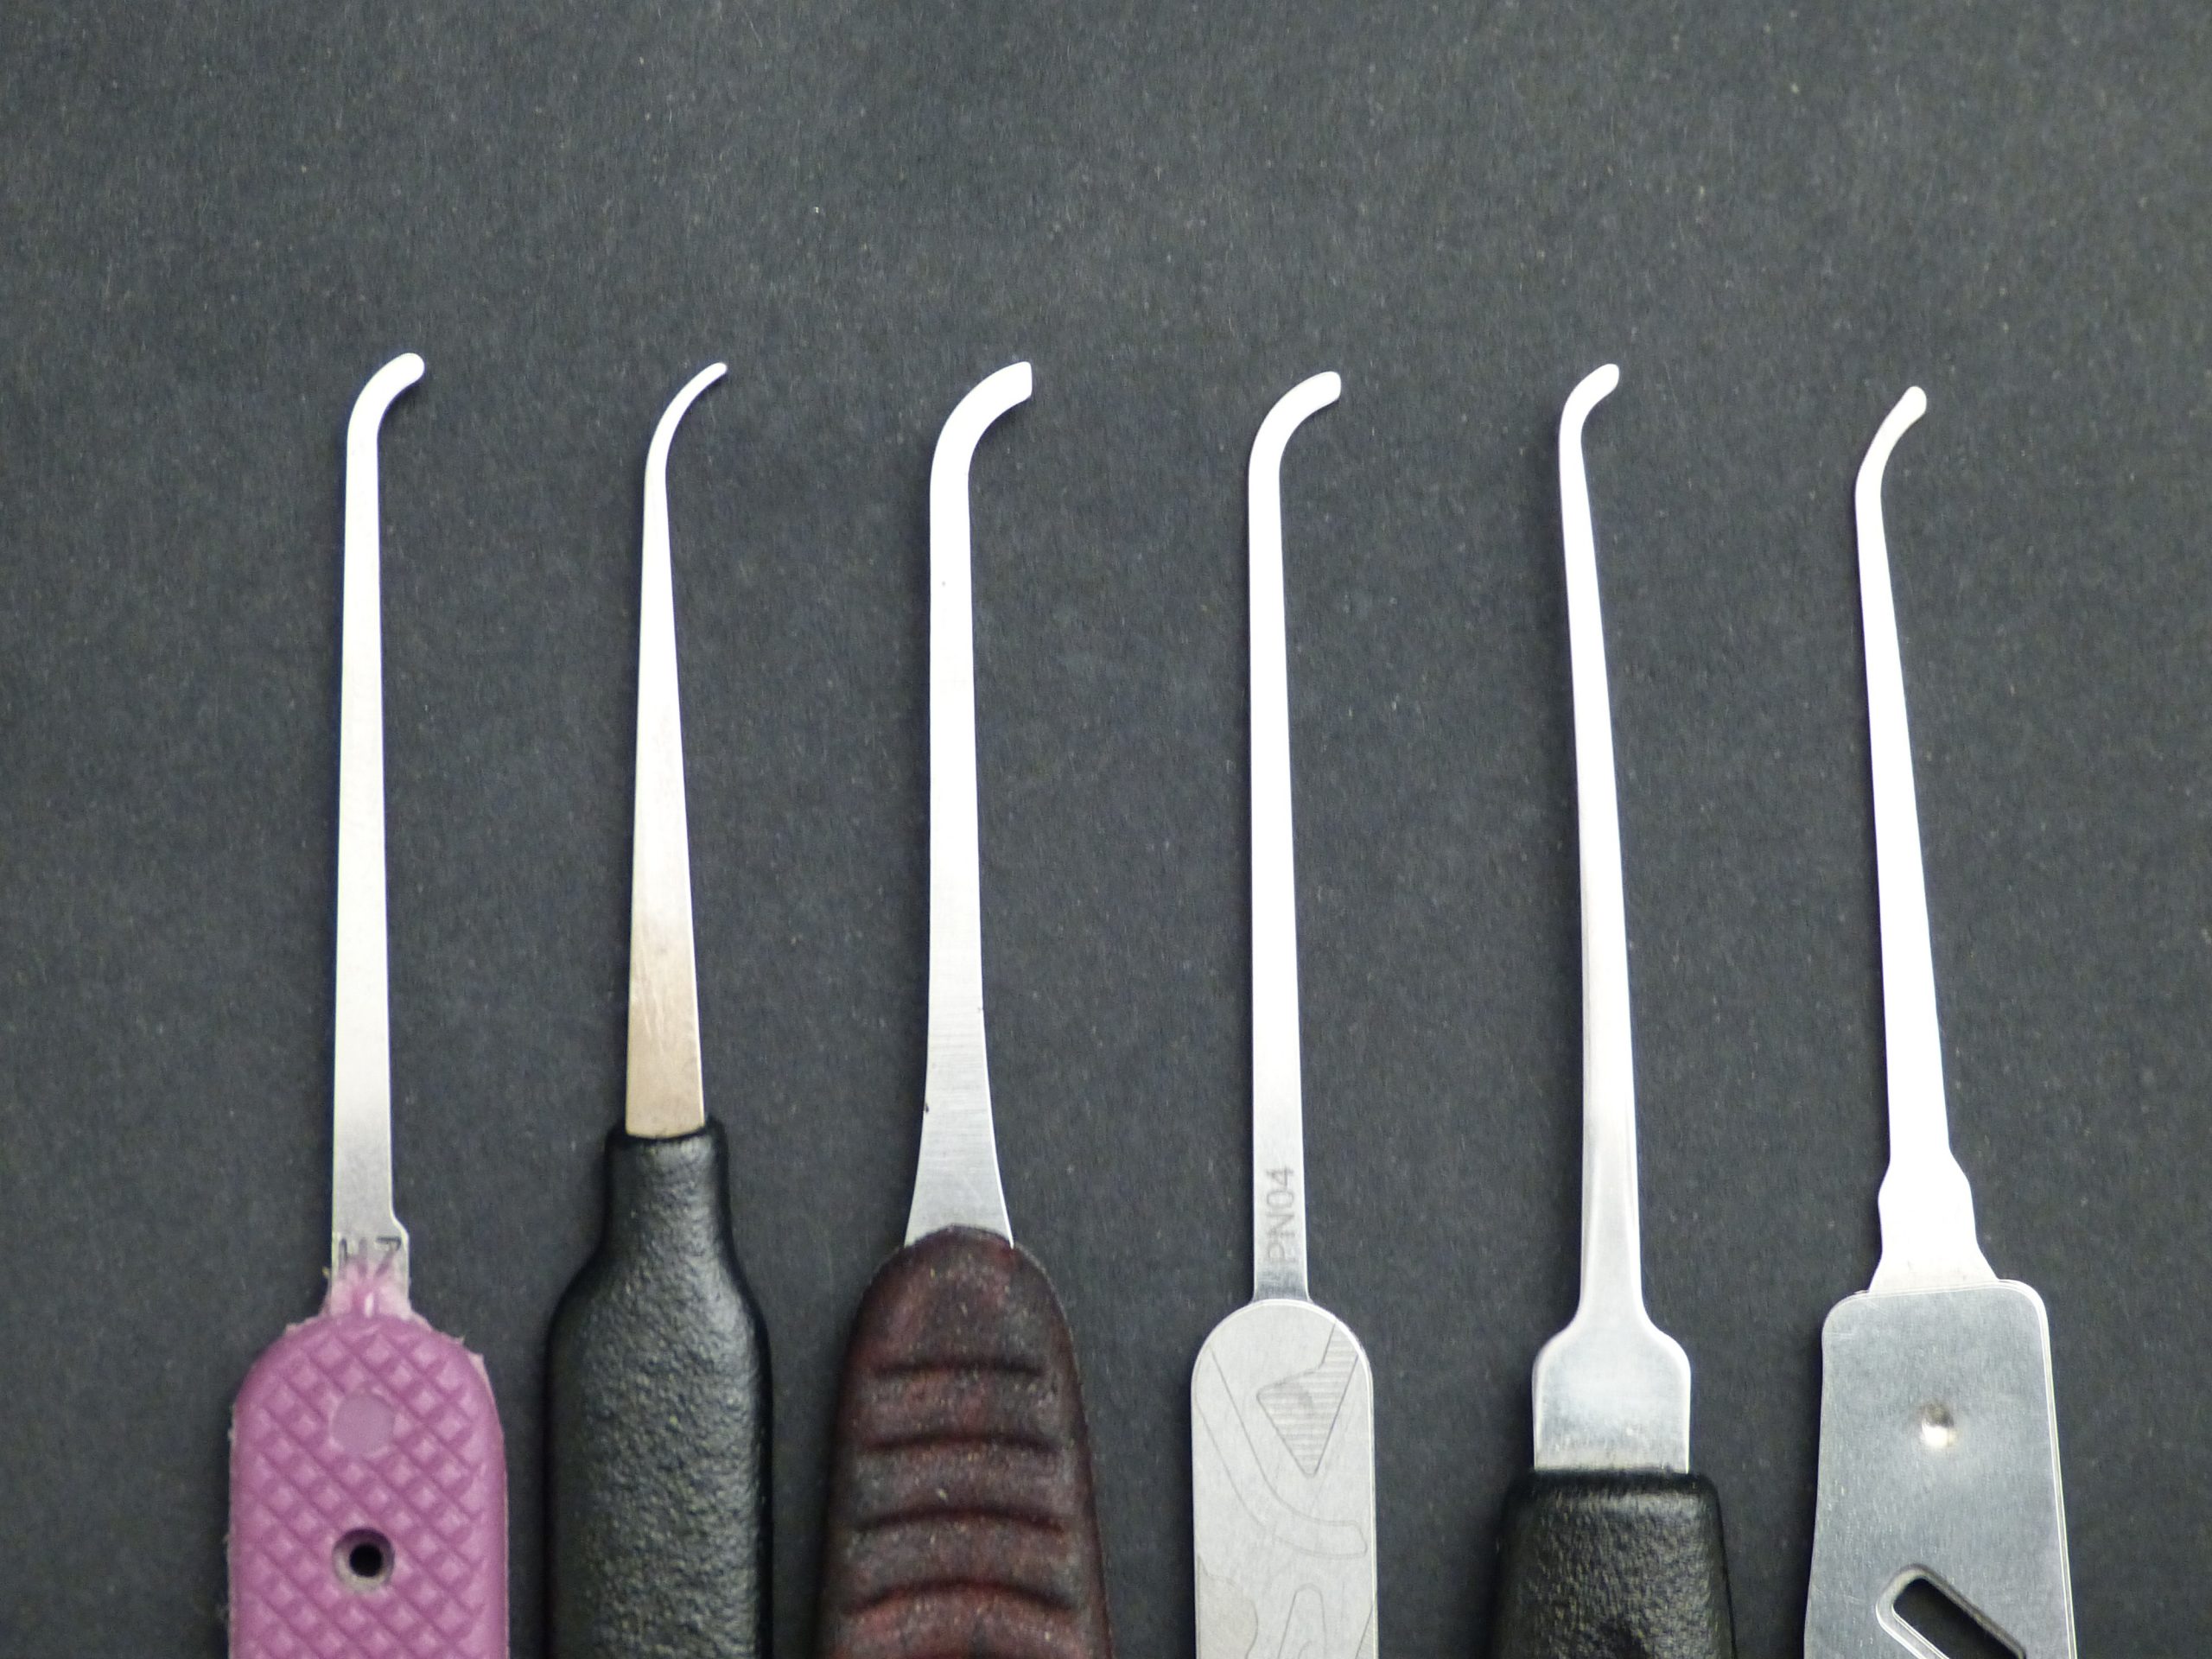
To wrap this one up let’s compare the profile of the long hook to other picks in my kit.

From left to right: Peterson H7, Sparrows SSDeV, JimyLongs long hook, Multipick PN04, Southord Max, Law Lock Tools Tipene Teardrop.

For me the thinnest profiles work best (LLT & SSDeV). Each of these picks have their uses.

That’s all for this post. See you in the next one.
Photos CCBY4.0 Jan-Willem Markus Toool Blackbag.
About Impressioning Handles; DIY

zaterdag, juli 10th, 2021

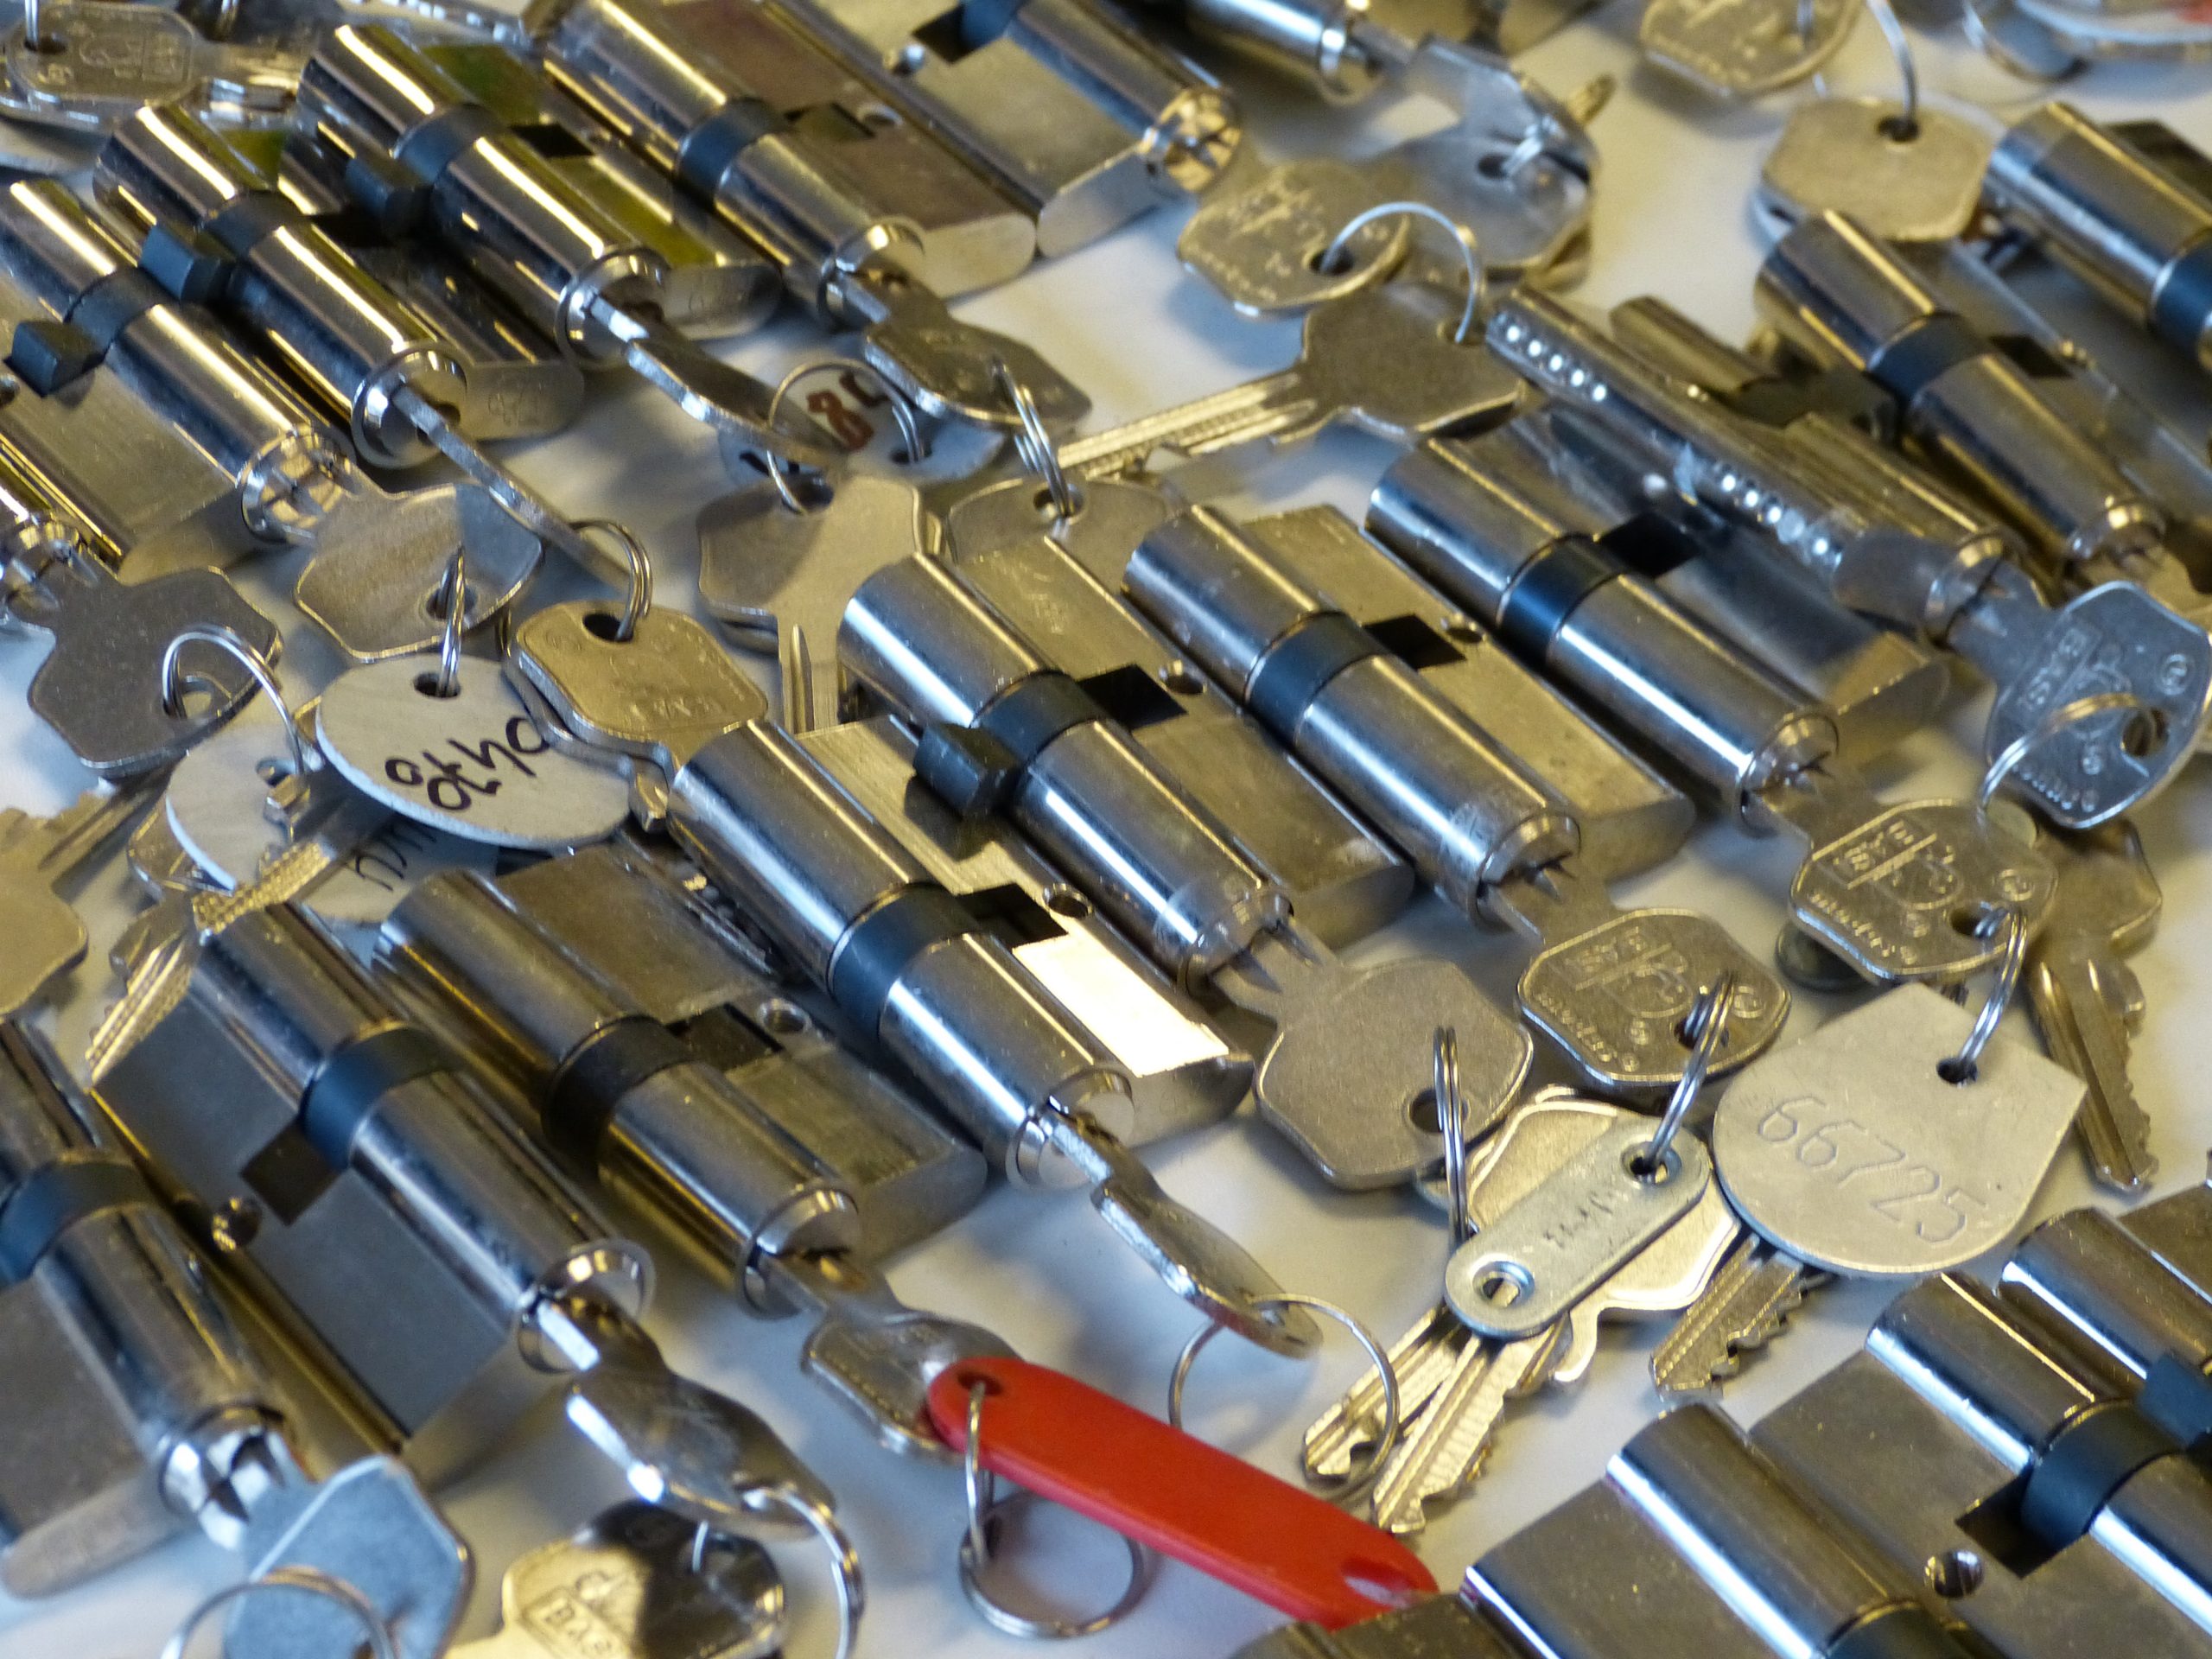
In the summer of 2020 Jan-Willem decided to photograph his impressioning handles. Not only are pictures easier to share than the handles themselves, most of them are not worth keeping as they don’t work as well as advertised. This will hopefully be a short series of blogs on impressioning handles. This is the first one about DIY handles and handle experiments by Jan-Willem. Hopefully this post will inspire you to pick up impressioning or to motivate you to build your own impressioning handles; really you can do a lot better then most of the handles in this post.

What makes an impressioning handle an impressioning handle? It has a few requirements:

  • To hold a key for impressioning.
  • Facilitating the motion of impressioning; rotational torque while moving the handle up and down.
  • optional: Comfortable to hold. (This will come in at another blog on improvised handles.)
  • Preferably to reduce strain on the arm by applying rotational torque with one hand and the up and down movement with the other.

This post is solely about the handles not about impressioning itself. Missed out on this marvelous way of defeating locks? Maybe you can find videos on YouTube. I believe Jos Weyers has a few videos on the subject. 🙂

Disclaimer: I’m not a machinist and most of these handles are mostly build with simple tools and from scrap metal.

DIY Impressioning handle 1

After lockCon Jan-Willem was inspired to build his own Impressioning handle. This is the first iteration. Build from scrap laying around in the workshop. The handle works very well and the form factor is great. Mostly as you can’t torque and move the handle up & down with the same hand teaching good impressioning habits from the start.

DIY Impressioning handle 2

This is the second impressioning handle. It’s from 25mm or about 1/2″ aluminum round stock with a slot for the key and a few screws to keep the key in place. The long screw was kept in place to help with rotational torque. The blue covering is for racing bike handlebars and is, apart from looks, completely useless. The covering gives the illusion of grip. People unfamiliar with impressioning tent to think impressioning must require a lot of torque and thus break more keys when starting out.

This model was quite successful and about 20 of them where made. Jan-Willem still uses them, without the handle. Toool has a bunch as well for impressioning workshops, two of these are still traveling the UK, and the rest are sold to friends starting out with impressioning.

DIY Impressioning handle 3

Impressioning handles three and thereafter are made to save as much cost as possible. They can be made with simple tools out of inexpensive material but still work reasonably well.

The first two are made from partially flattened copper pipes. The ends are bend up to keep the key in place. While the design works it has a few obvious drawbacks like replacing the blank is an hassle on both of them.

DIY Impressioning handle 4

This design works a lot better than handle 3. But it’ll not work for all keys as the hole in the blank is used for mounting. It was also an experiment using bicycle handles for grip. It works almost as well as it looks.

DIY Impressioning handle 5

This concept is the cheapest of them all. It’s a PVC tube with a wooden dowel/insert clamping the key with friction. It works well but changing the blanks can be a hassle. The rings of dust around it are where it used to have the race bike handle covering. That has been removed and hence the ugly stripes.

DIY Impressioning handle 6

The last design I want to show is a failure. This is made from POM (Brandless Delrin) rod and is similar to handle two of this article. The POM is not stiff enough for gripping the key tightly.

In a future blog post we will hopefully discuss more impressioning handles. A few ideas for future blogs: Why you might or might not want to pickup professionally designed impressioning handles for hobby use, Things that can hold a key but where never designed to, and more DIY handles from other people in the community.

Feel free to steal ideas or use the photos. The ideas are free the photos are CCBY4.0 Jan-Willem Markus, Toool Blackbag. If you create your own impressioning handle design, please share it with us and we will add it to the DIY impressioning handles in a future blog.

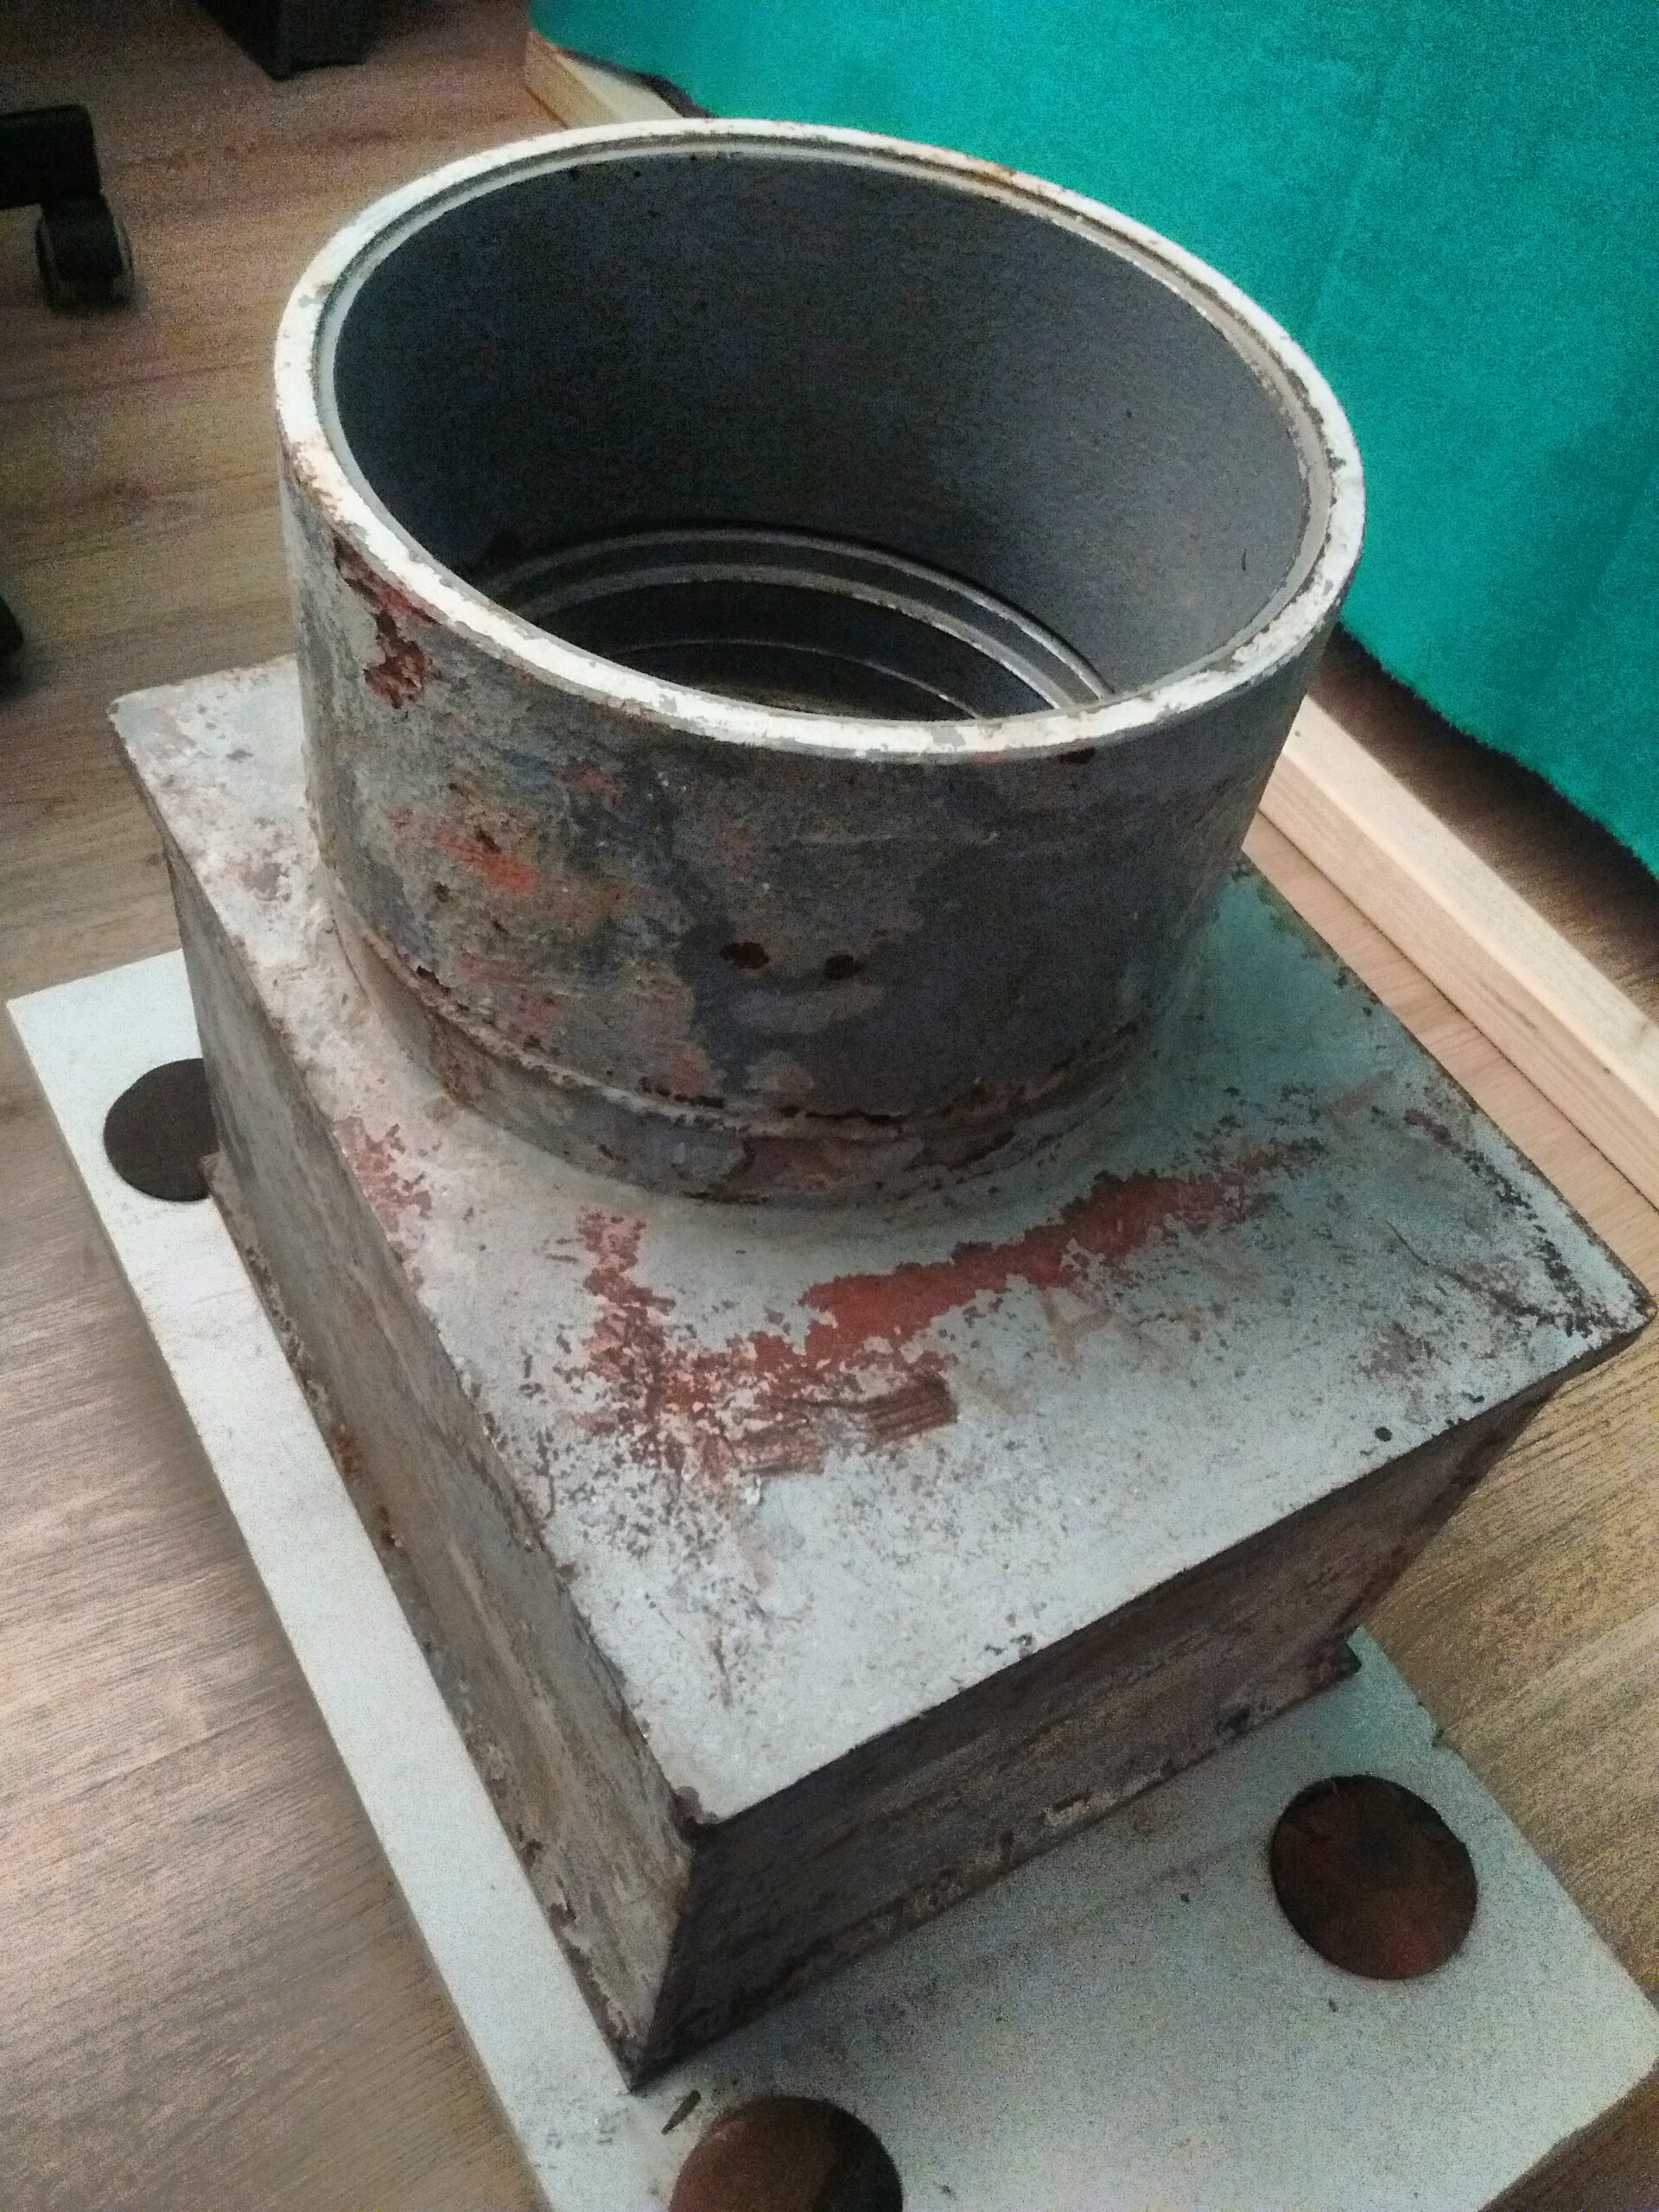
Bought a safe; decoded; sold

dinsdag, juni 15th, 2021

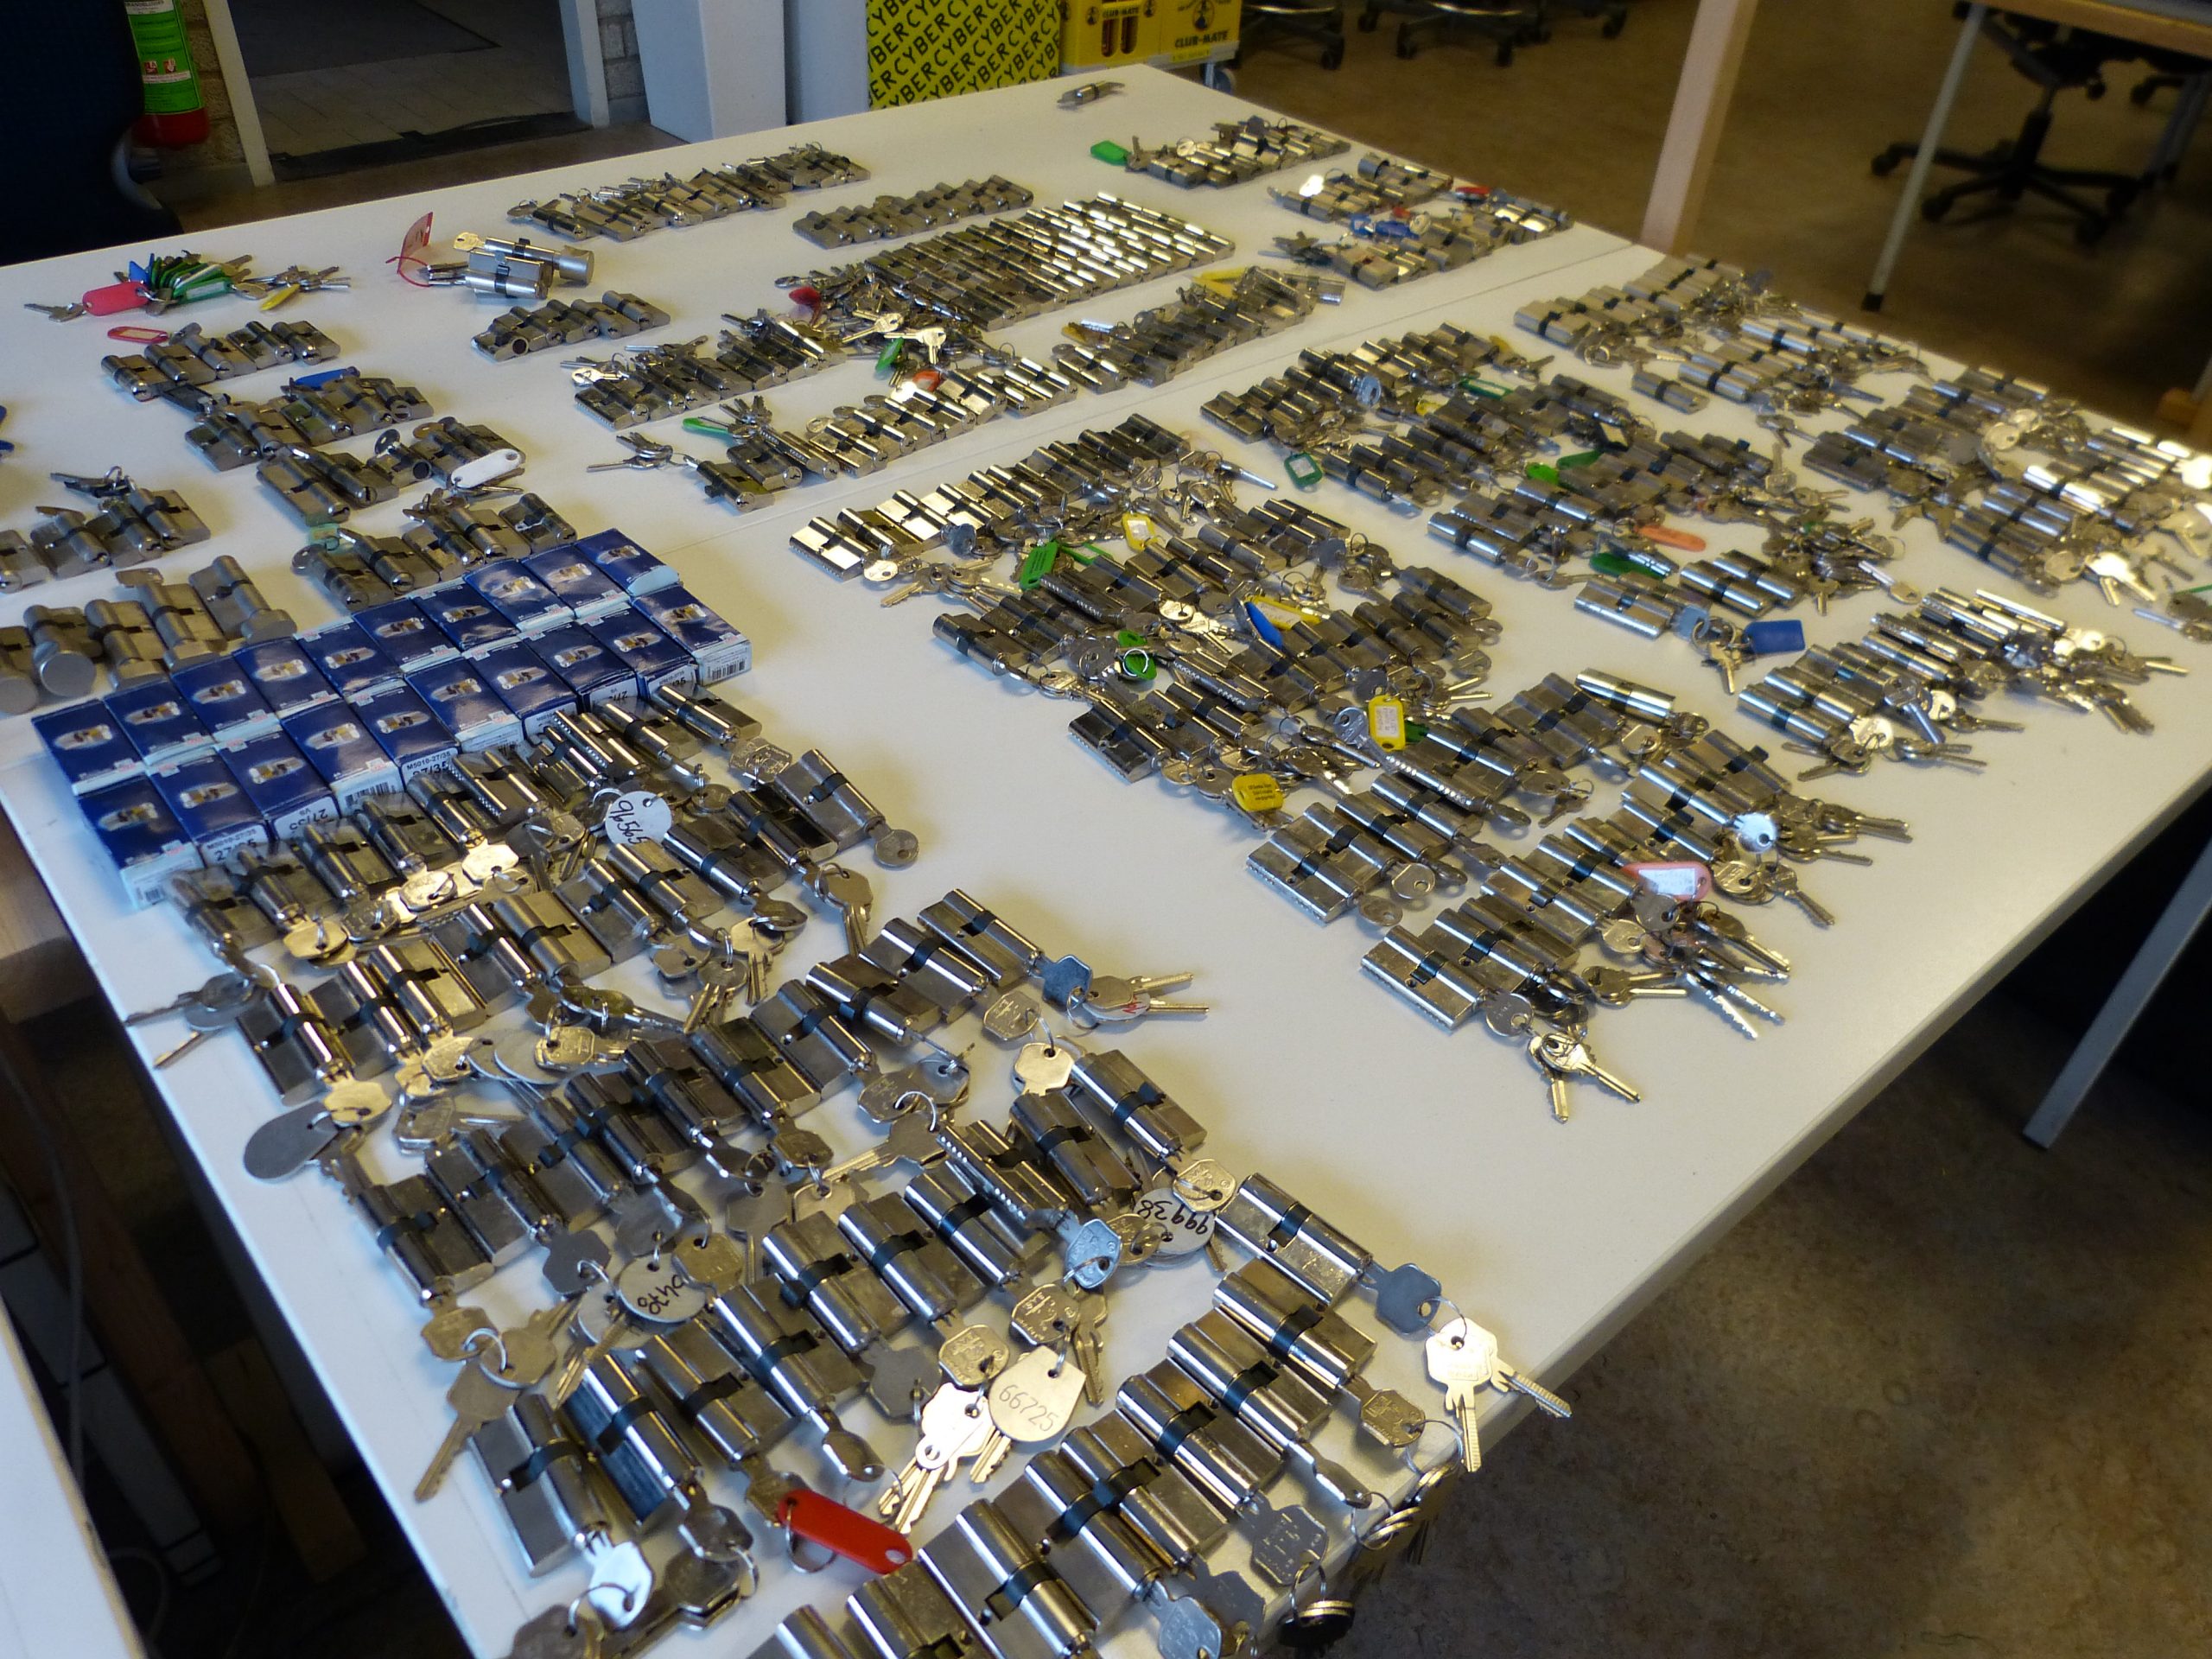
This is a short story of me, Jan-Willem, buying a floor safe without a combination. Then failing to decode it, resorting to an alternative method, and eventually having to part with it again.

Let’s start at the beginning. I’ve found a rusty Major floor safe for sale online, without combo. The ad looked alright and the price was good. I miscalculated the drive and spend the next five hours in the car to pick it up. (Note: I live pretty cental and the Netherlands is not that big.)

The safe was also a lot heavier than anticipated and comes in at about 40kg (~90 pound). The safe door is about 8kg (17 pound).

Failing to manipulate
First up was cleaning the safe. The dial felt quite gritty and washed most of the sand away with lock spray from the WD-40 company. It worked quite well. It also created a huge mess in the safe but that was not my concern at the moment.

I’ll just say this outright: I’m not good at manipulating safes. I’ve beaten a few S&G but never beyond 6730 and 6741. Manipulating it was a pain as the space was tight and the dial didn’t show much. I must have spend 10h on it over a week and gave up on it.

Opening the safe, slightly destructive
When I have projects like this I want them done as soon as possible. I decided manipulating was not fun and resorted to the semi destructive method of drilling a small hole and use the key change hole to dial the safe open. I’ve used a 8mm (1/3th inch) hole and a 4mm (1/6th inch) camera. (Hopefully more about those in an upcoming blog.) The process was still quite painful but I’ve learned a lot from it. It did not take more than 60 minutes in the end.

As the camera is actually an integrated USB webcam I’ve recorded the process and shared for your entertainment. The short version is 82 seconds and the long version just over half an hour. [note to self: fix Word press so it embeds YouTube videos properly.]

Short video: https://youtu.be/t72zbyRs2EI
Full video: https://youtu.be/jezF5elcHbc

Selling the safe
I’ve promised to share the full story so I’ll share a bit about selling the safe as well. These safes are quite rare here. From a quick search I’ve found a new safe door would cost me about €1k. Mostly shipping and import charges.

I love buying second hand goods. I search online and find an item, strike a conversation, place a very good bid, and pay minutes after we struck a deal. Selling on the other hand is extremely painful. (Hence why good manners work so well as a buyer.) For this safe I’ve taken plenty of detailed pictures, included all measurements, and put the safe up for sale. The difference between one buyer and another is clearly noticeable. Many people offered me to take the safe away for free or next to nothing and were offended when I said no. Finding a buyer took a few weeks.

The buyer asked for details on the change key mechanism and I’ve found the La Gard change key worked well. I’ve reset the combination to a random but valid combination. The buyer was unfamiliar with safes and how to operate them. We must have spend an hour on it. Instructing him how to dial the safe and he preformed the dialing a dozen times.

Just before the buyer left with the safe, afraid they would forget, they recorded them selves opening the safe. I’ve discussed this with a few locksmiths and it’s apparently normal. People, scared to forget, will take videos or involve spouse to help remember.

I’ve made a bit of profit on it, not including my time. Learned a few new tricks and have another story. I’ll think twice before buying another safe without combo but we know it’ll happen again.

Pictures
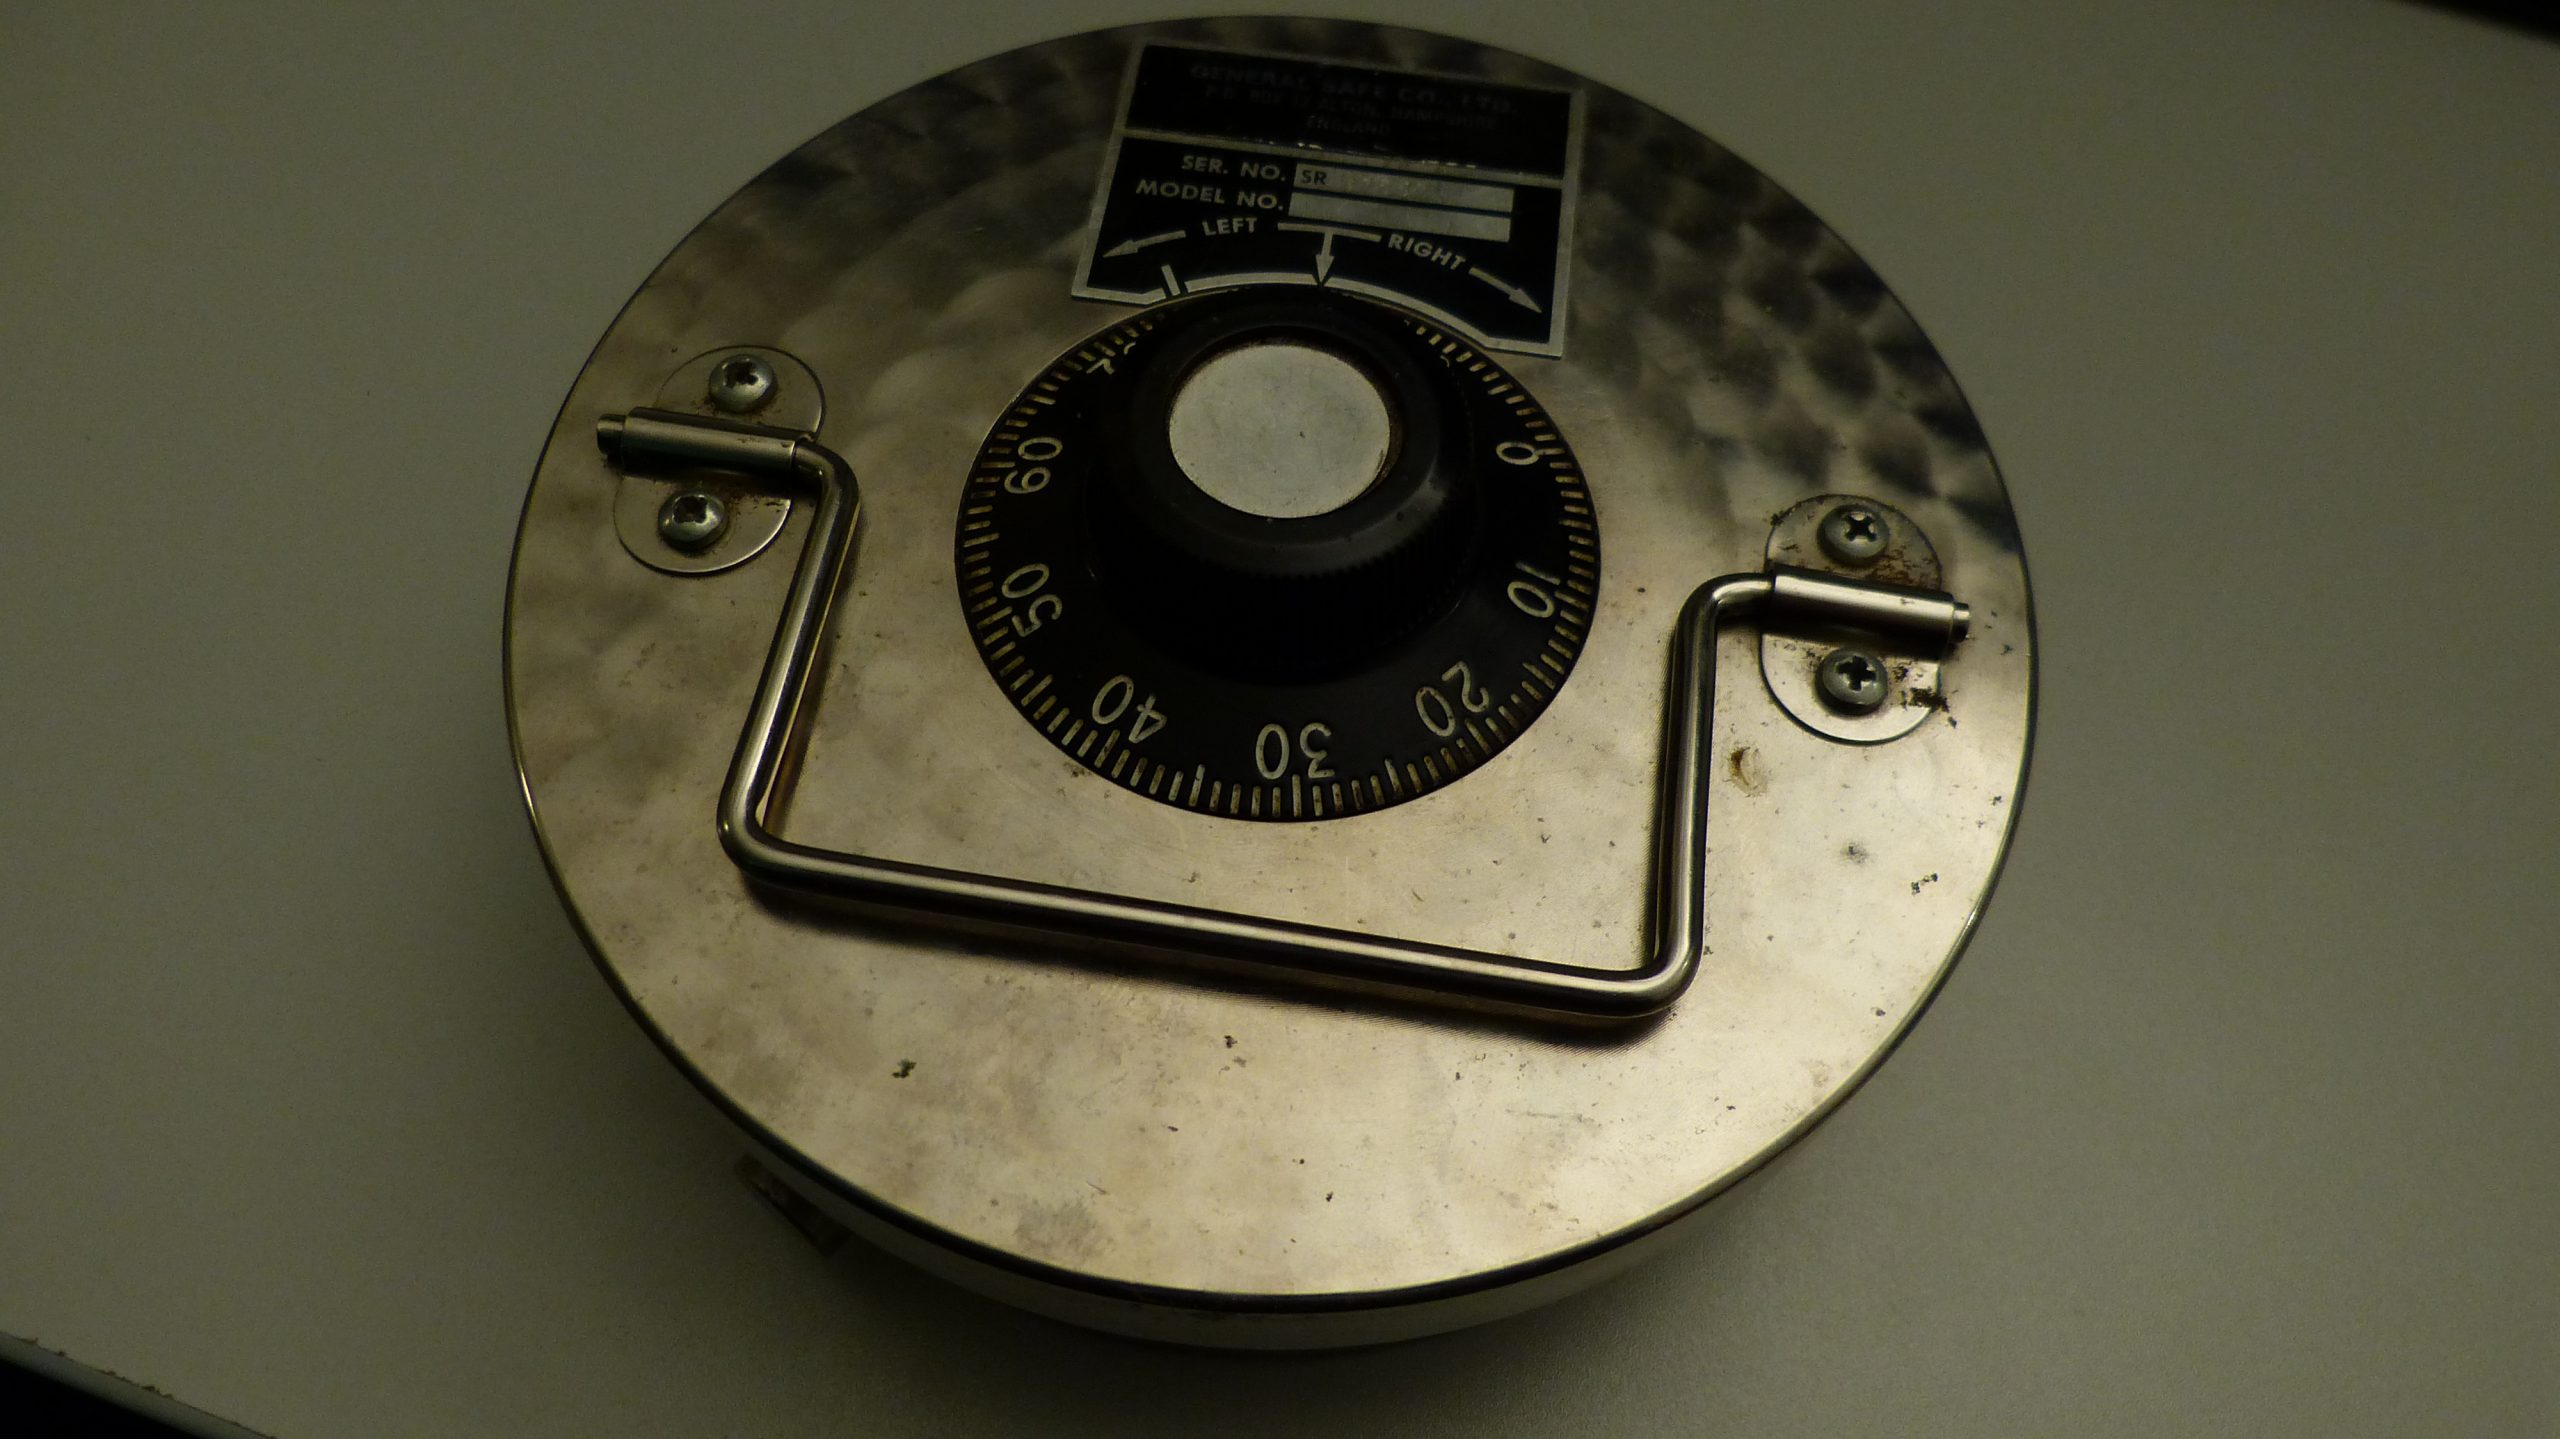
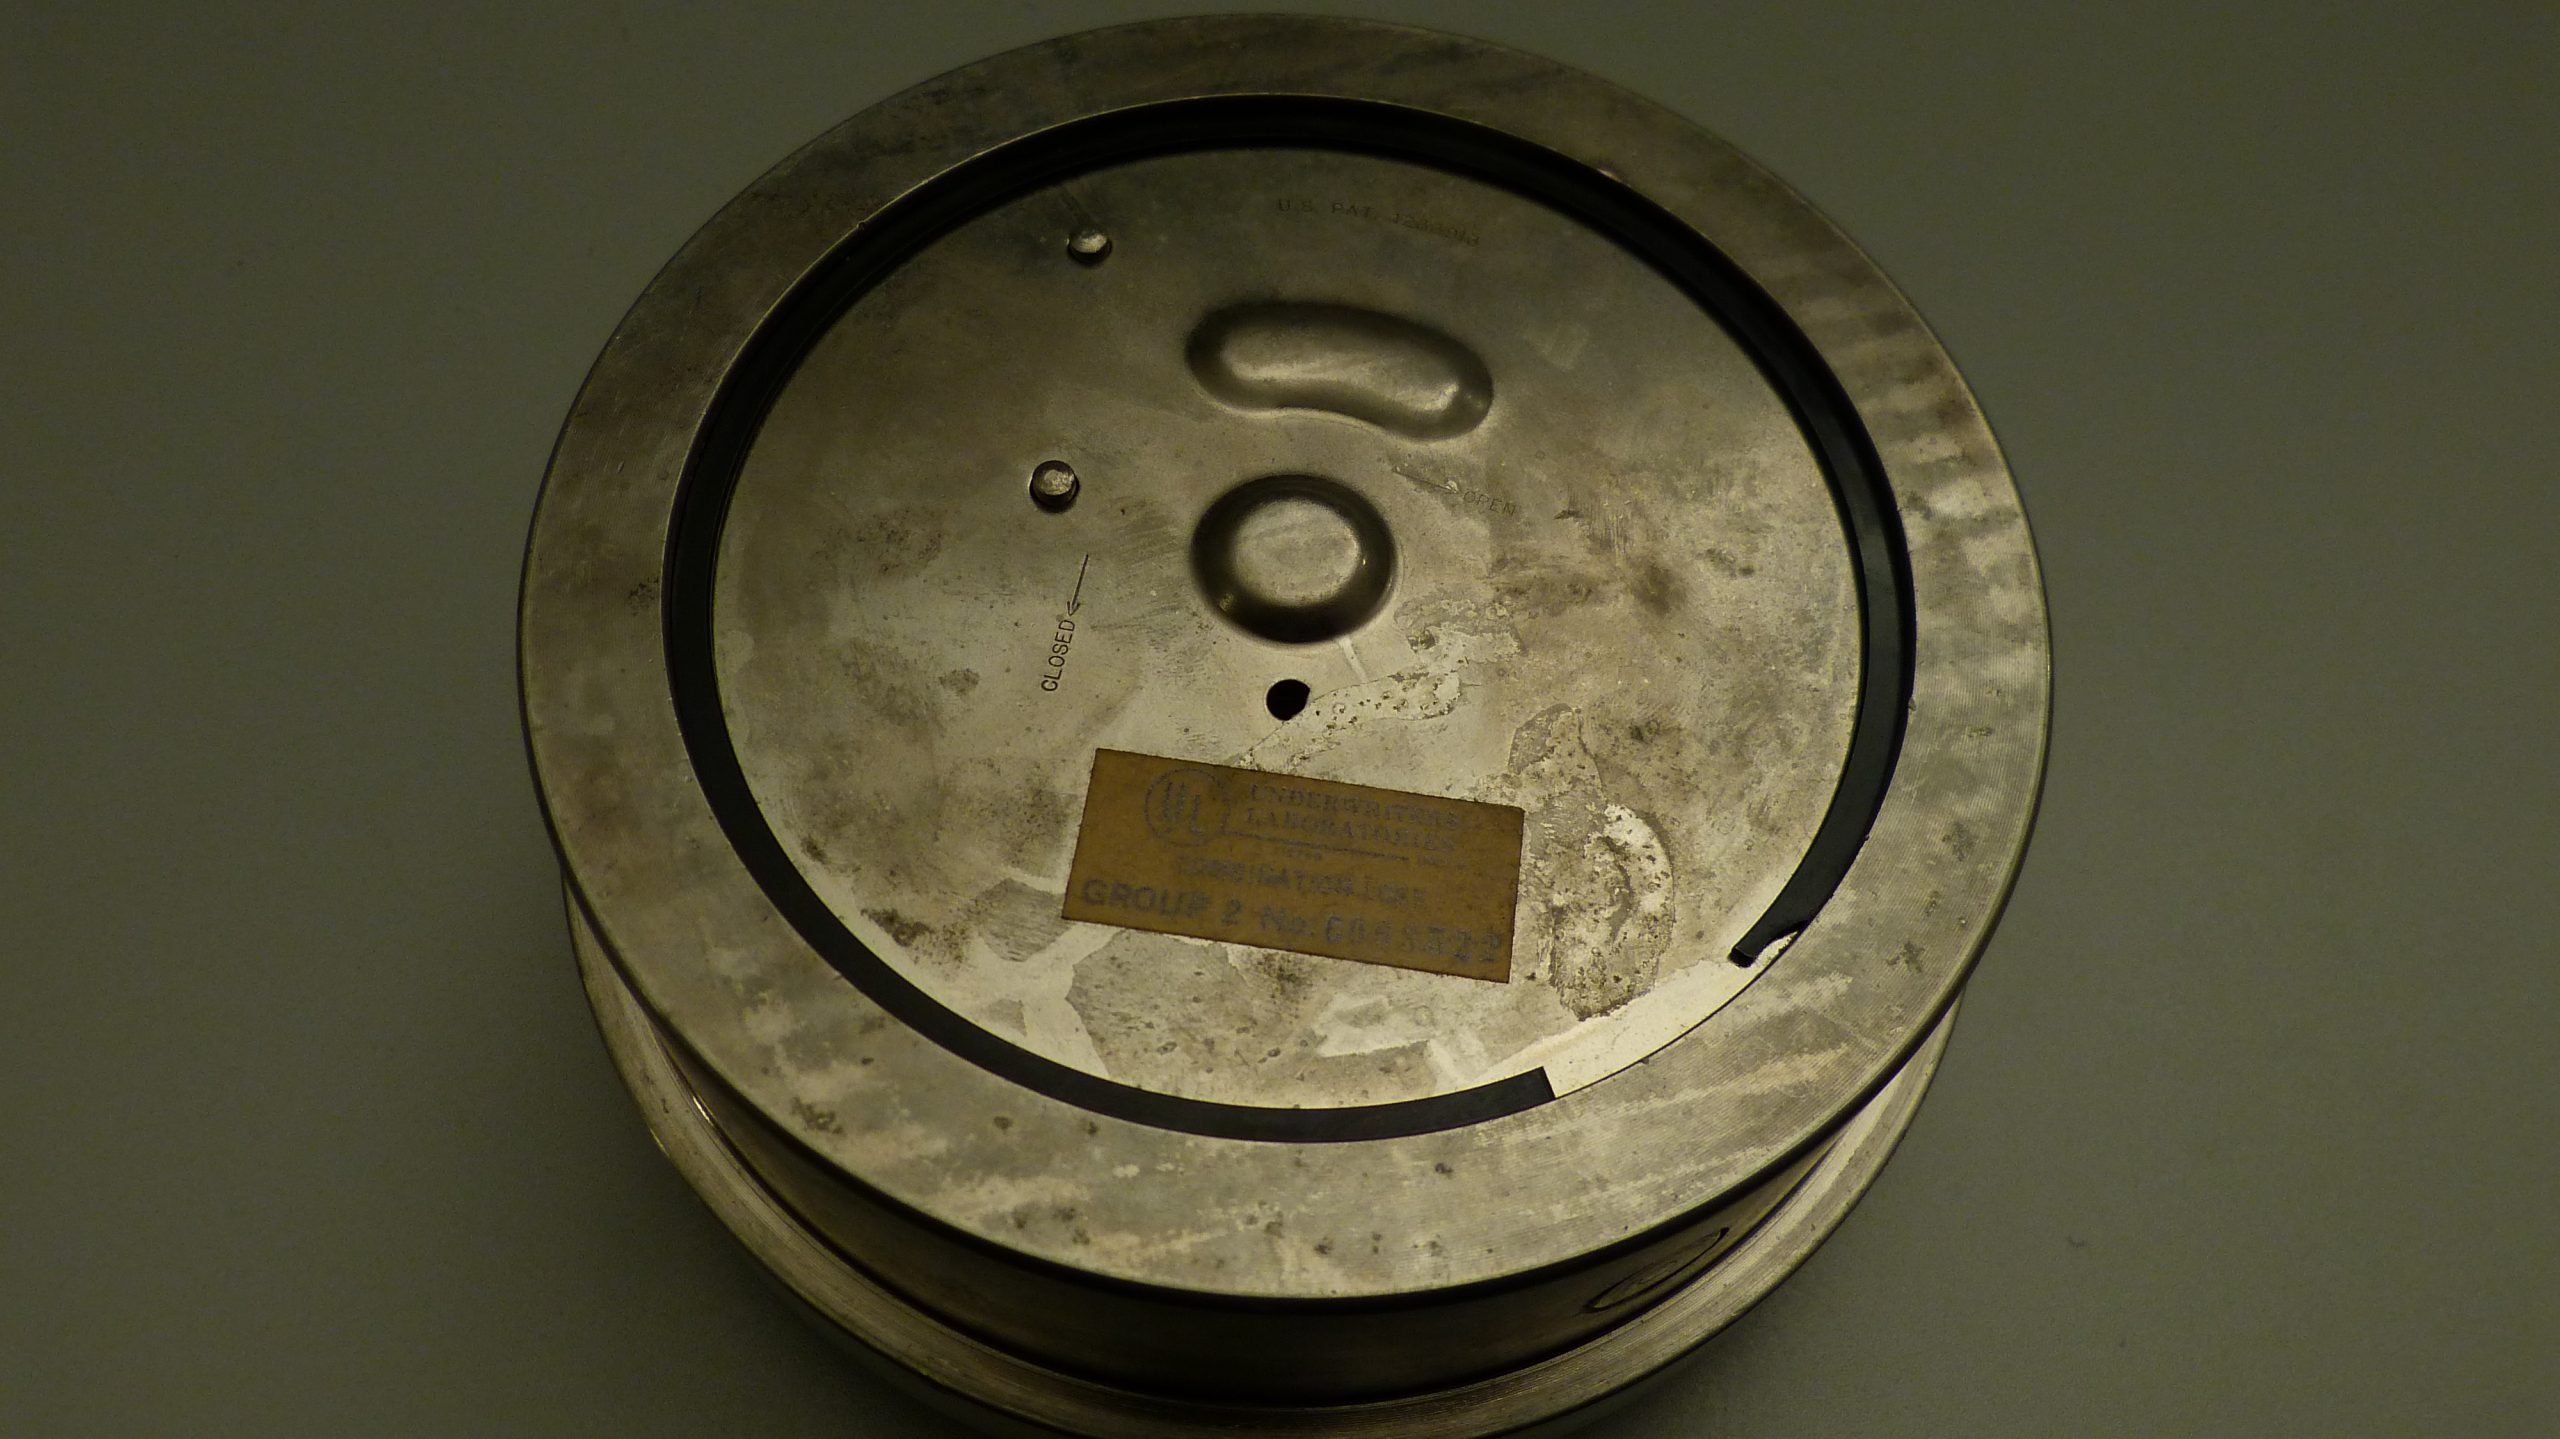
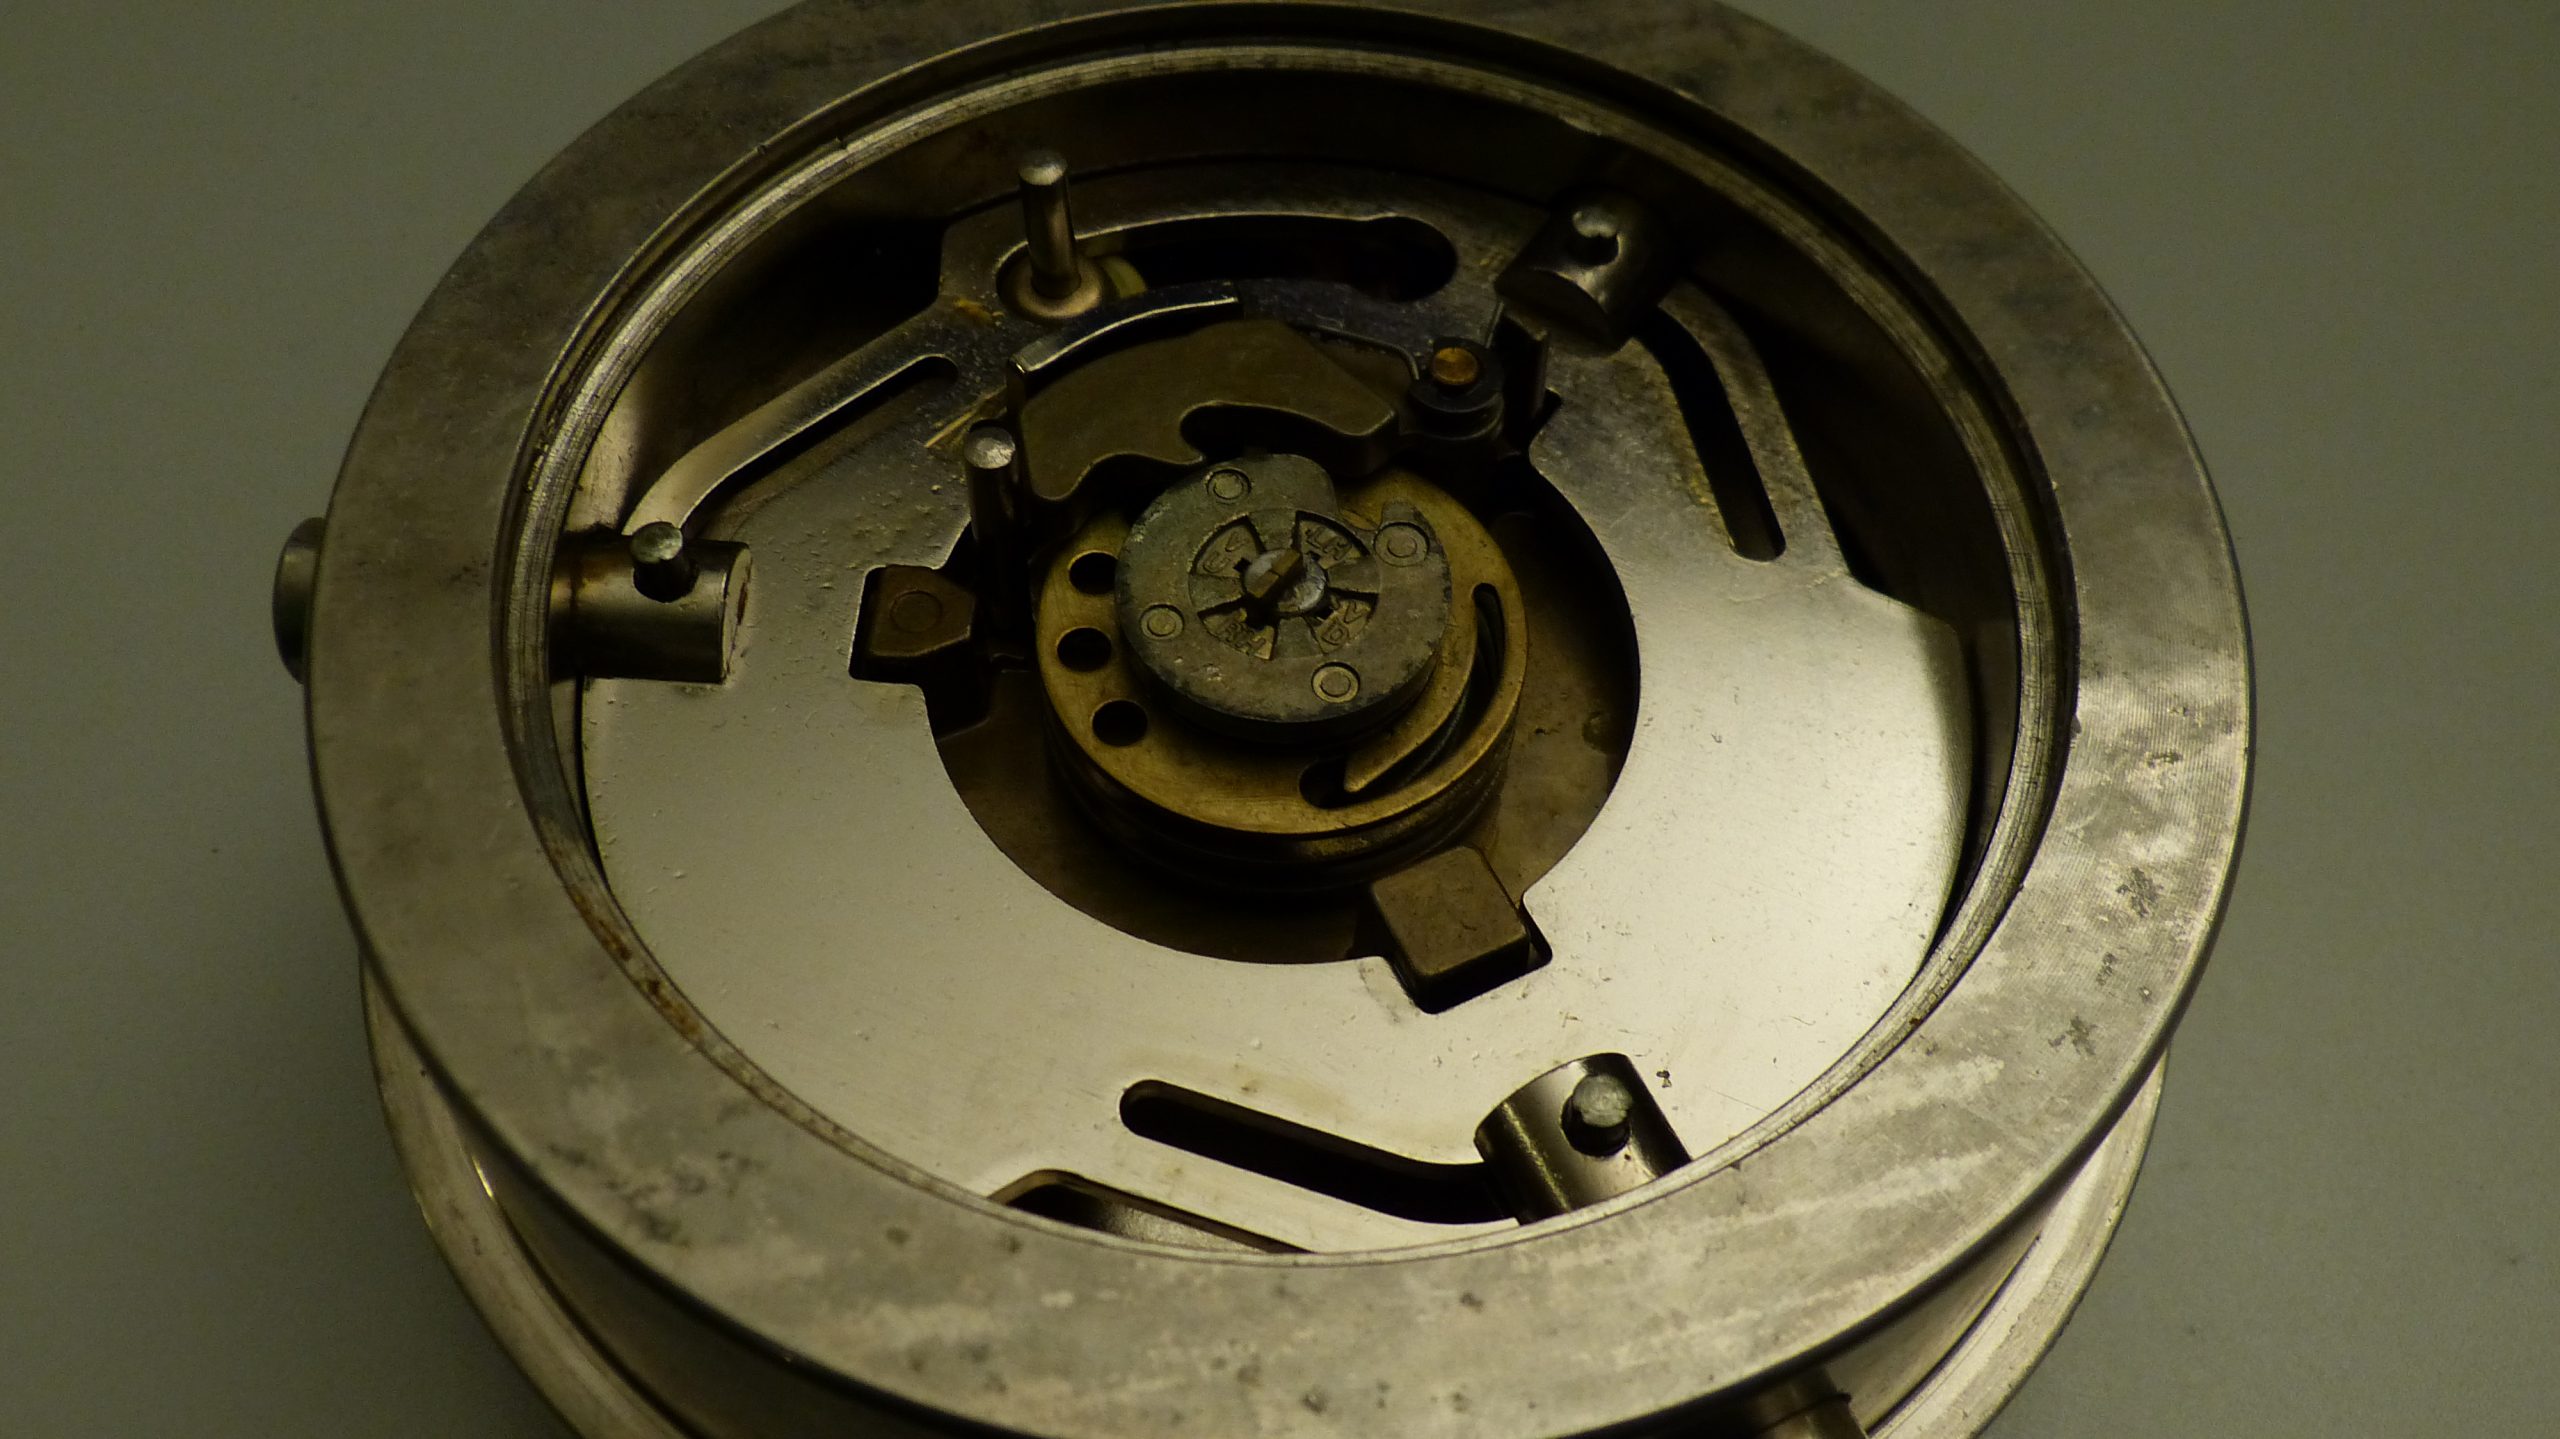
Lastly I want to add a few pictures for the archive. The lock is integrated in the safe door and can’t be removed or function without the door. The safe door has a cover that’s held in place with a large spring washer. Without the cover a relocker prevents the lock from opening.

Photo credit: CCBY4.0 Jan-Willem Markus, Toool Blackbag

Other than the circular nature of this lock it’s very similar to a La-Gard 3330.

Wooden lock; Binding order demo

zondag, mei 23rd, 2021

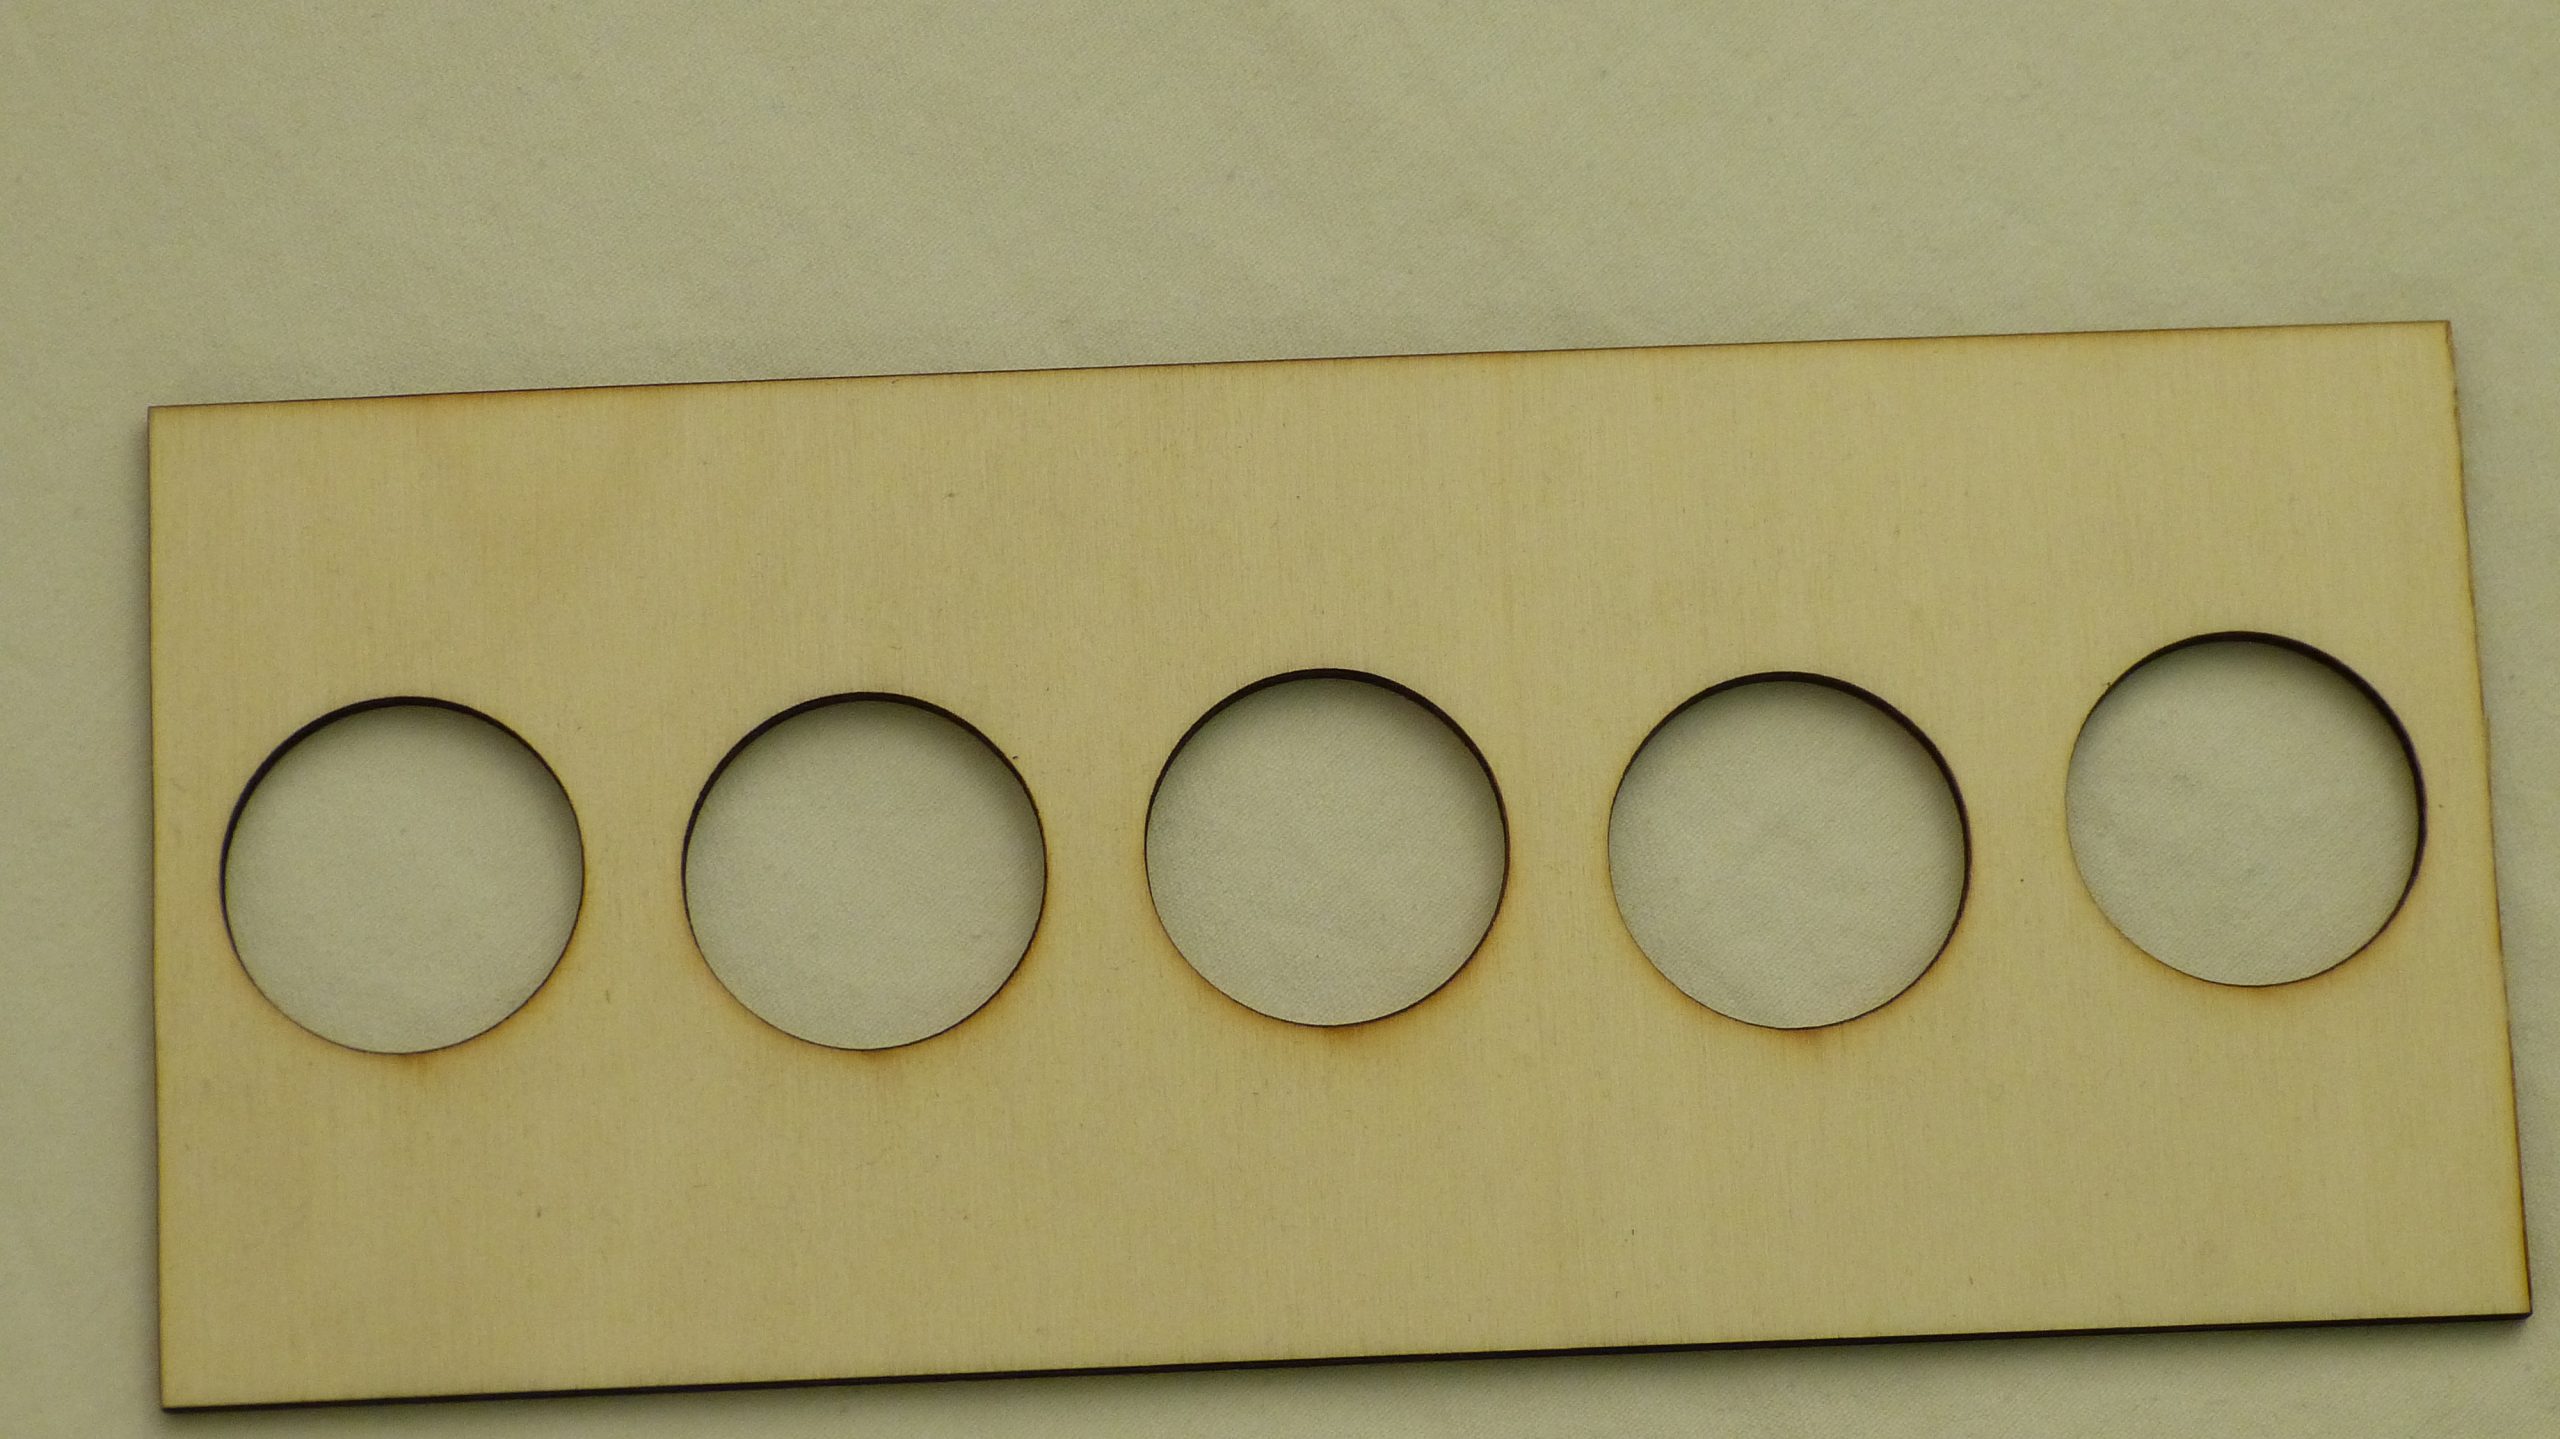
In 2019 Jan-Willem build a binding order demo out of laser cut wood.
In this post we would like to share the project with the rest of the world.

Binding order is the order in which the pins bind in a lock. This is mostly due to the manufacturing tolerances but can have other causes. This concept is hard to grasp for a new lockpicker and is one of those ‘You’ll get it when you see it’ concepts. When teaching lockpicking it is common to hear: ‘I have been pushing down this pin and it doesn’t want to stay down.’ This tool can be used to demonstrate why the pin did not want to stay put.

This demo is certainly not ’the’ solution. It is just a fair attempt that works for us. It will make the explanation better by adding both the visual and touch to the explanation. The participants can play with the board and feel the effect of binding and what the effect is of using light or strong tension.

For reference: The board is about the size of an A4 piece of paper. The base is crafted from three layers of 3mm plywood. The core is a single sheet and the pins are three or four layers, depending on the feel you prefer. Each pinhole in the base/core has a different size and different offset. All of the pins are a different size er well. This gives plenty of options to change the binding order.

We used the demo in lockpicking villages across the globe. We have found that it helps the explanation immensely when encountering language barriers. Video link to how you can use the binding order demo: https://youtu.be/WiCdws84EuQ

The binding order in this model can be quite subtle. It would great to have another with extreme exaggerated binding order also a smaller, 3D printed version, would be great to have. A bit of paint will not hurt either.

CC-BY-4.0 Jan-Willem Markus Toool Blackbag.
Bought 70kg of locks, now what?

woensdag, mei 19th, 2021

Once in a while we find locks for sale in bulk. Either as a large bucket or just a pile of brass. Most of the times it’s not worth the time and effort. (sorting and cleaning takes loooong). While other times the deal is just too good to pass on.

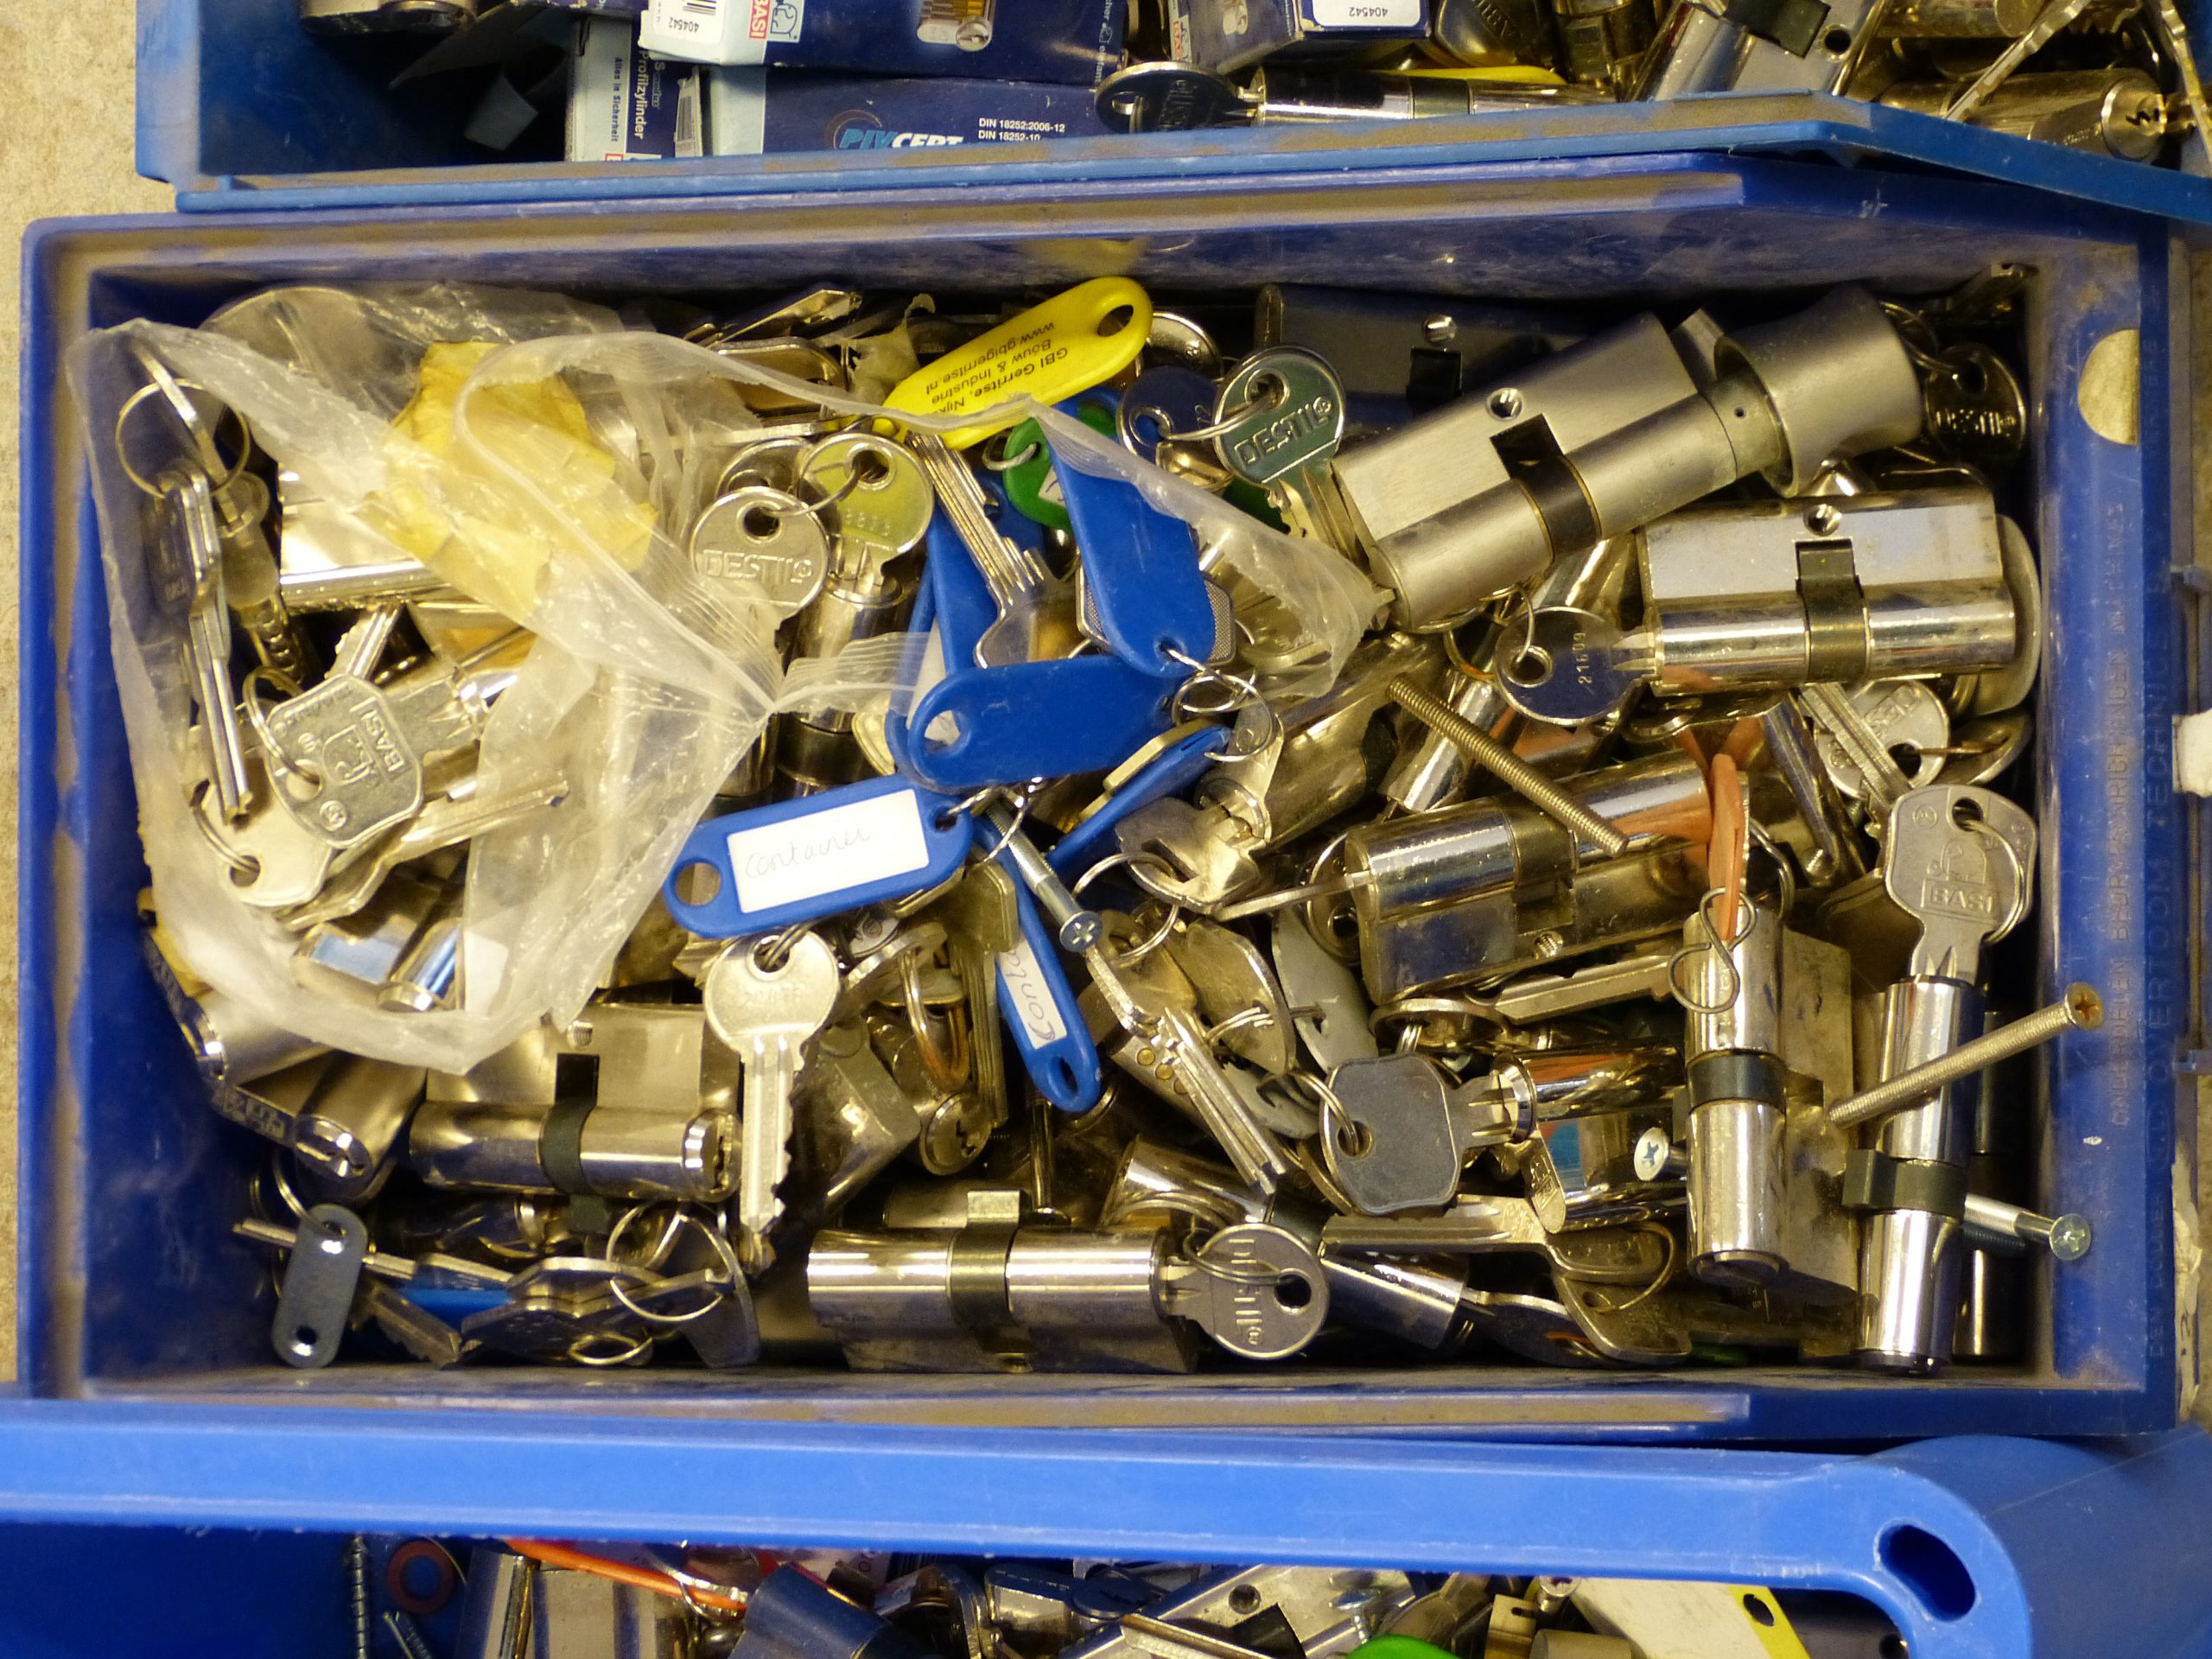
We bought a batch last week: Sold as 70kg of recycling brass. Seemed alight as it was not too expensive and the locks looked clean. It was also clear from the pictures that there wasn’t much high security or ‘expensive’ locks in there.

A few of these boxes/crates full of locks doesn’t look much until you need to carry them home.
Nicely sorted Basi.
All the locks!

In total it’s about 400 locks: 20% BASI, 20% MD, 40% DESTIL, 15% other (DOM, Corbin, Nemef, CES, S^2, etc etc.), and about 5% trash (tags, screws, actual trash). There are very few jewels in the box: Anker necoloc, DOM sigma, and a keyed alike Zi-ikon set with one key.

Most will be put to restocking the lockpicking village kits. The Basi will make very nice progressive locks. The Destil, however, are (re-branded?) Corbin locks and always a pain to pick. Therefore a lot less useful for teaching lockpicking. (Maybe keep a few for teaching humility or patience?). All other locks will be saved for the Dutch open at the next LockCon.
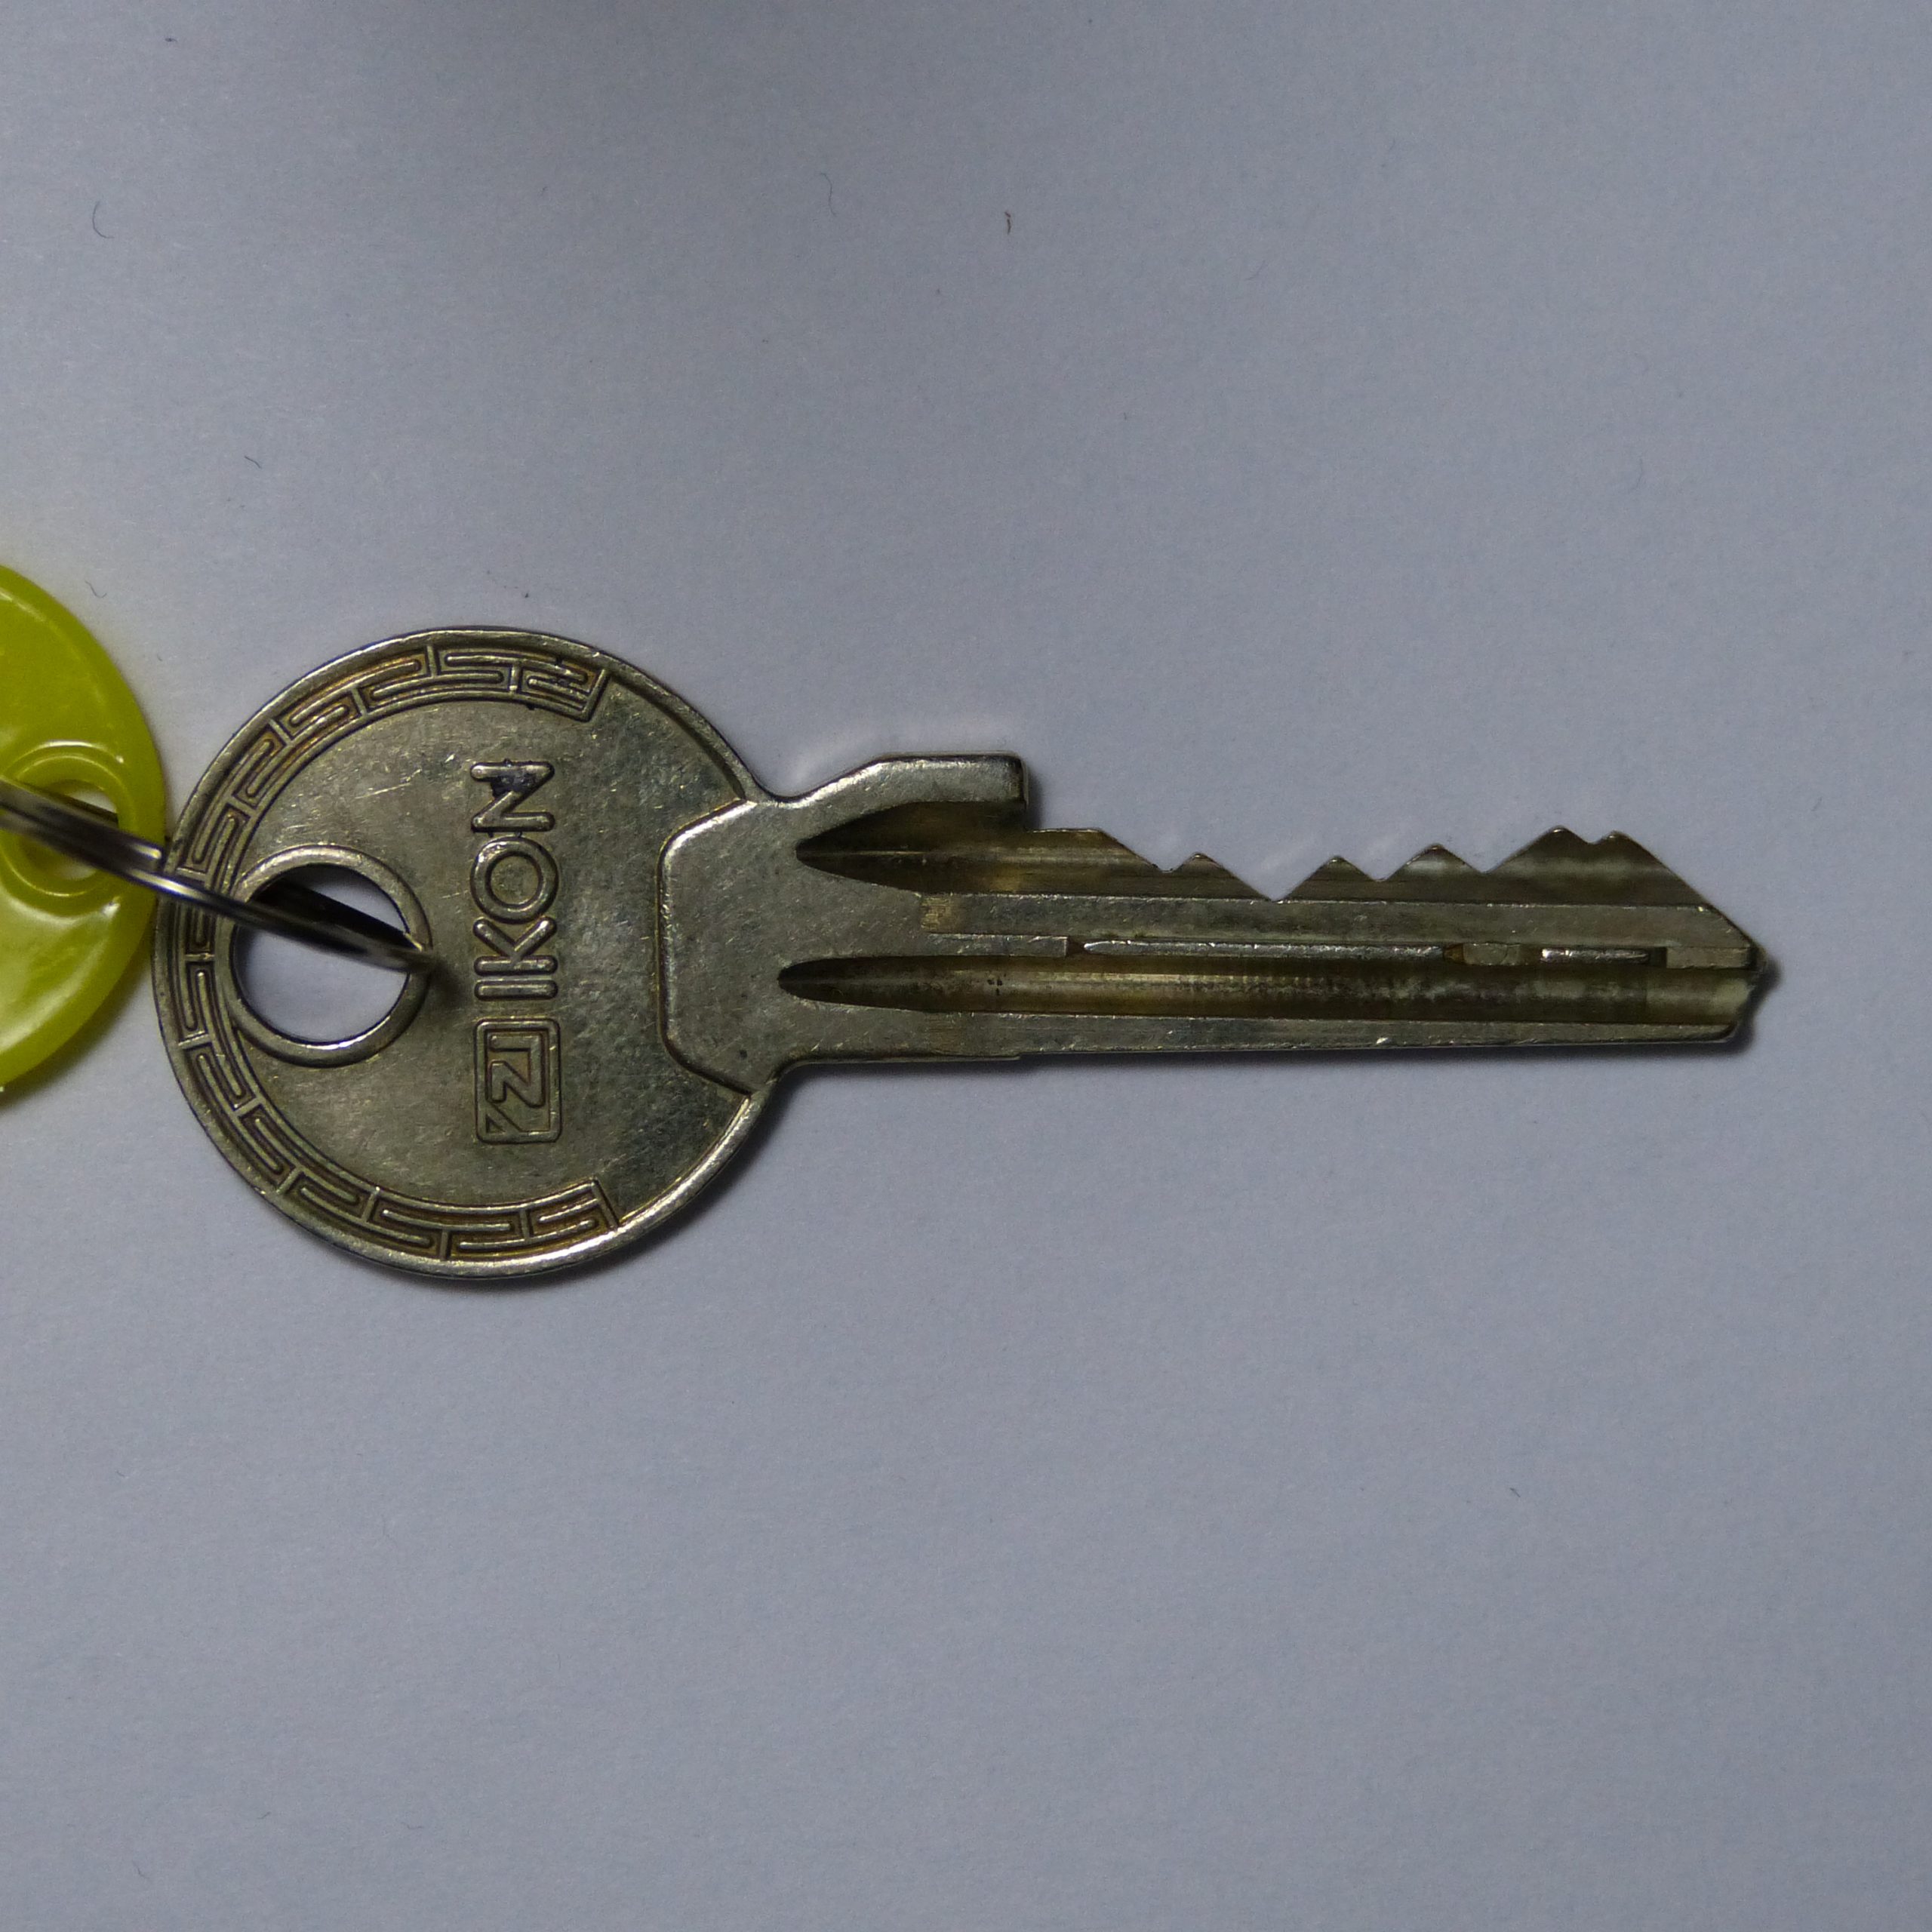
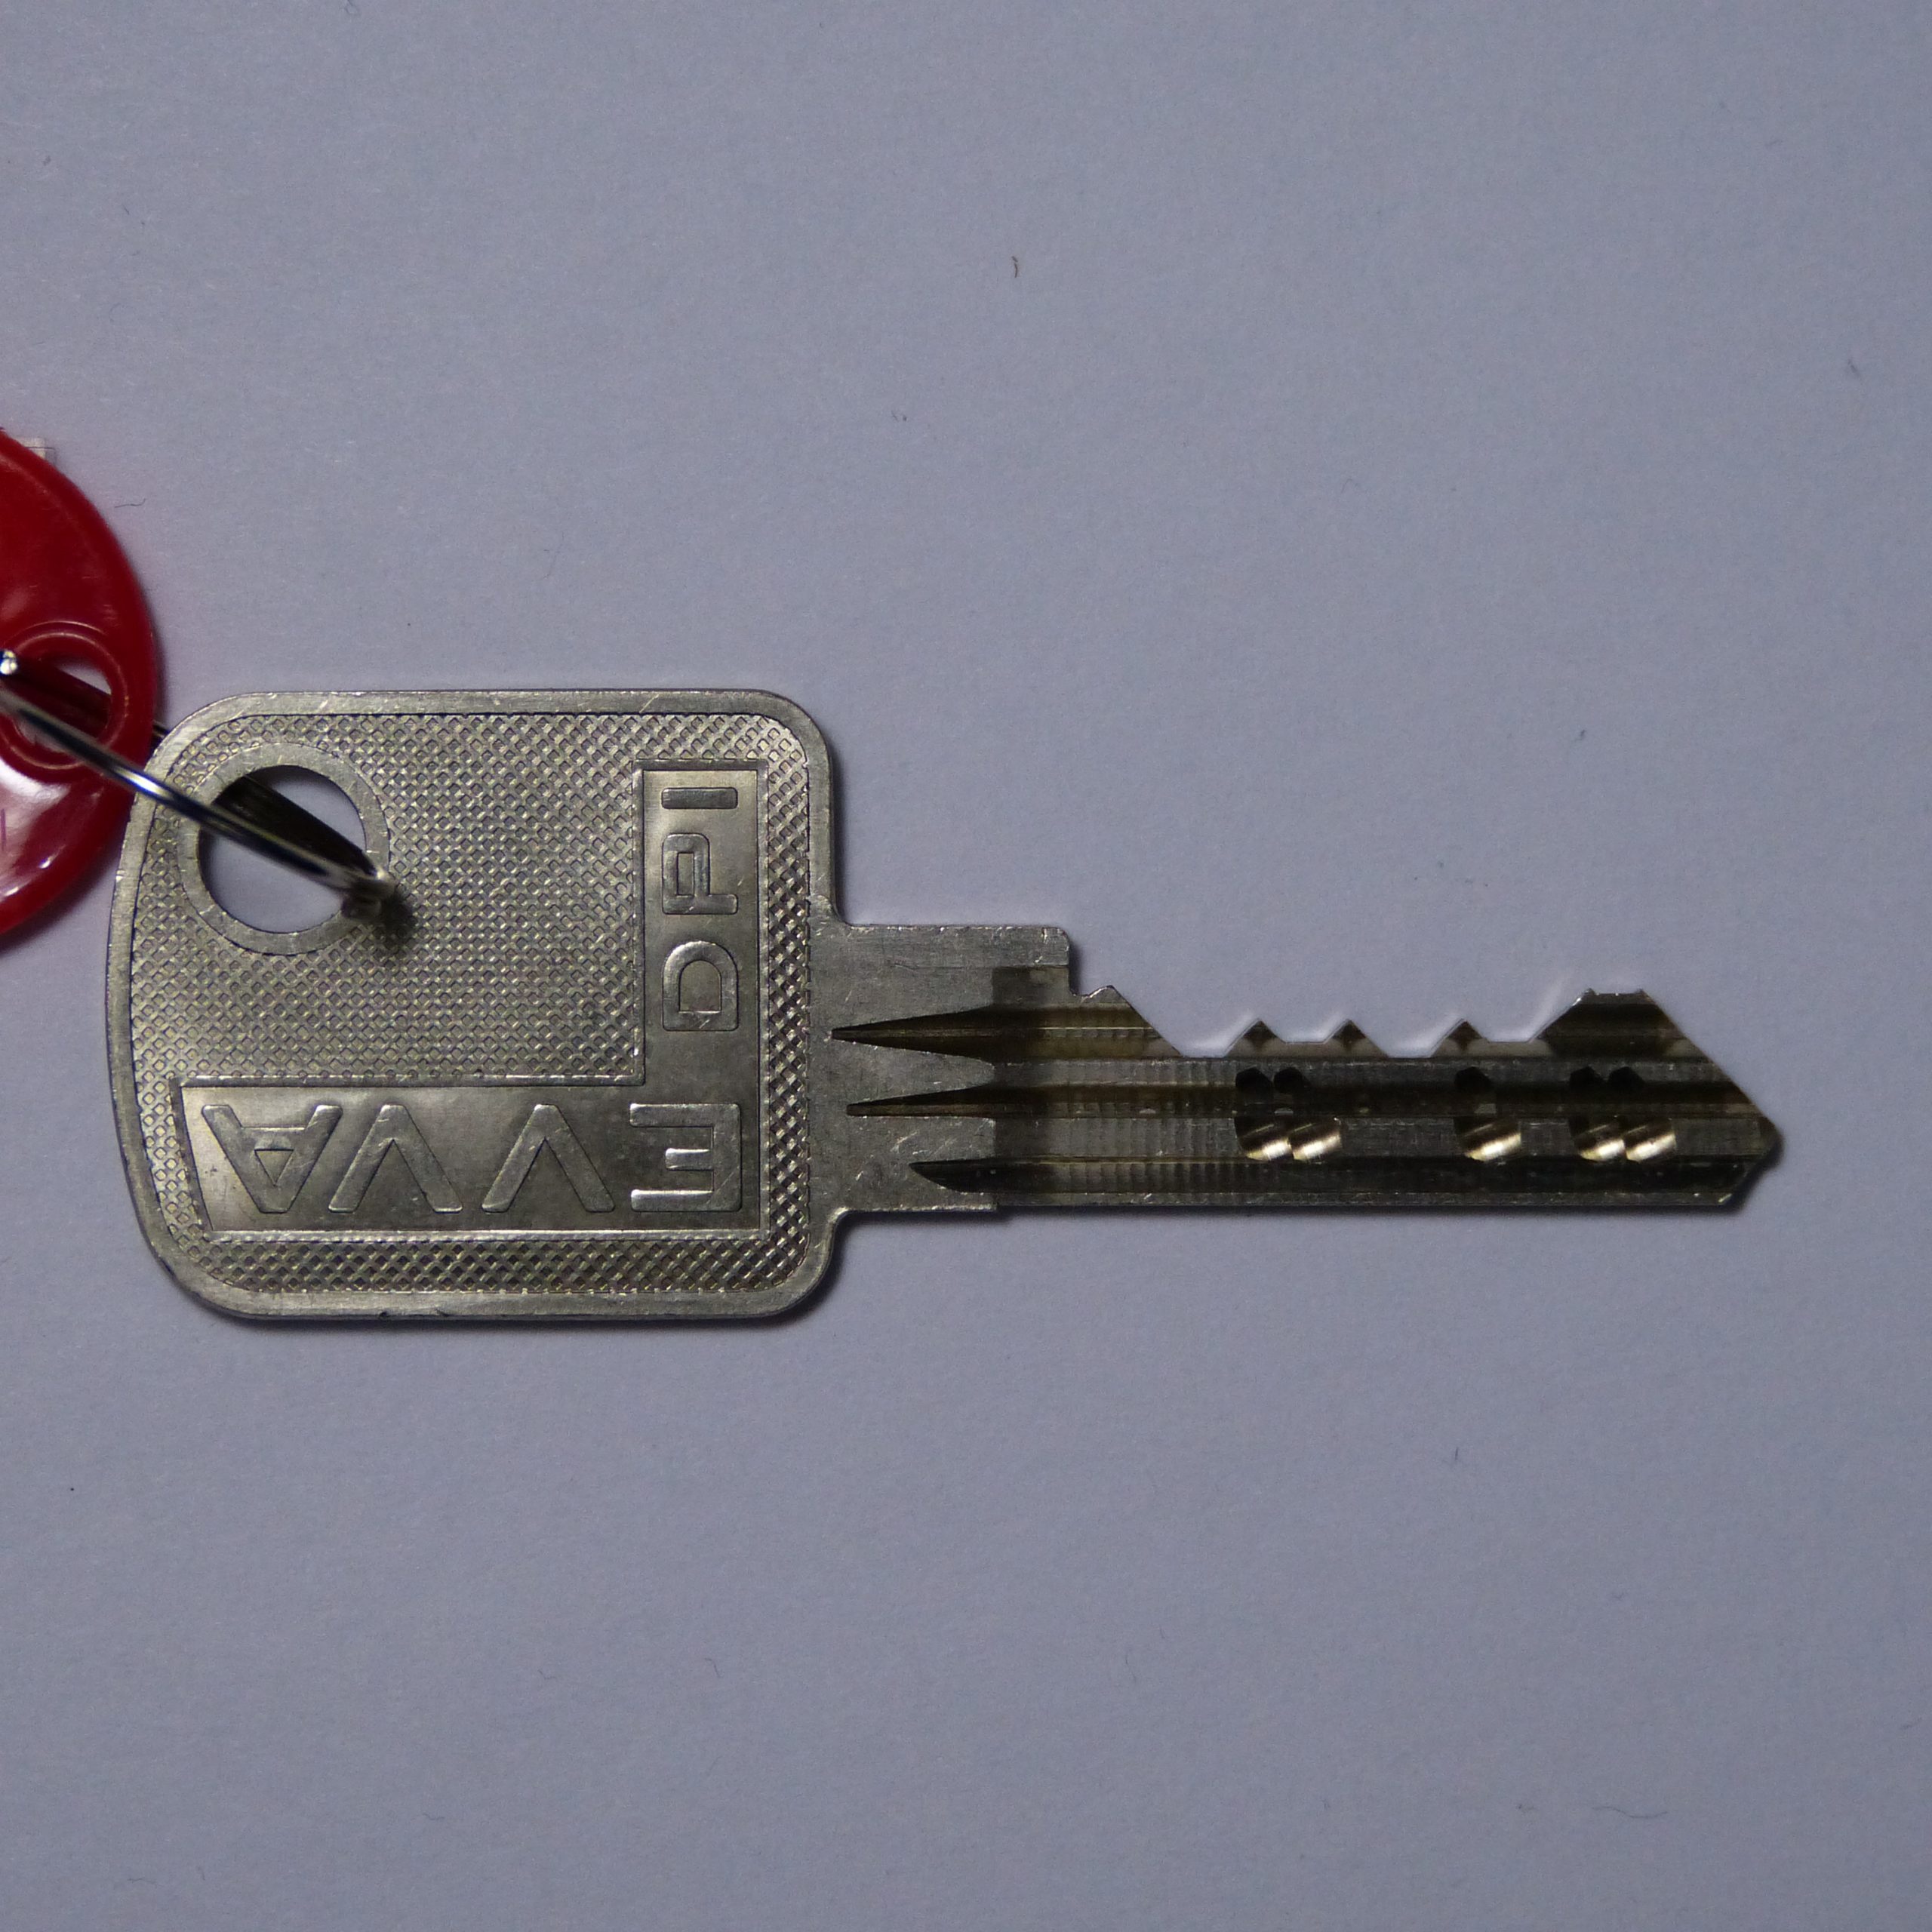
As always the picture of the bucket looked more promising than the outcome. However, the easy locks will come in very useful. It’s just not as fun as finding a EVVA MCS in the crap bin. Maybe there will be one in the next one…

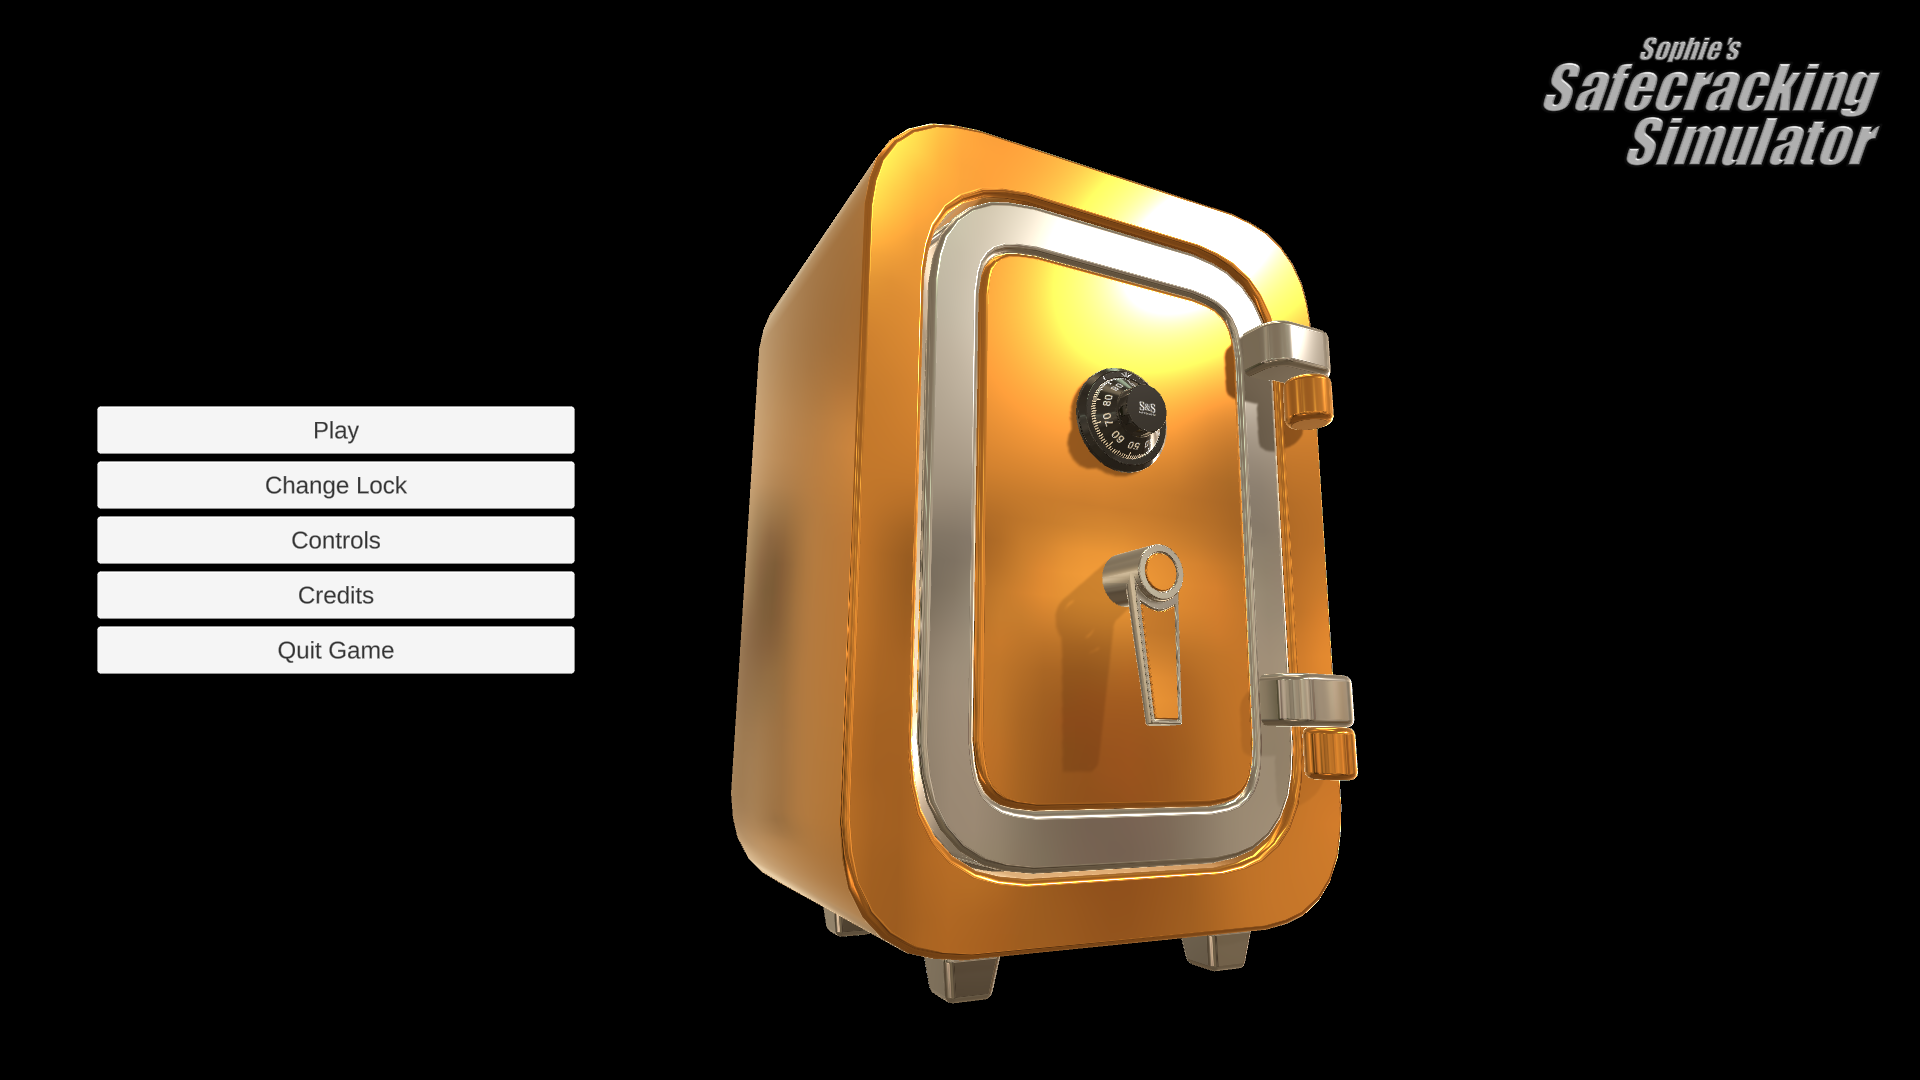
Sophie’s safecracking simulator

zondag, mei 9th, 2021

A few weeks ago on twitter I read a tweet by Sophie and they were working on a safecracking simulator. I was intrigued and joined the conversation. Both to comment (and compliment) on the progress and add ideas for even more realism!

https://sophieh.itch.io/sophies-safecracking-simulator

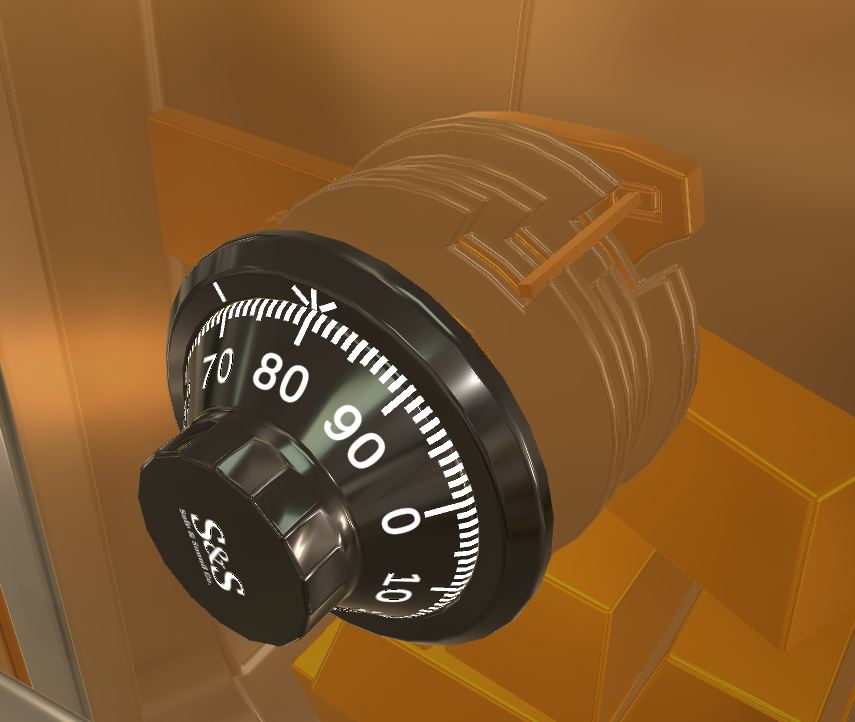
So what’s the game? They designed a safe lock simulator and the game is to crack the safe! The lock from the fictional brand Safe and Sound (S&S). It acts as an average group 2 safe lock with three wheels (4xCCW, 3xCW, 2x CCW, and 1x CW). You input the combination with your arrow keys: Left and right arrow for moving the dial and control/shift to control the dialing speed. The simulated lock works just as you might expect, you can feel and hear the contact points and you can manipulate and graph it just like any other group 2 safe lock.

Cracking a safe

I’ve bought the game as soon as it was available and spend a couple hours cracking my first virtual safe.

Cracked the safe with manipulation. The transparancy is on for the screenshot.
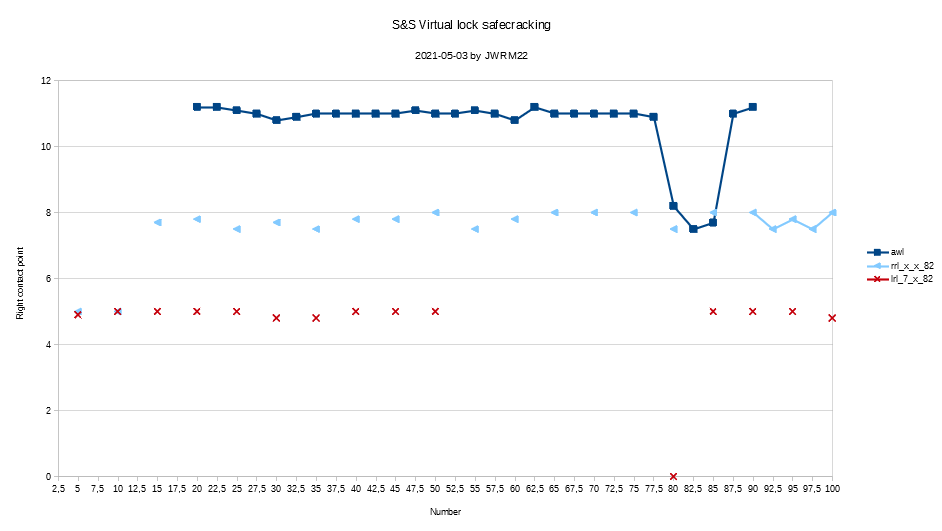
Safe manipulation graph.

I like to start with getting a rough idea for the lock and do this by dialing all wheels left (AWL) with 20 number increments. I noticed the wheels are almost perfectly round requiring a full AWL graph and find one number at the time. I graphed AWL with 2,5 count increments and found the gate between 80 and 85. I set the number to 82 and tested the wheels. I found the number was on wheel three.

Then graphed W1 and W2 left and parked the W3 to 82 and graphed it with 5 count increment. Wheel one was at about 7. Figuring out what wheel it is was actually tricky as the simulated safe does not have flies and this means LRL is not the same as RLR for this lock. This also means you can find a number that’s impossible to dial without some calculating.
Lastly I graphed the last number 7-X-82 and found the combo 7-78-82. The dial stopped at 80 indicating I opened the lock. In the version I played it wasn’t possible to open the safe. I claimed being the first one to open the virtual safe on twitter shortly thereafter.

What else can the simulator so?

Once you have mastered the three wheel, why not try a twenty wheel lock? This lock will take 21 times right, 20 times left, 19 times… Or was it 21 times left, 20 times right. at what number was I again? In total it would take 231 moves to just open it with the combination. I can’t imagine how fun it would be to graph this one!

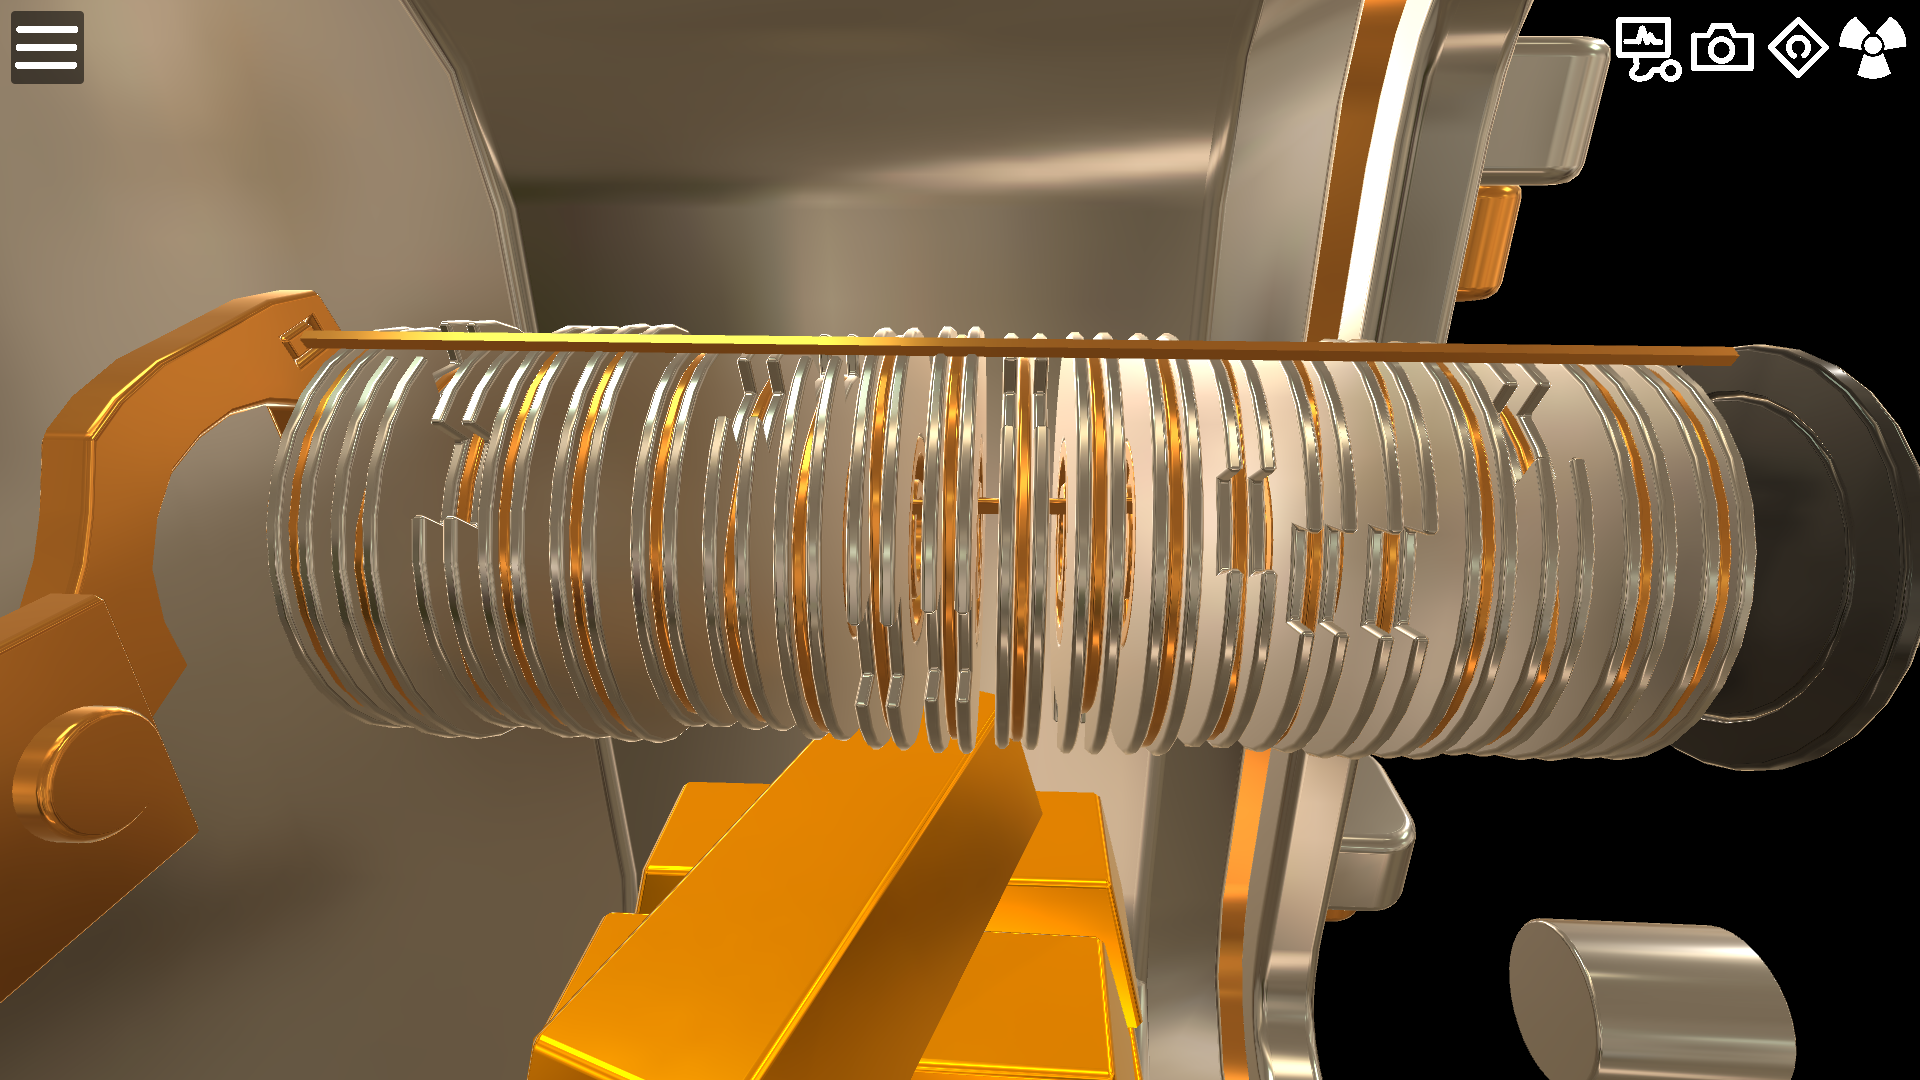
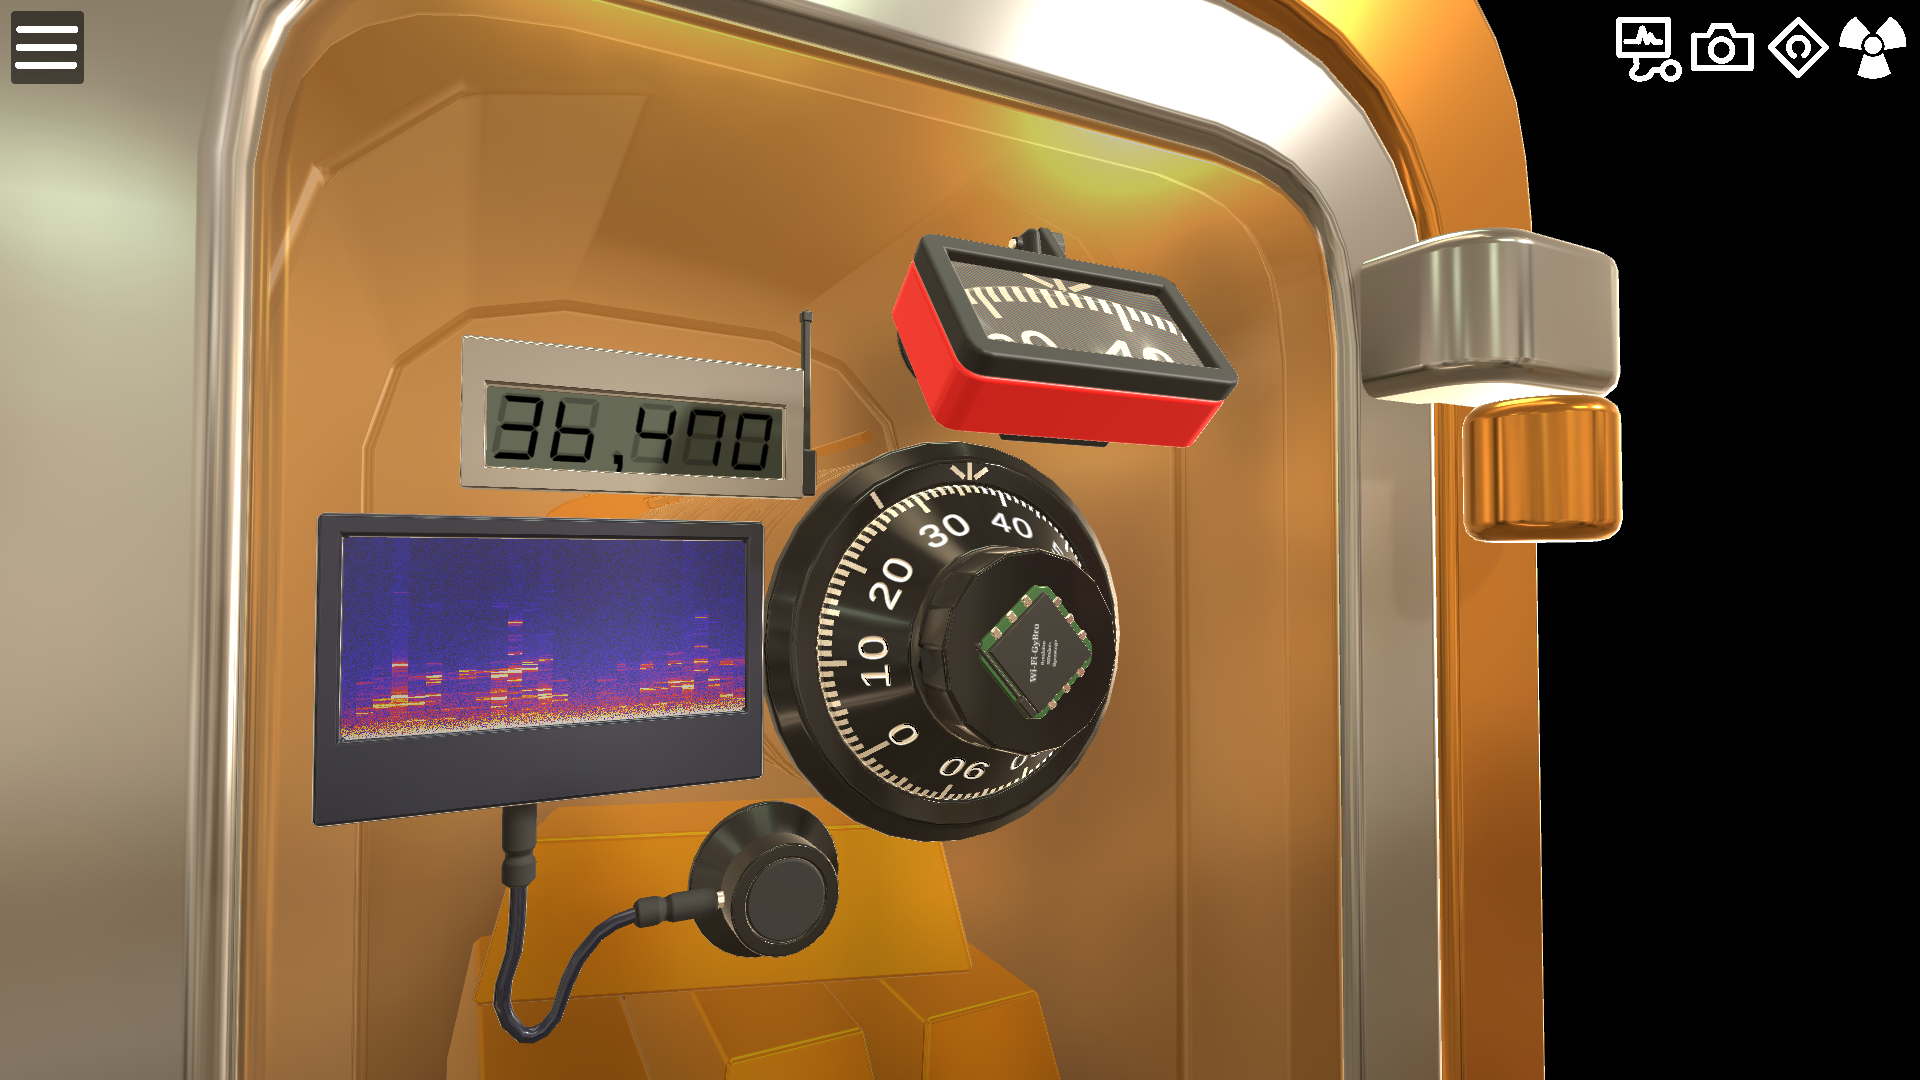
Not all hope is lost as the safecracker gets a handful of tools to simplify the process: Gyroscope angular measurement, camera to amplify vision, sound spectrum analyzer, and X-ray vision. You can also use advanced keyboard shortcuts to spin the dial exactly one rotation, simplifying the safecracking process.

Suggestions to Sophie

The project is very cool and certainly a functional game. These are a few suggestions for added realism:

  • I feel the current shape of the wheels is too perfectly round. Real life safe wheels are sometimes oval or egg shaped. They sometimes have an offset from the wheel center as well. This feature is only beneficial when the wheels are closer matched in size. Currently it’s very hard to find what wheel is the largest and thus the one you want to isolate.
  • As far as tolerances I think the game does very well. Yes, you can make it more tight but then you can easily make the safe impossible to manipulate. It’ll not be bad to have a setting you can play with to make the lock a lot harder.
  • Currently the safe does not have flies. It’s hard to explain what it is or how it works; It’s a small movable element that ensures you can dial two numbers on consecutive wheels to the same number. If it’s worth the effort for this extra realism, I won’t know.
  • Lastly there are a lot of ways you can go to with this project. As a simulator it works but it would be very cool to have a ‘spot the fault’ puzzle game. I.E. The combination is 10-20-30 and it only opens sometimes. Then the player could learn about failure modes like when fly is stuck or the wheel slipped. You can use the trouble shooting guide for a S&G as inspiration. In the PDF it starts at page 9.

Conclusion

The game is very much what I expected from it and it captures the nuances very well. I will certainly recommend it to people that are looking into safecracking. I will use the the simulator as training material as well. (Every participant buys their own copy.) I think it can be a very useful teaching tool.

I don’t think I would play much with the simulator myself, mostly as I have played with and have access to the real locks. The game captures the tediousness of safecracking very well and that’s amazingly impressive 🙂

Cellular CyberKey

vrijdag, april 30th, 2021

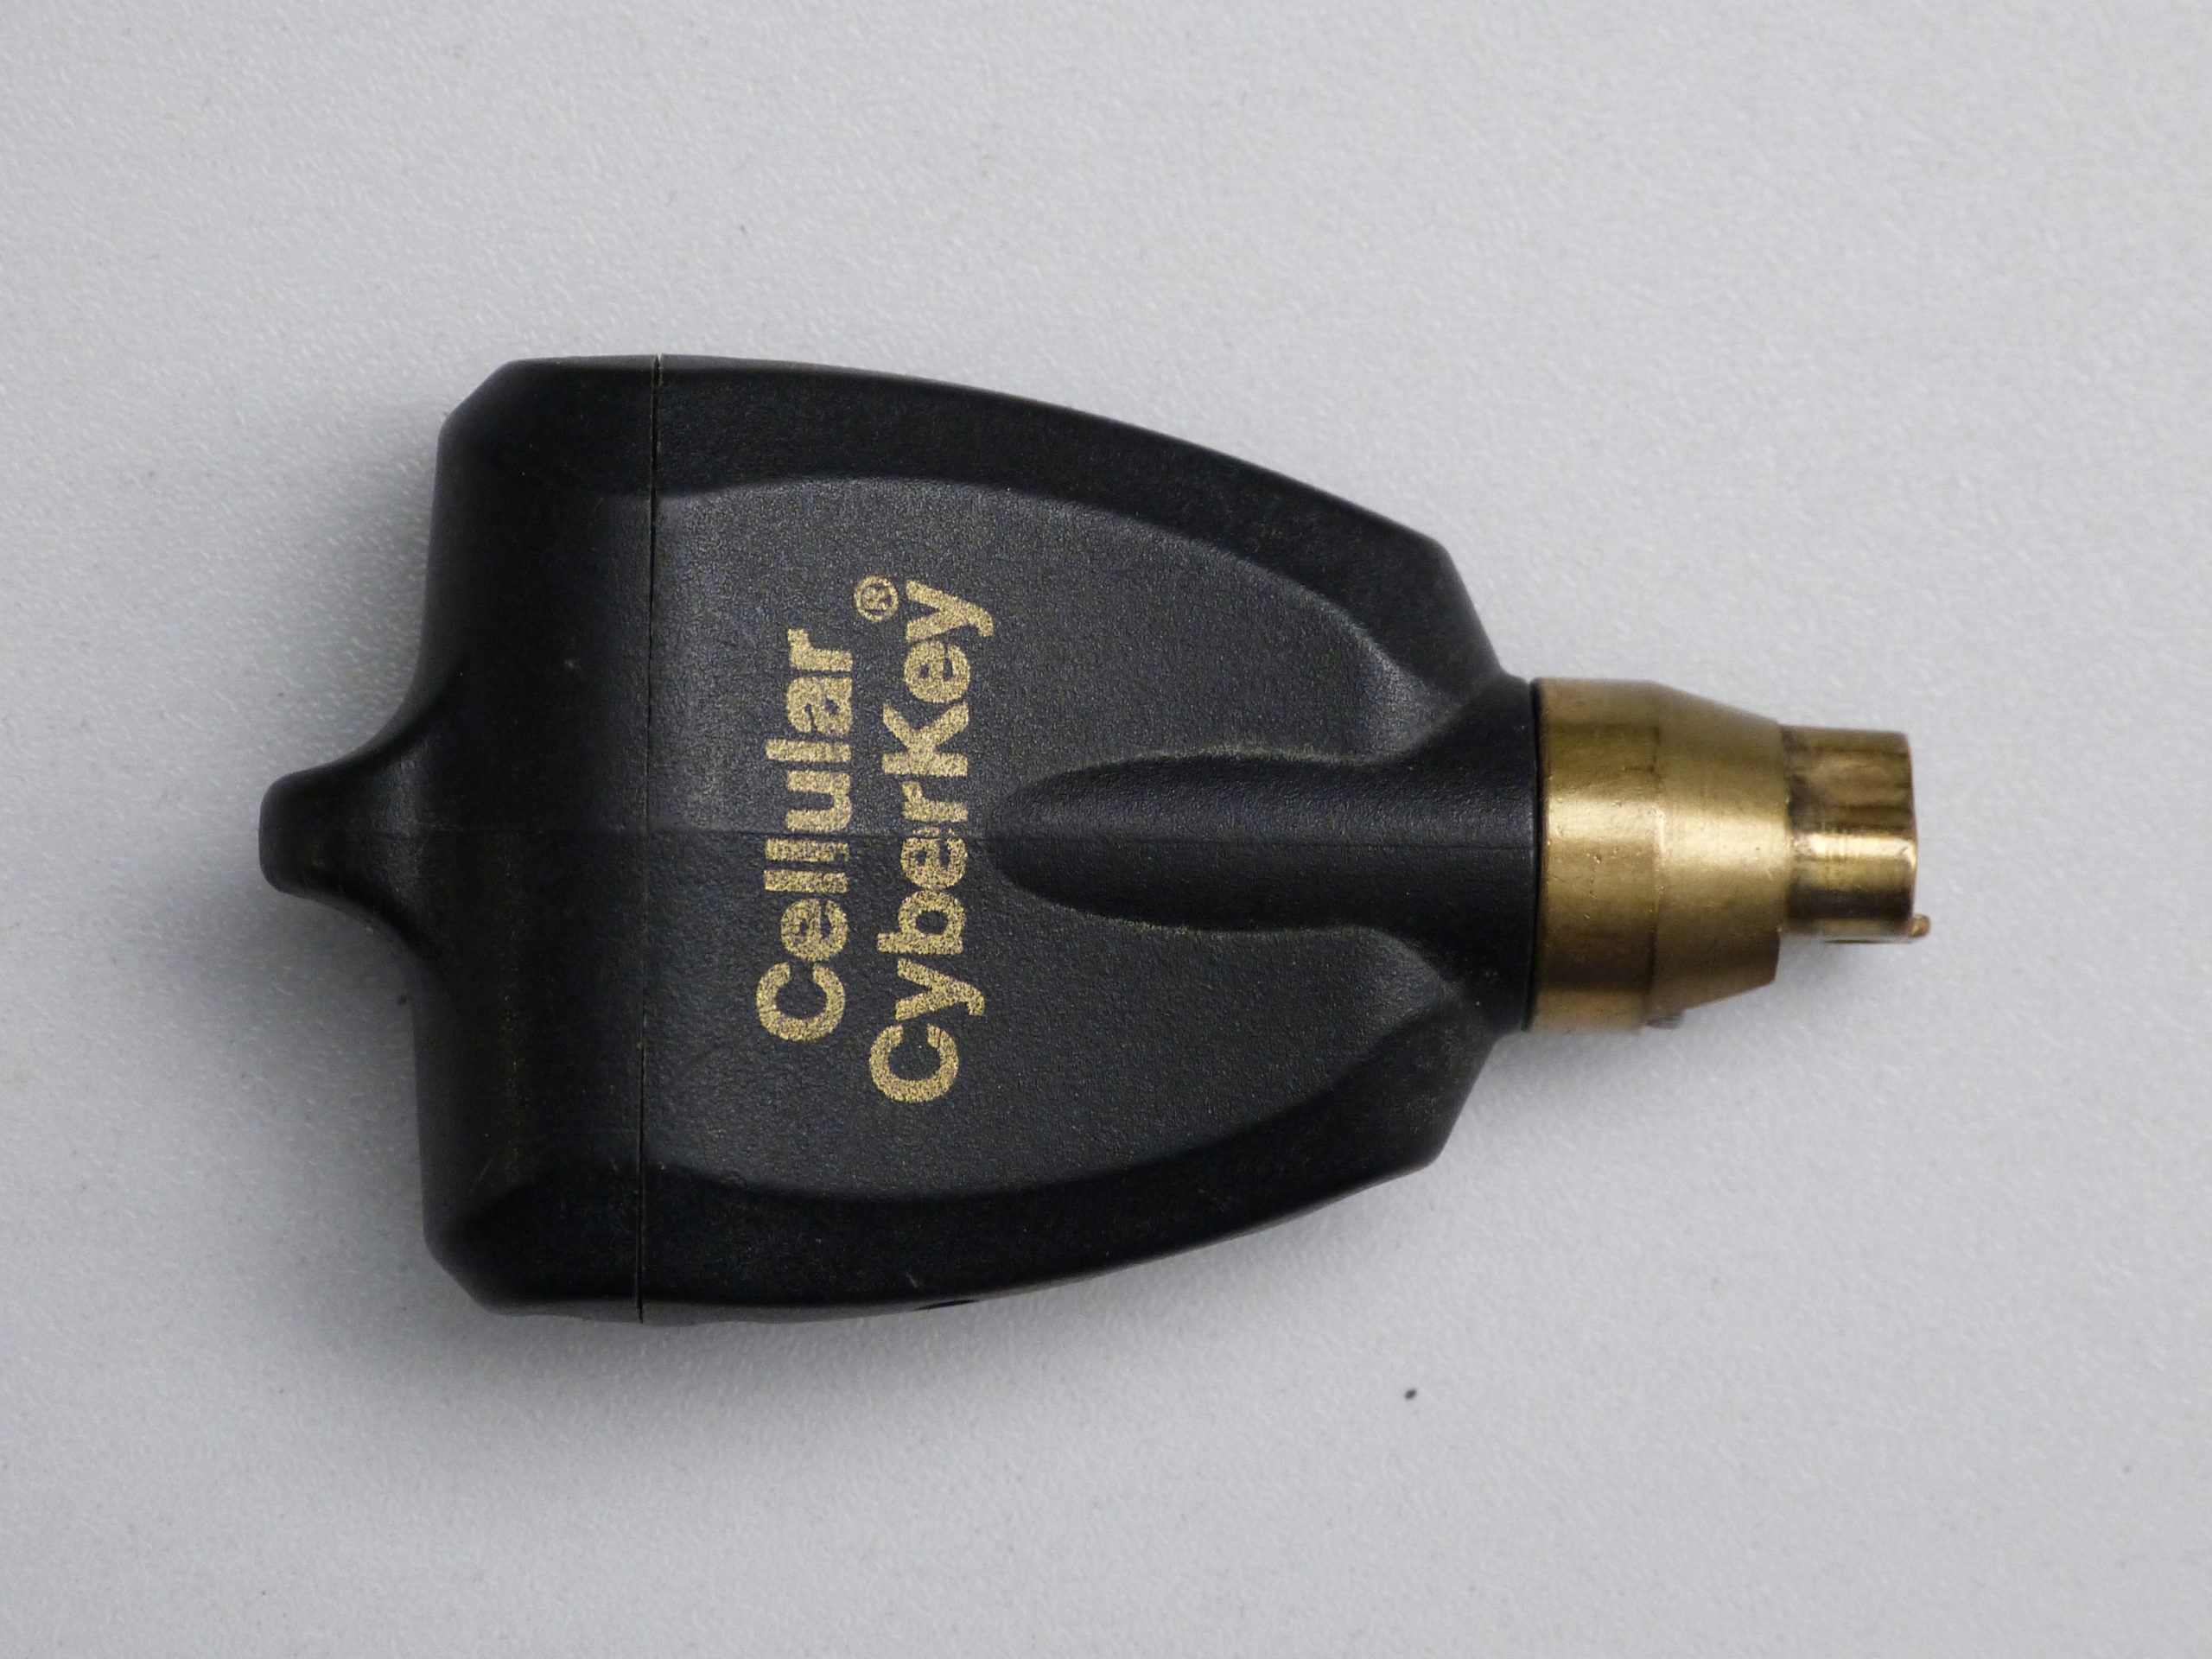
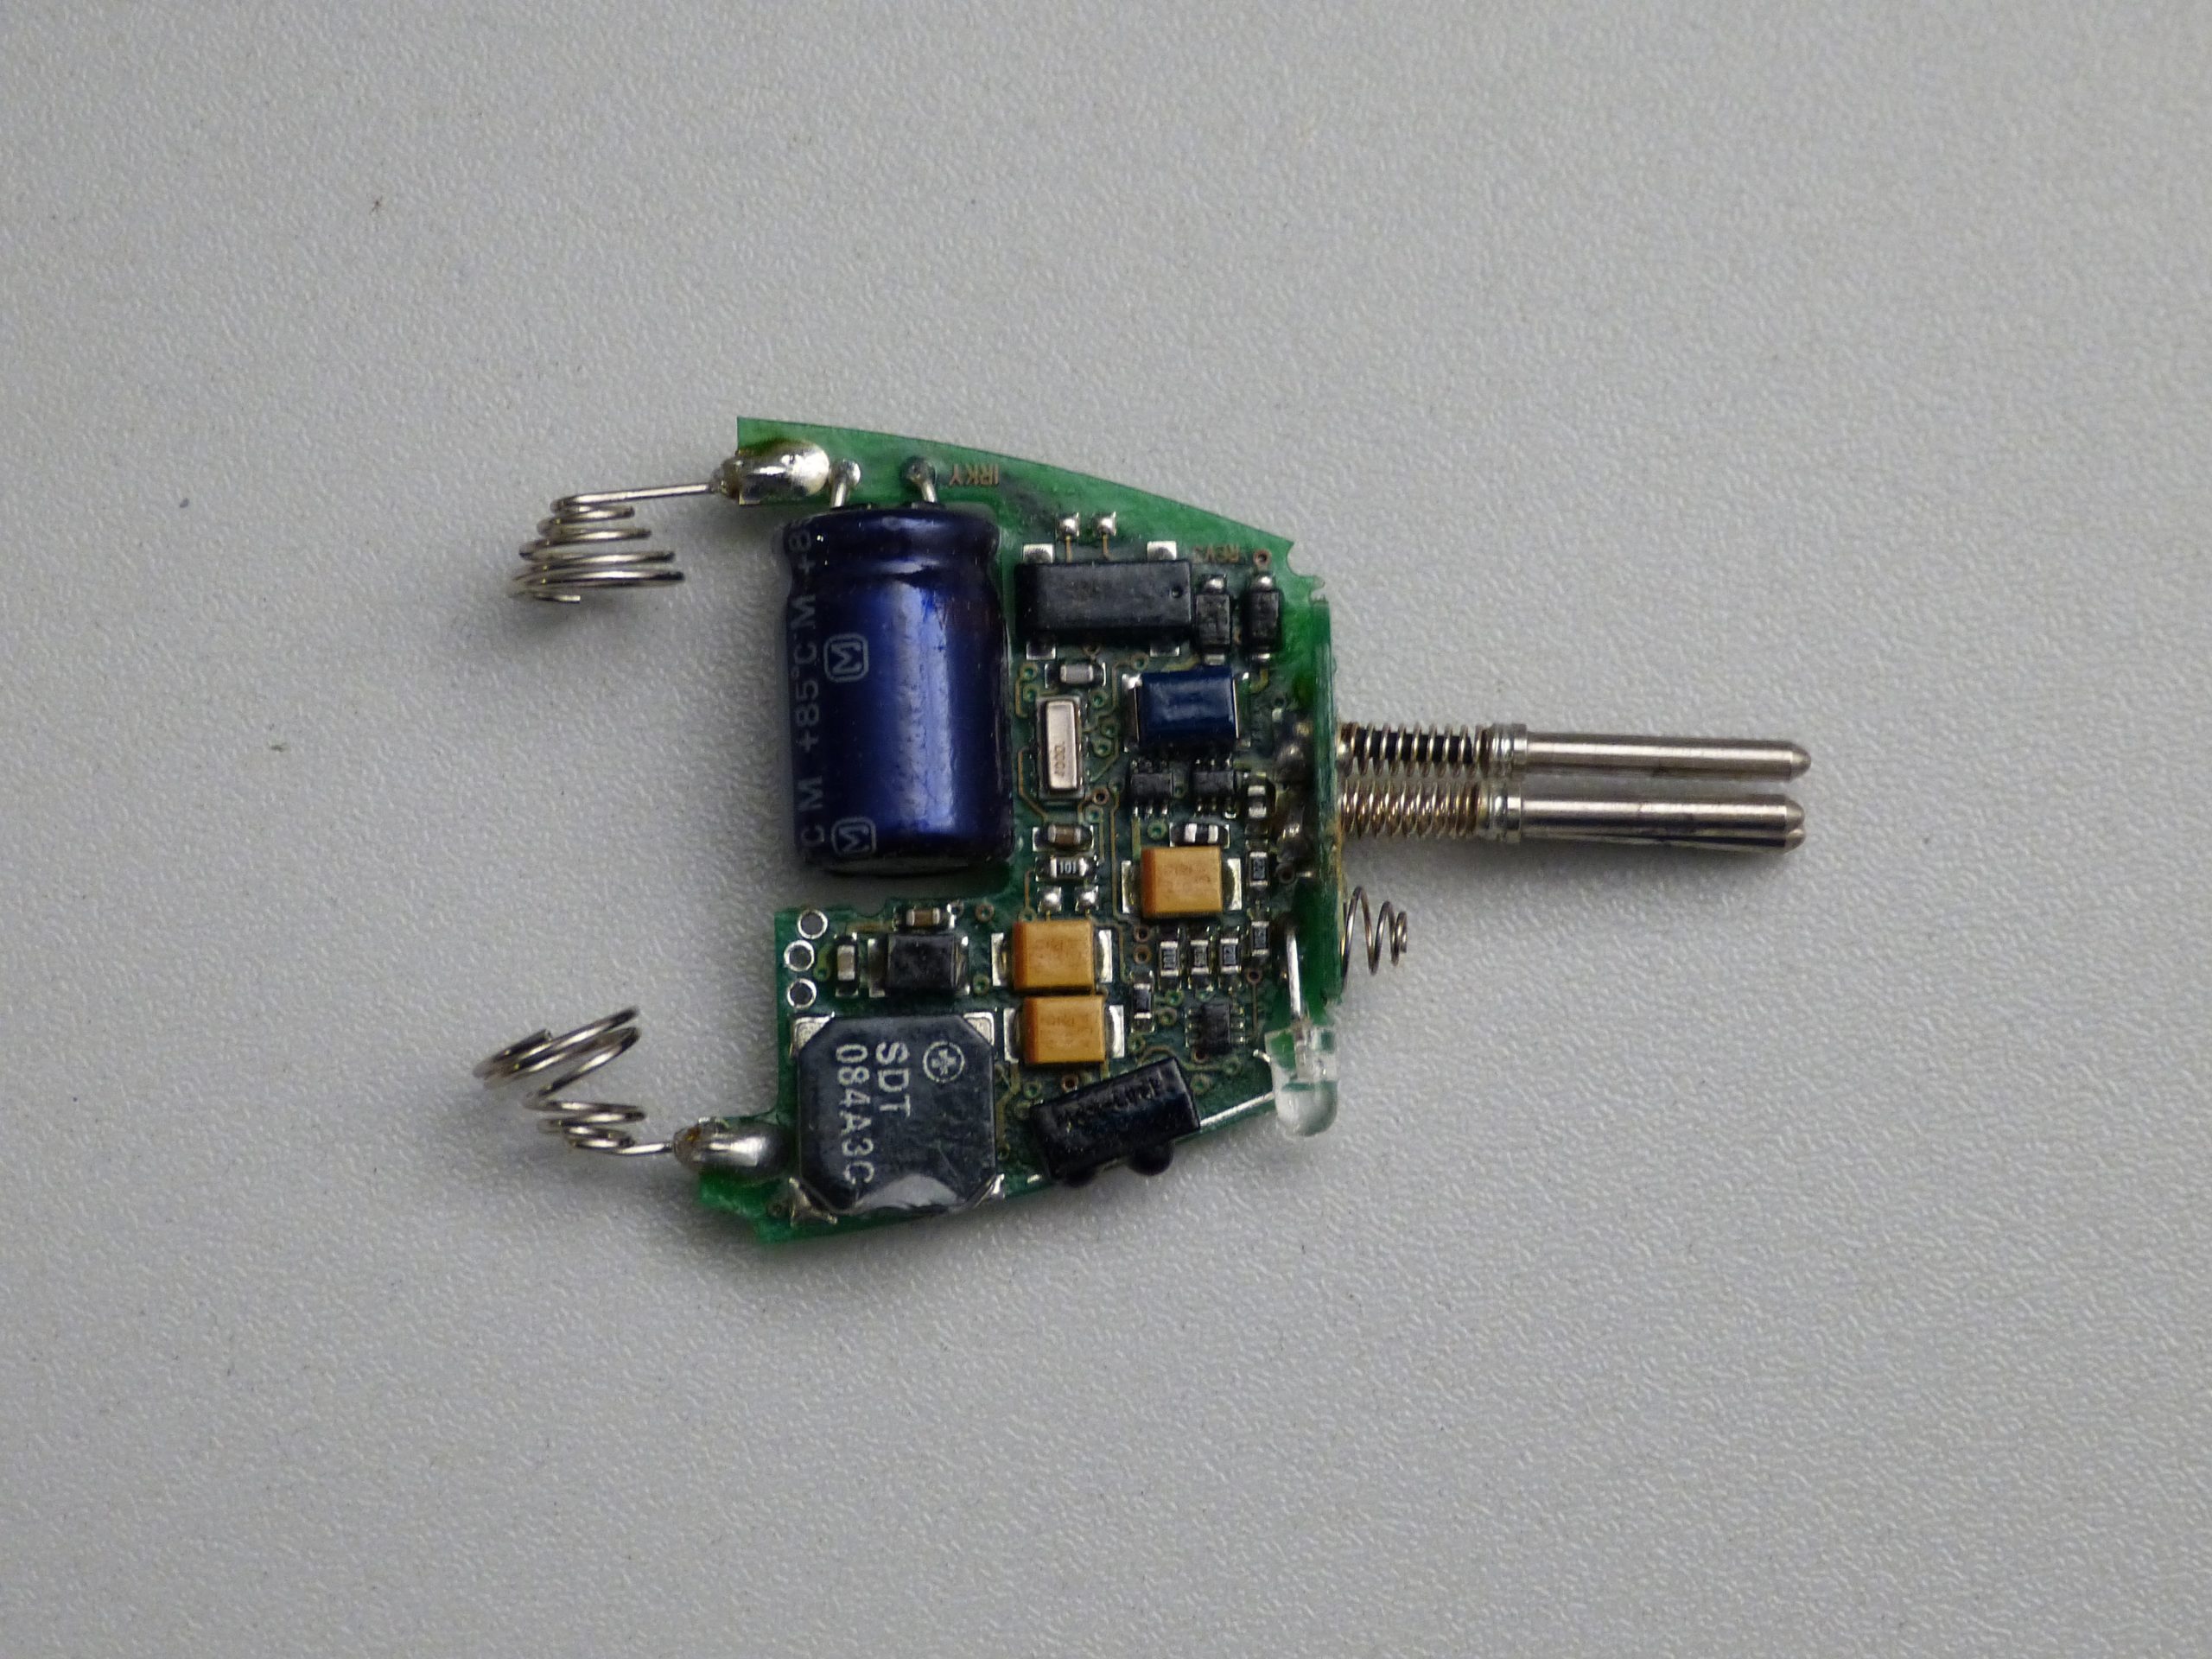
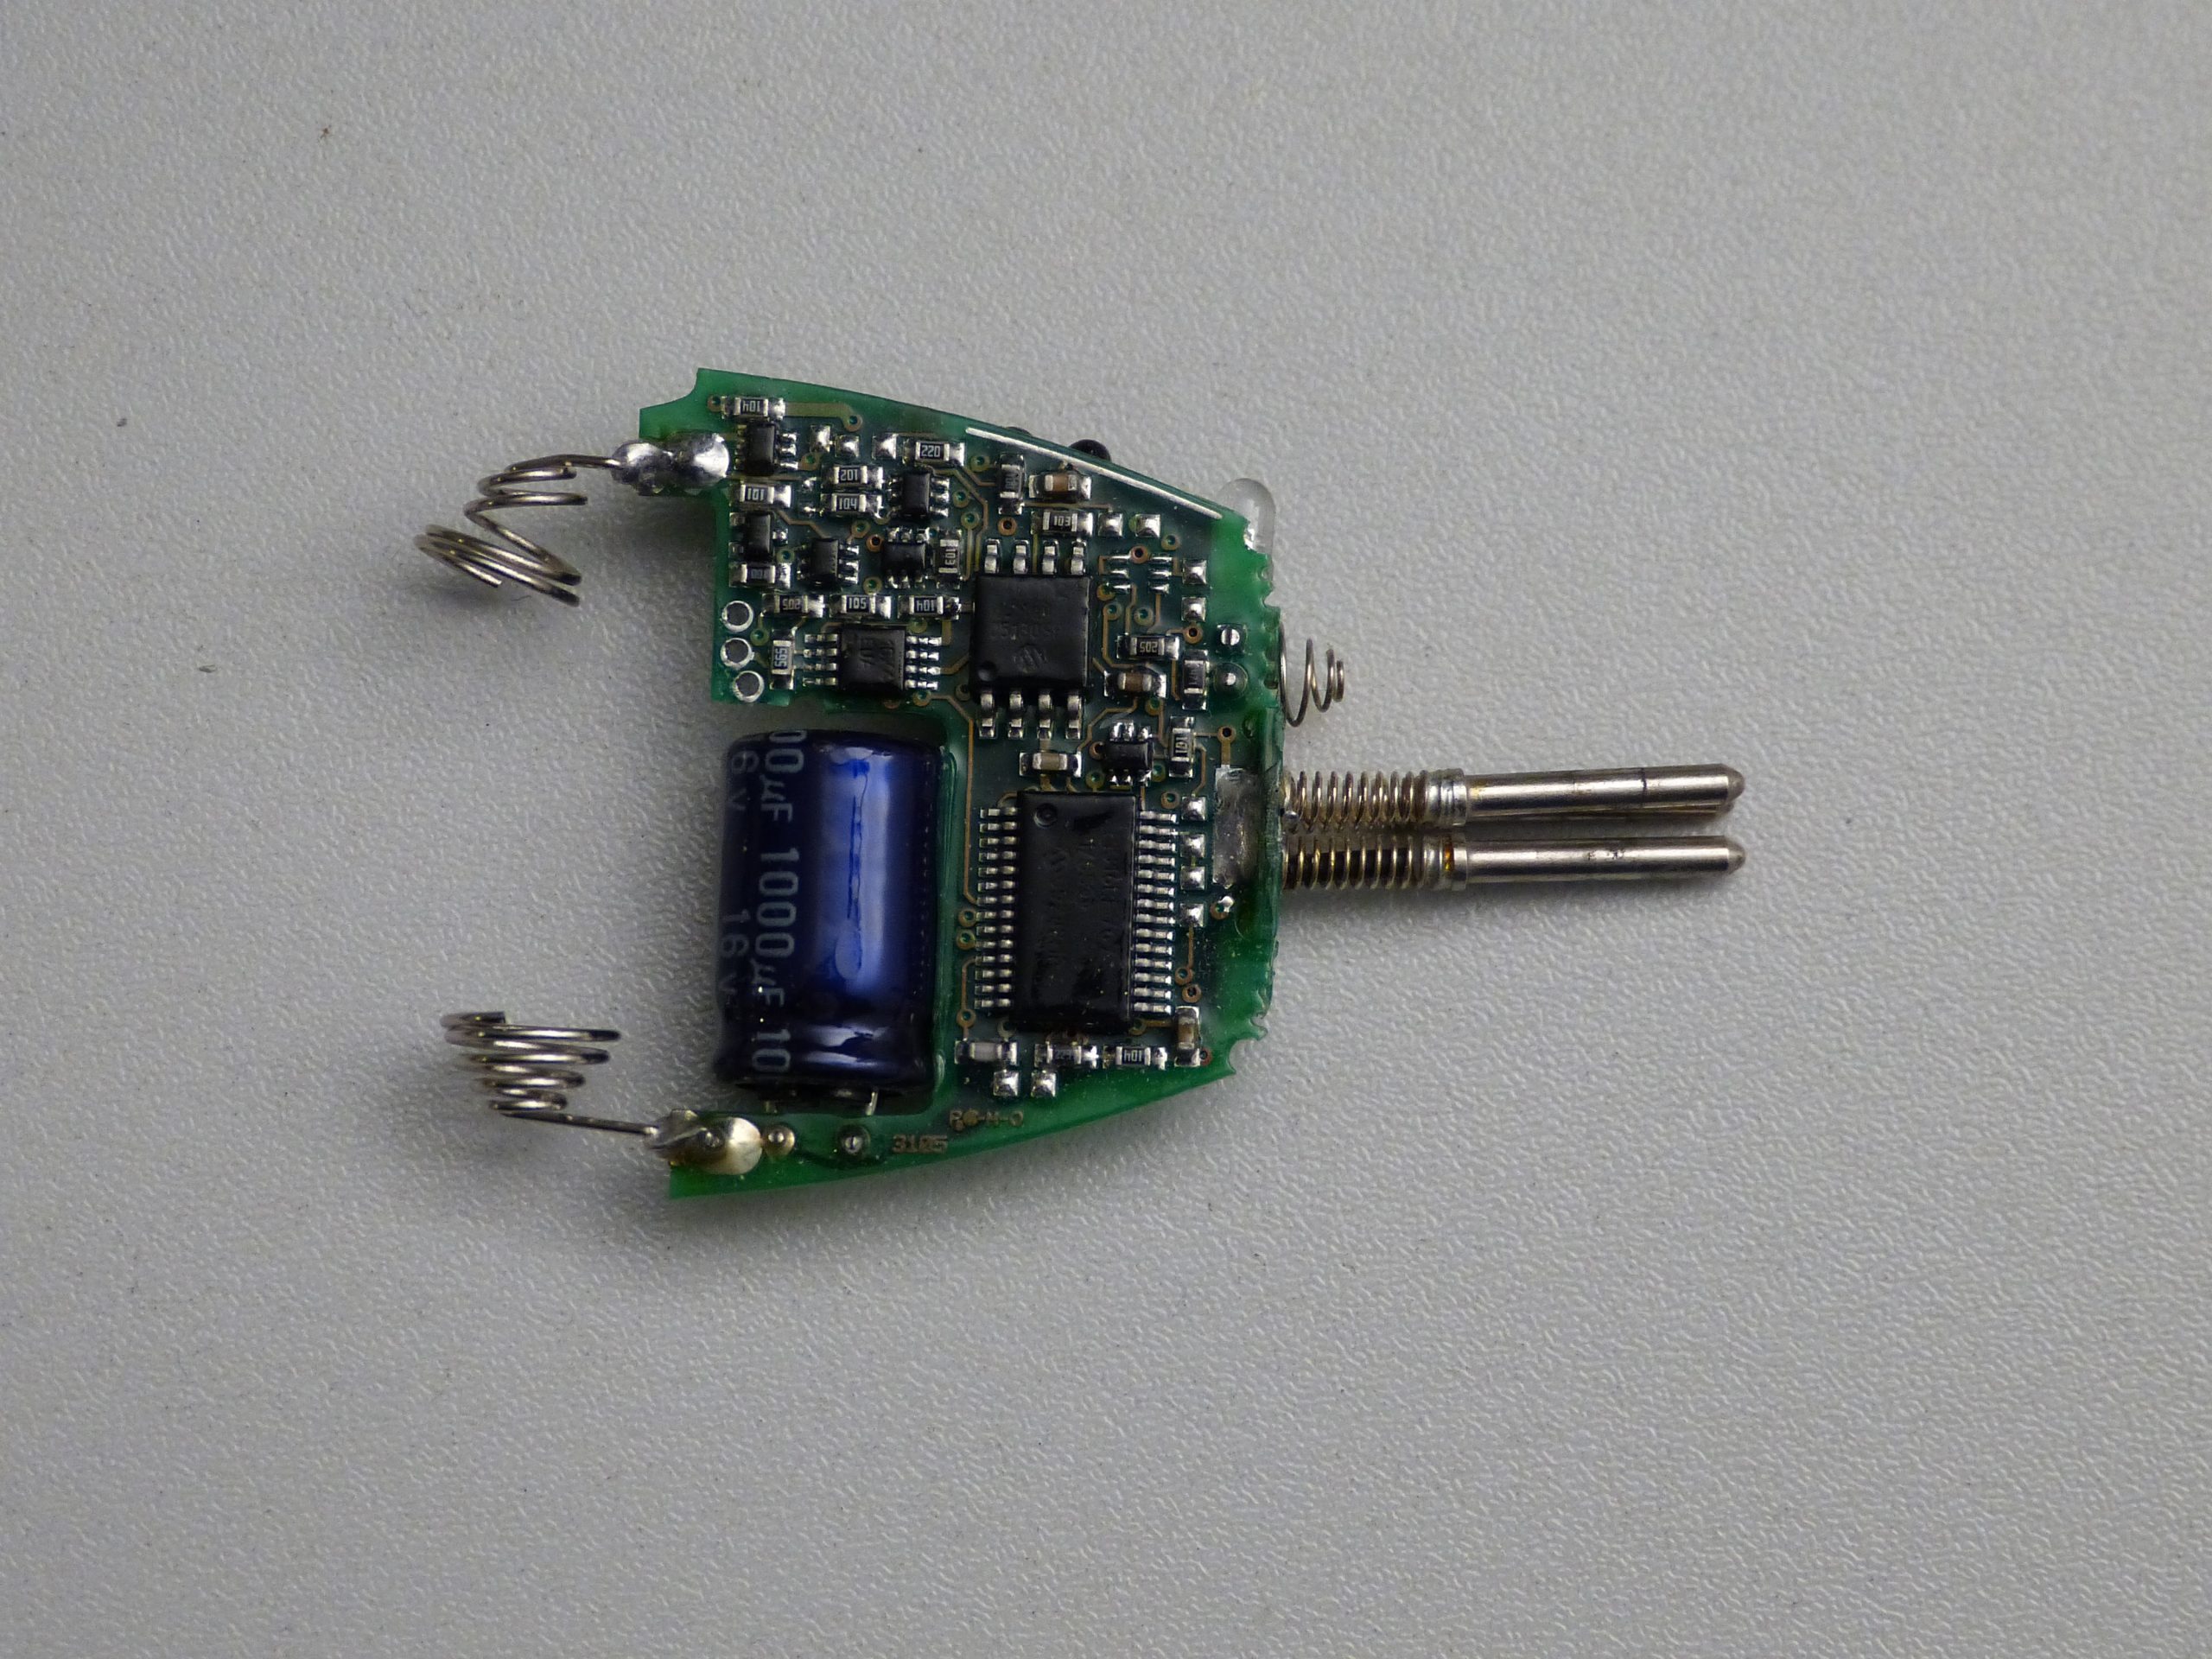
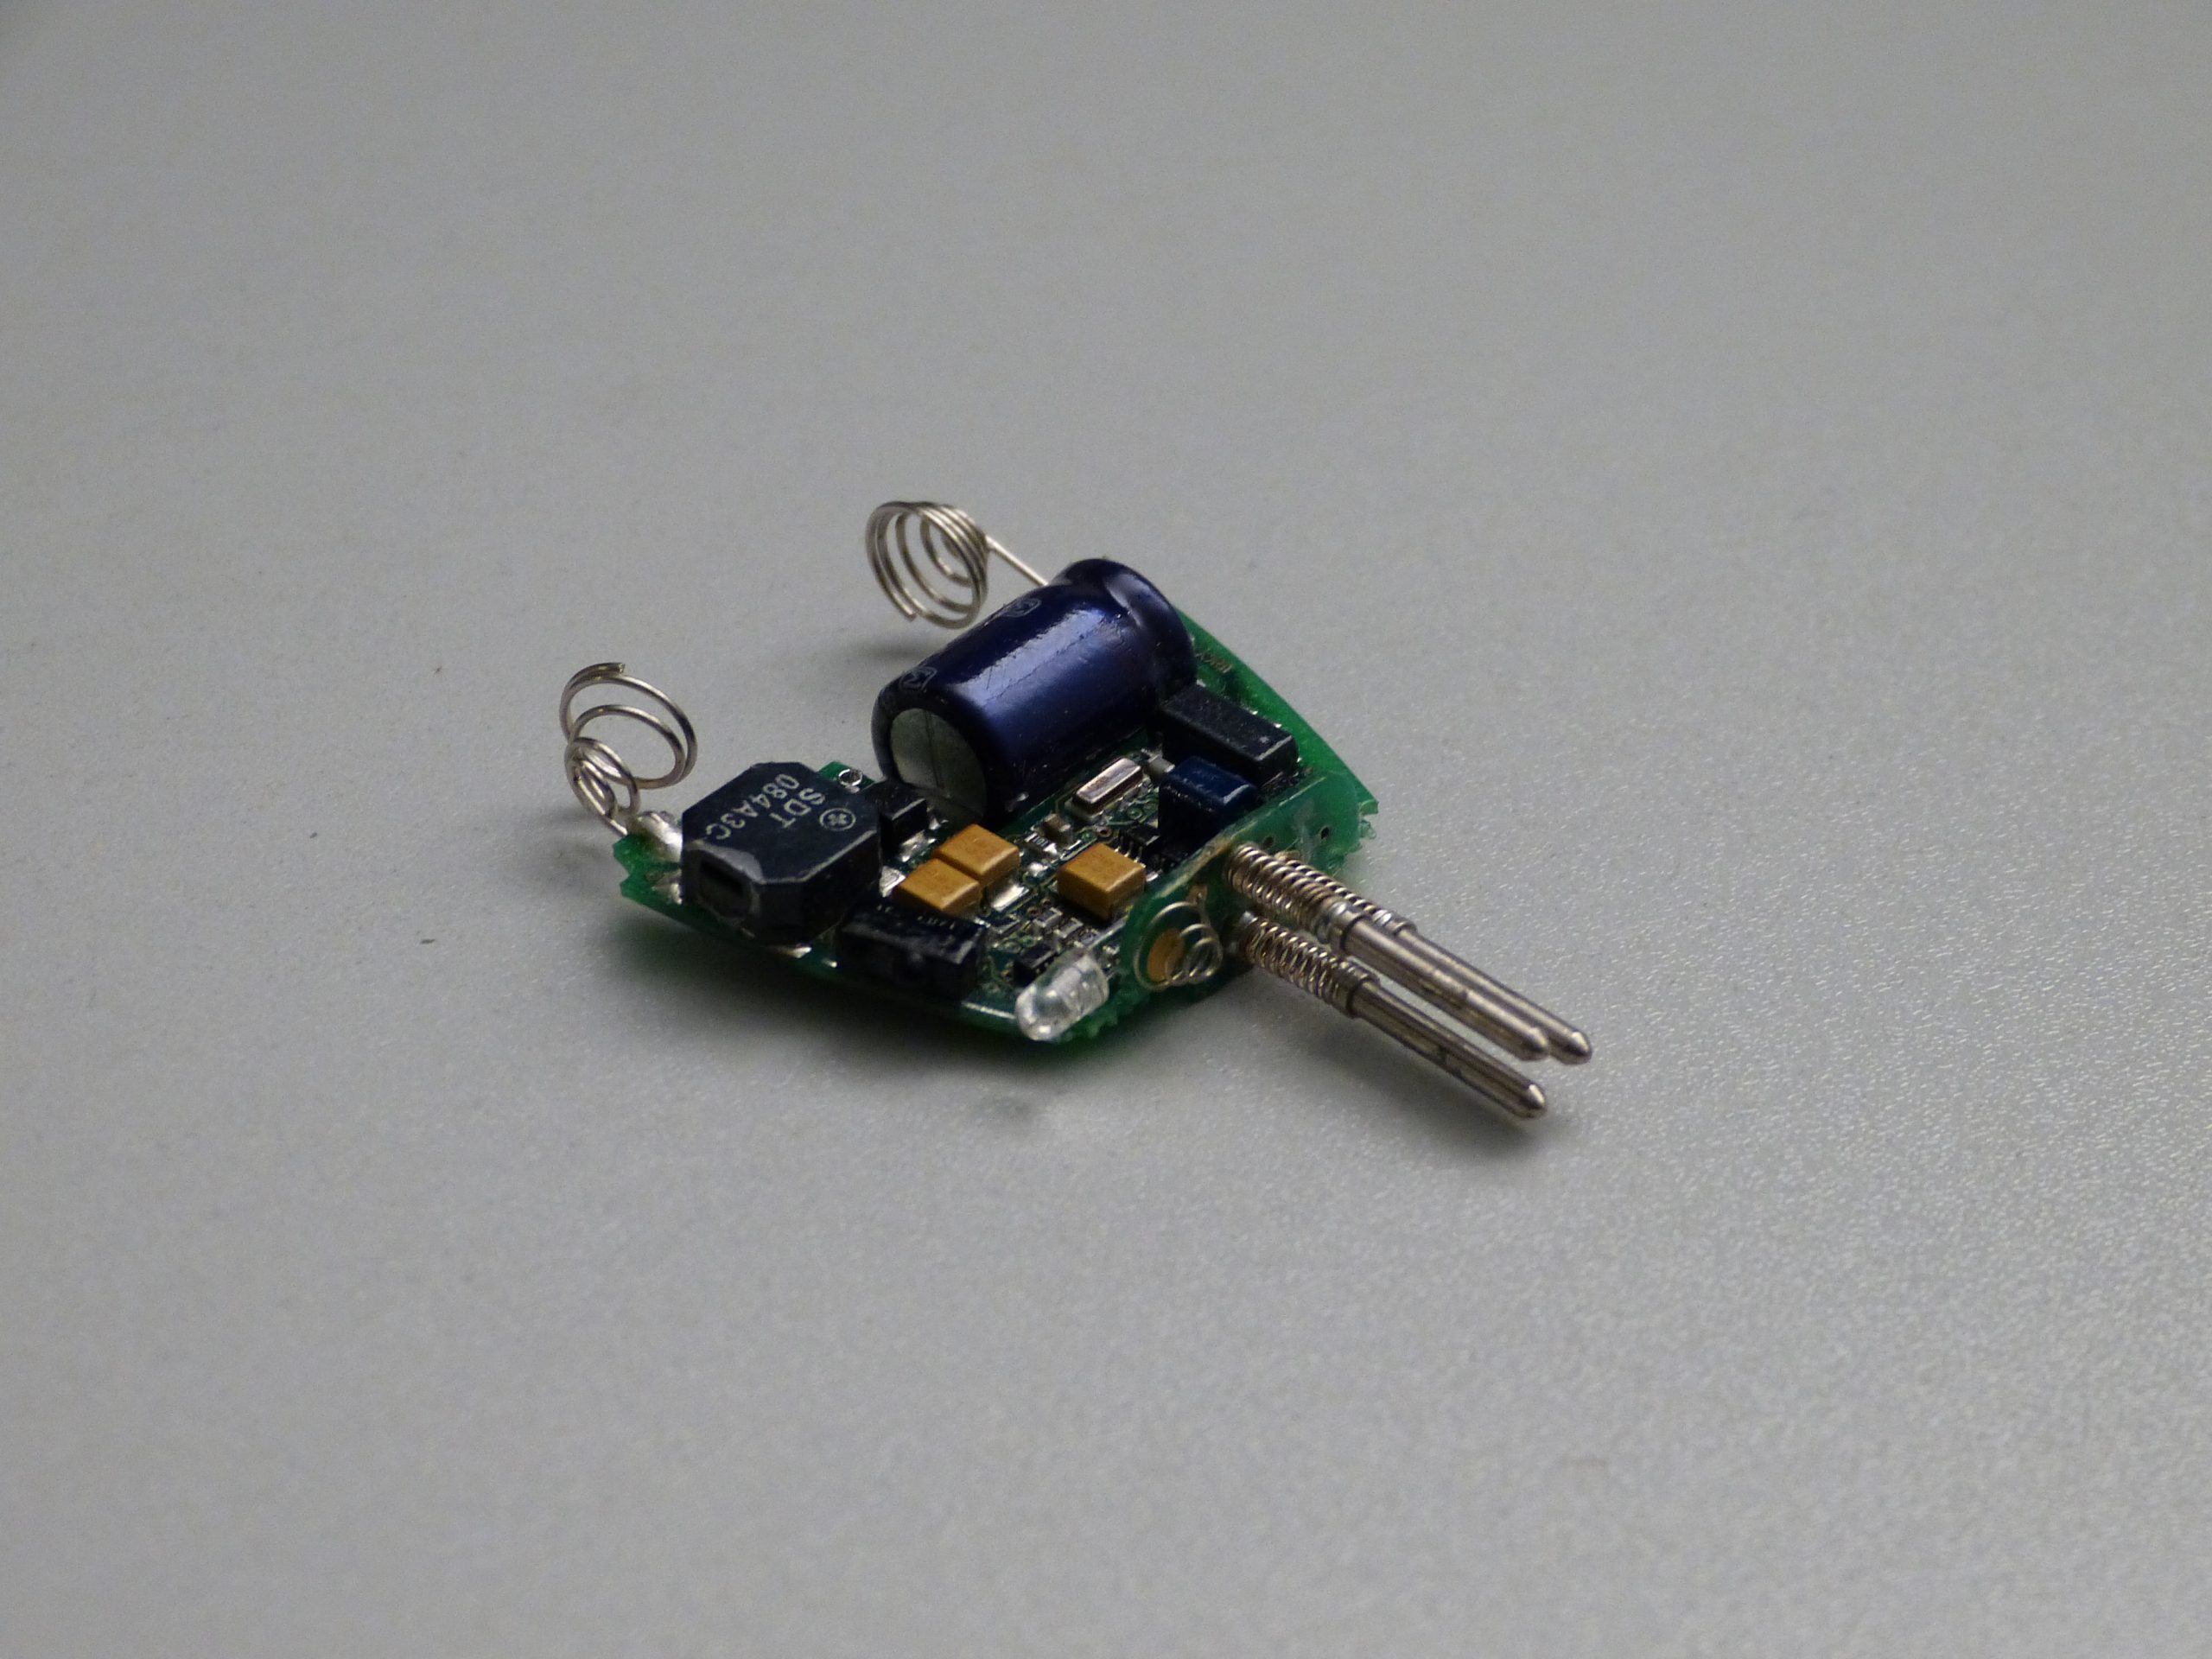
A friend knows I’m into electronic locks and gave me this CyberKey key as a present. He did not have the locks to share so you will have to do with pictures of the key. Let’s just admire the construction and not worry about all the ways you would break an electronic access system like this.

Note: Click the pictures for the full size image.

CC-BY-4.0 Jan-Willem Markus Toool Blackbag

Lock pin collection

vrijdag, maart 19th, 2021

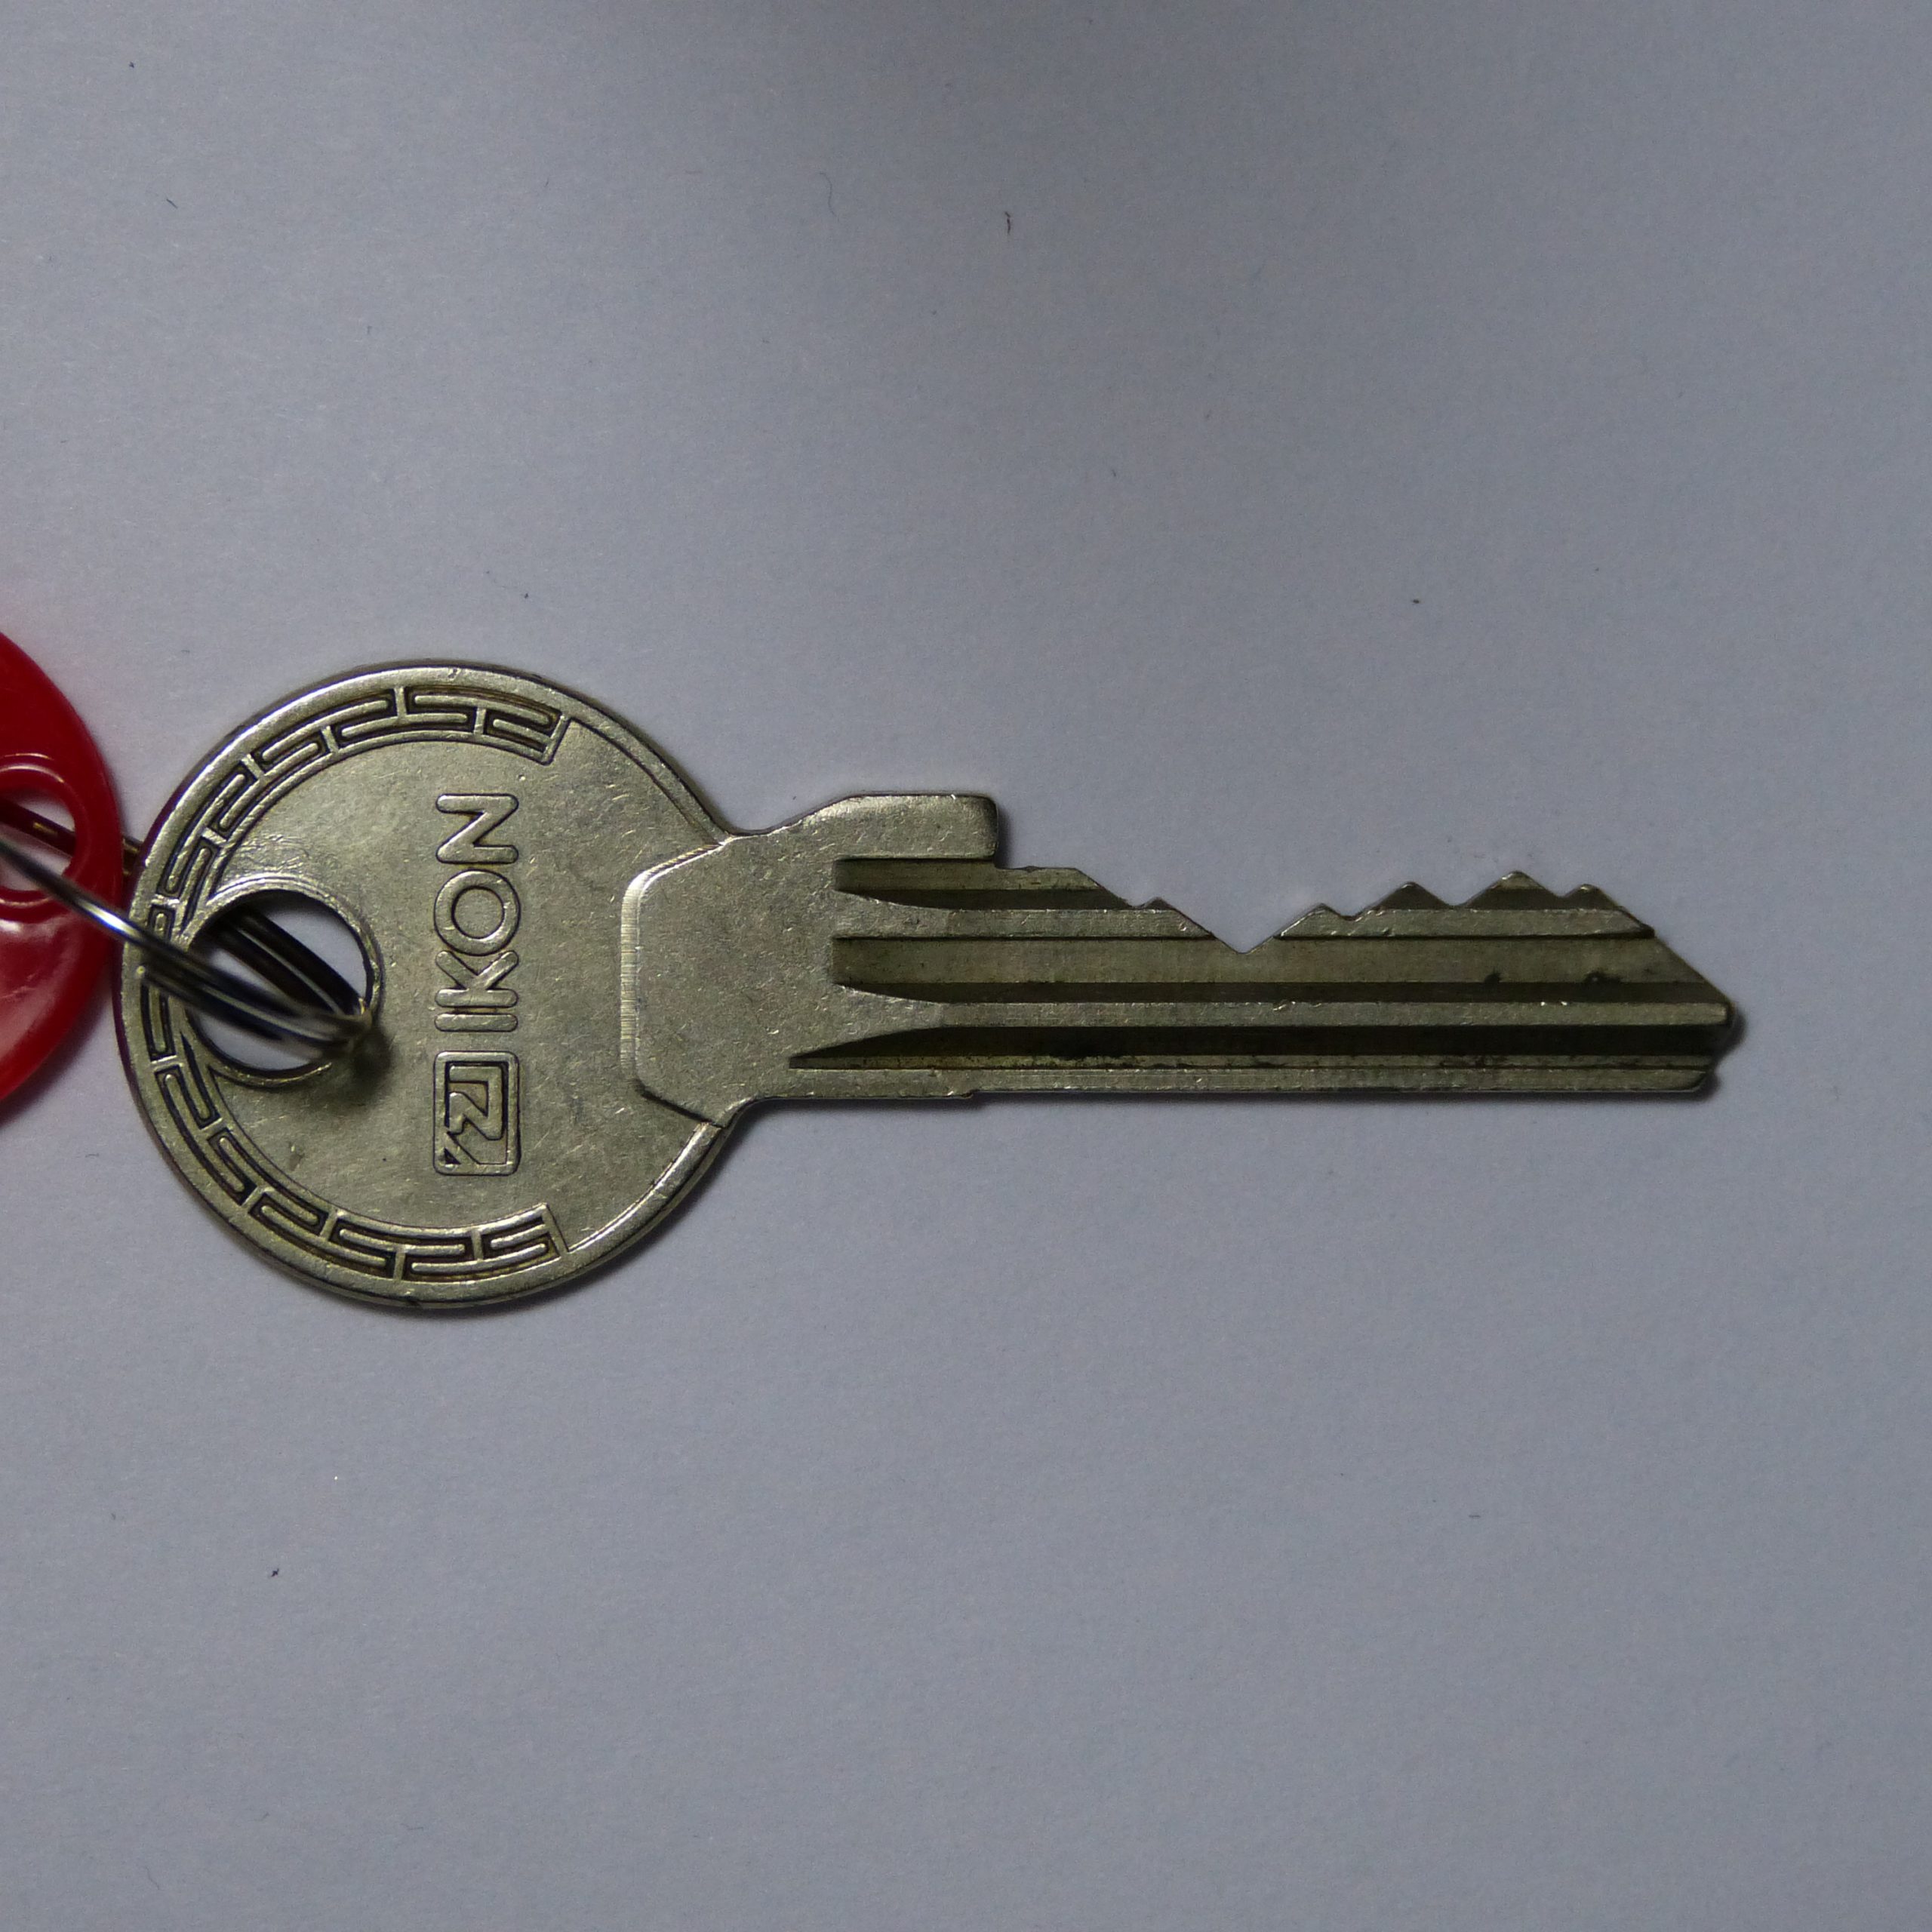
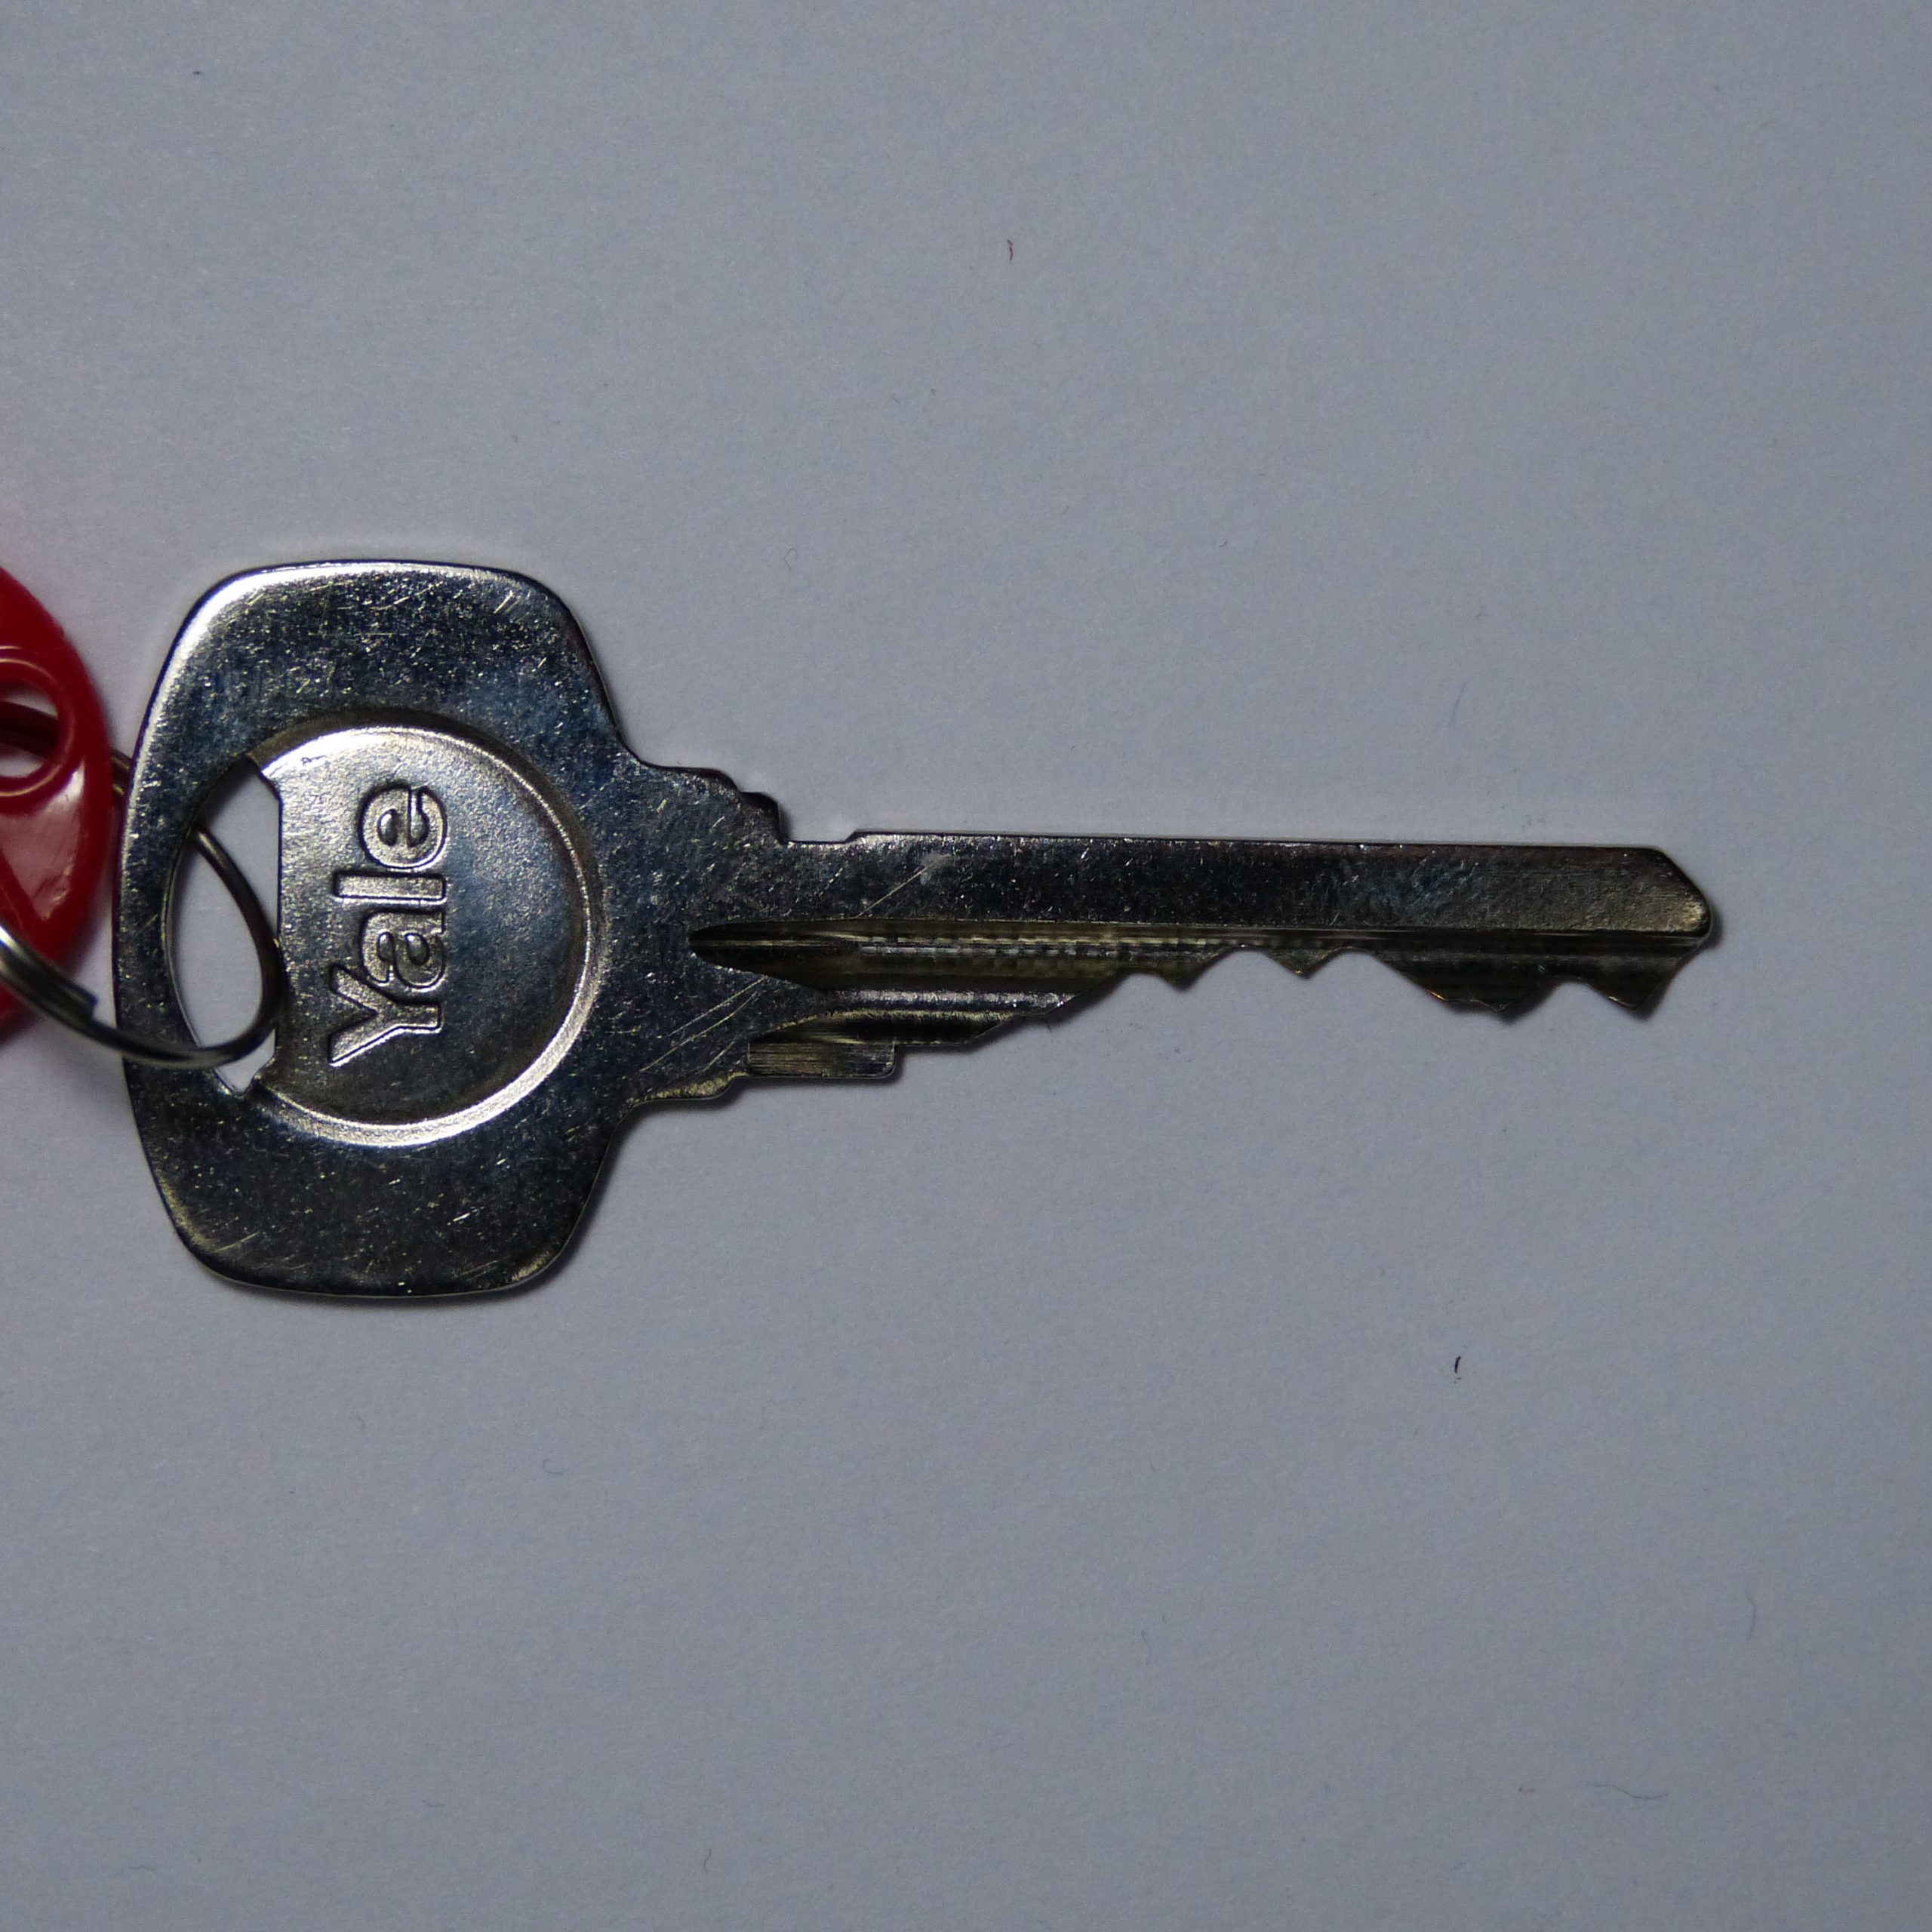
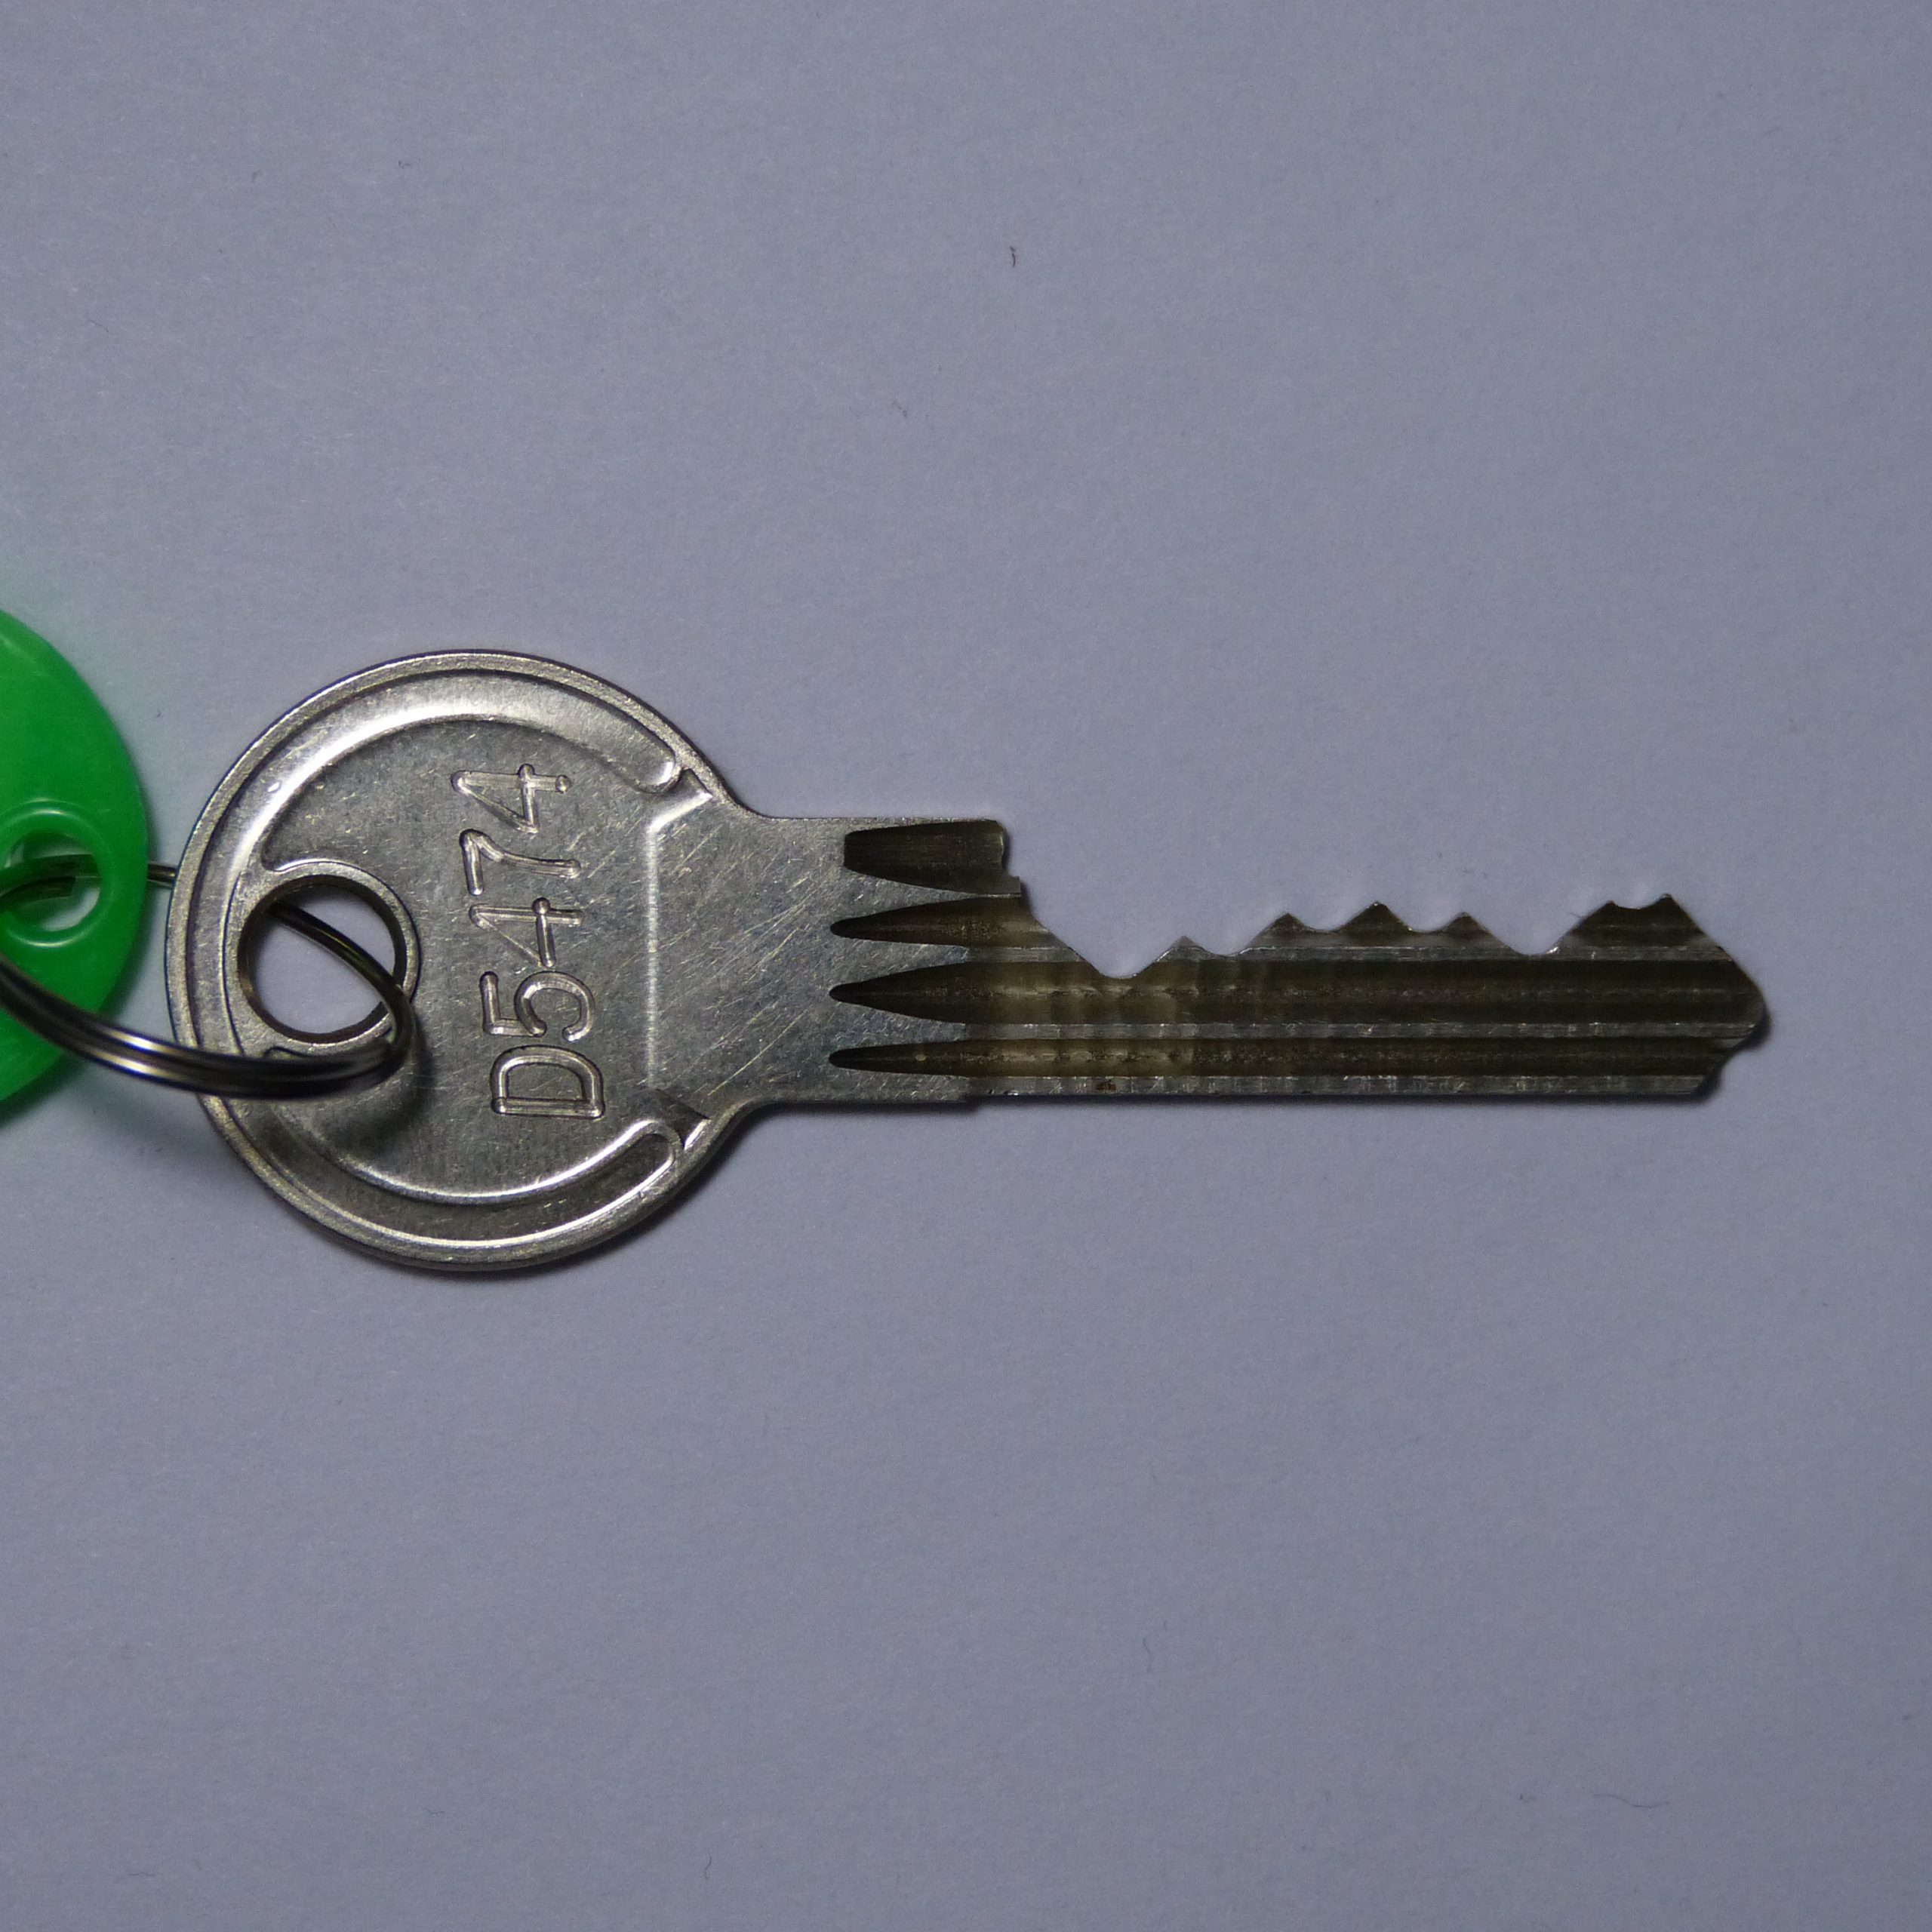
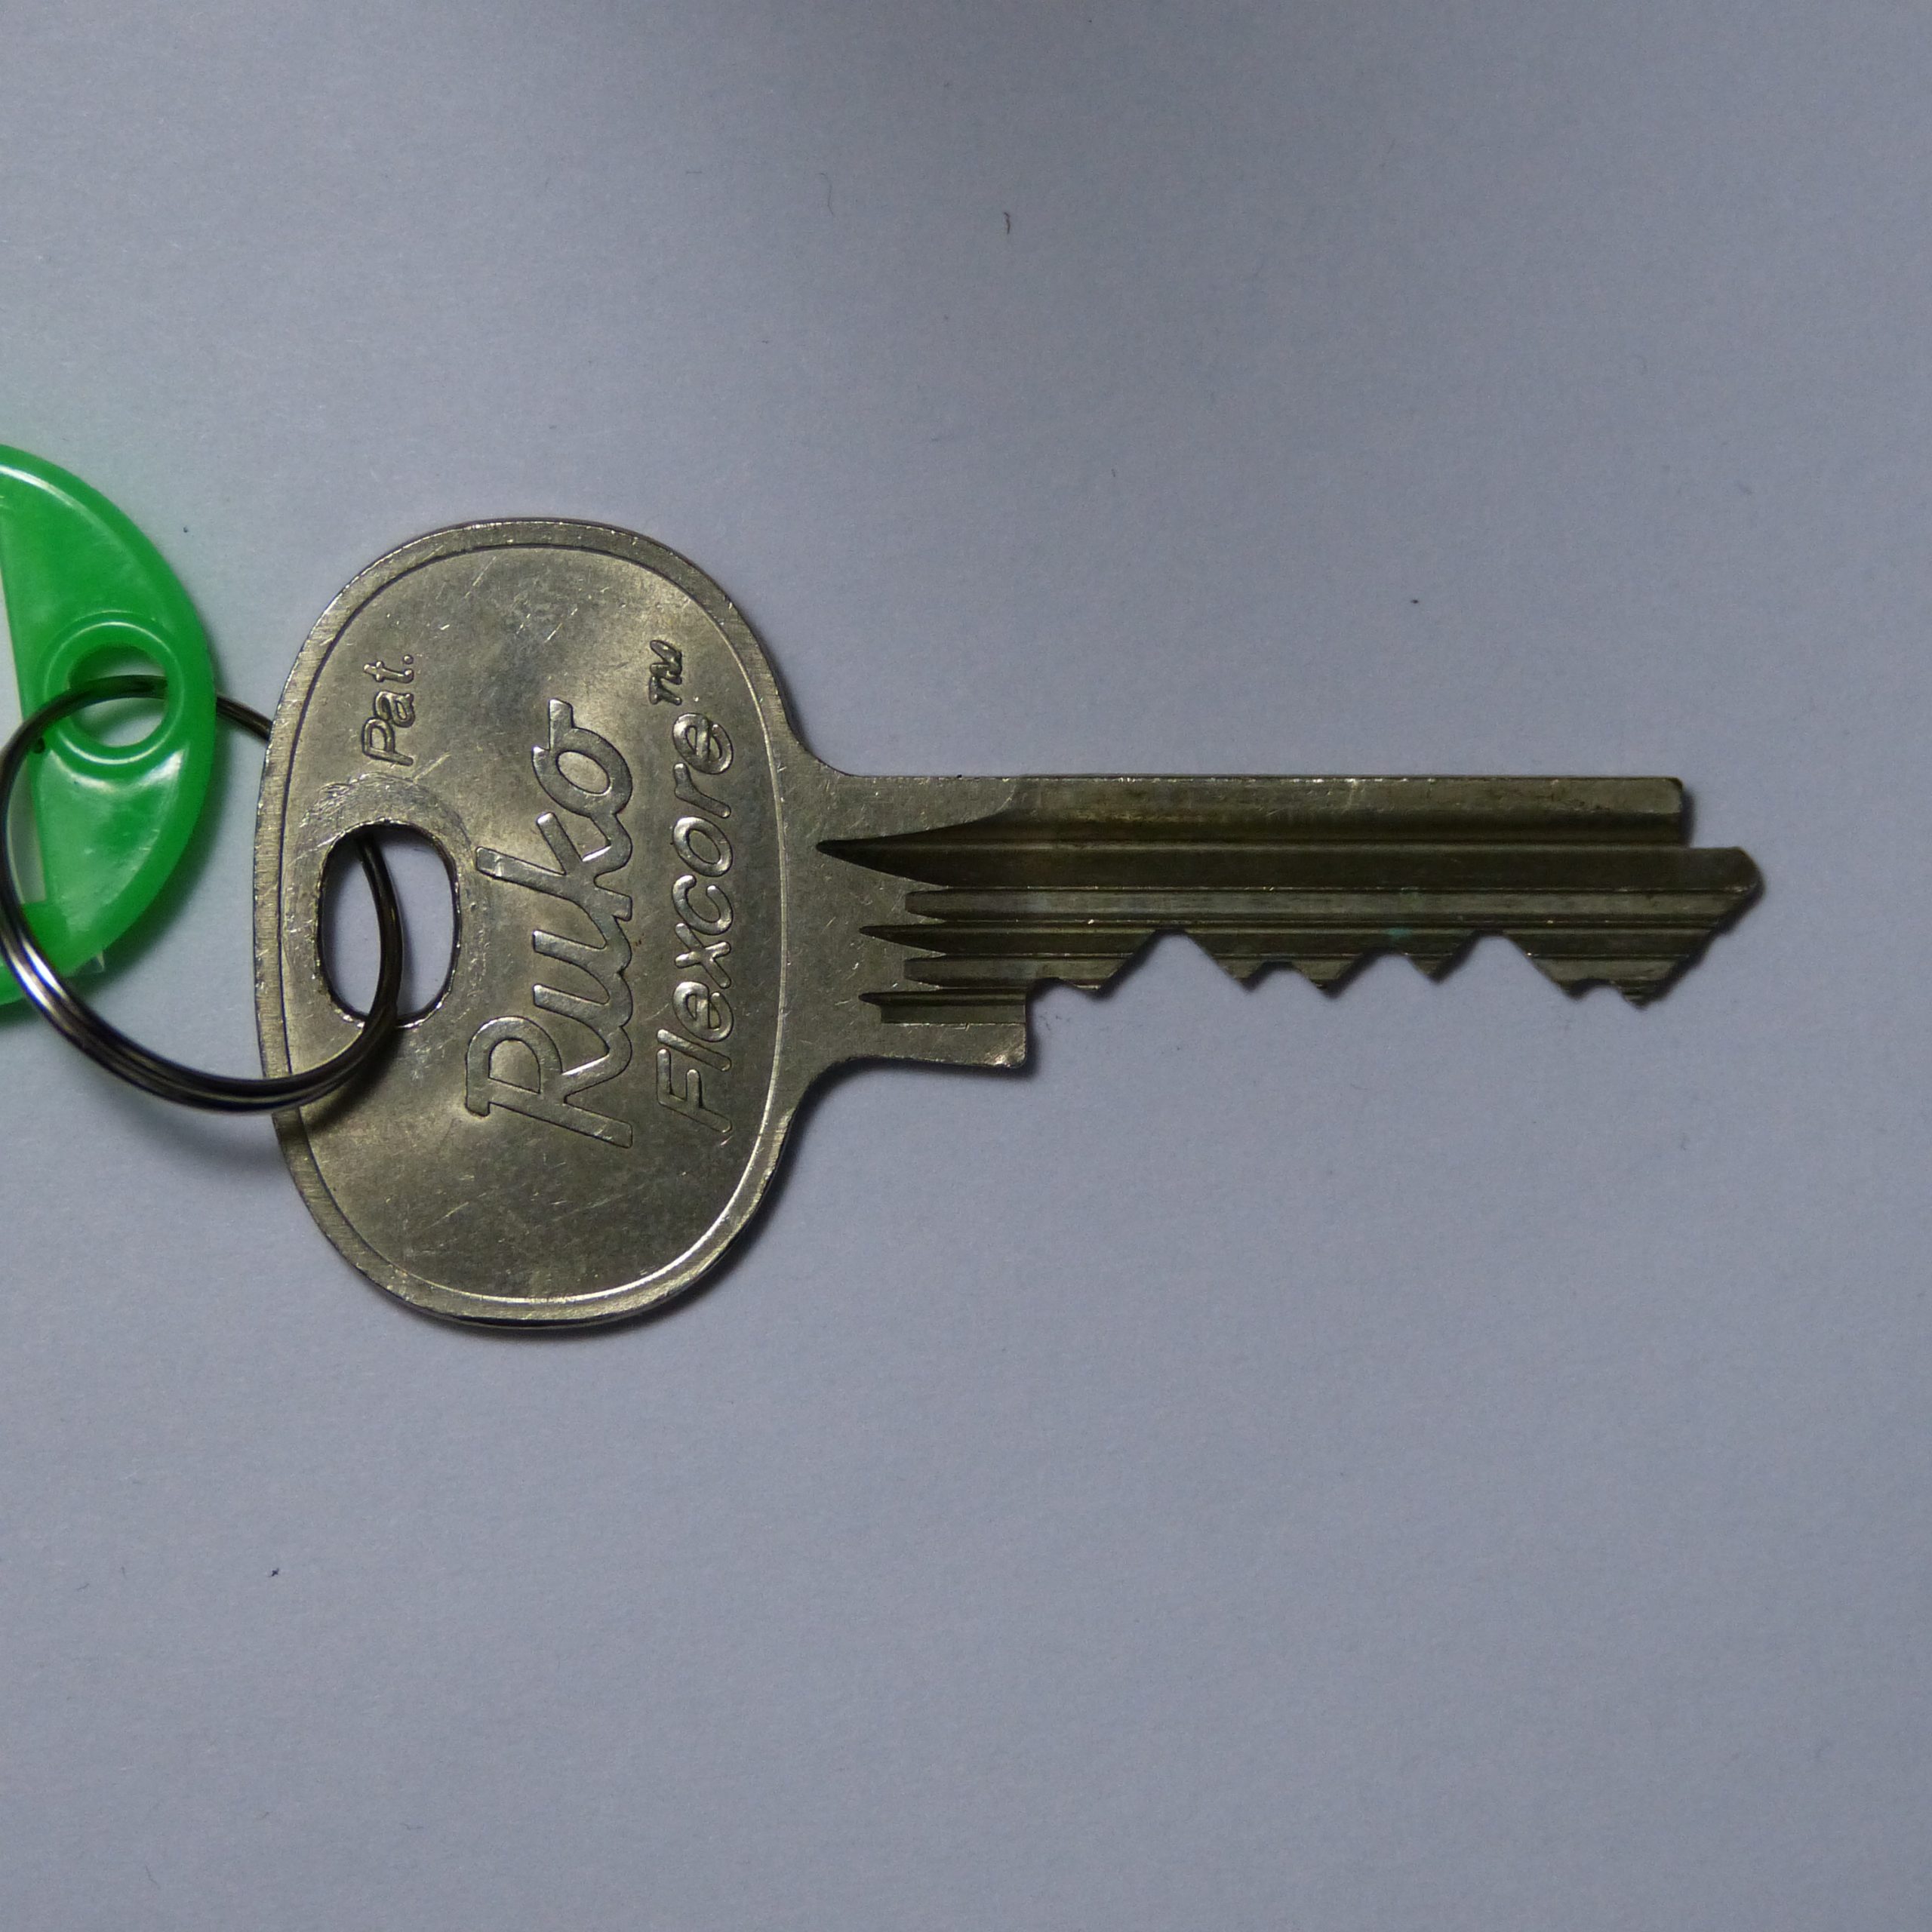
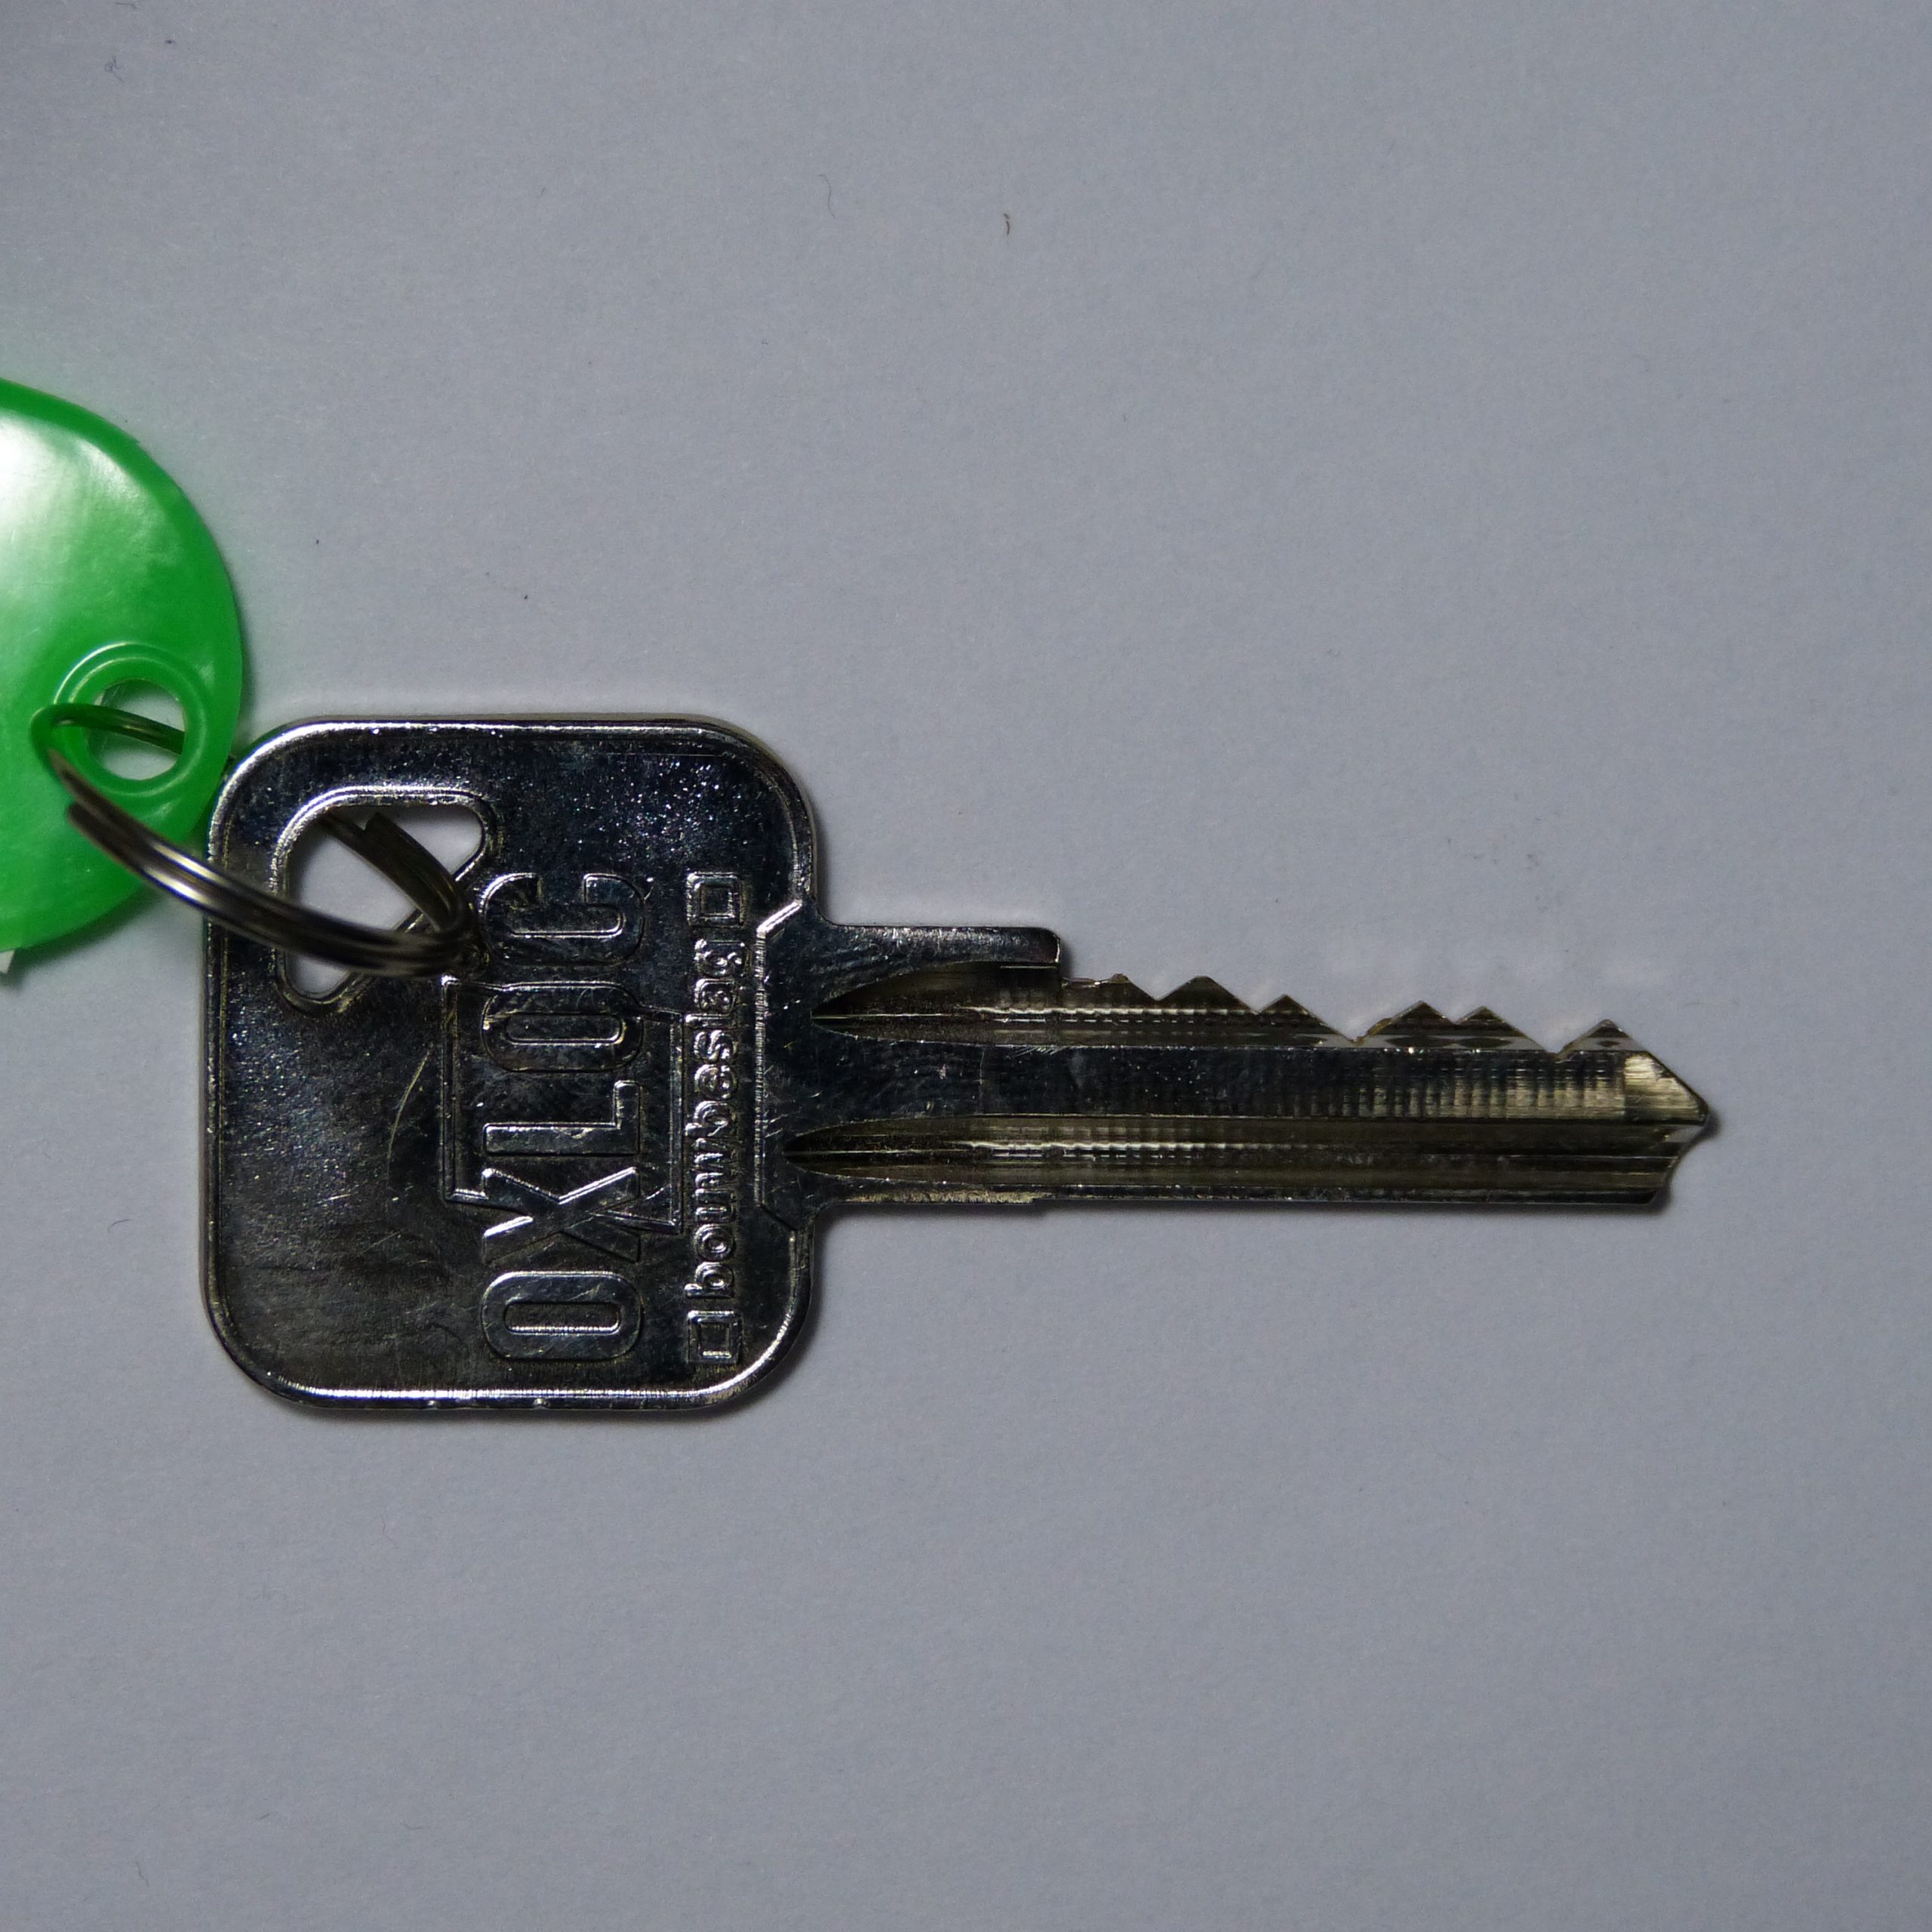
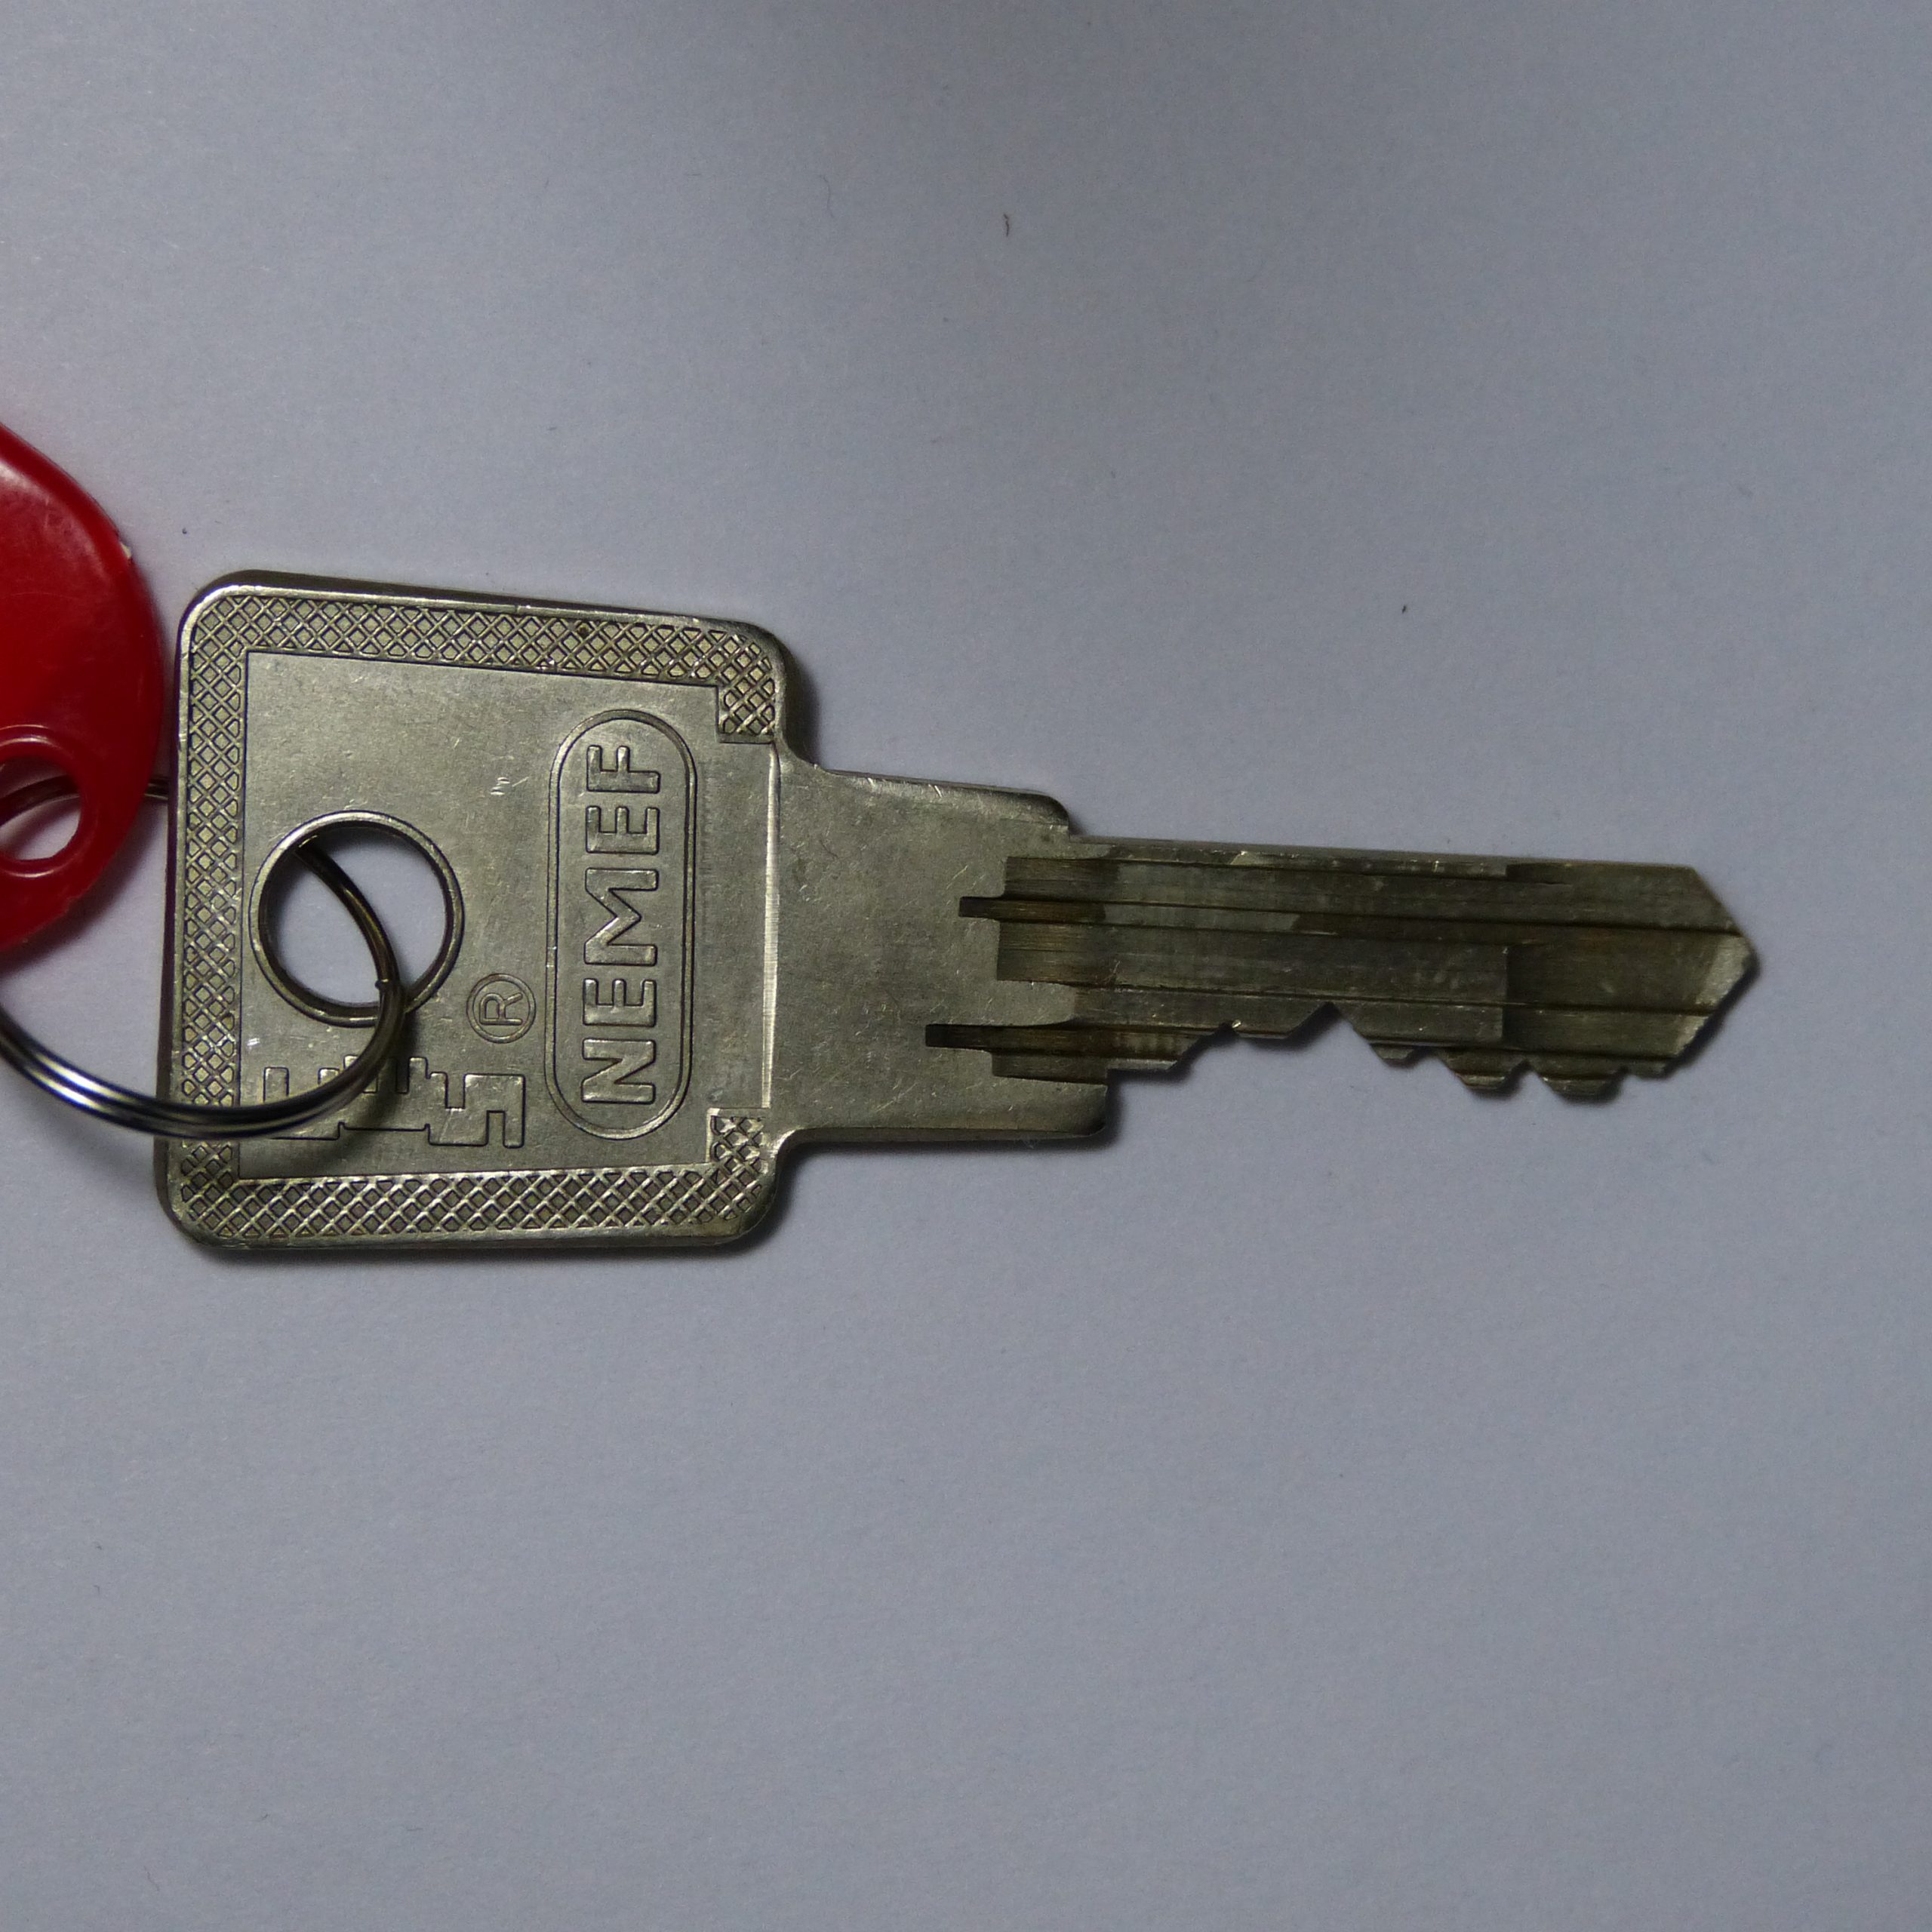
In a previous blog post Jan-Willem’s pin collection was mentioned. In this post the pictures of the pins and keys are shared.

There is no epic conclusions to this project. At this moment it’s is just a collection of photos of locks and pins. Shared with the world. Hopefully it’ll be a resource for new pickers that would like to know what they are up against. Maybe future research will use it. Where someone clever uses the fact some spools are different than others to decode the lock. Sputnik comes to mind and we think the possibilities are not exhausted yet. (If you are working on something I’m happy to assist.)

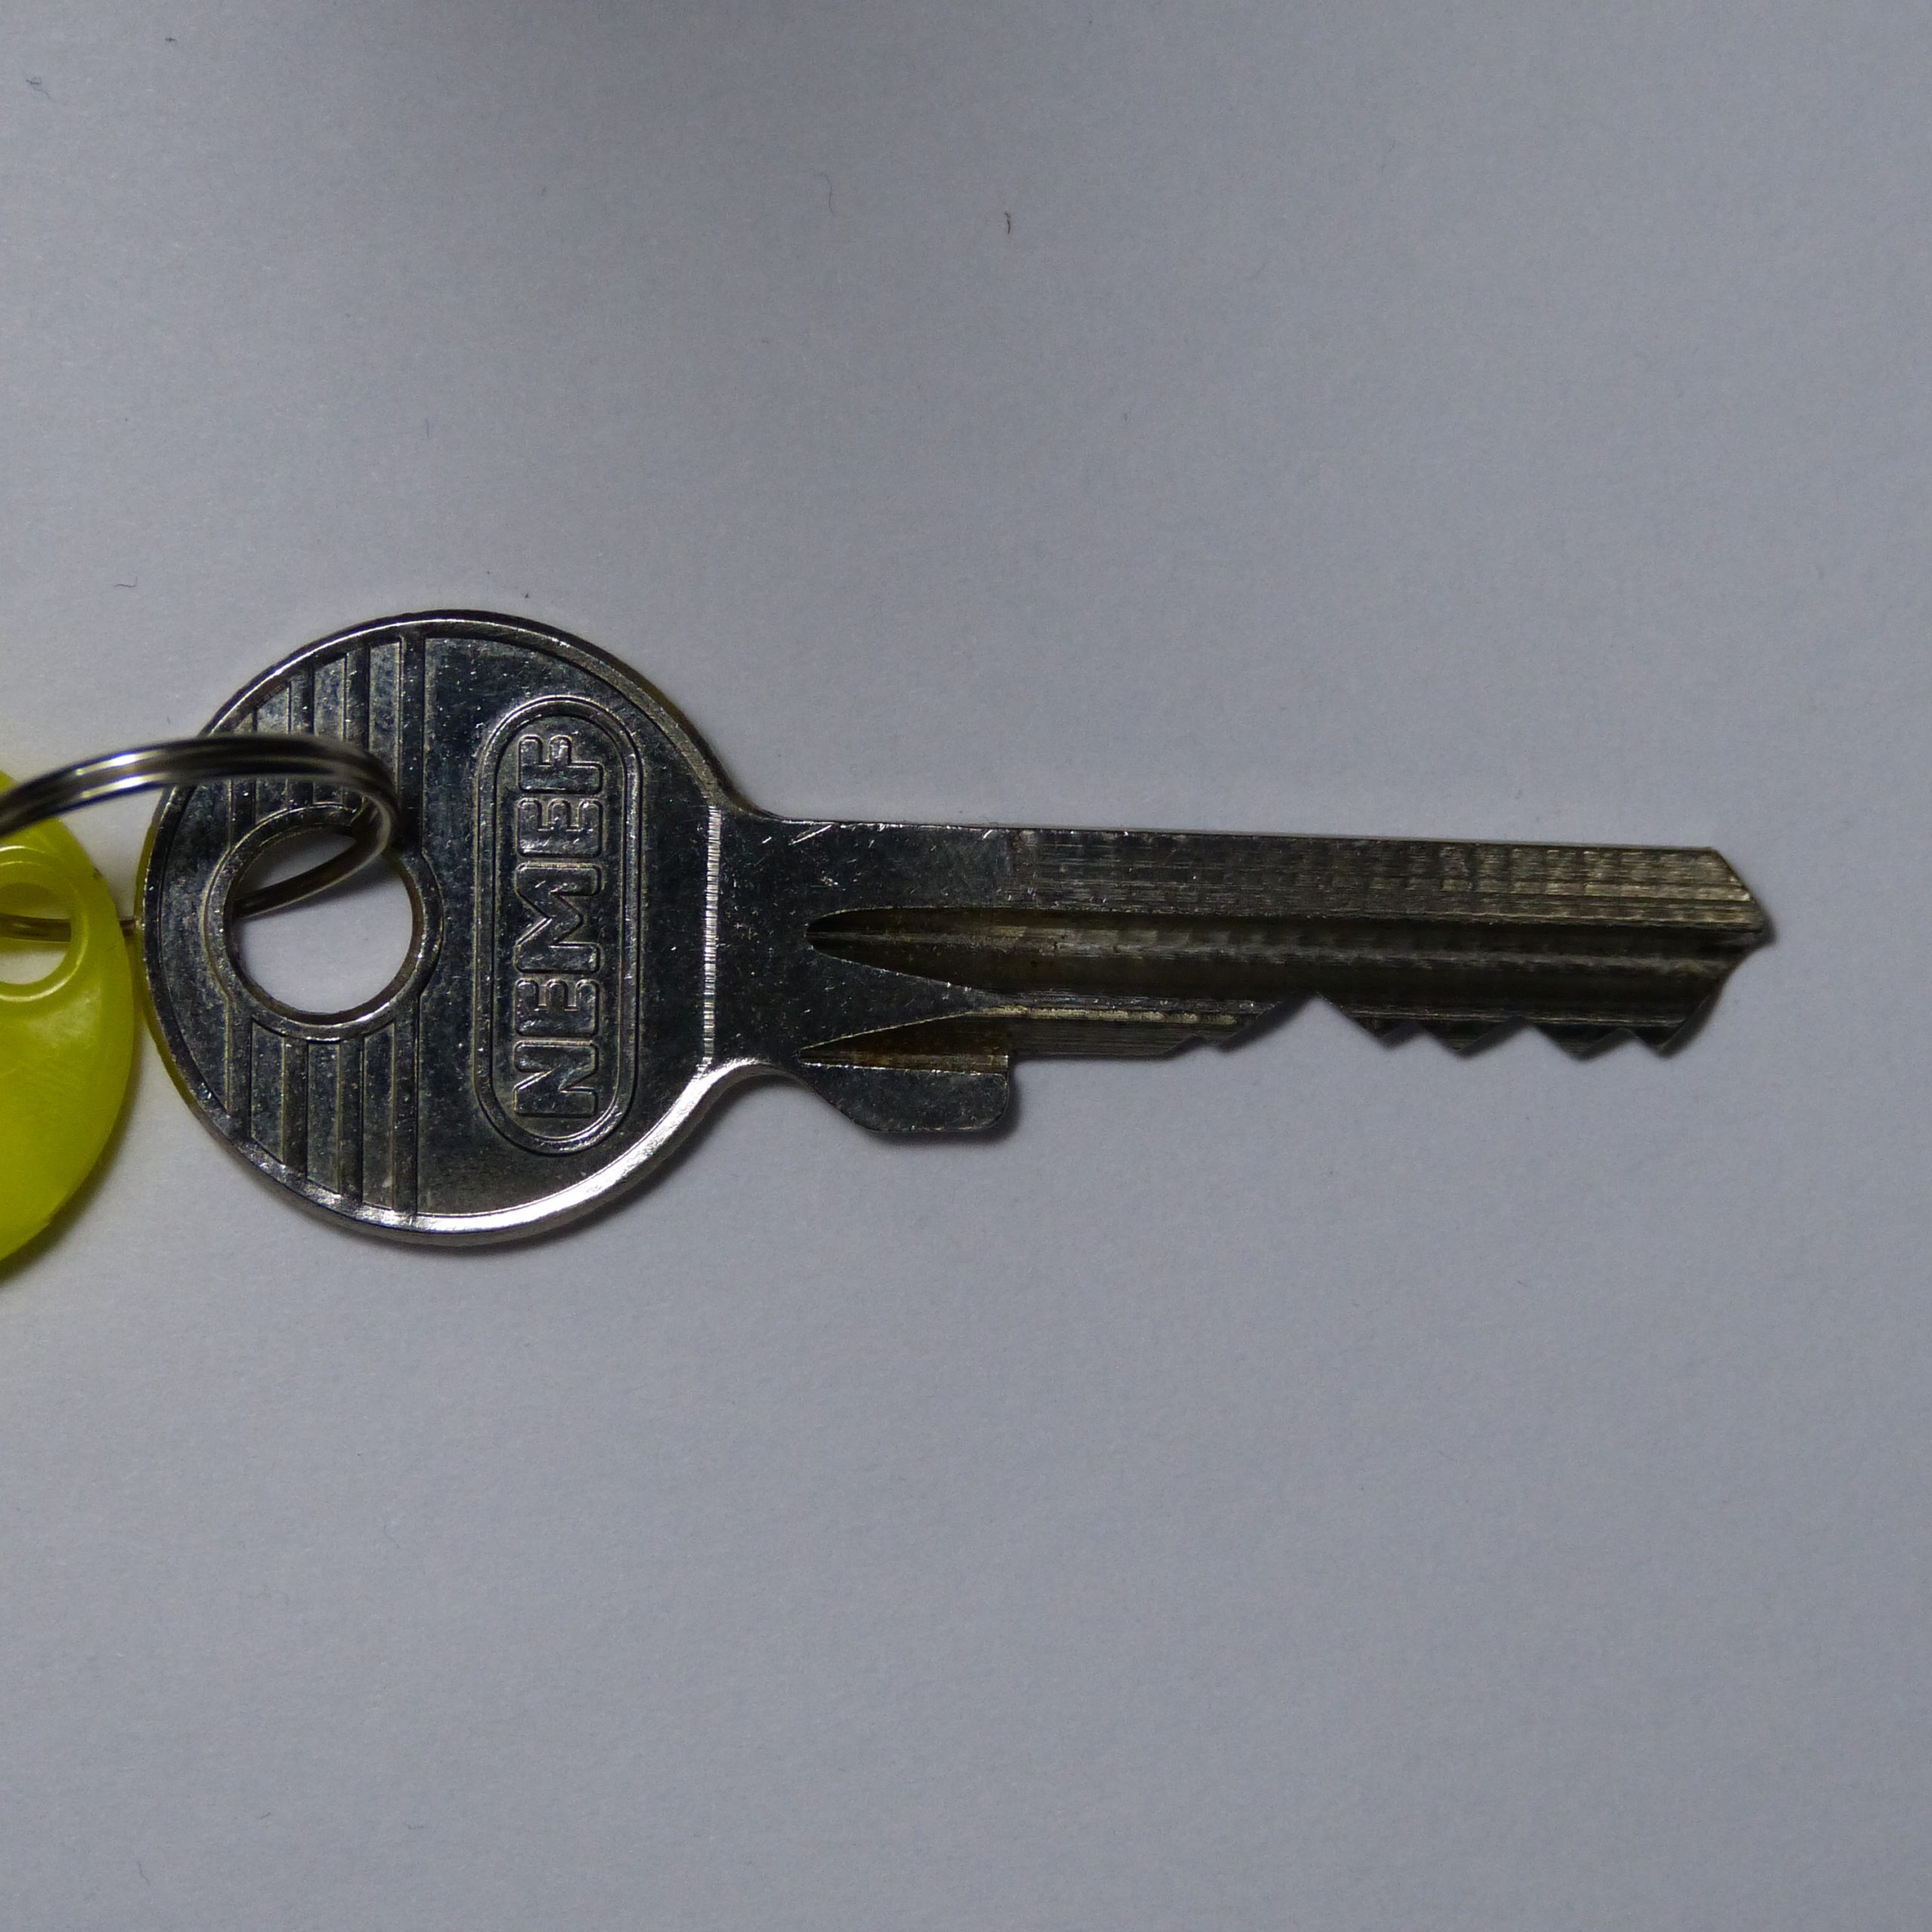
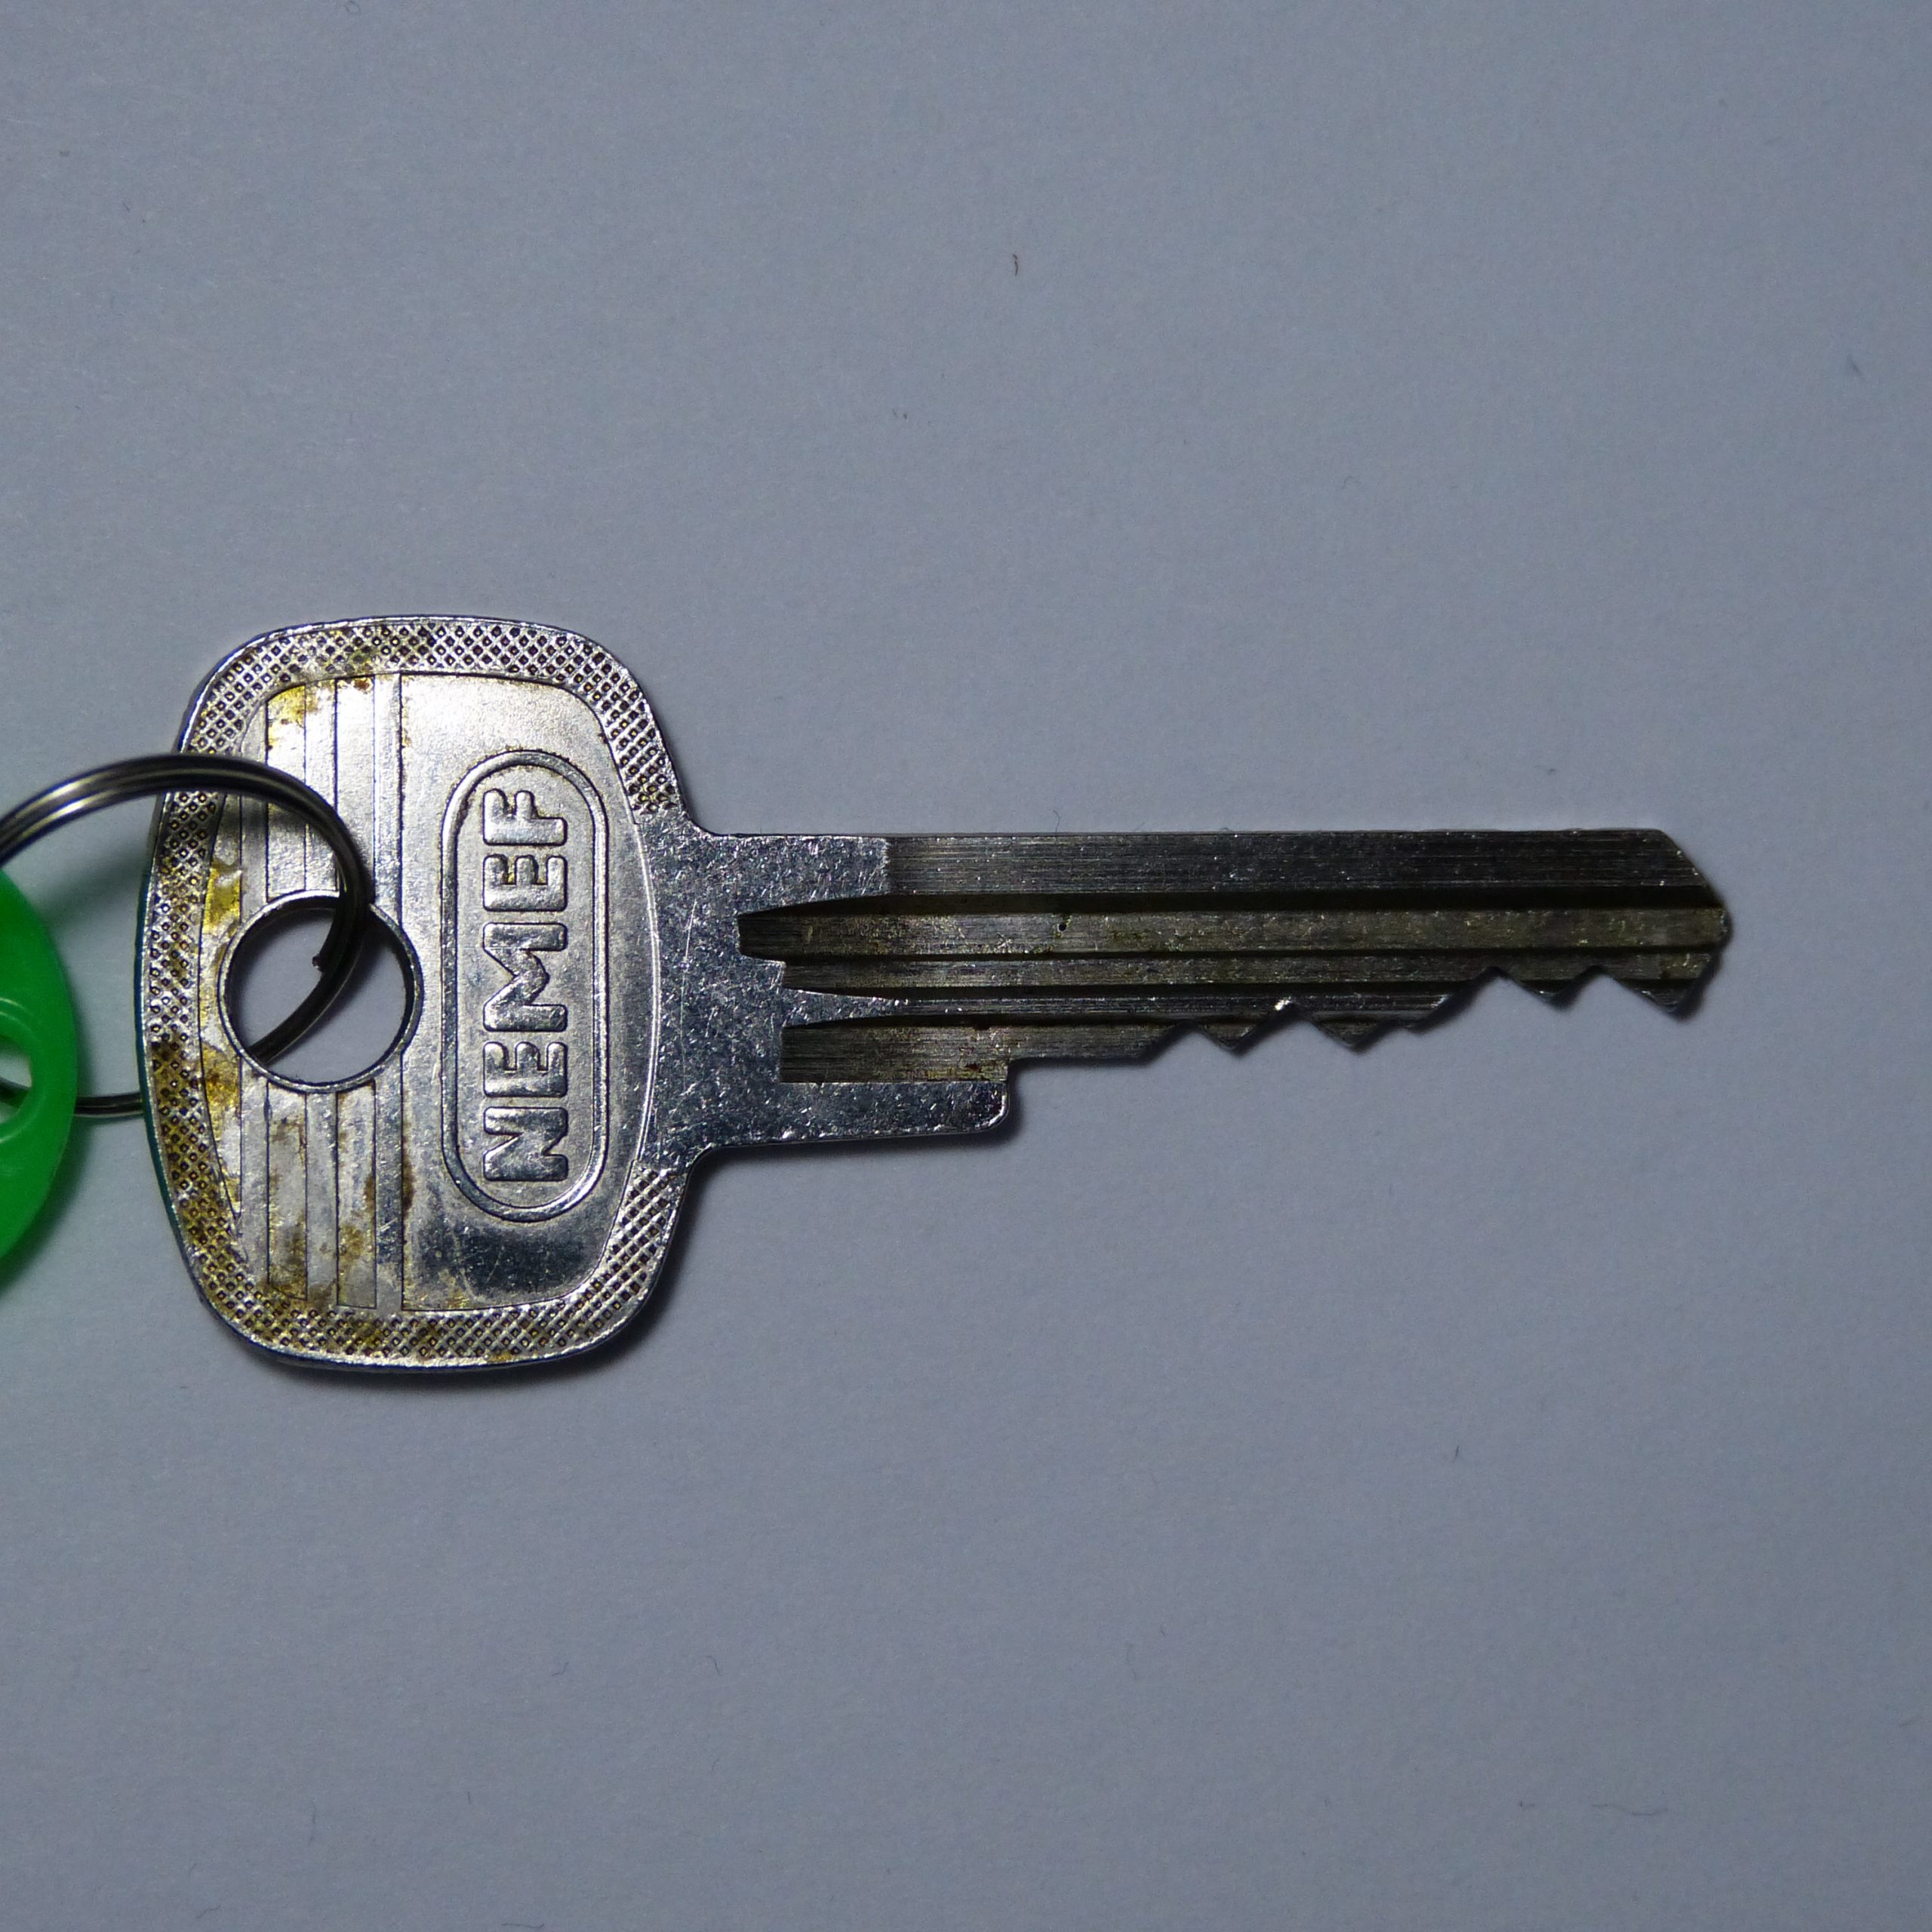
New pickers, don’t be intimidated by the key or keyway. If you look through the collection much of the pins are underwhelming. Where a Evva is known to be difficult lock it was not expected to find all standards or one spool pin. When struggling with a lock just take it apart and see what’s in there. For the next time you encounter the same lock you will know Nemef has a spool on position two (insider joke).

This collection has a few obvious biases:

  • The collection only contains basic pin tumblers.
  • Most locks are from Europe, and are from well known lock brands.
  • The locks are not too expensive and are usually old. Therefore it lacks fancy pins like gins and Christmas trees.
  • Pins/locks that are too similar are rejected. There are some duplicates as well.
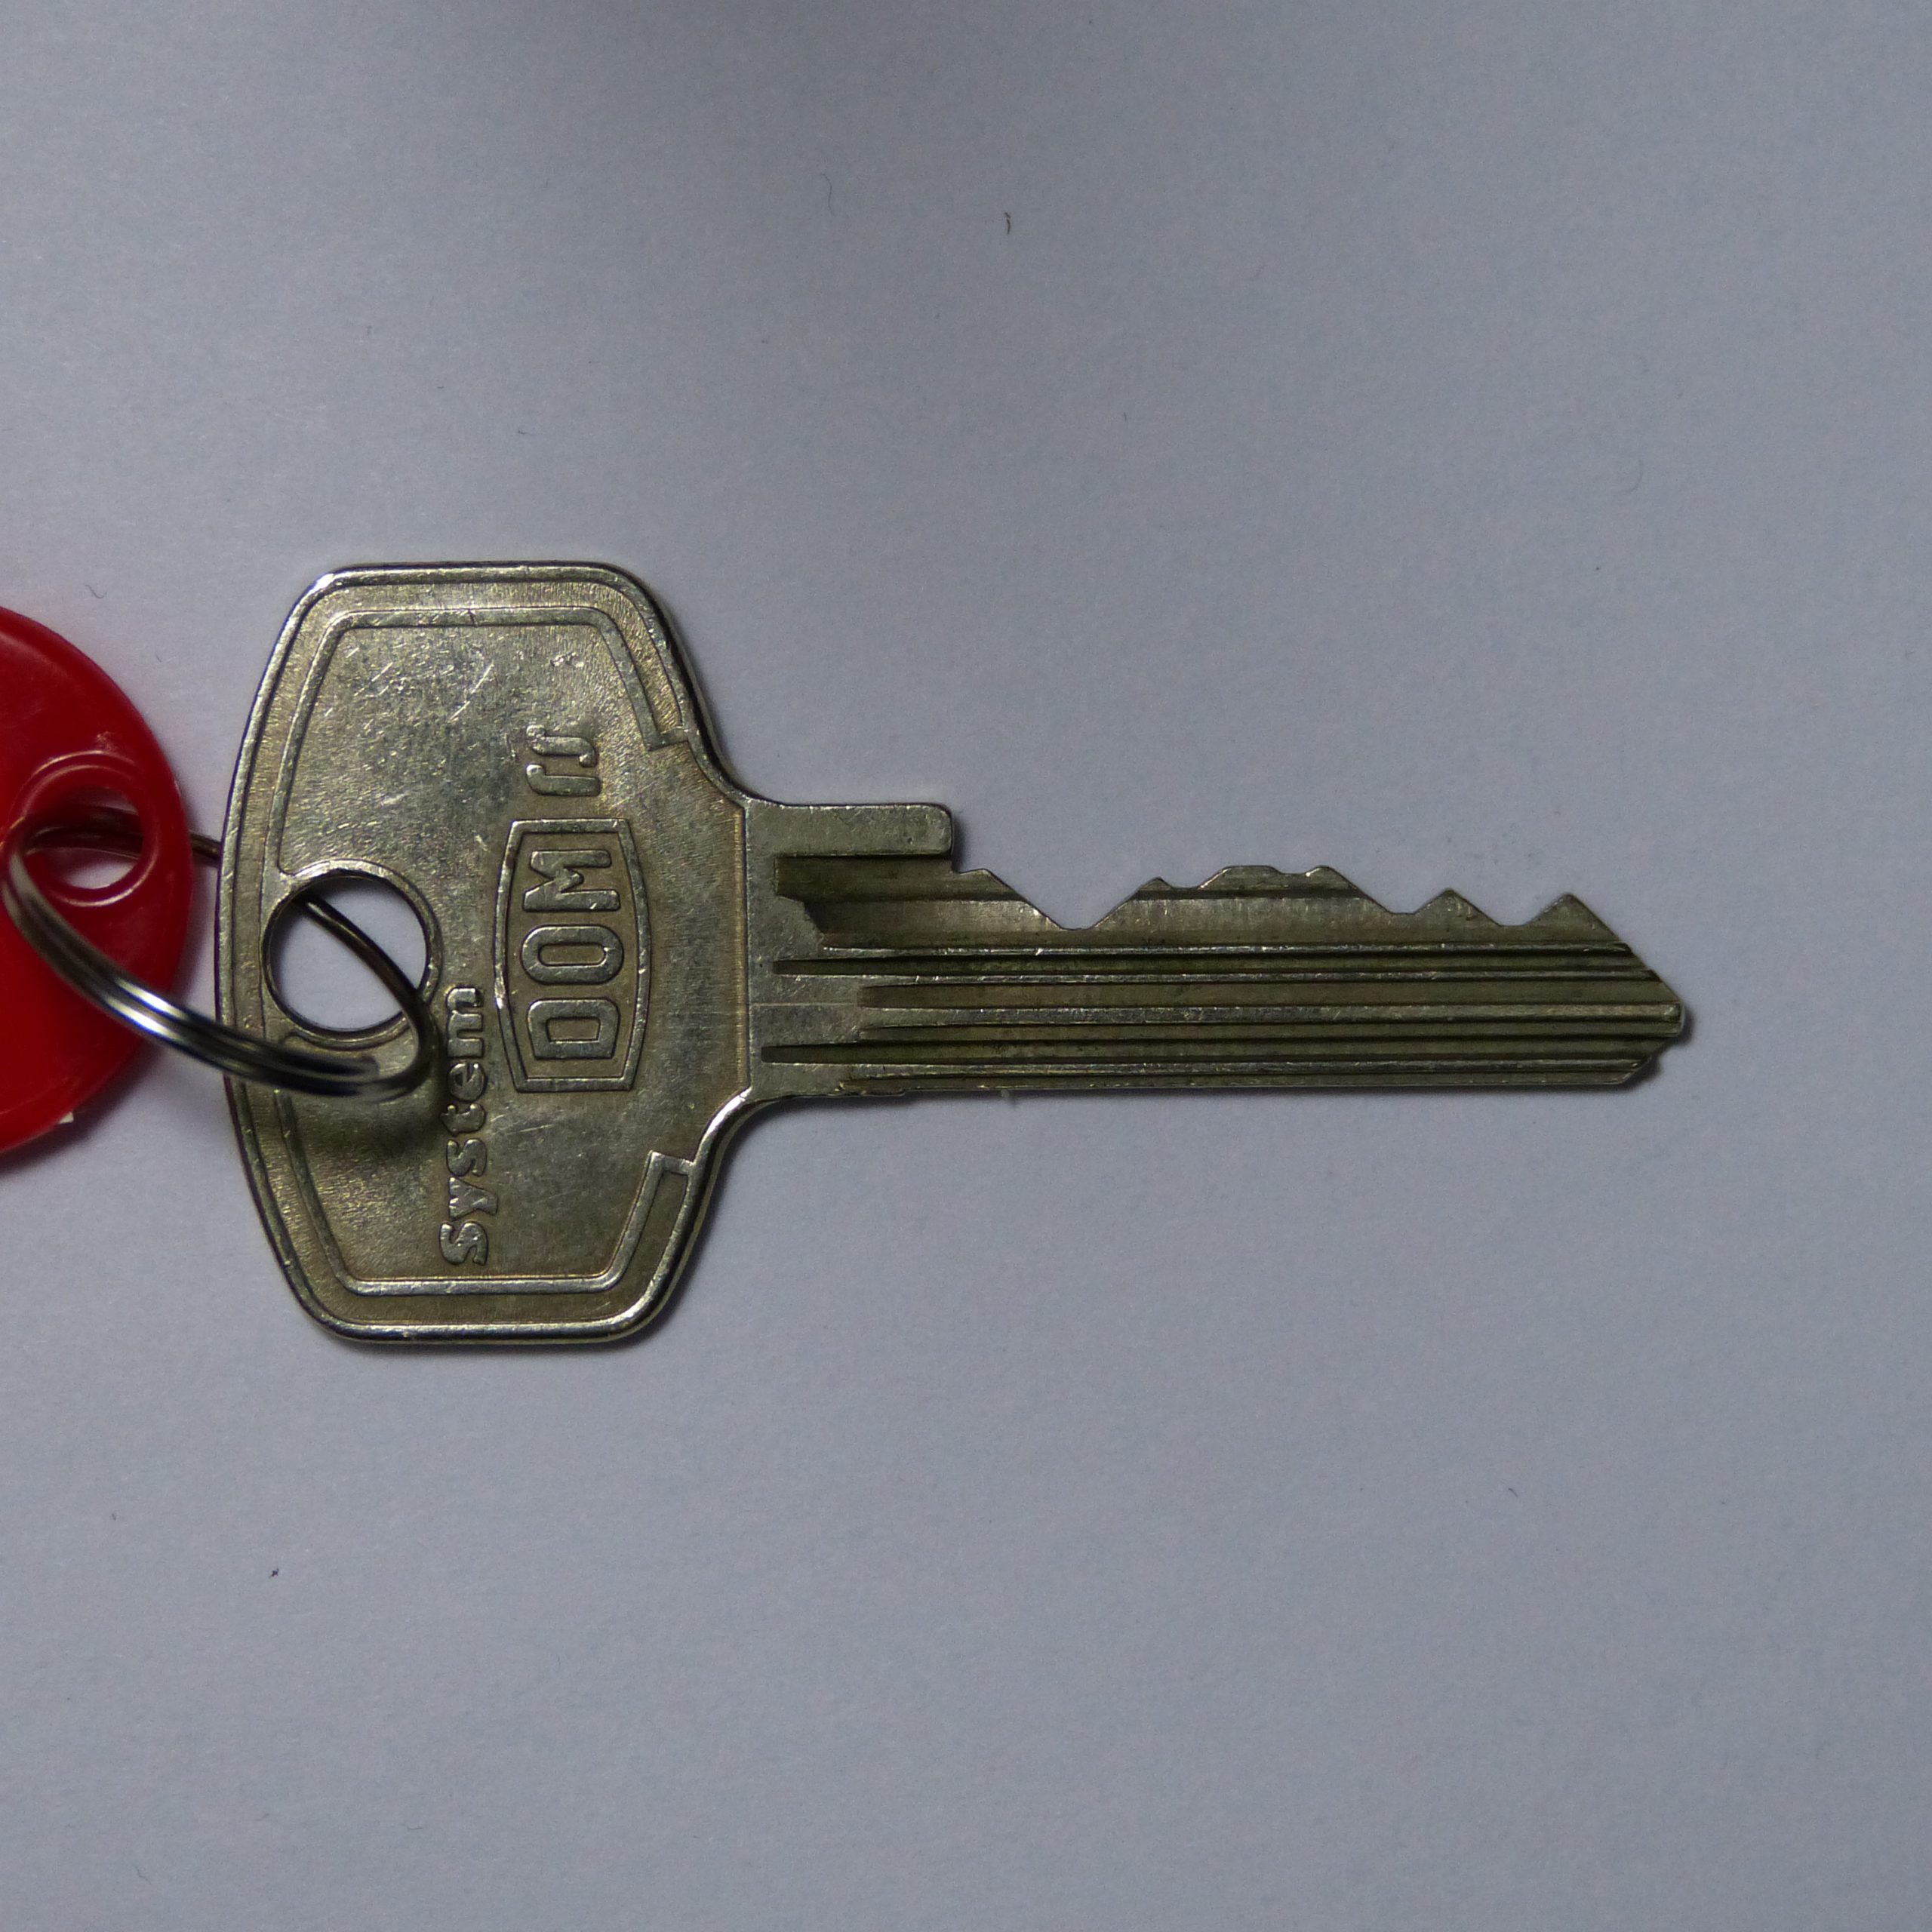
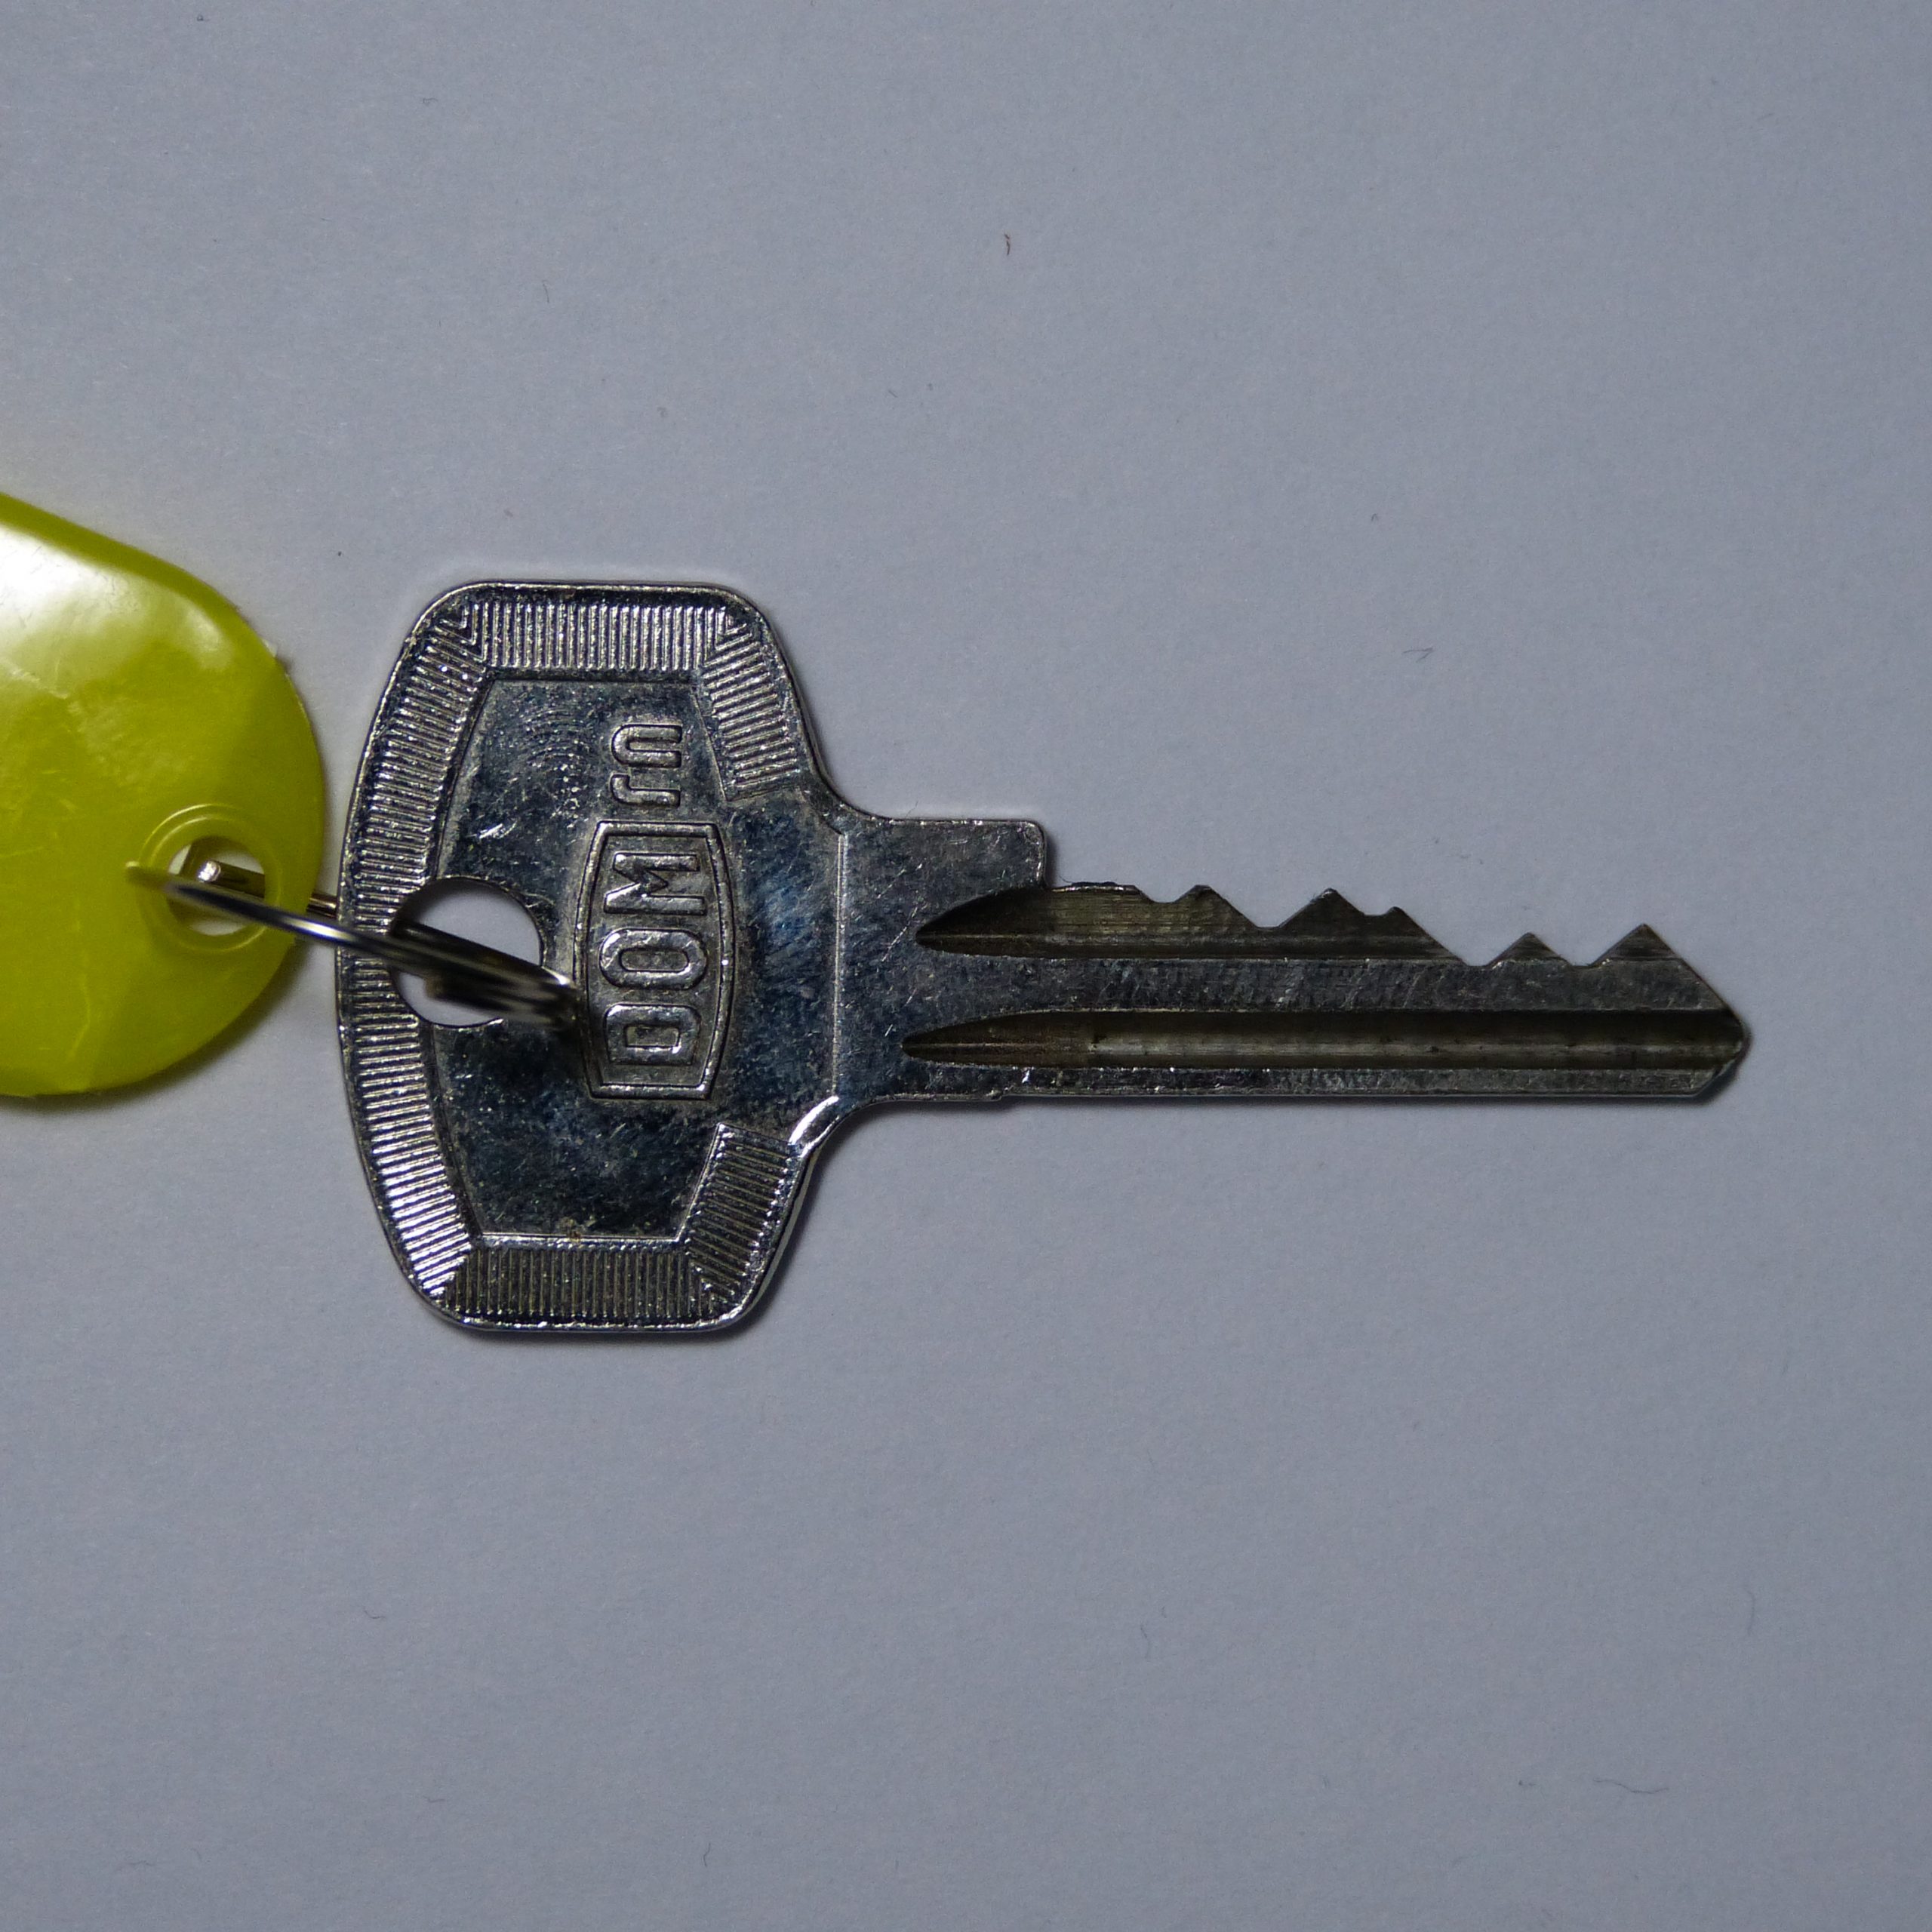
  • This is a snapshot in time. The pinning of the locks change every few years. A good example is DOM RN with two different types of pins in this collection.

If you have specific knowledge on these locks. Please share, we are open to learning more about locks. Find us on Discord, leave a comment or send us an email.

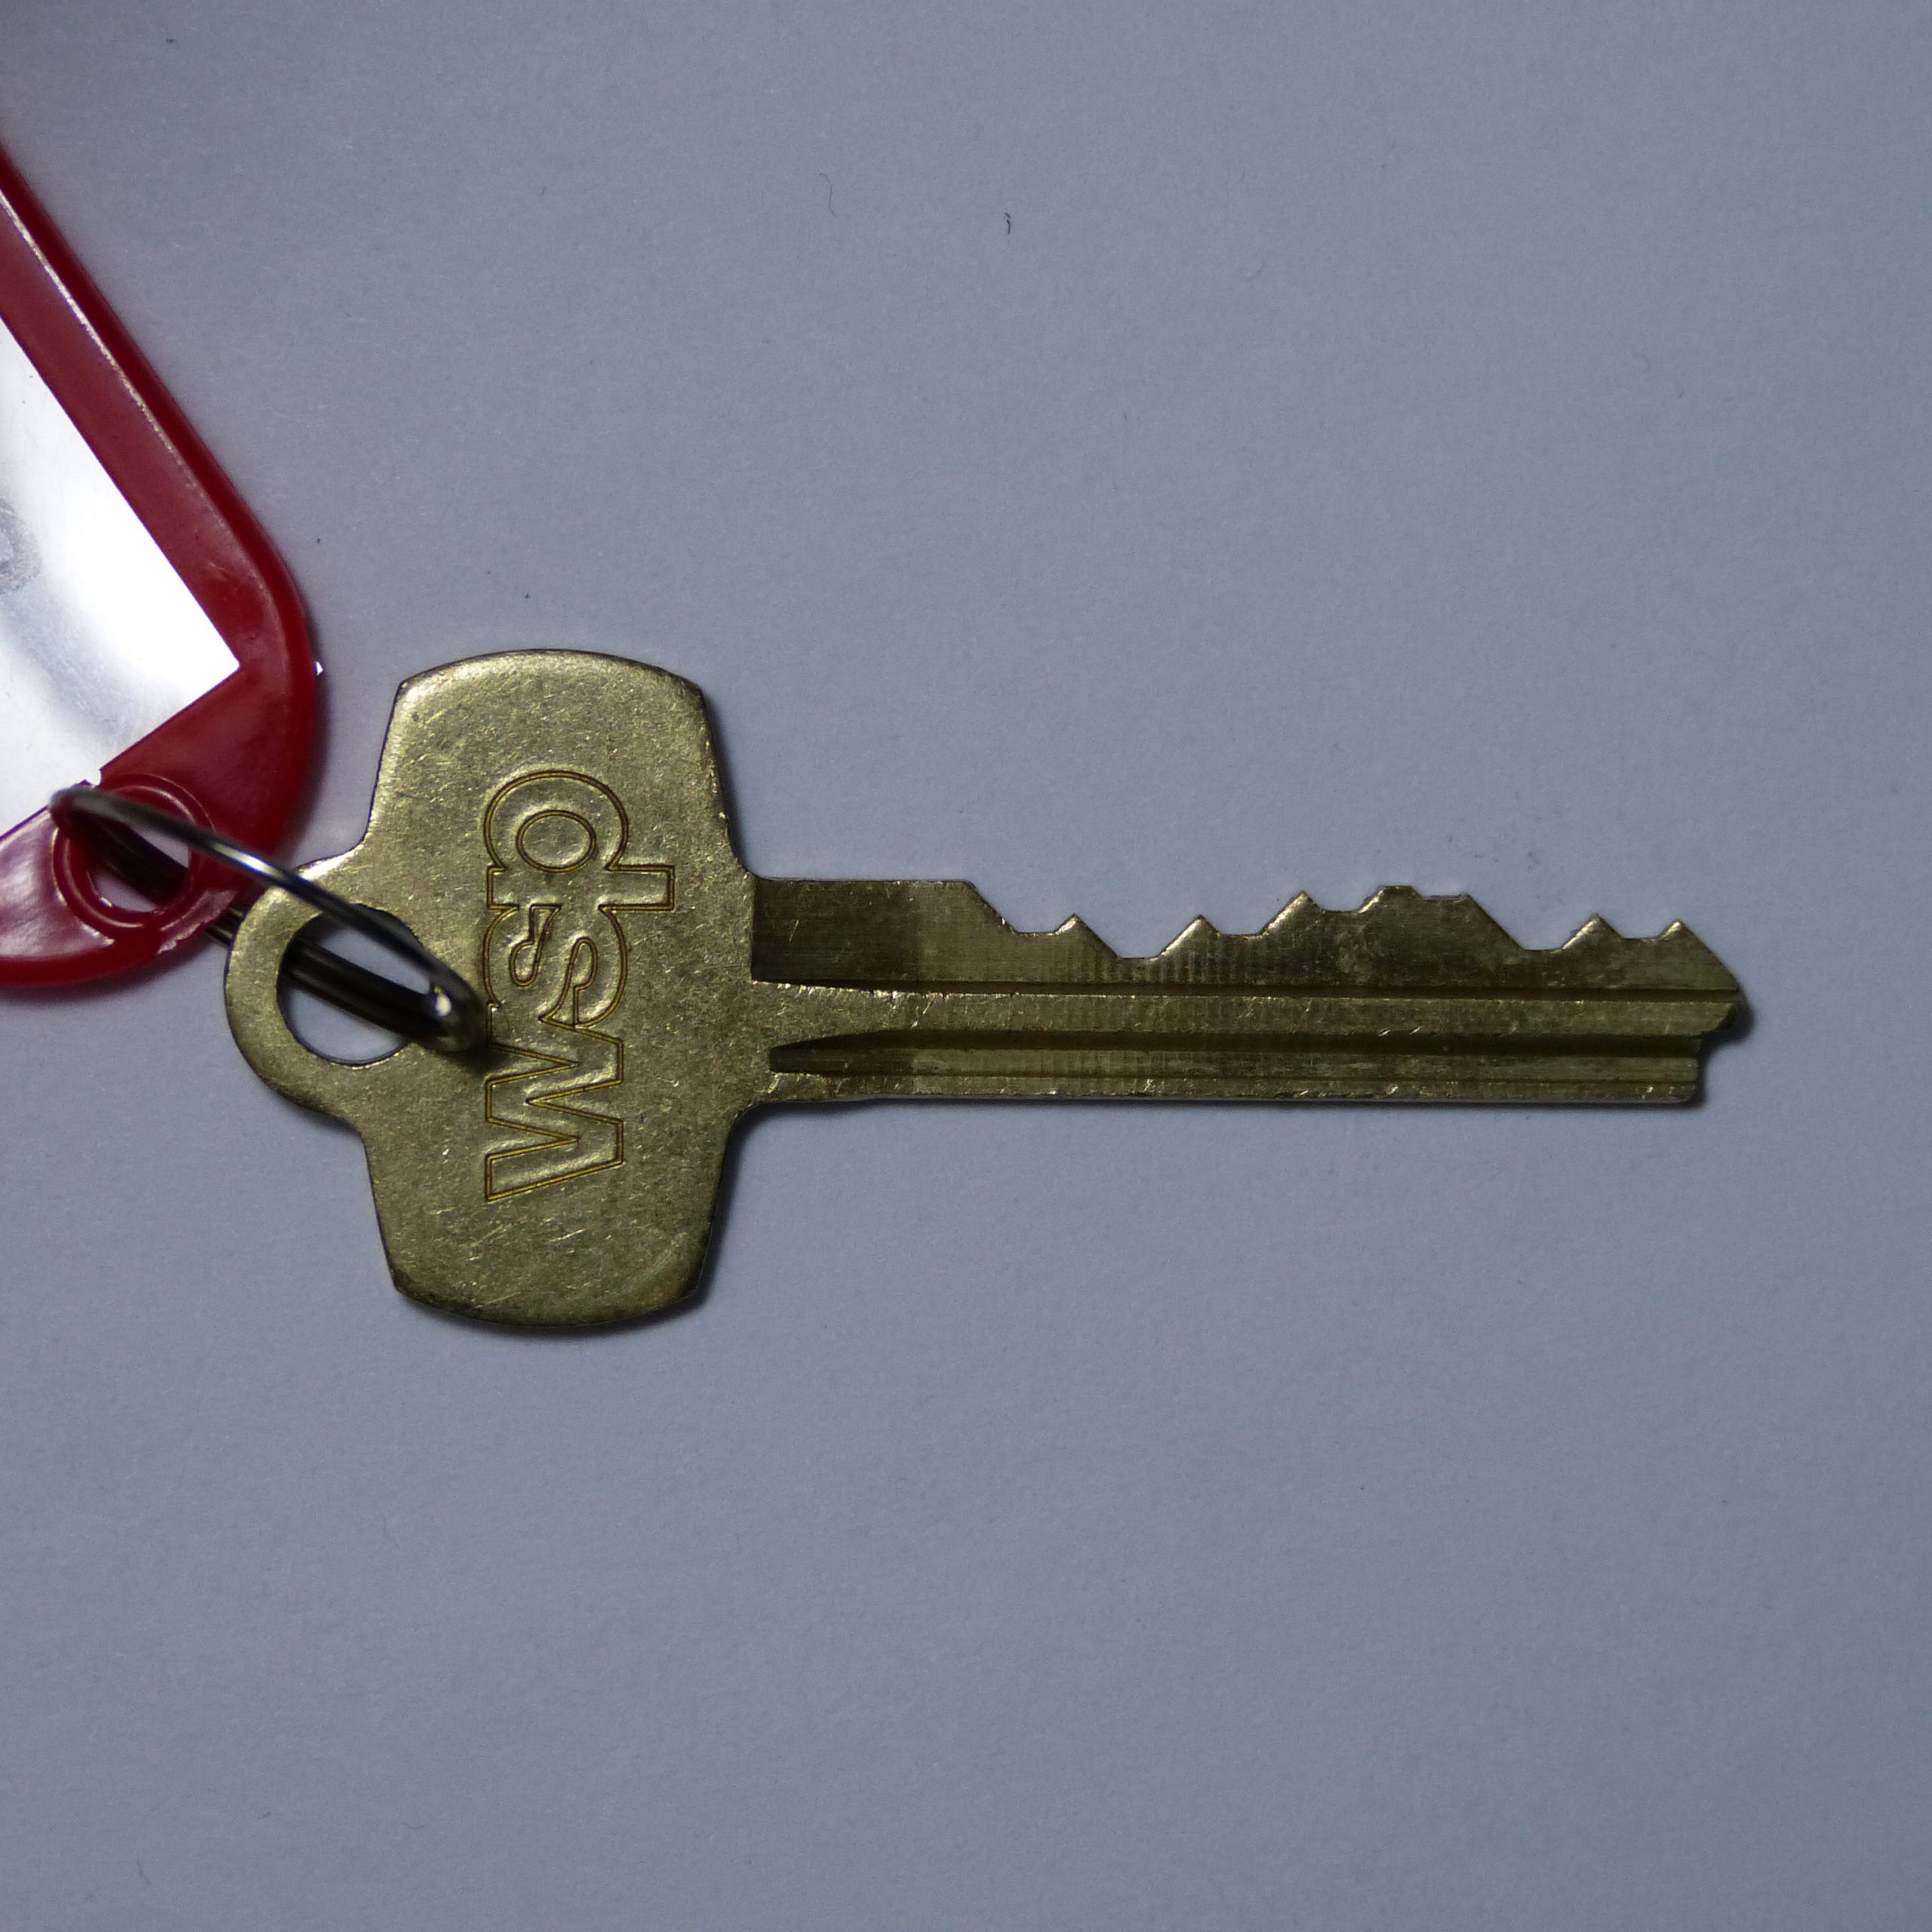
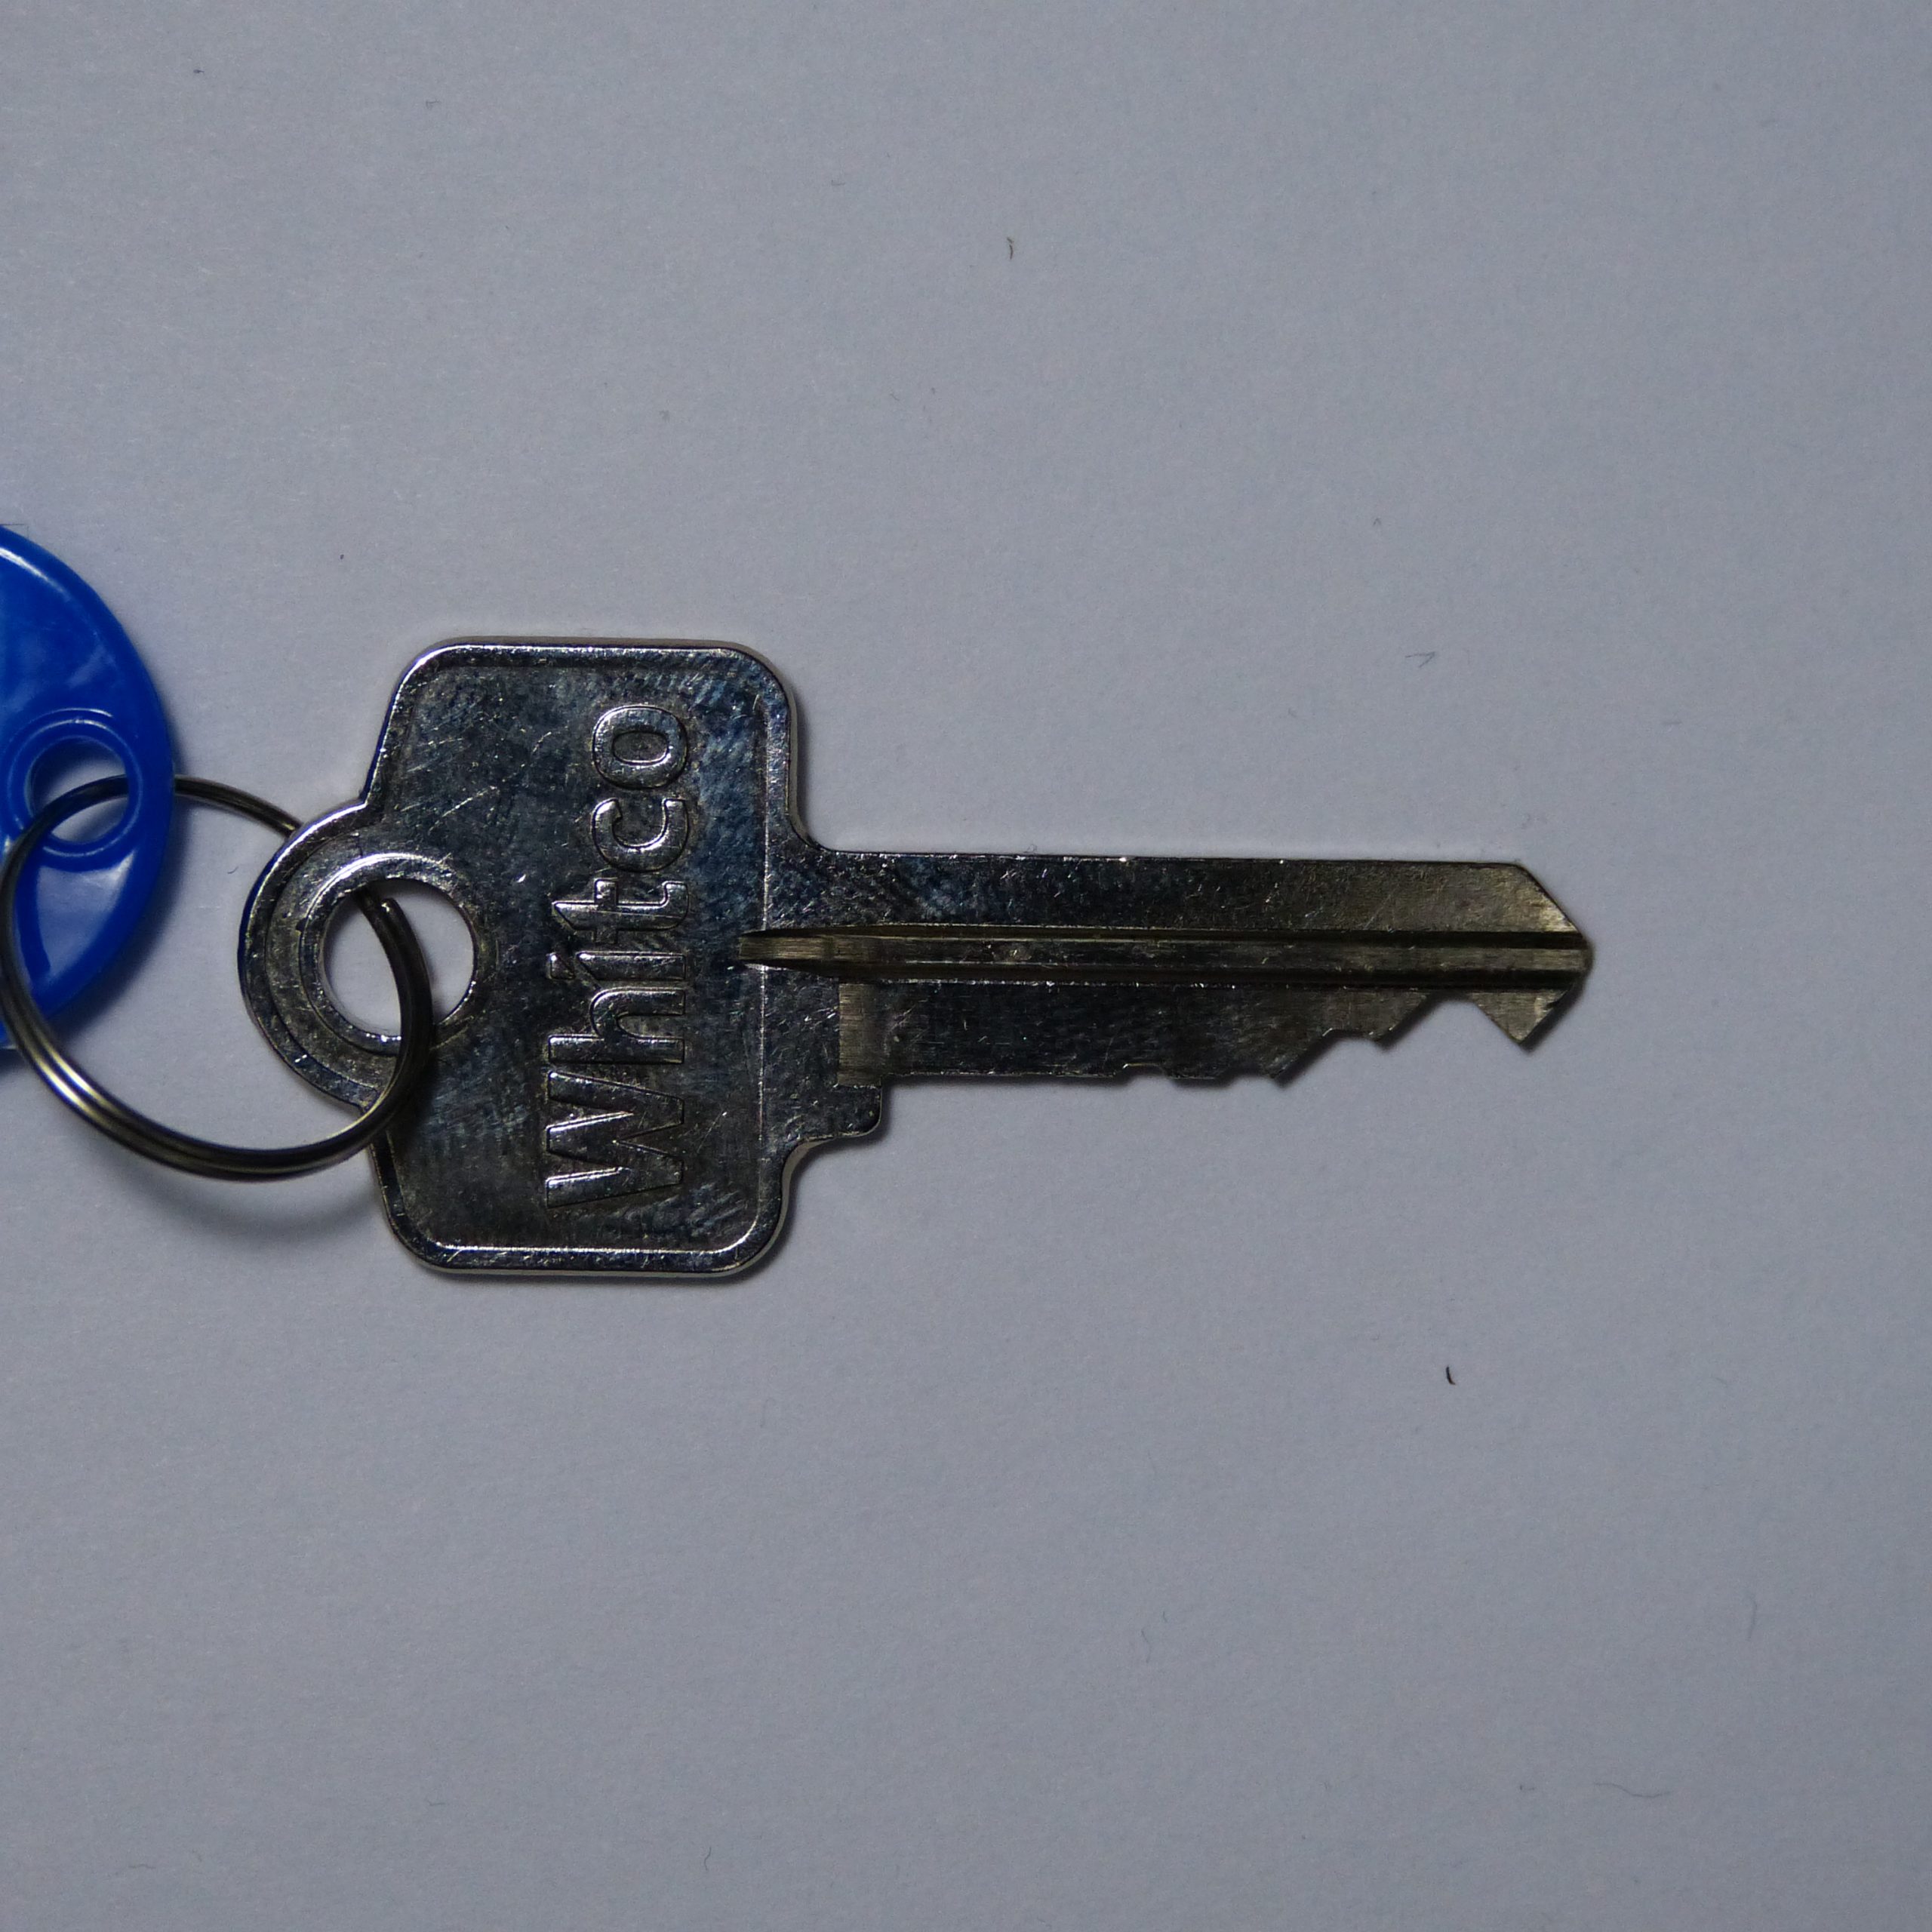
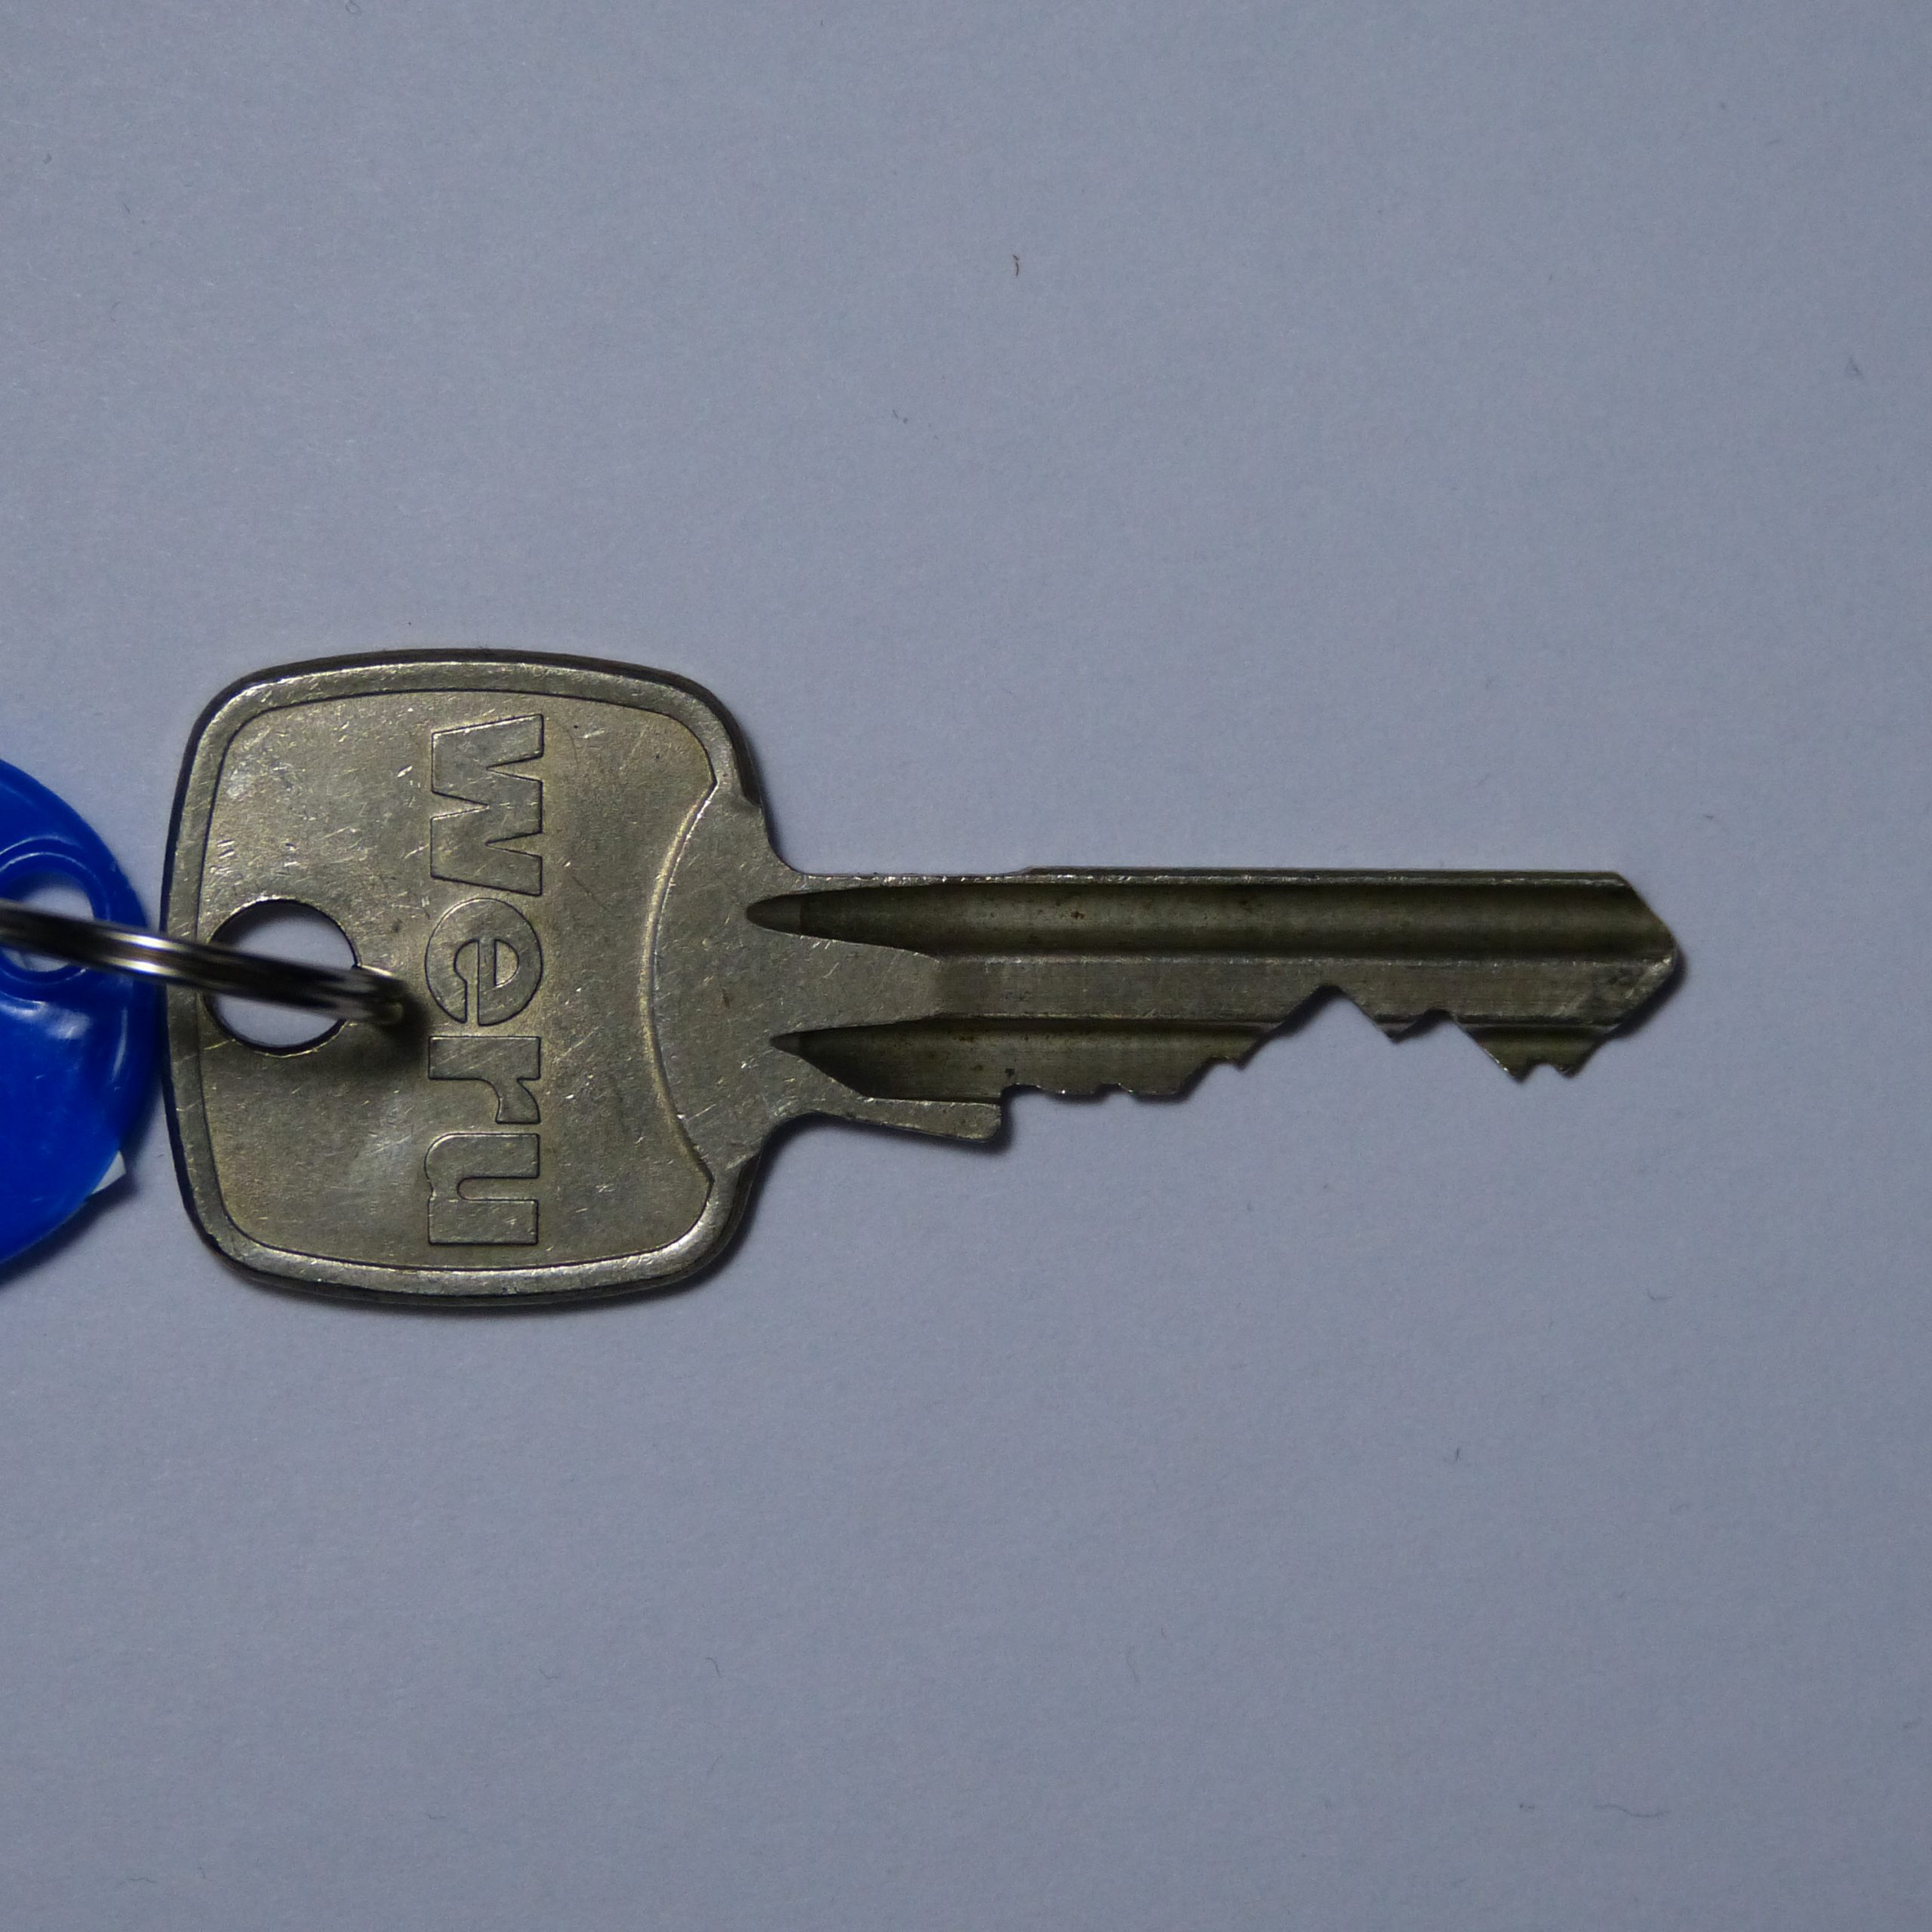
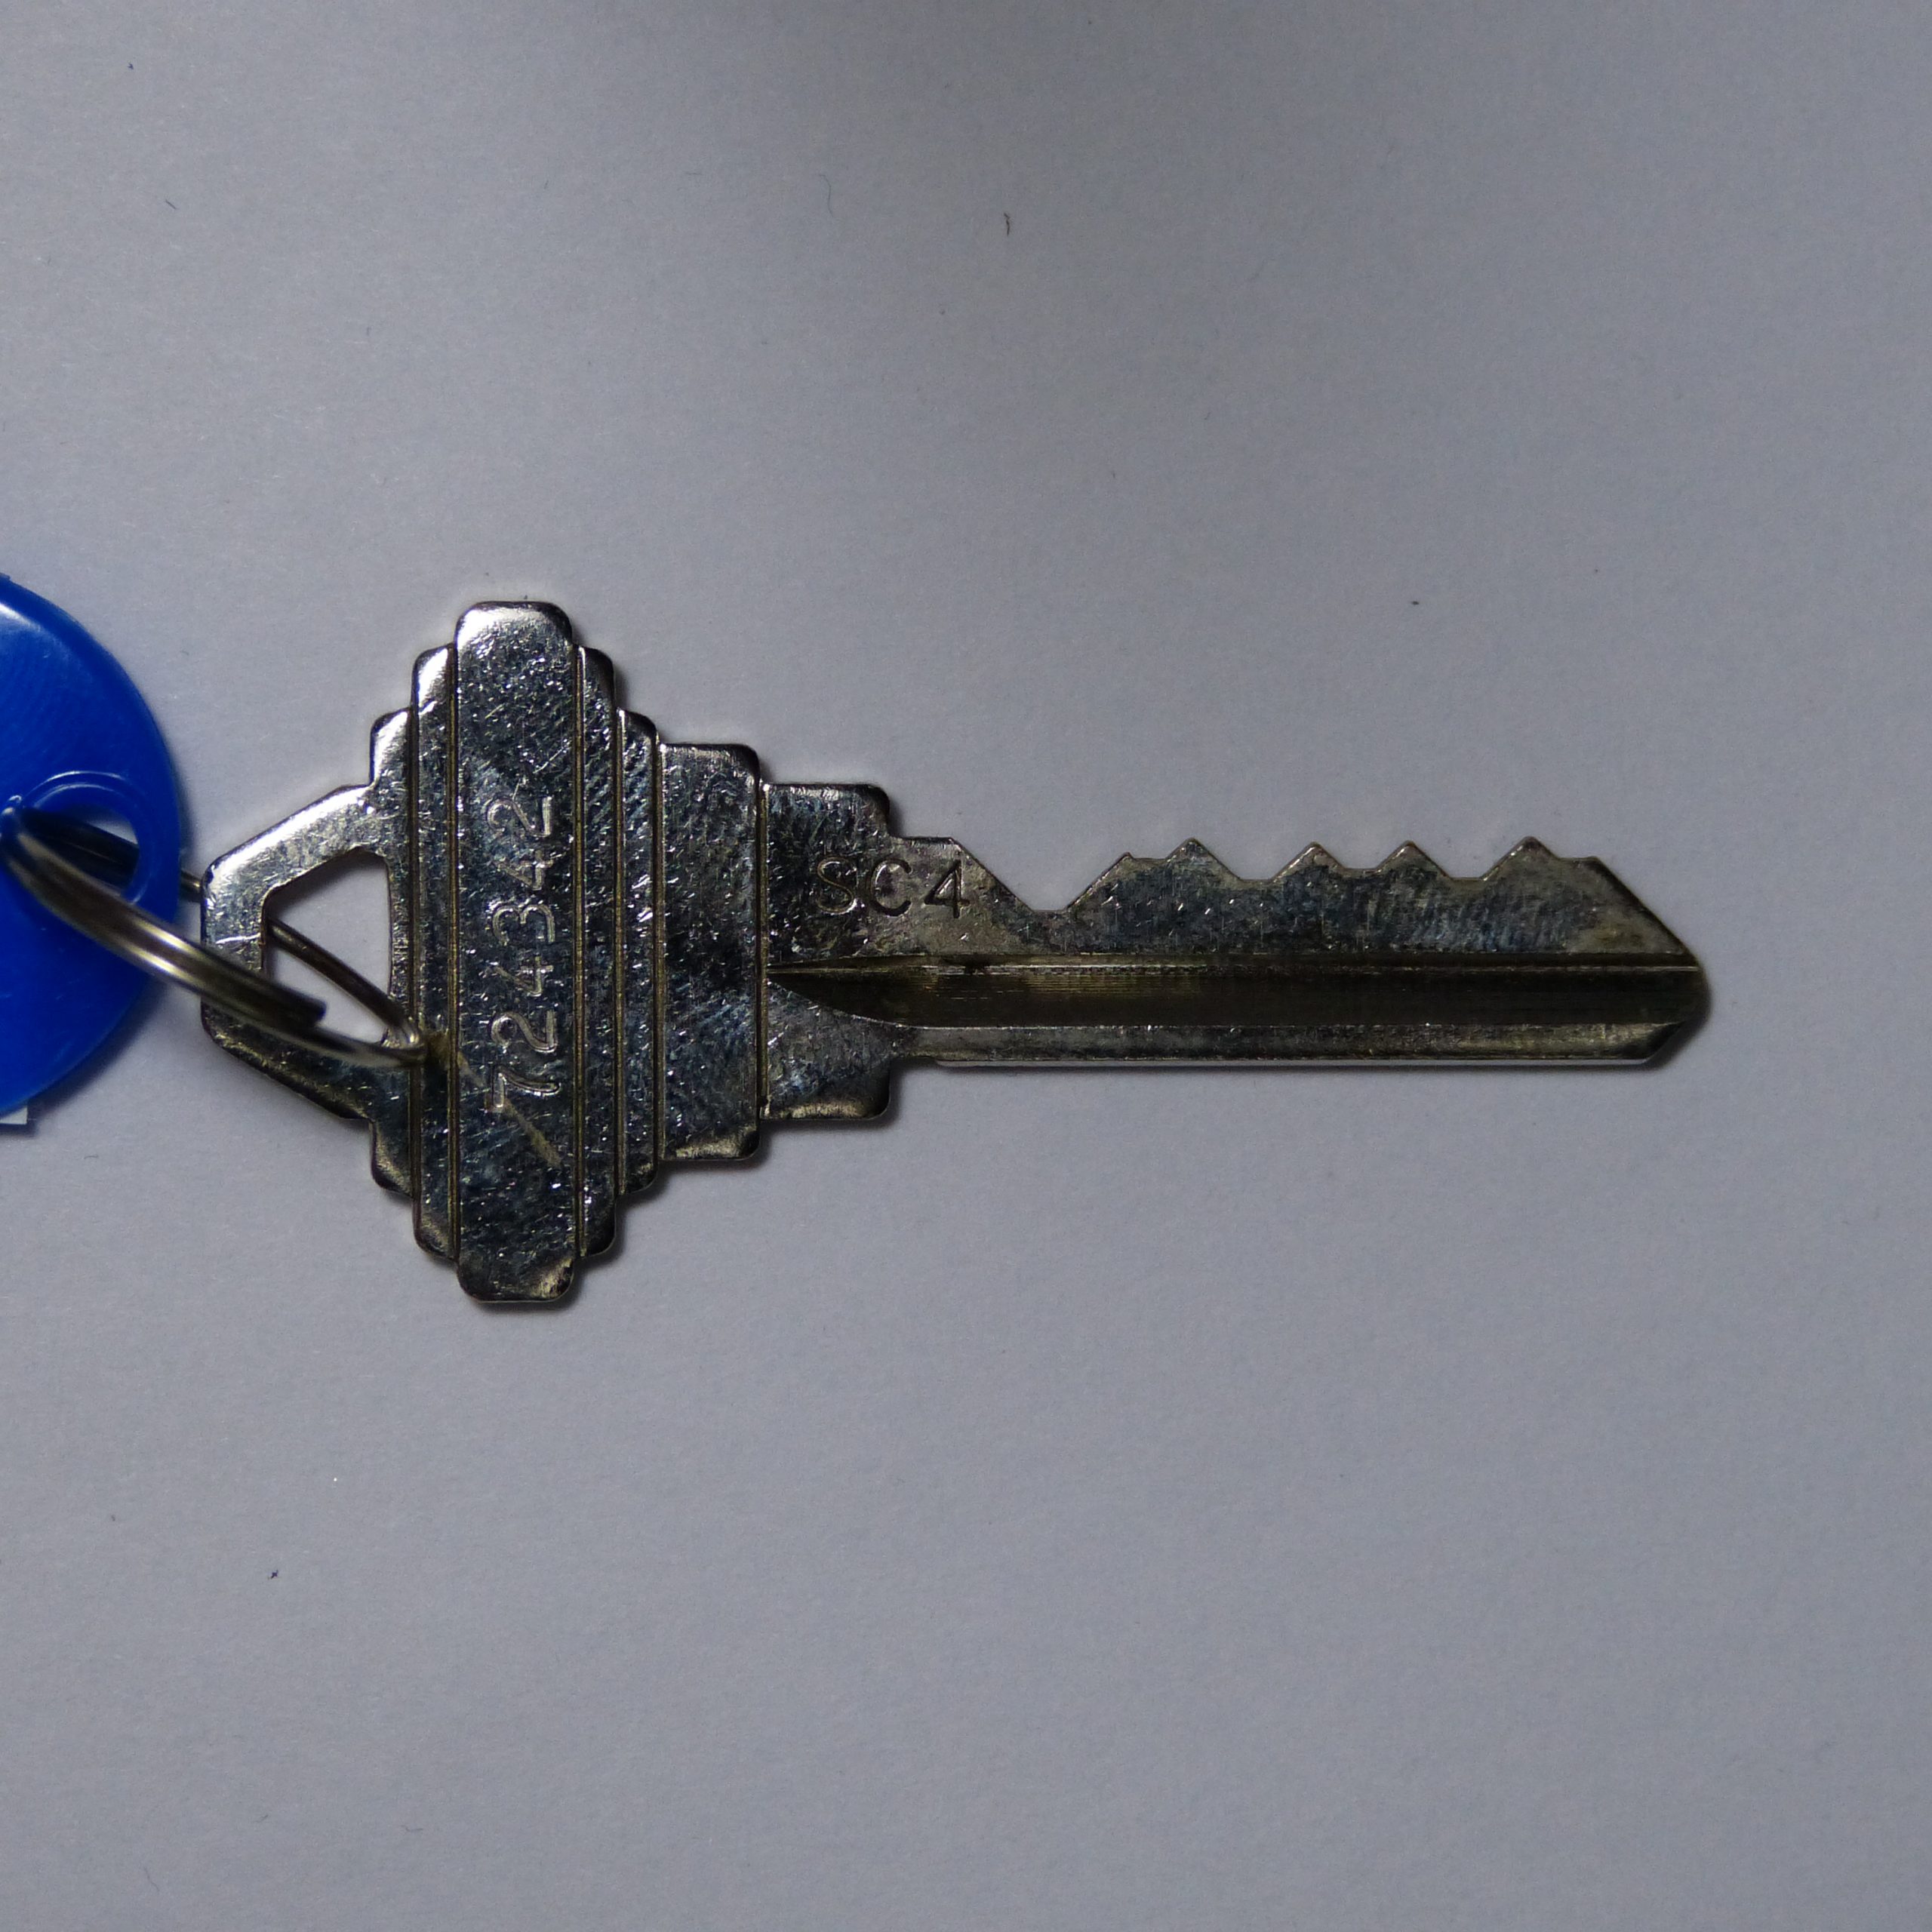
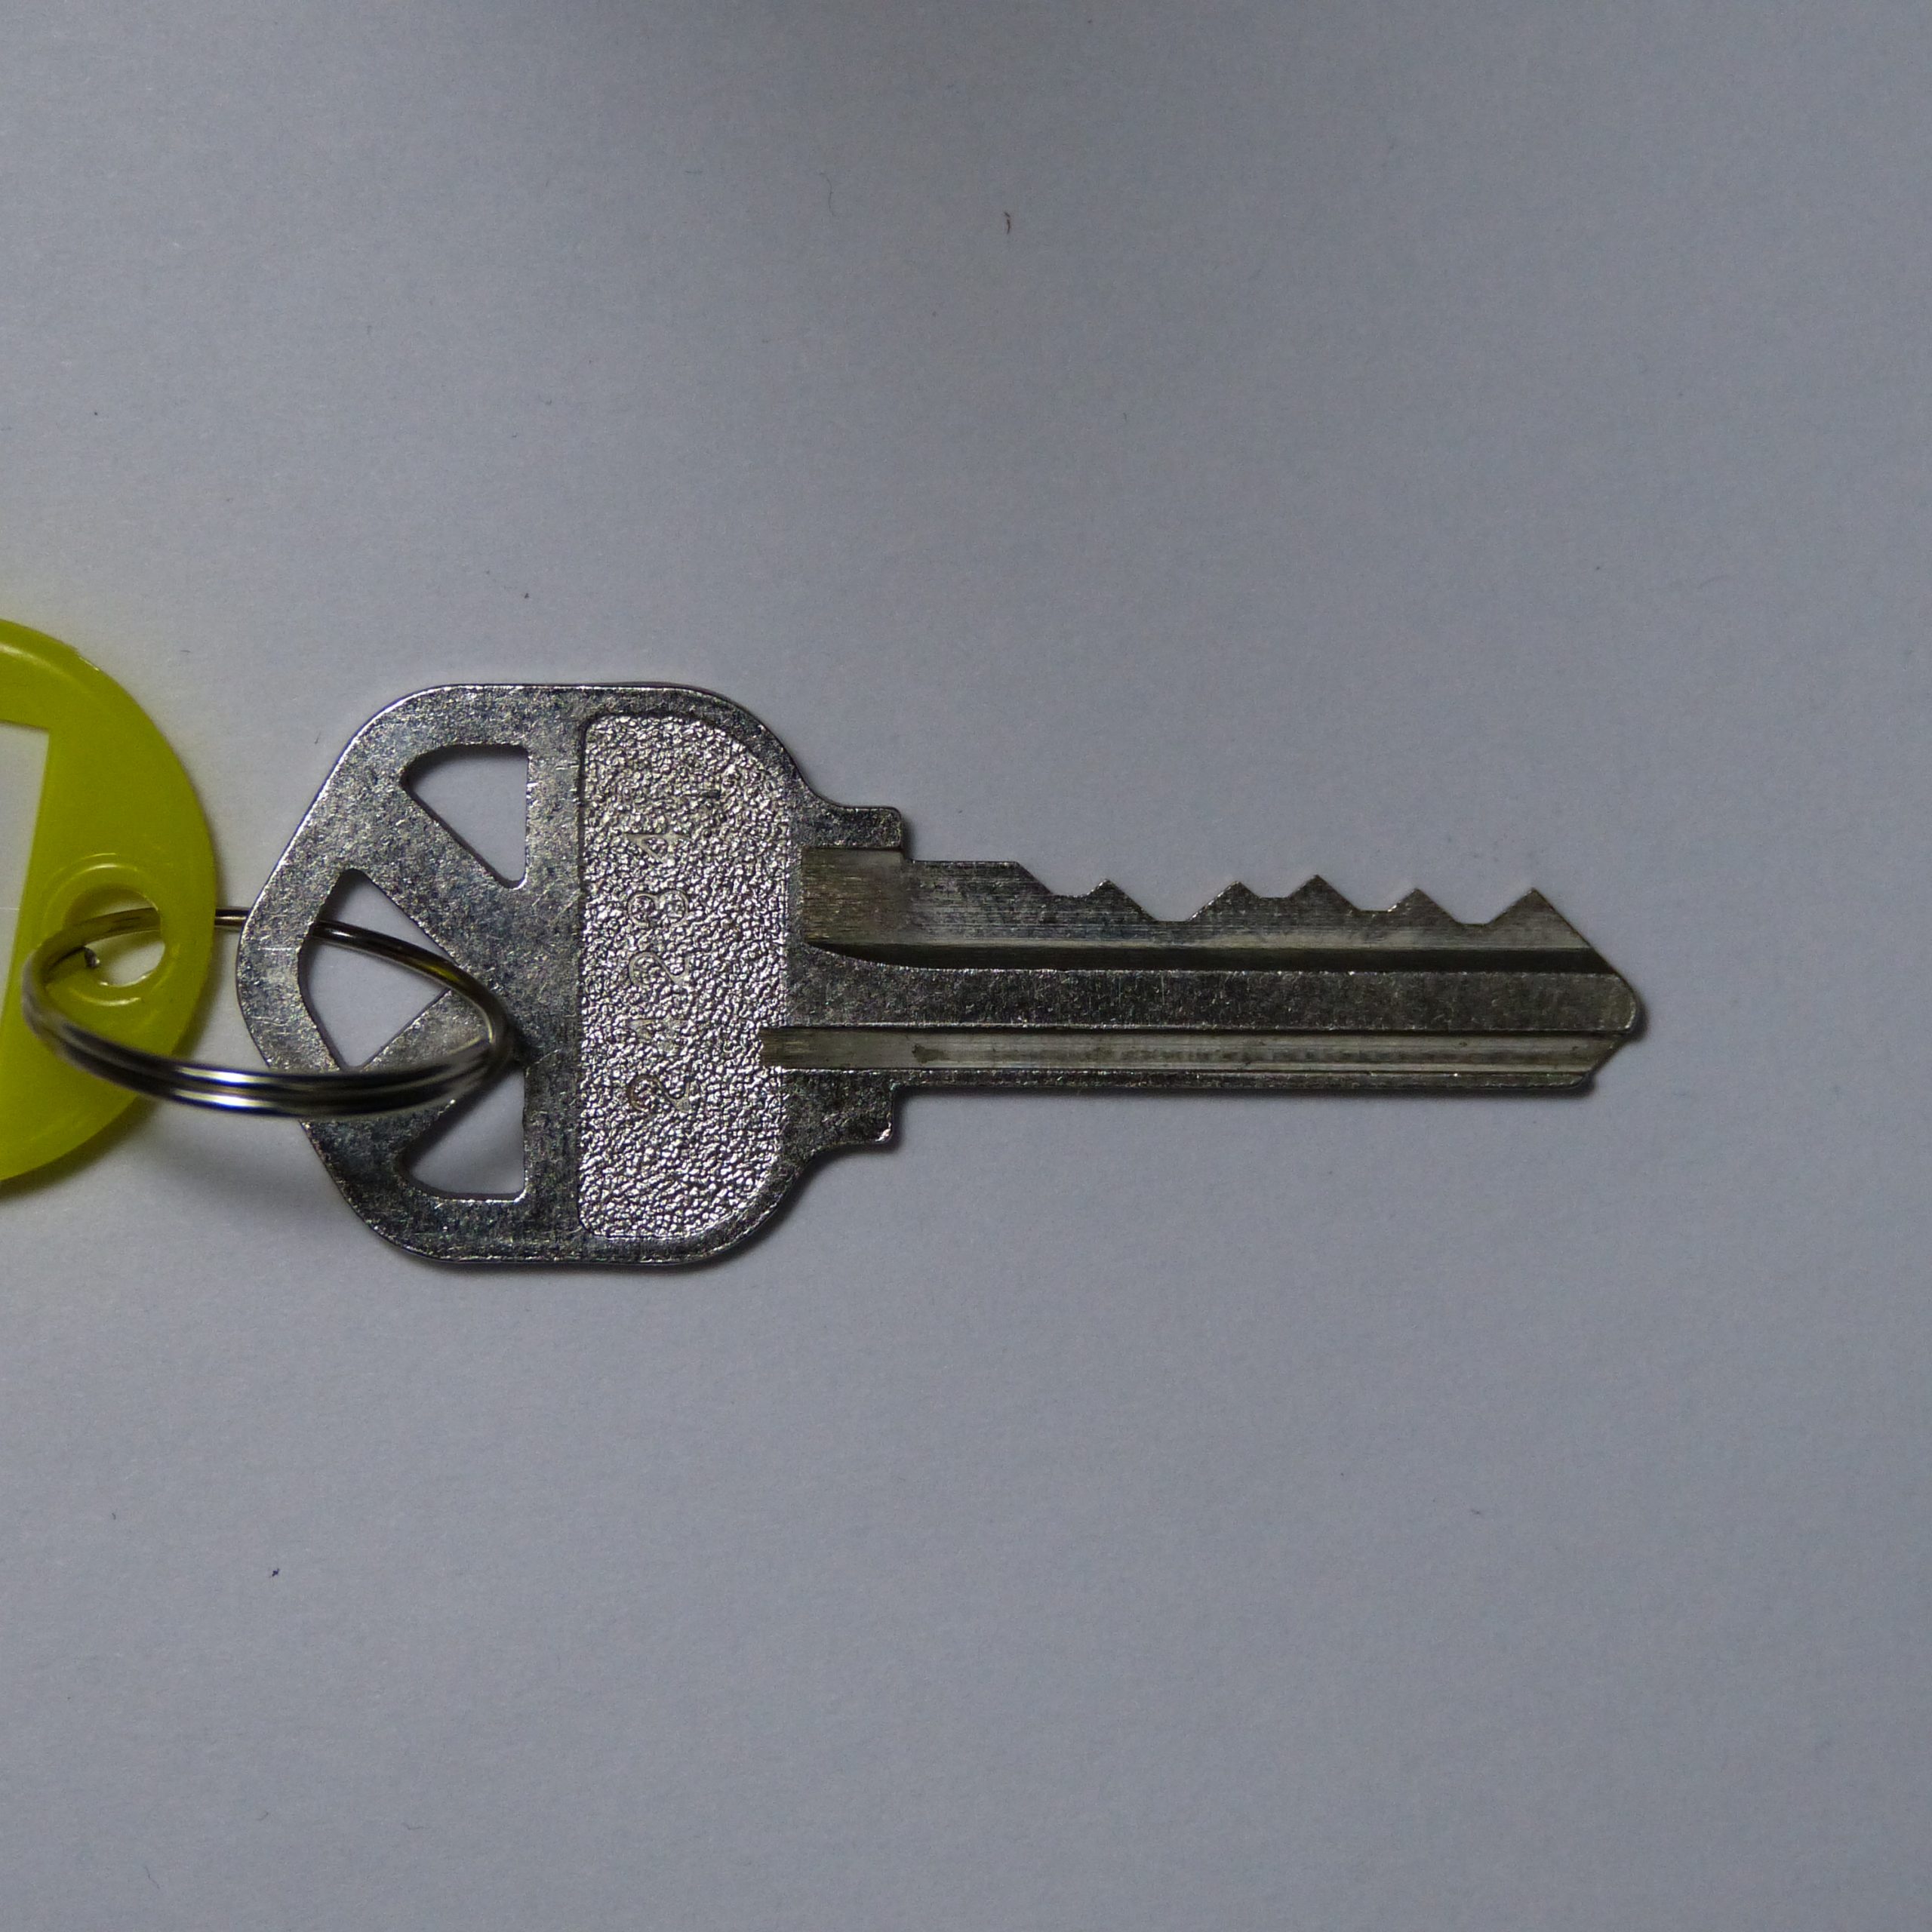
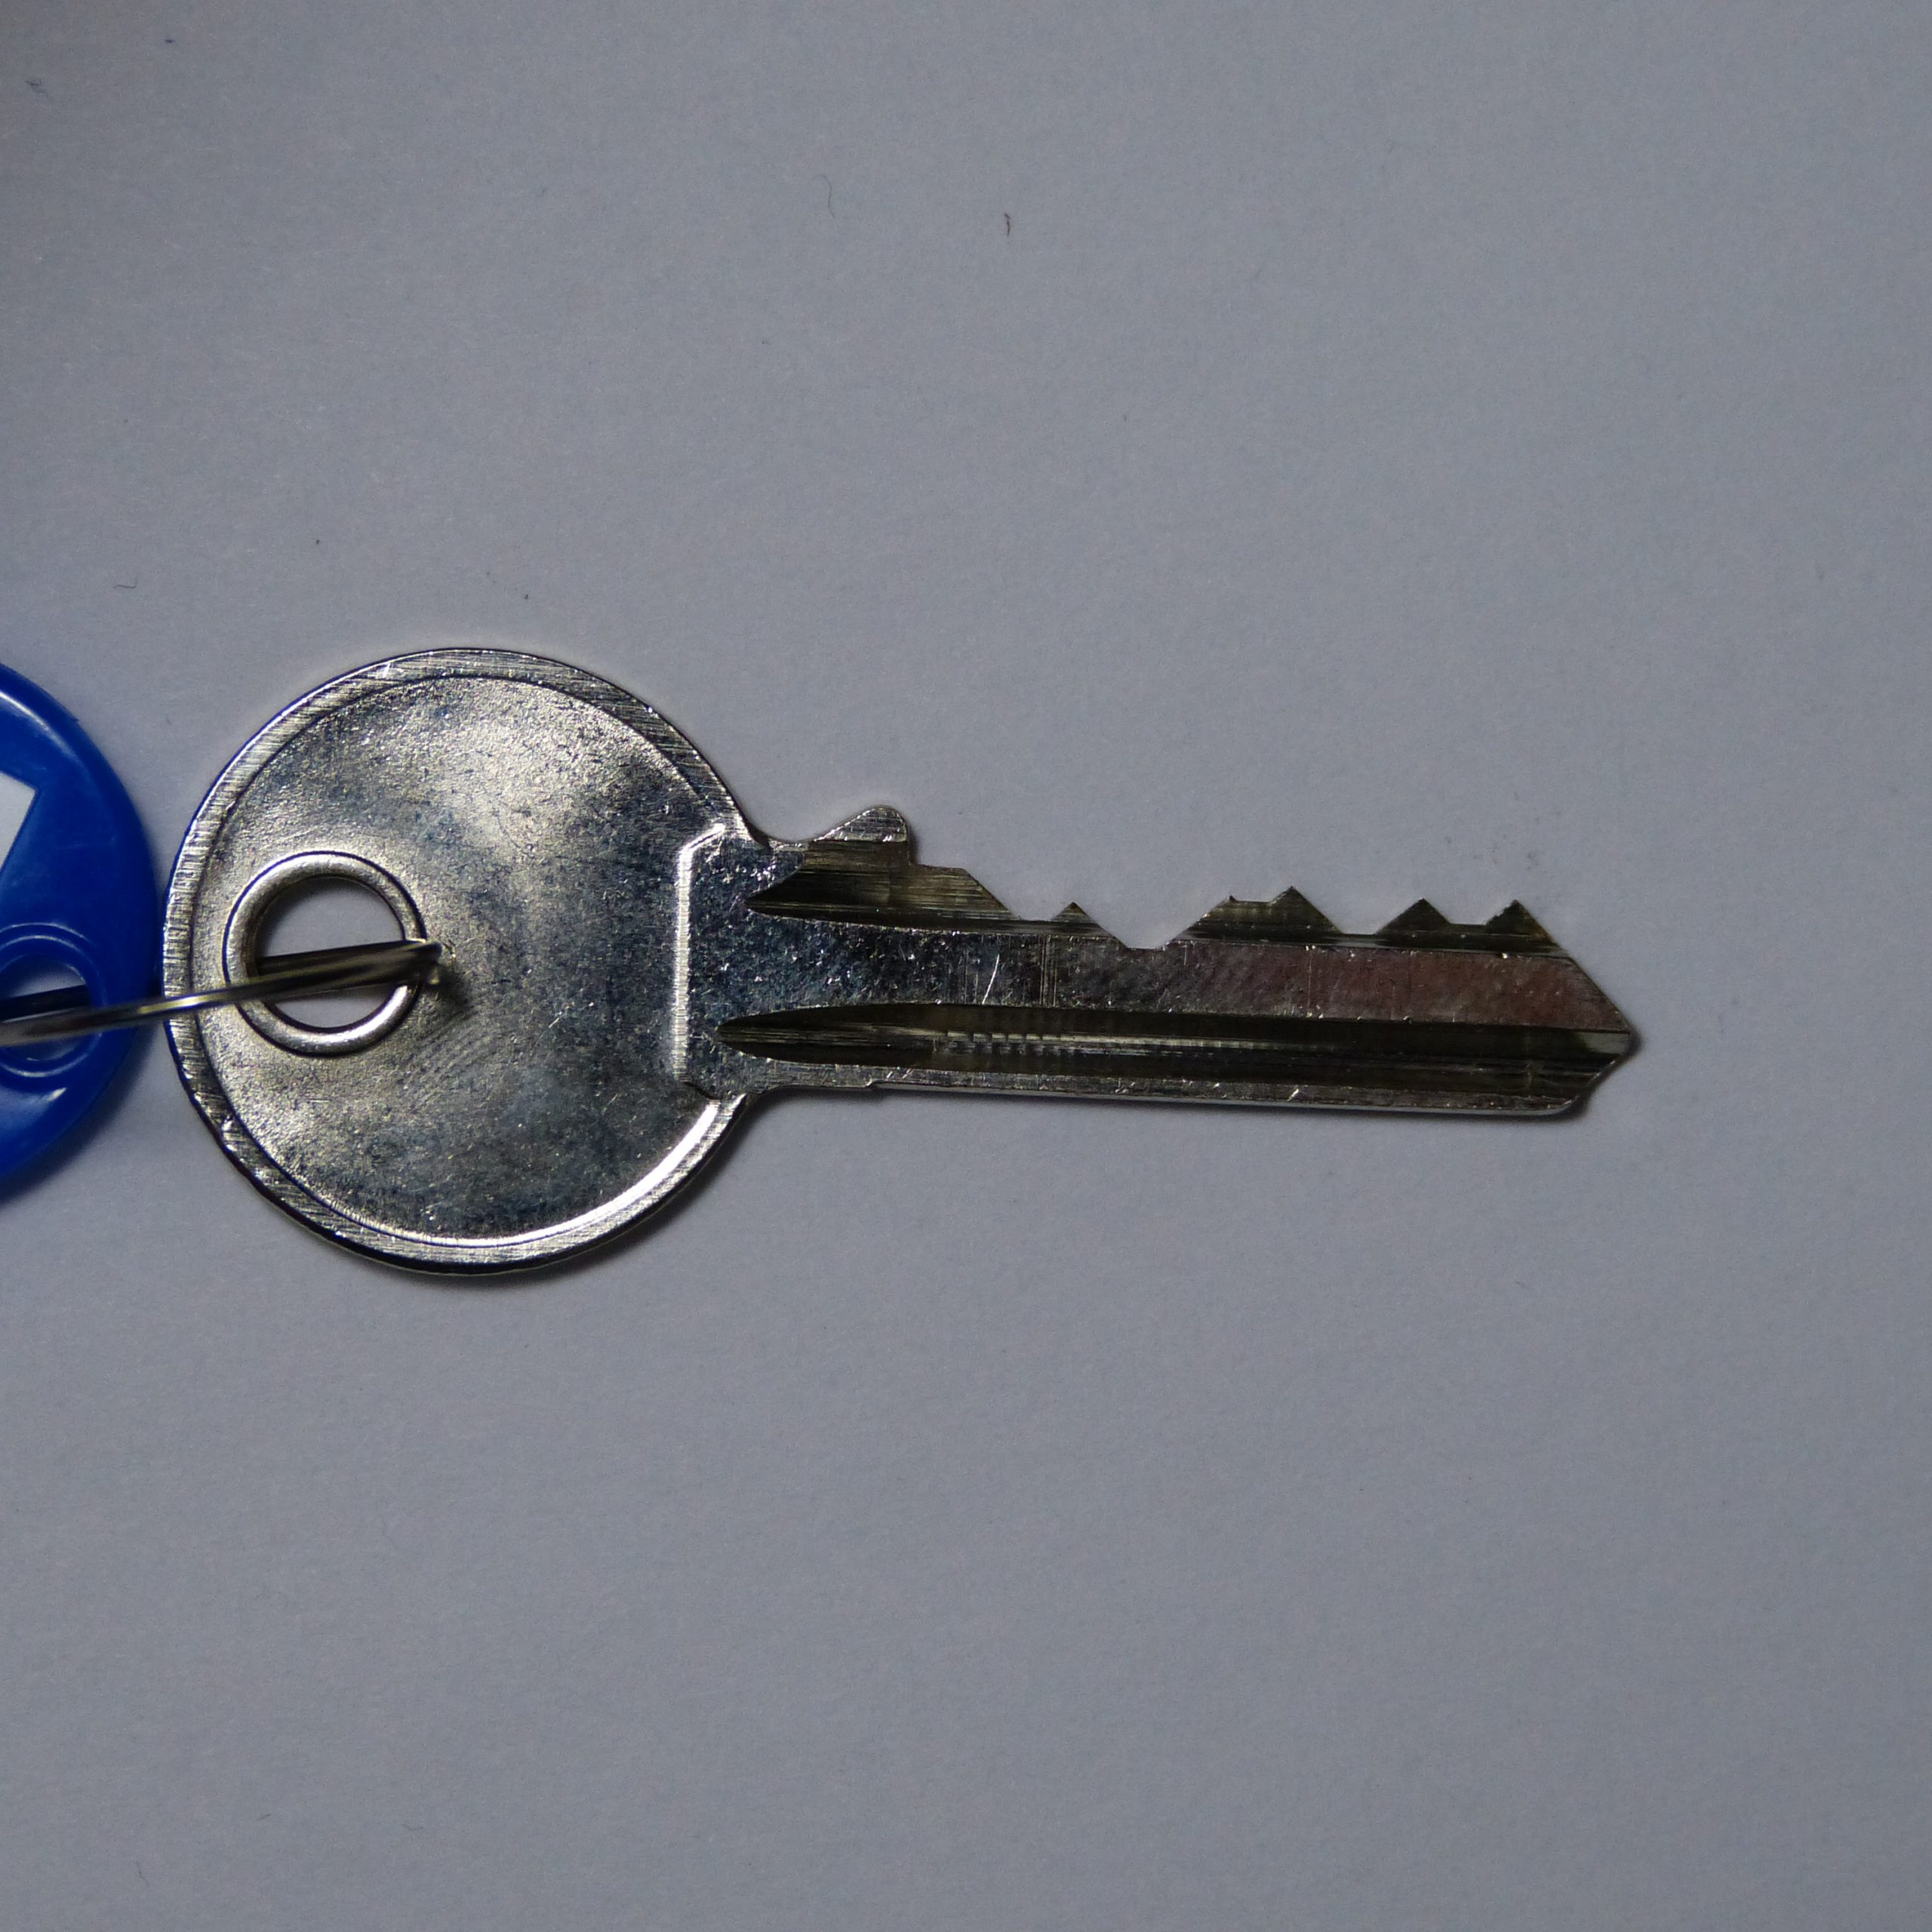
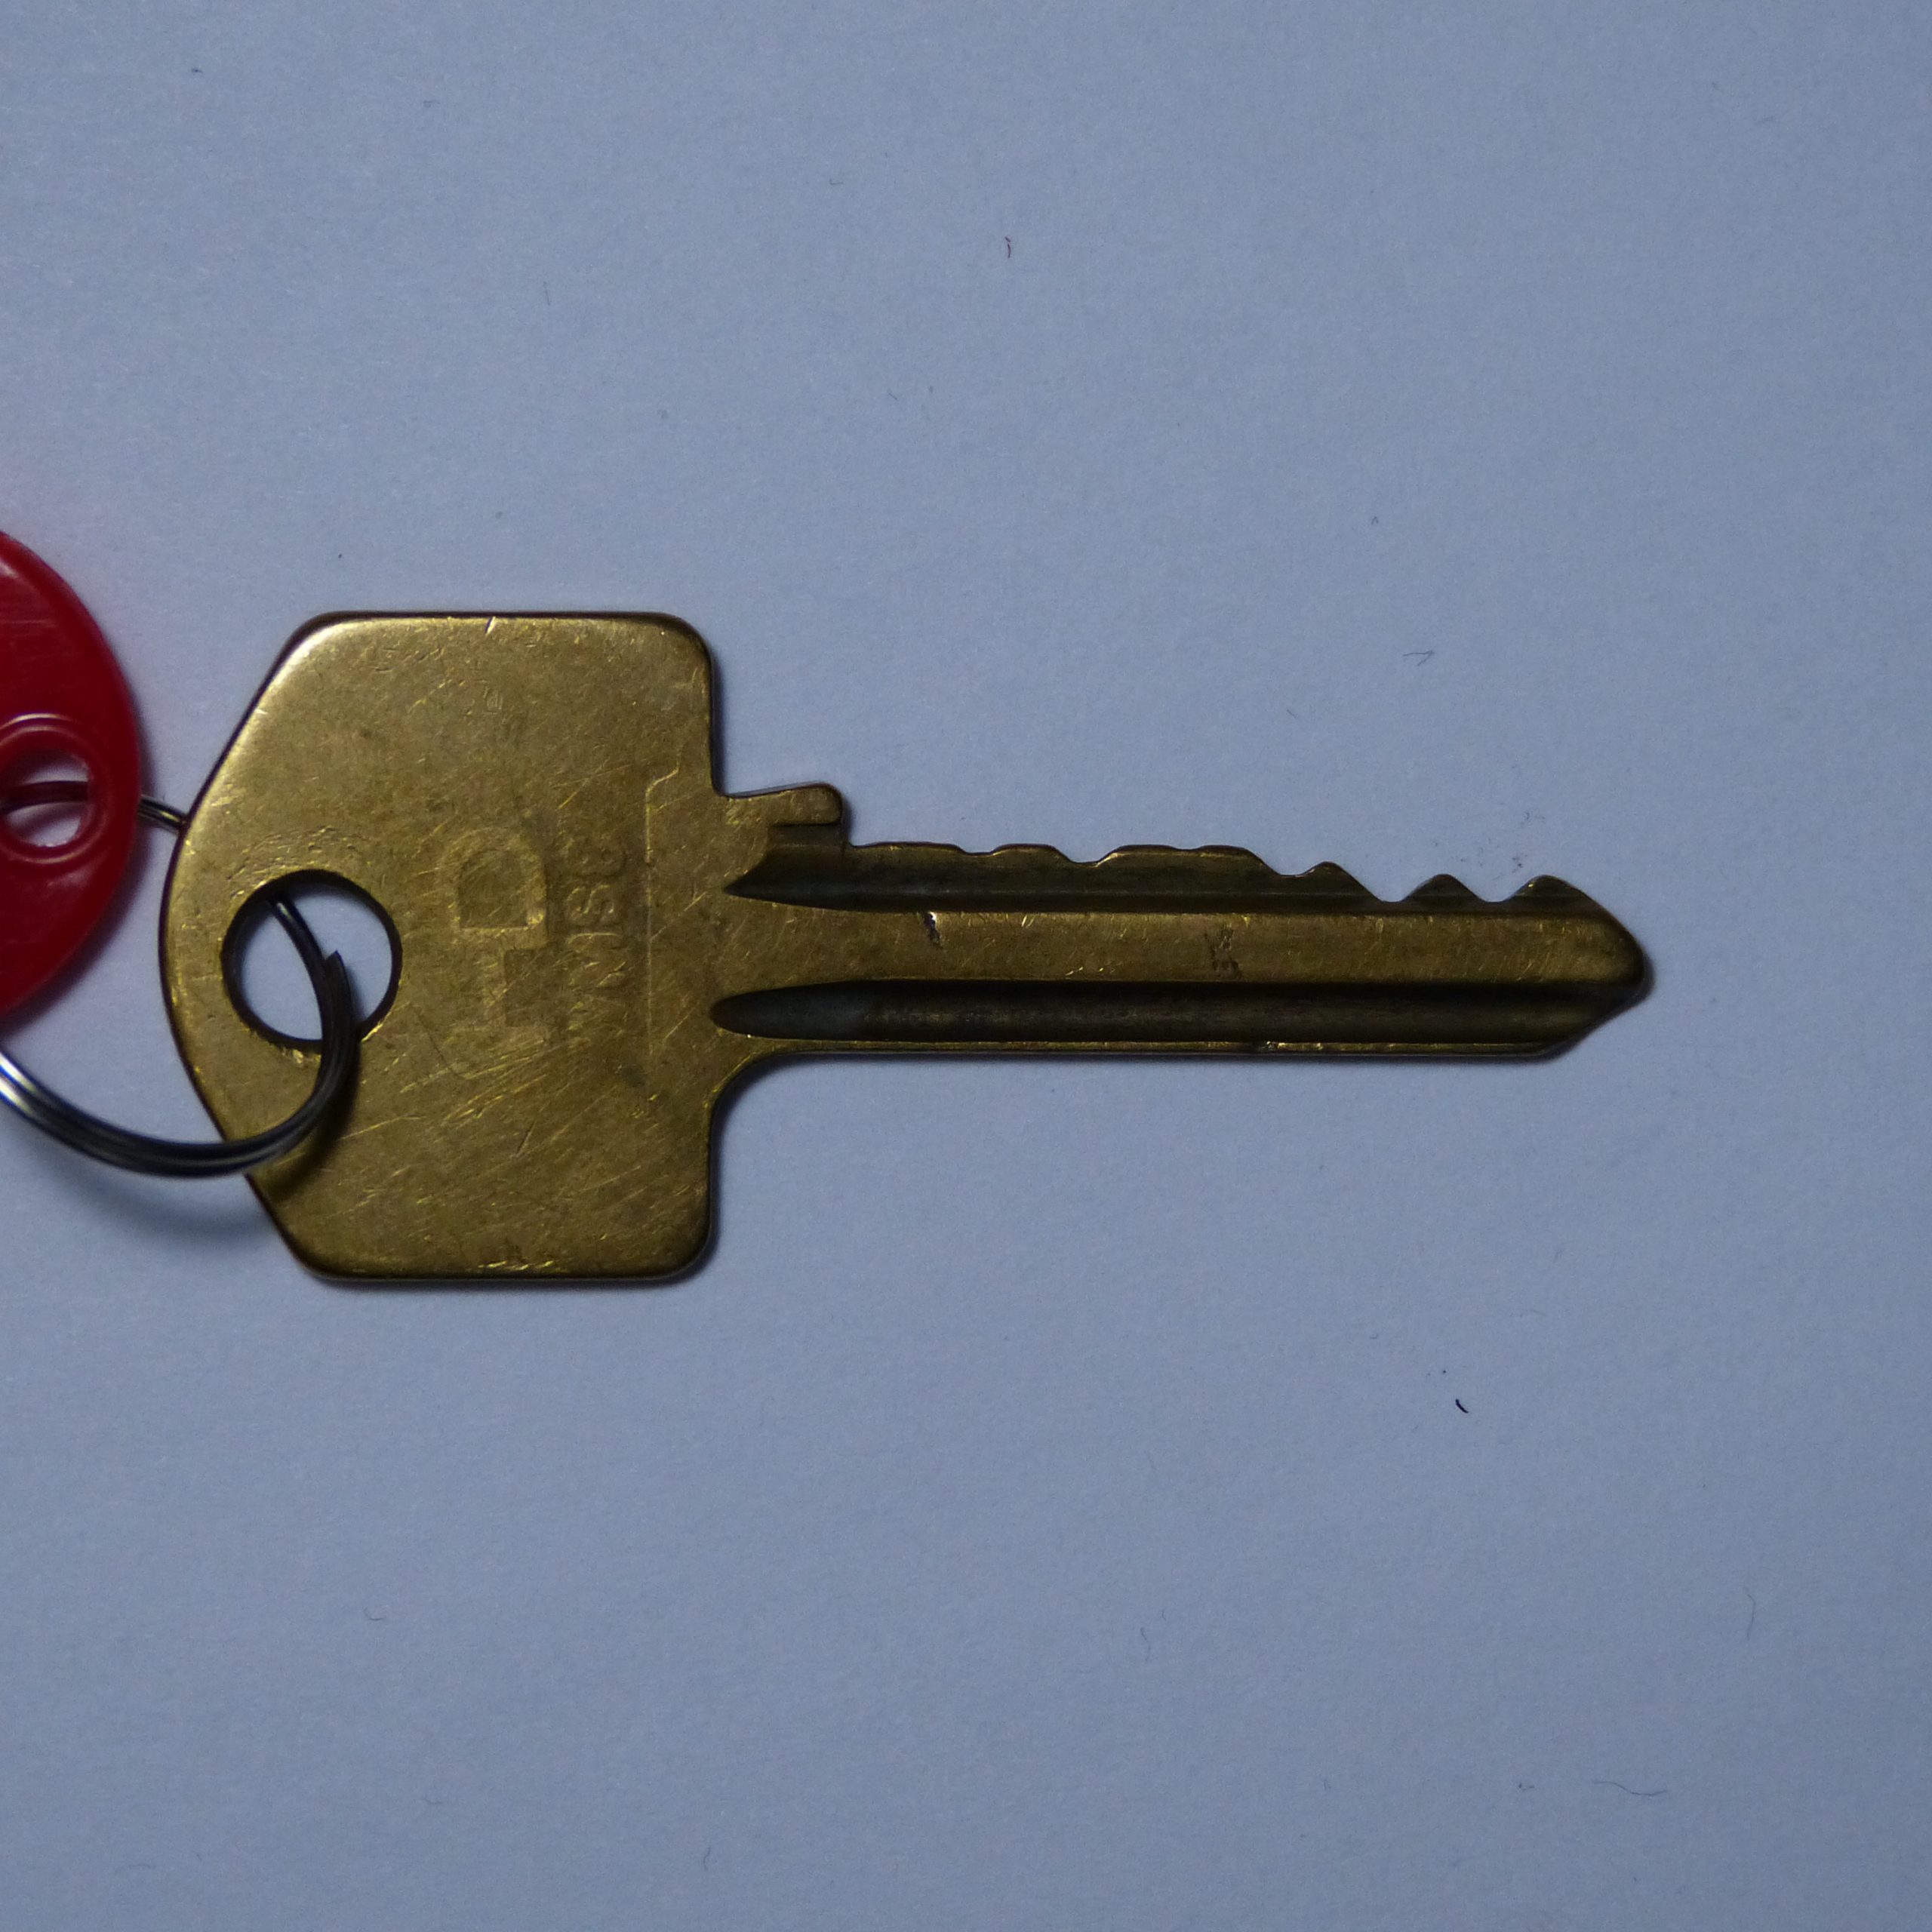
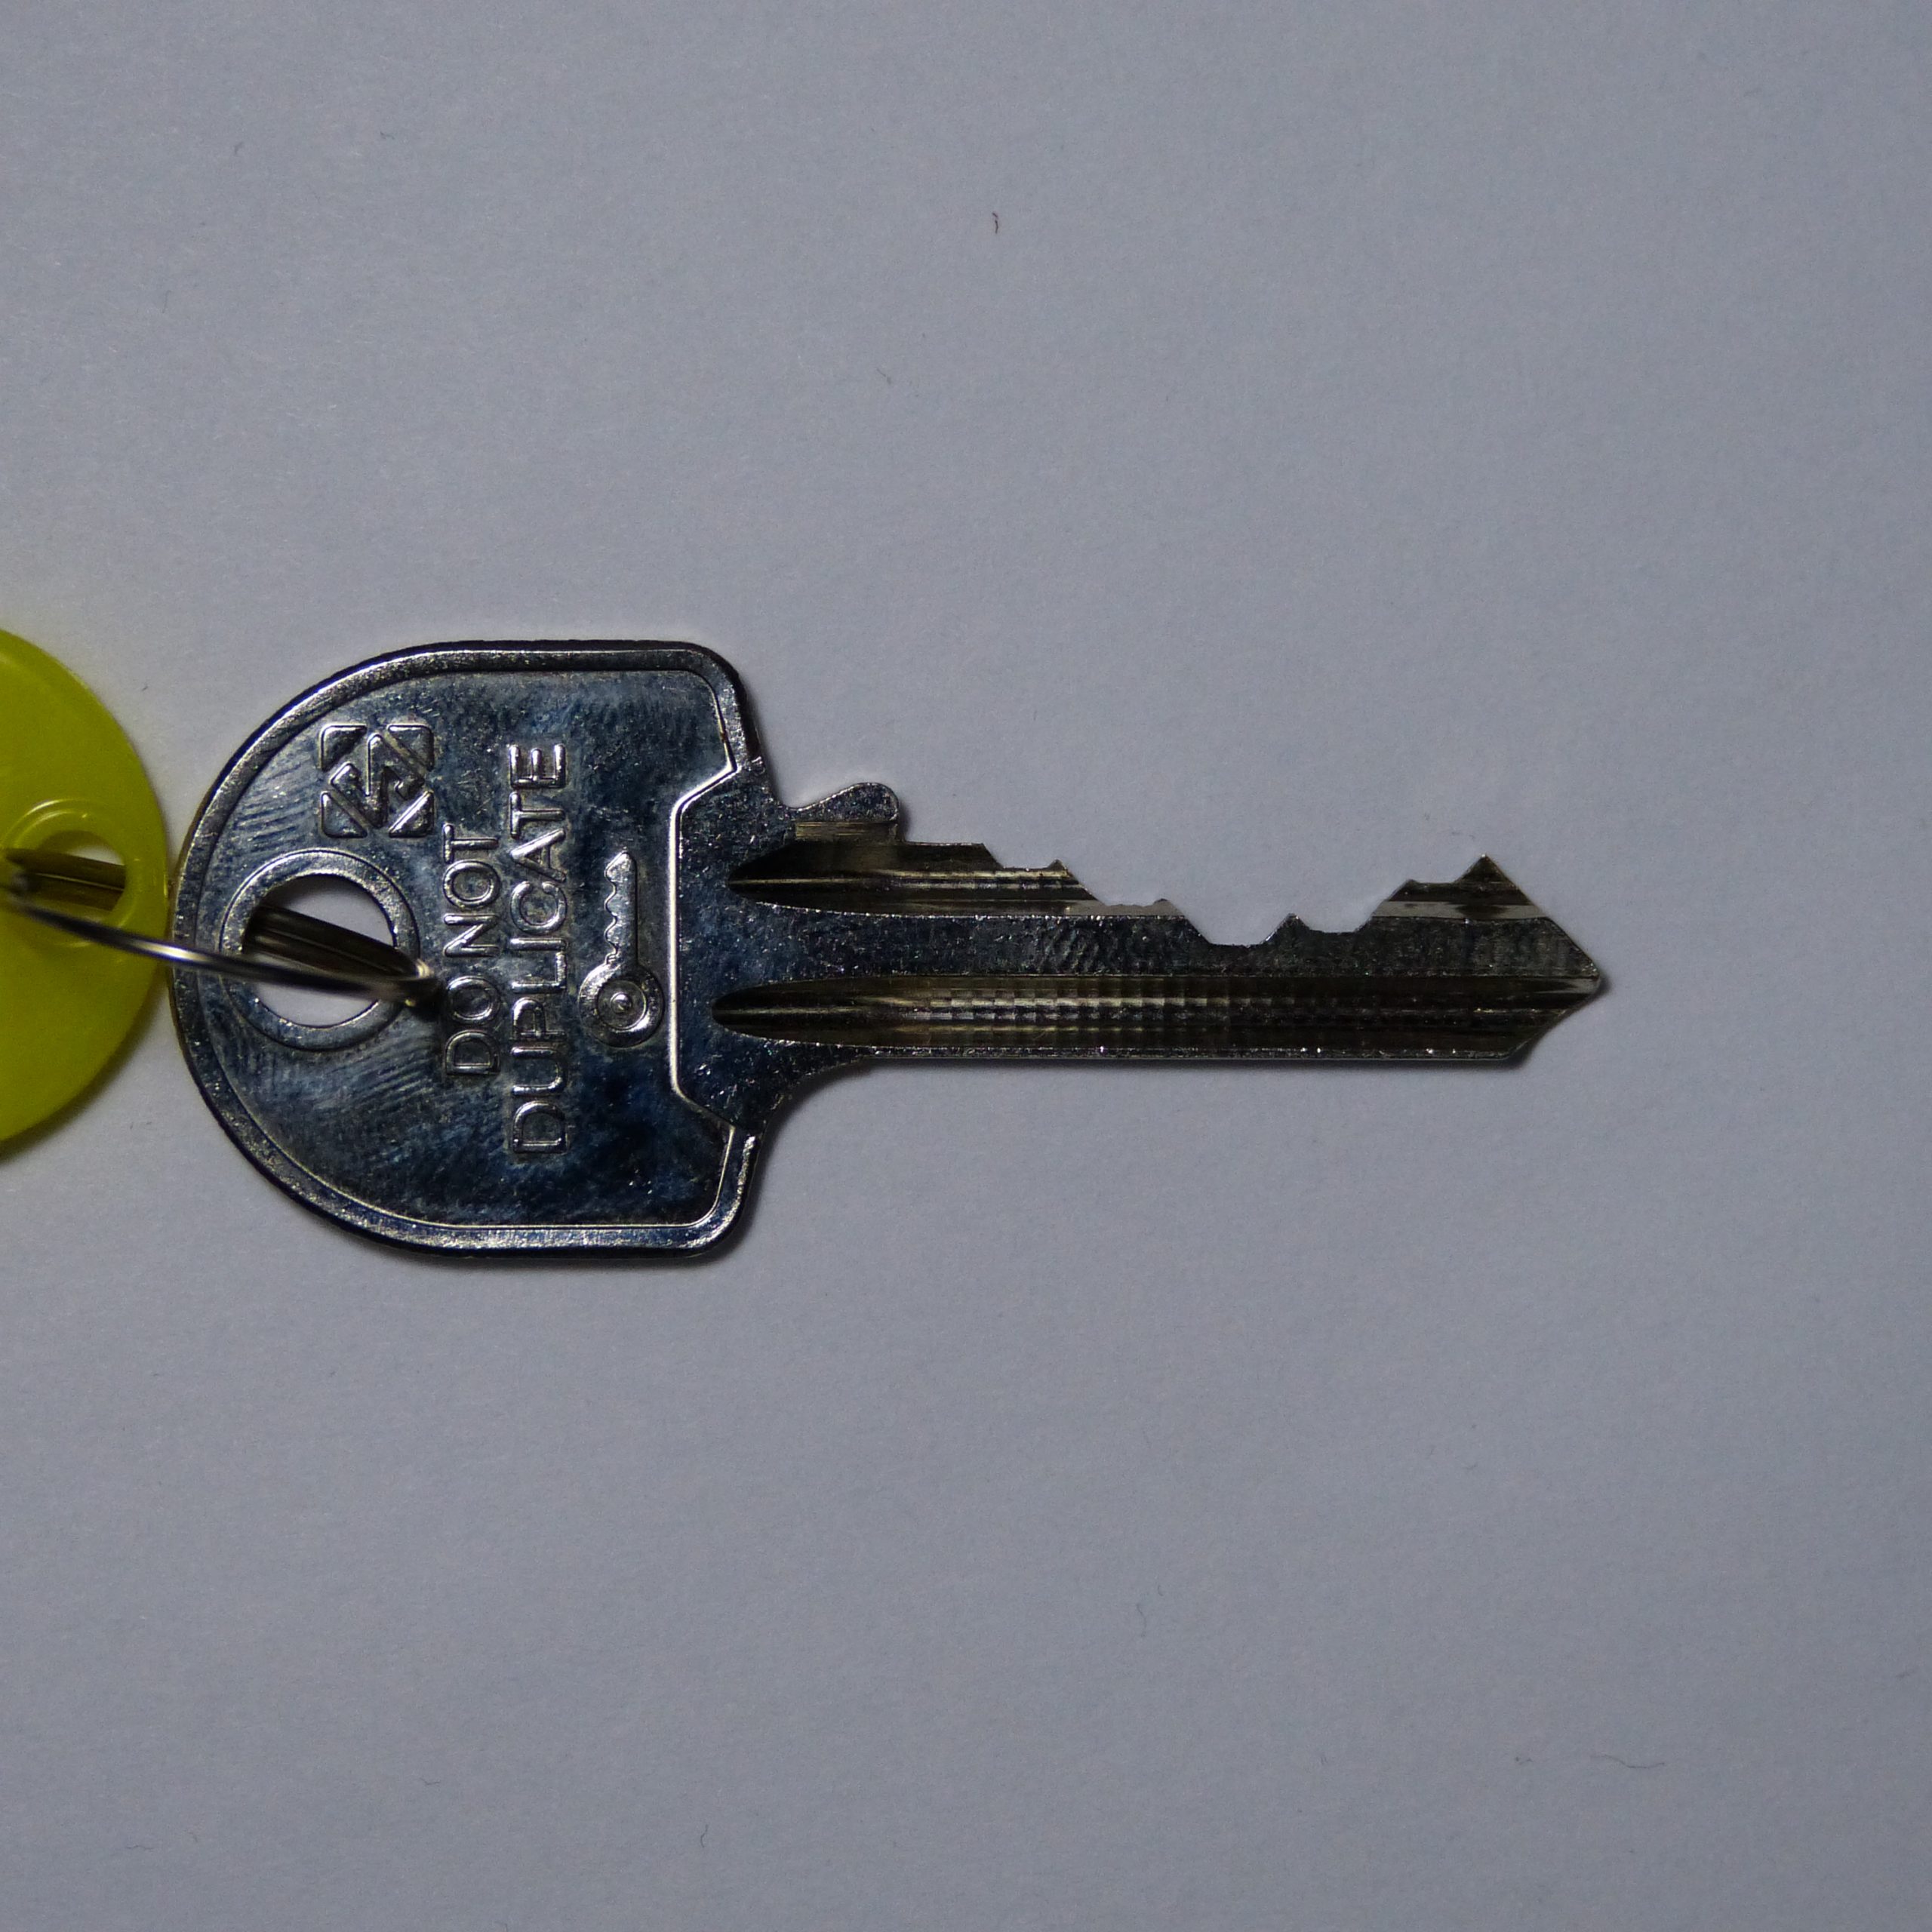
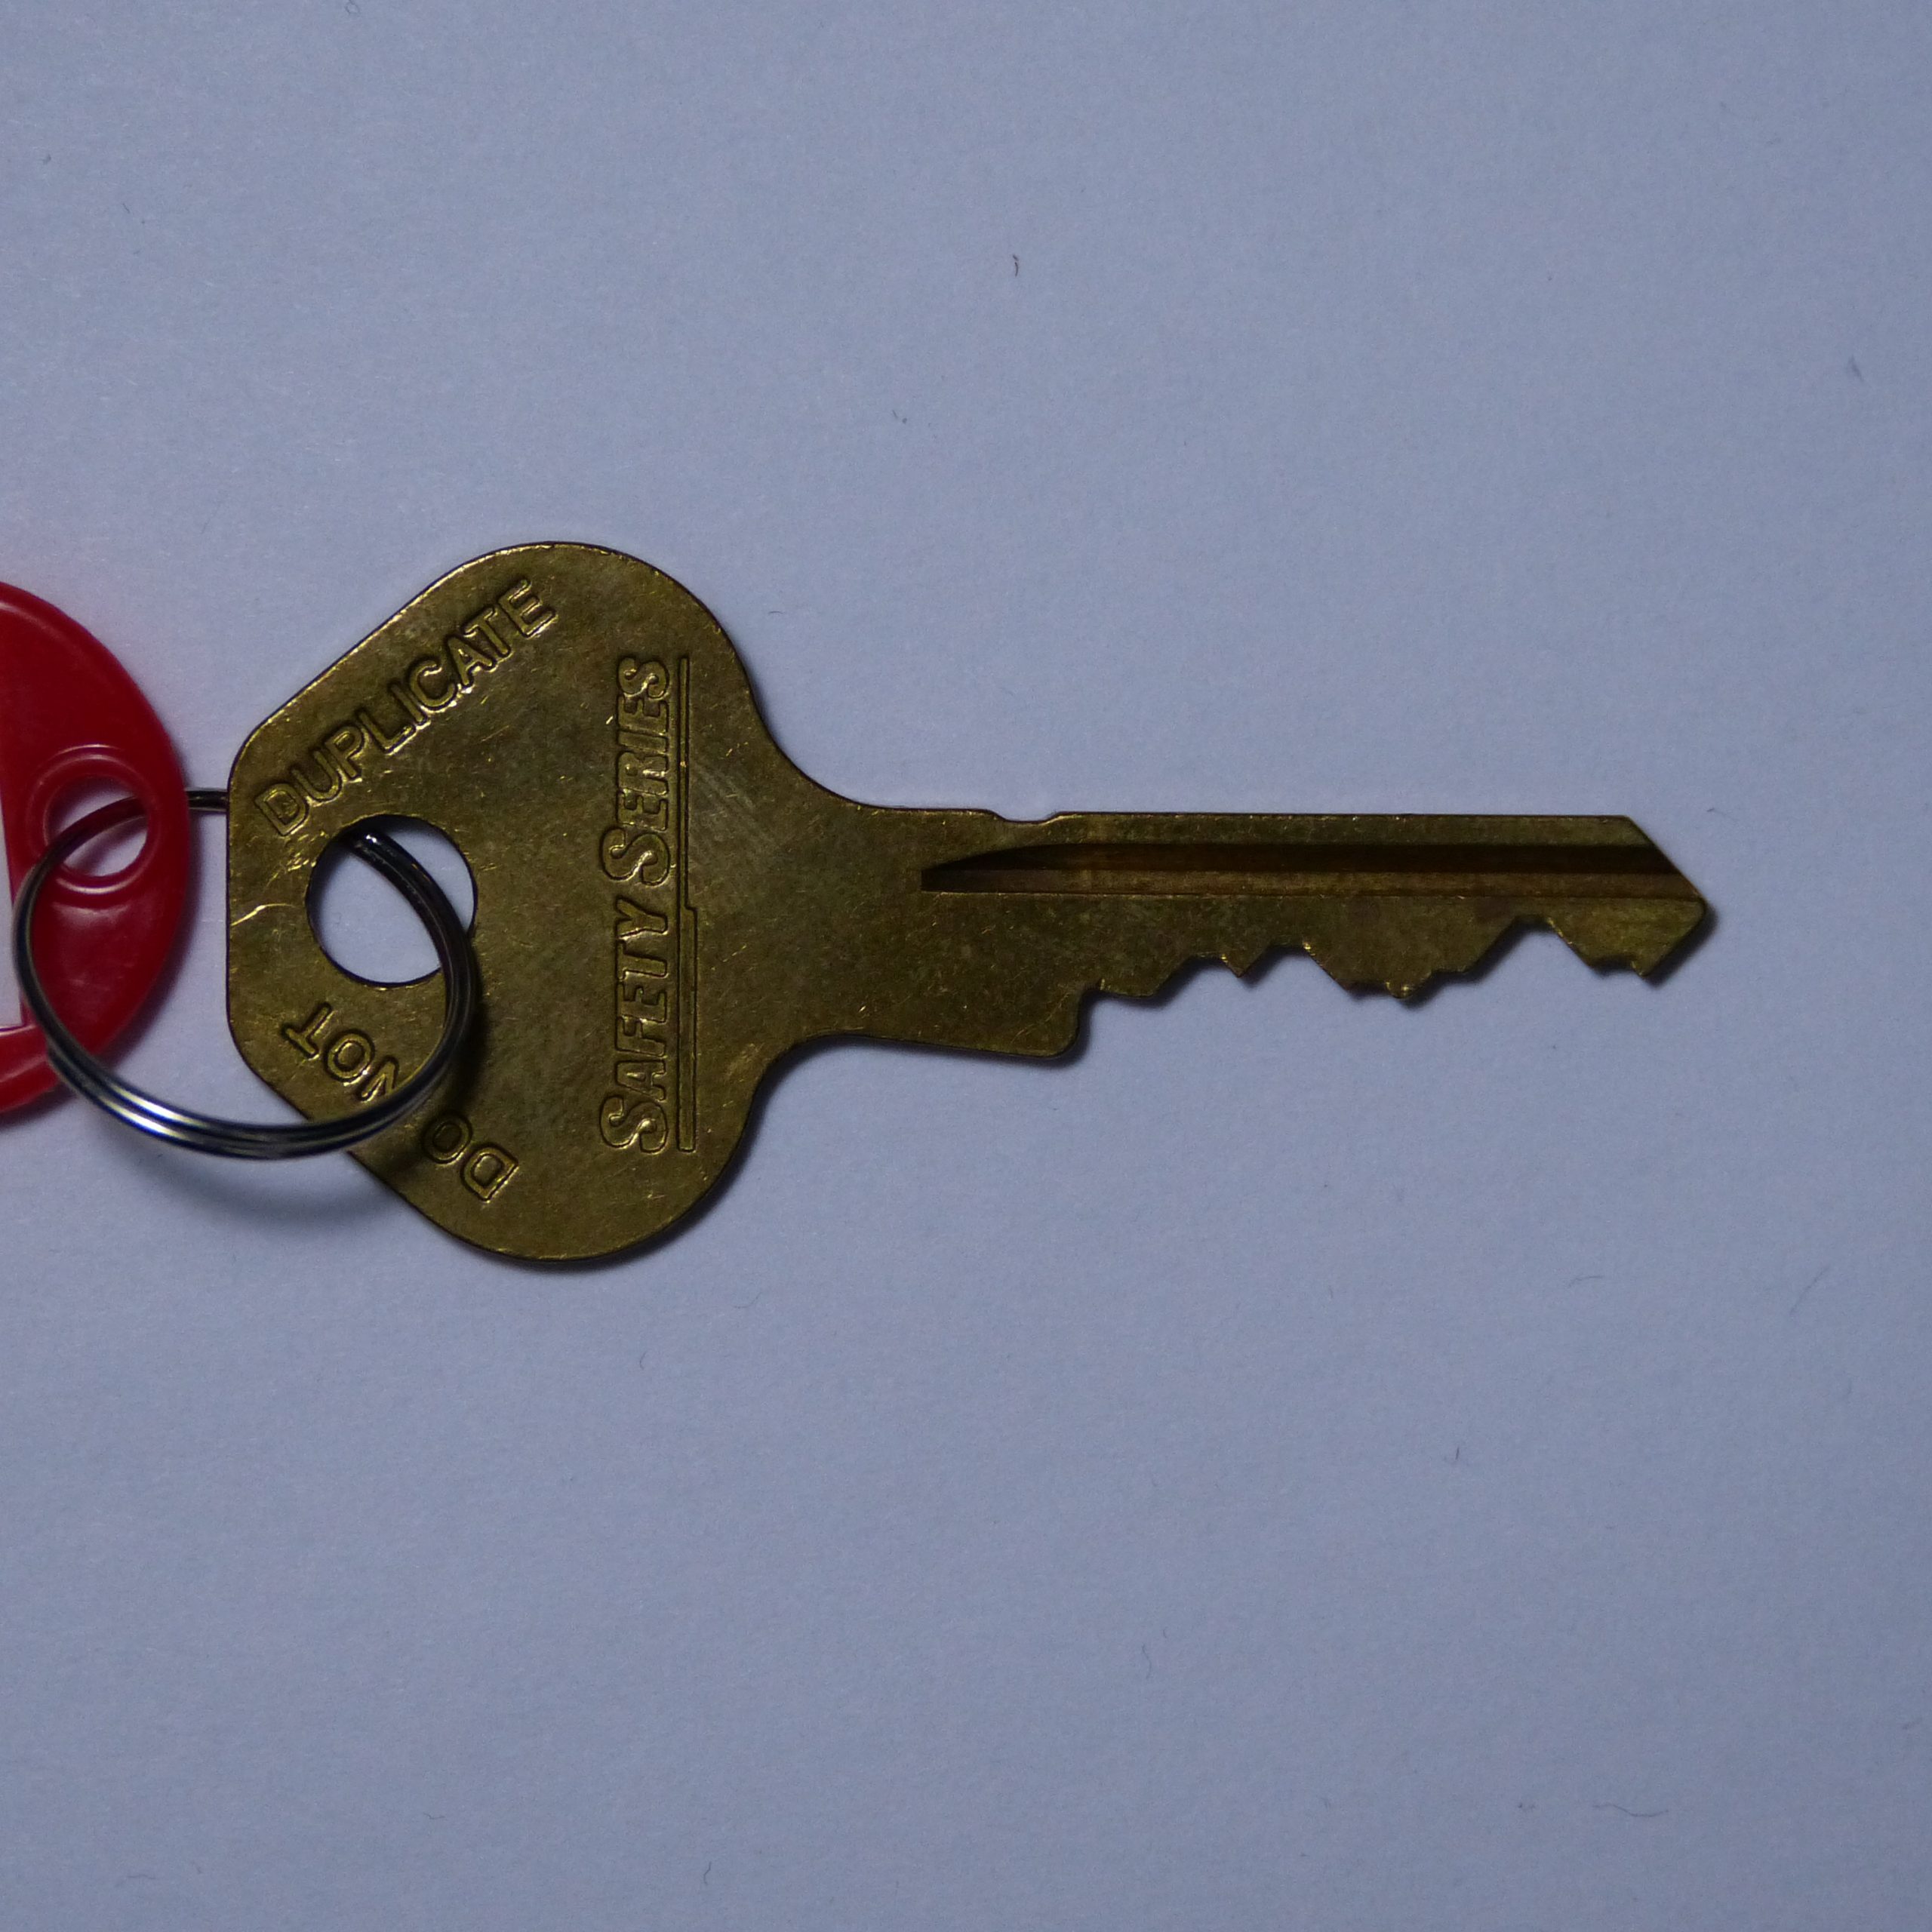
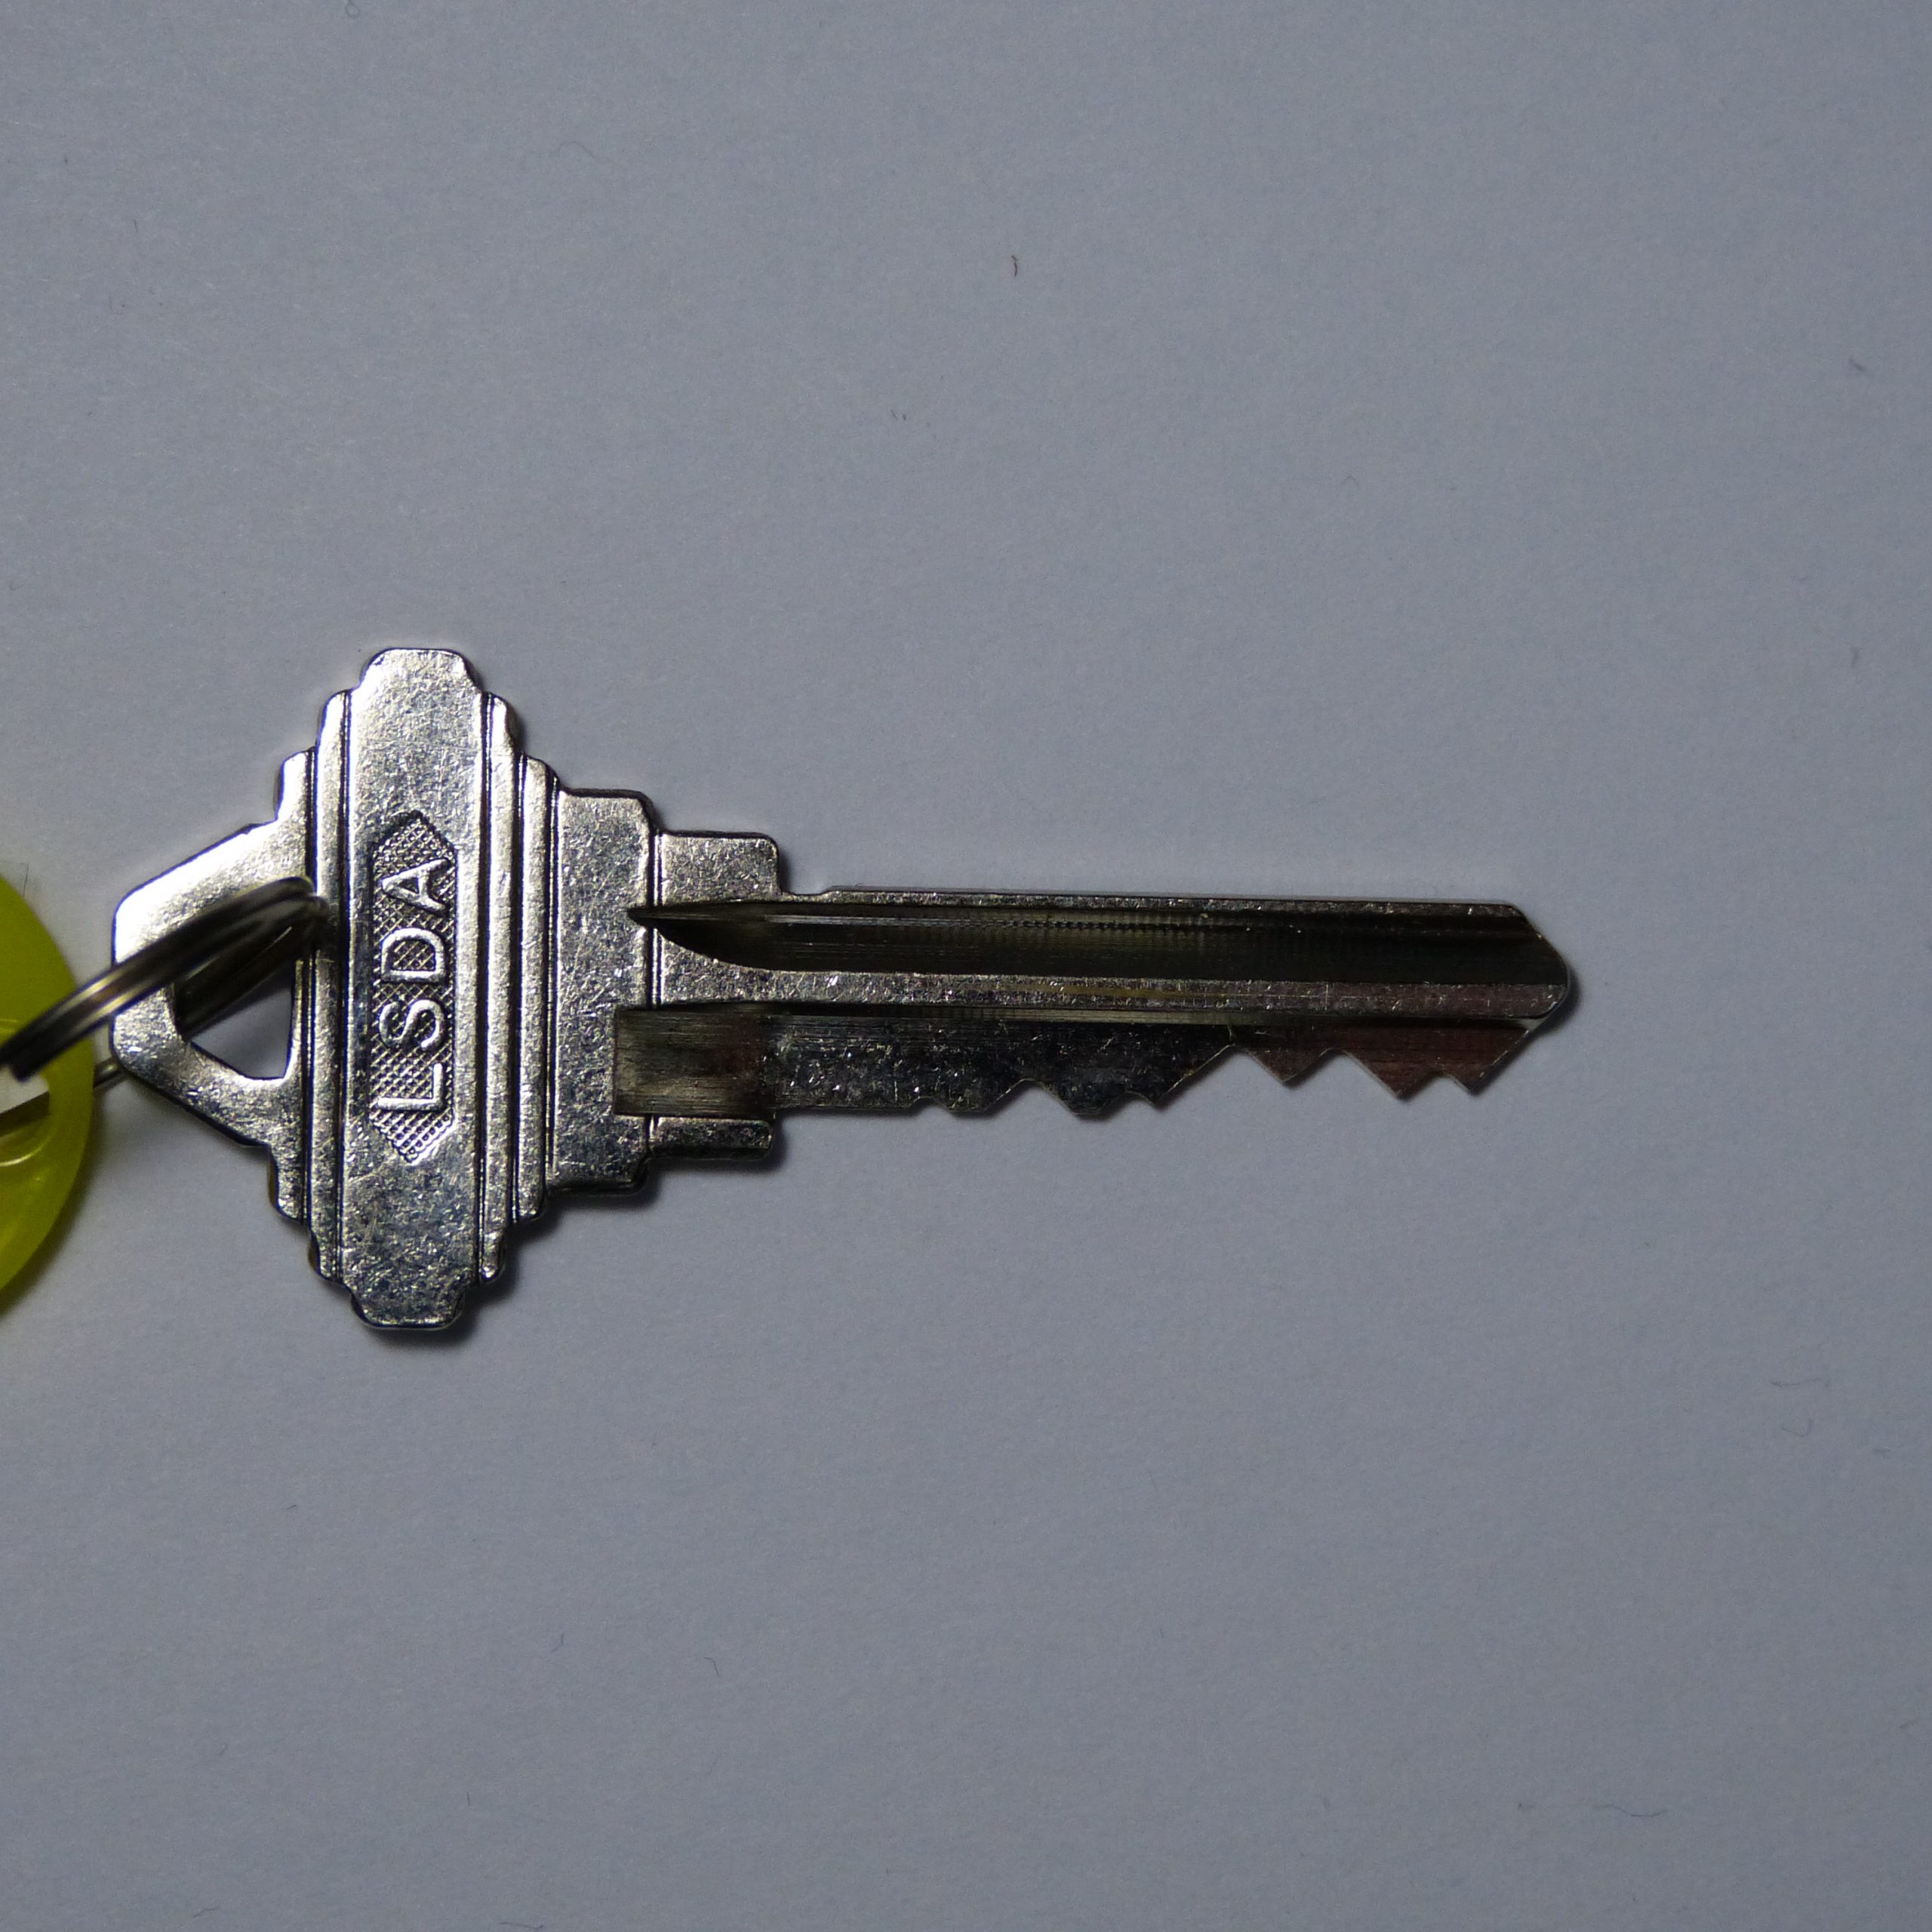
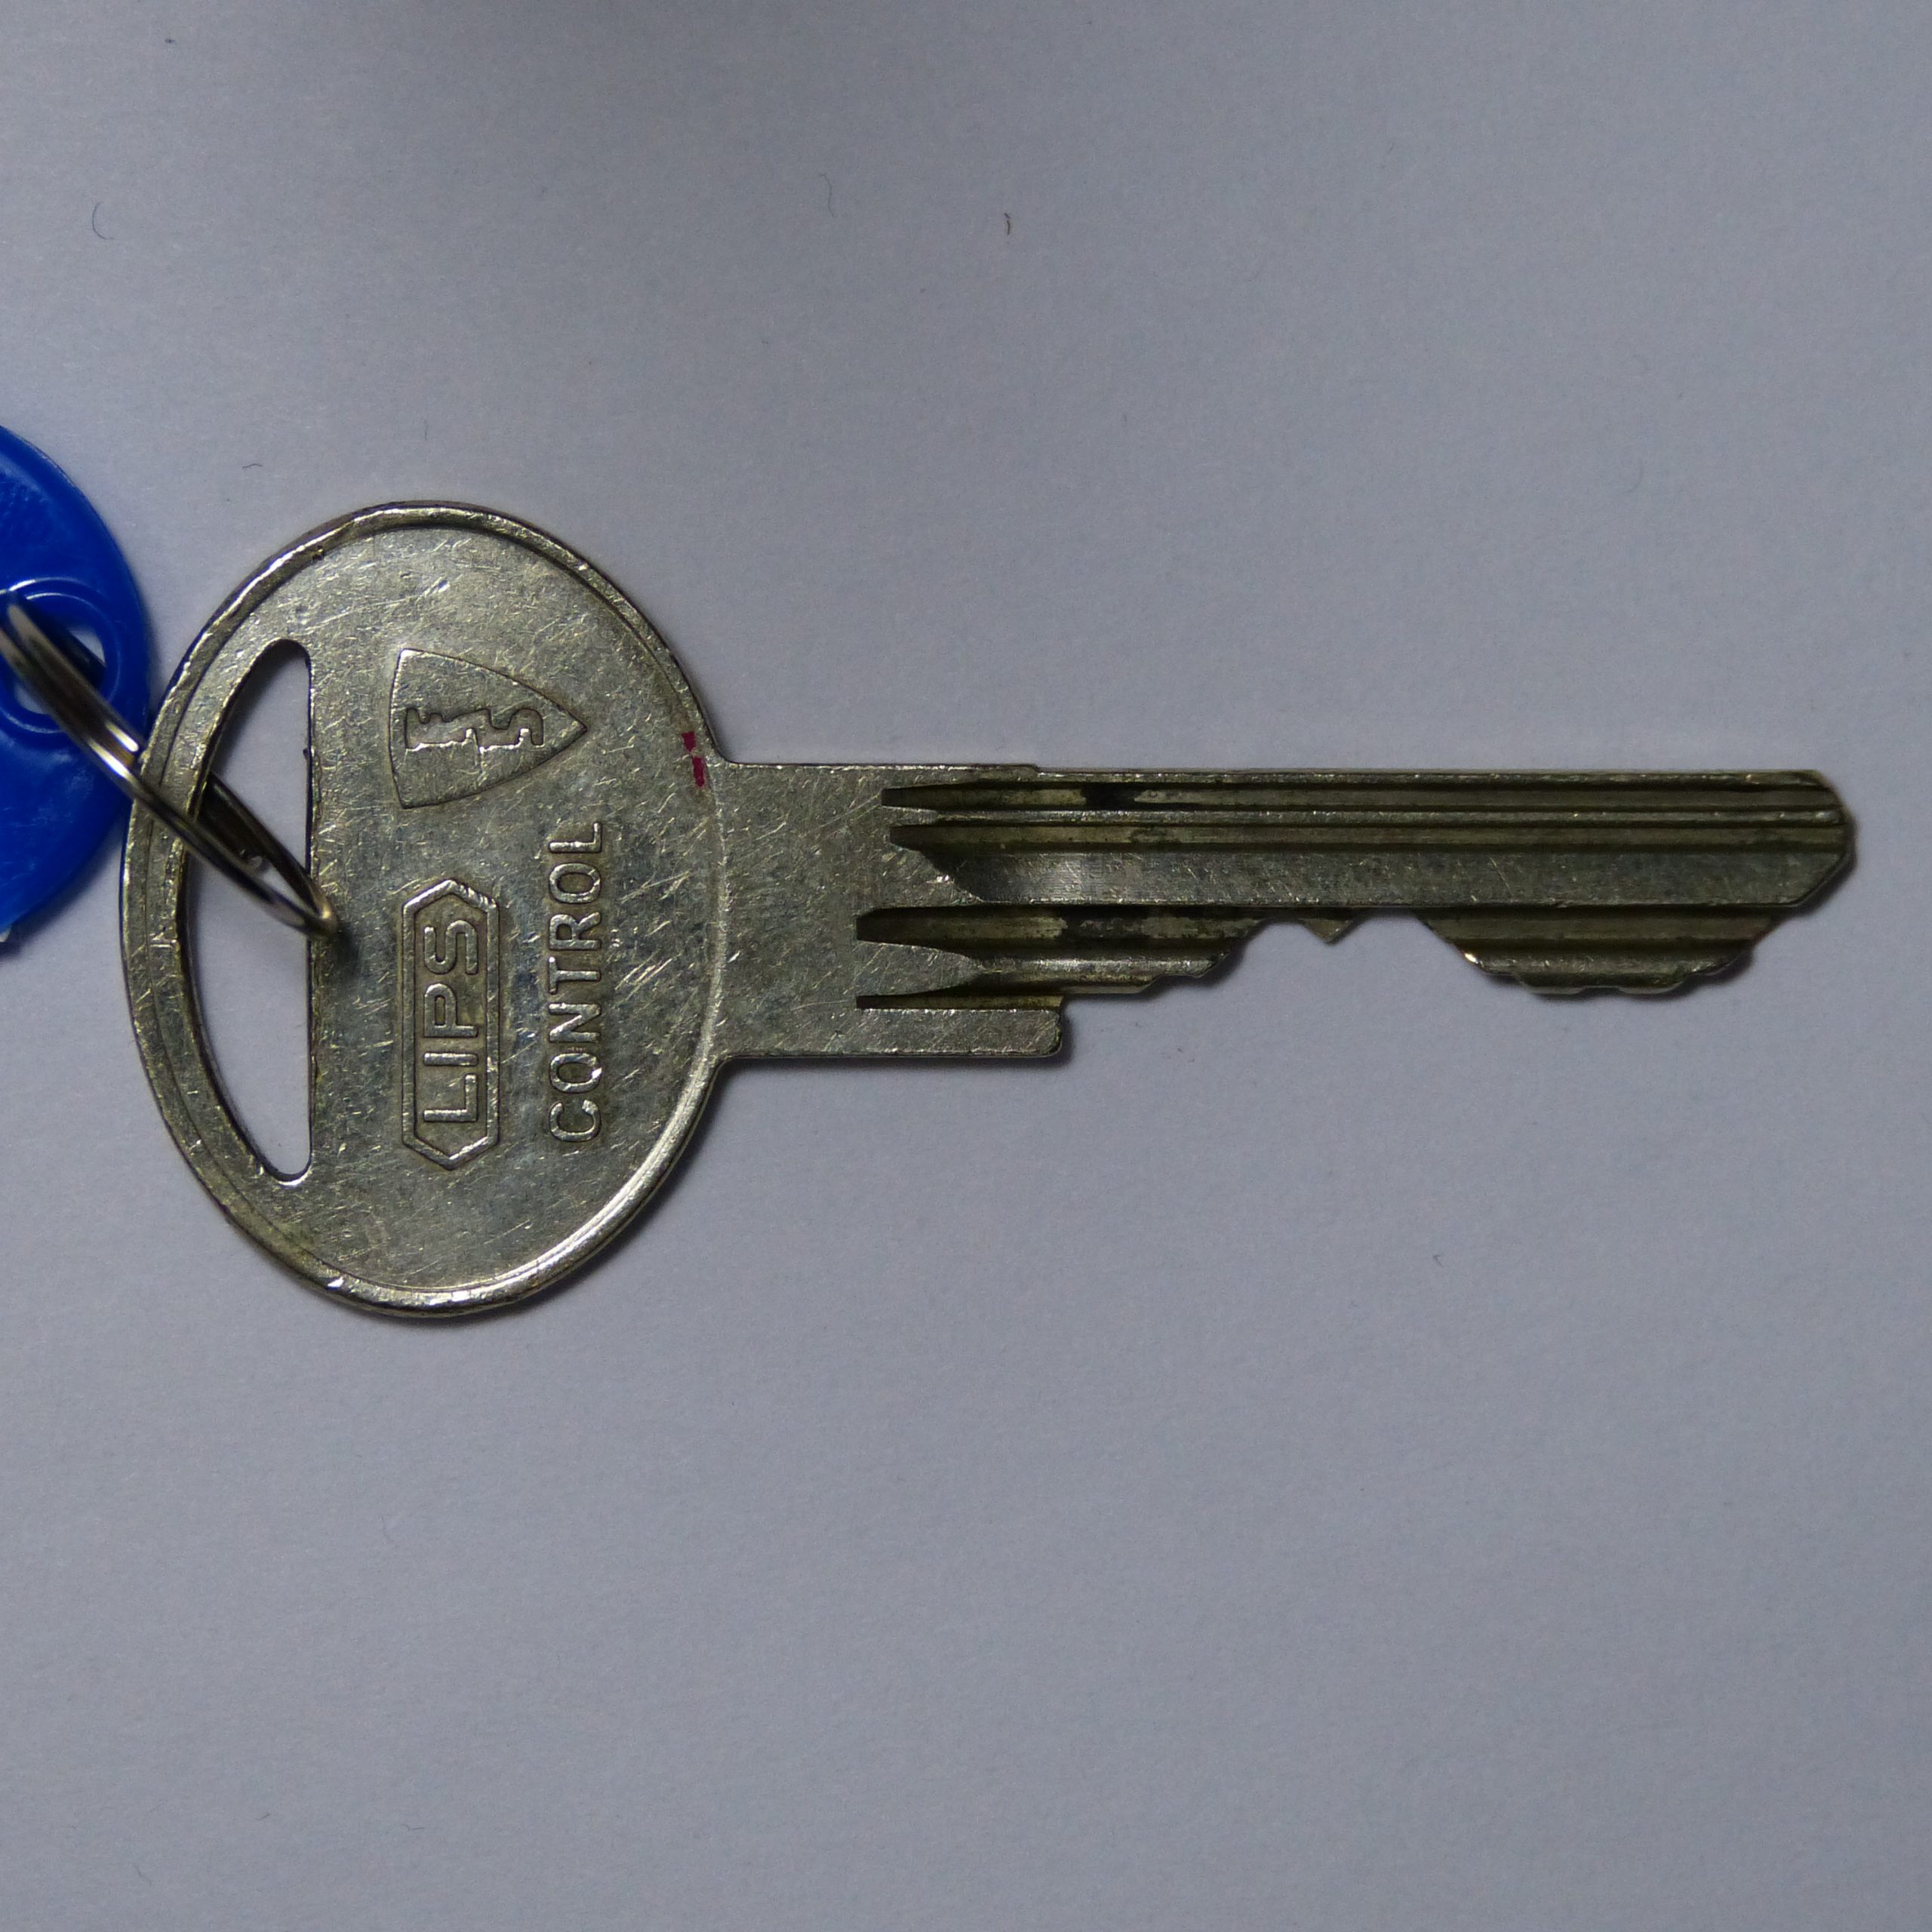
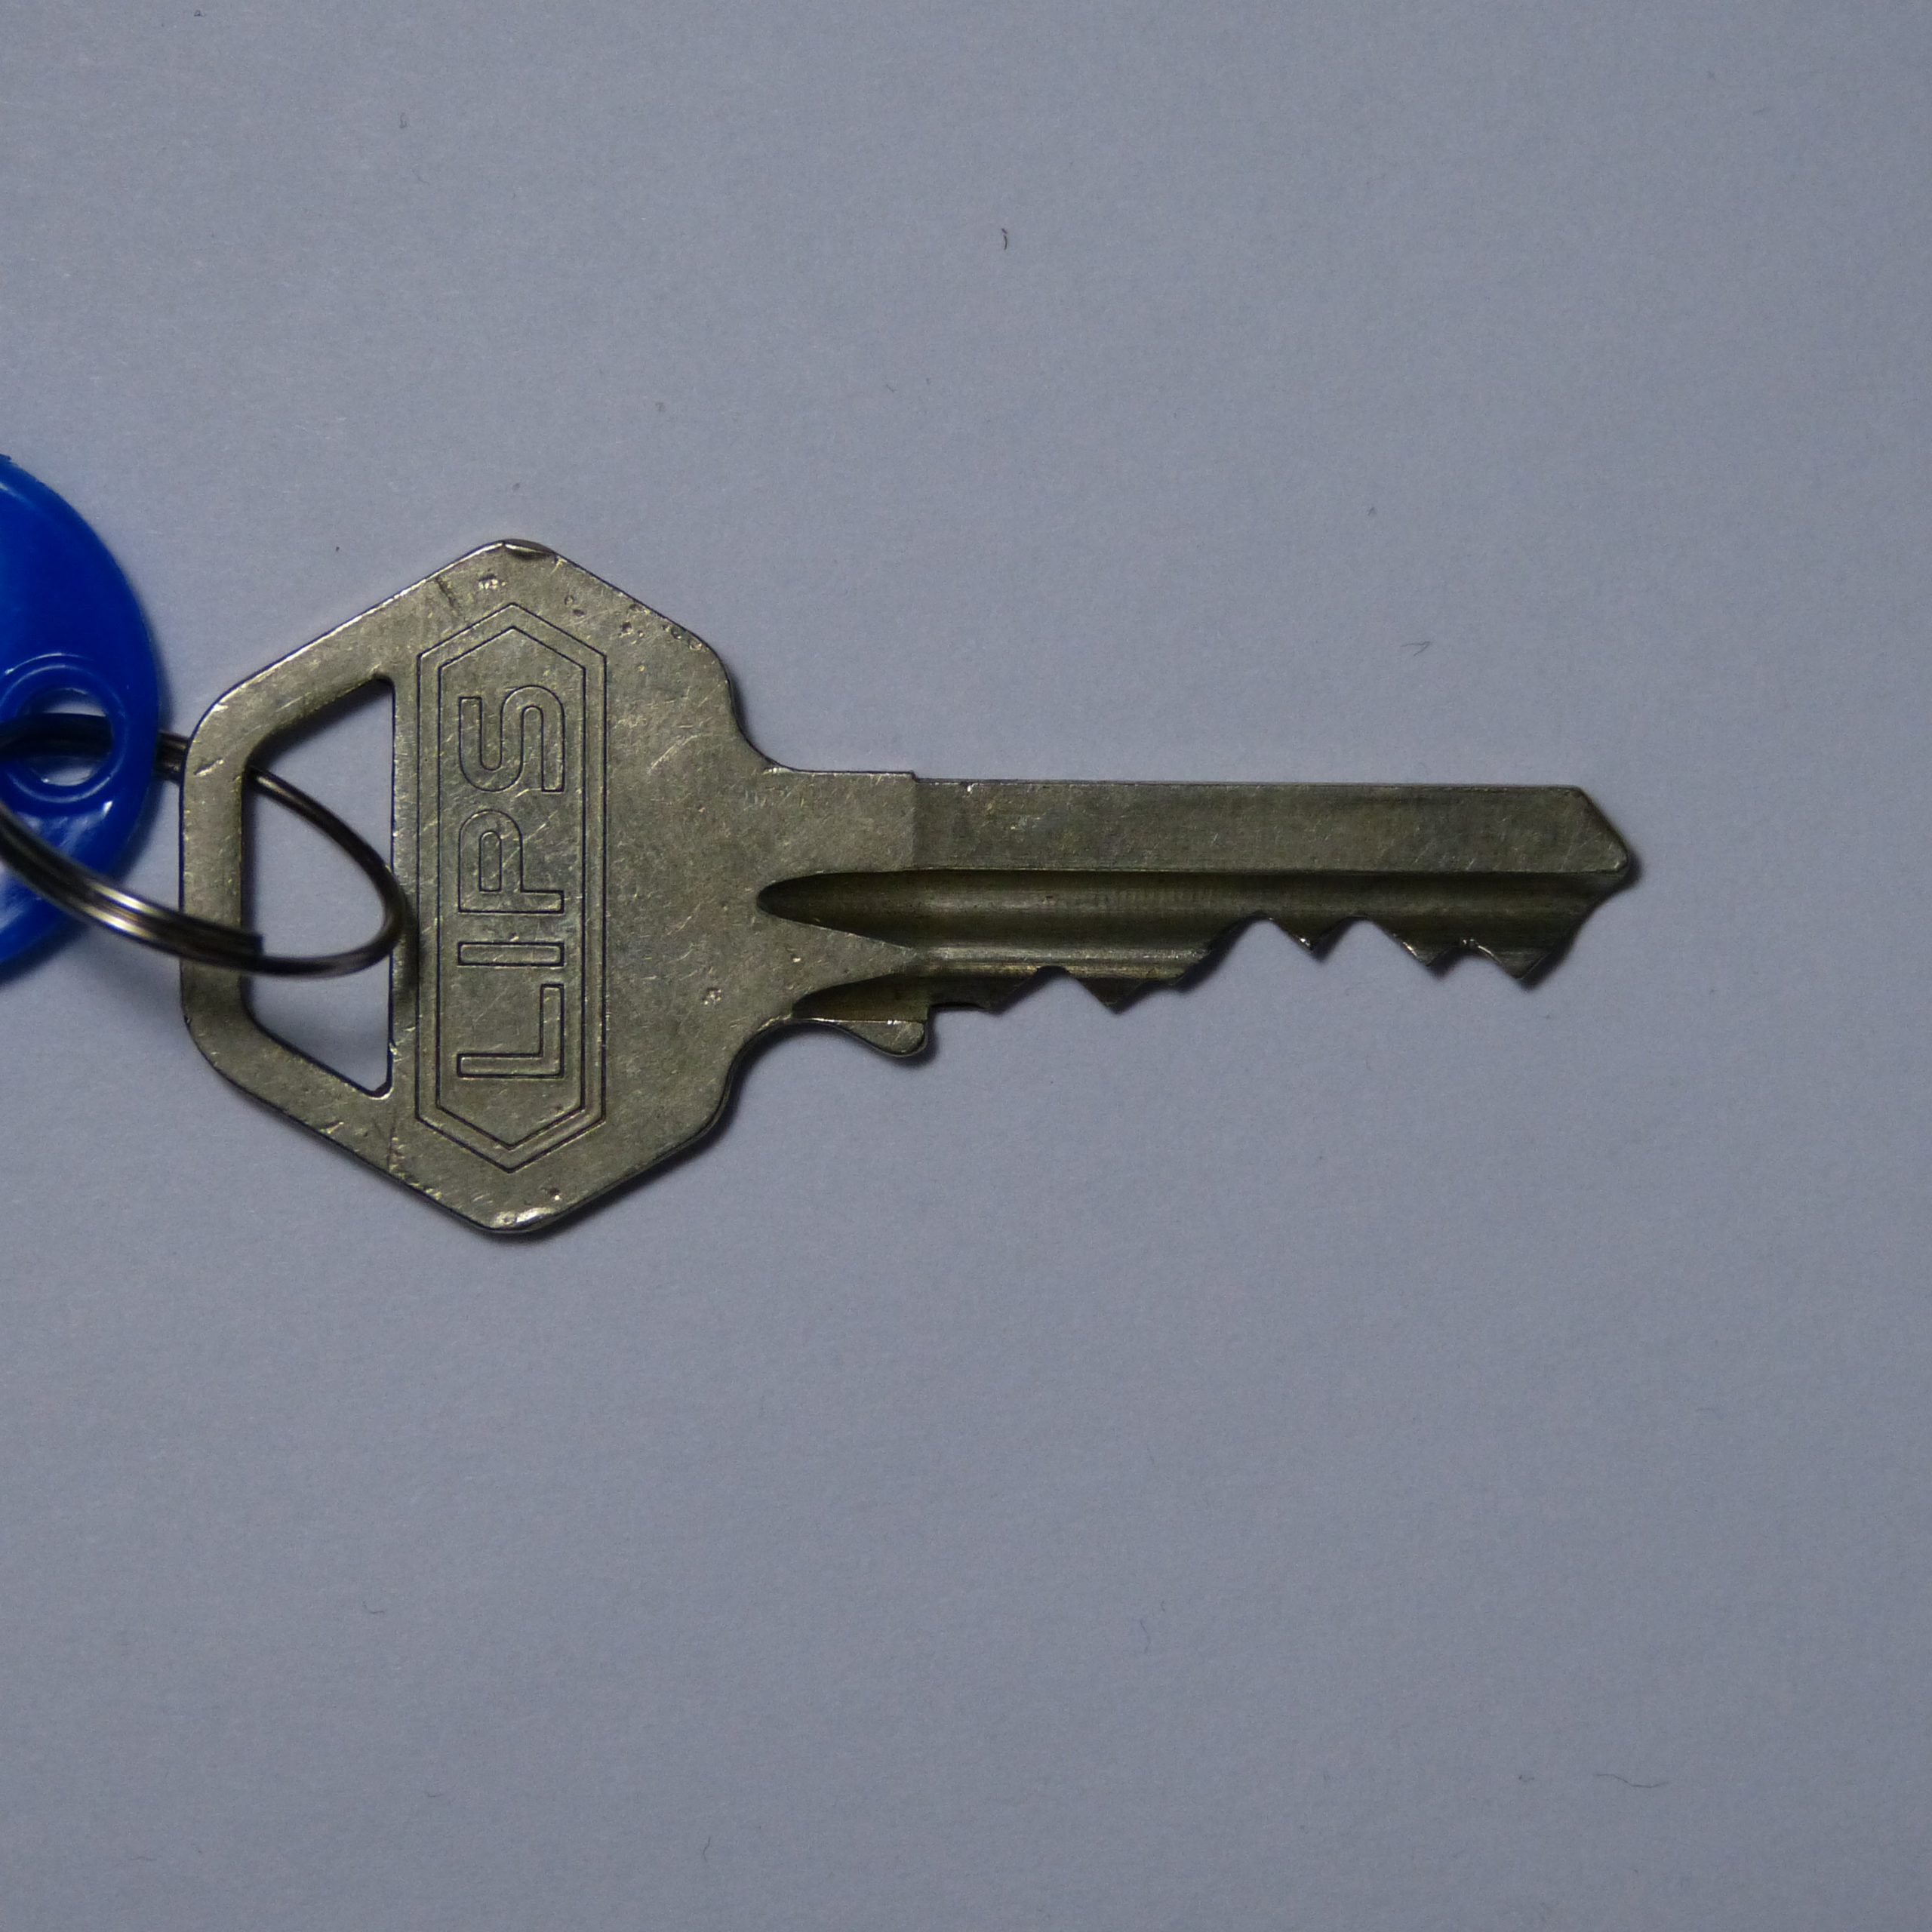
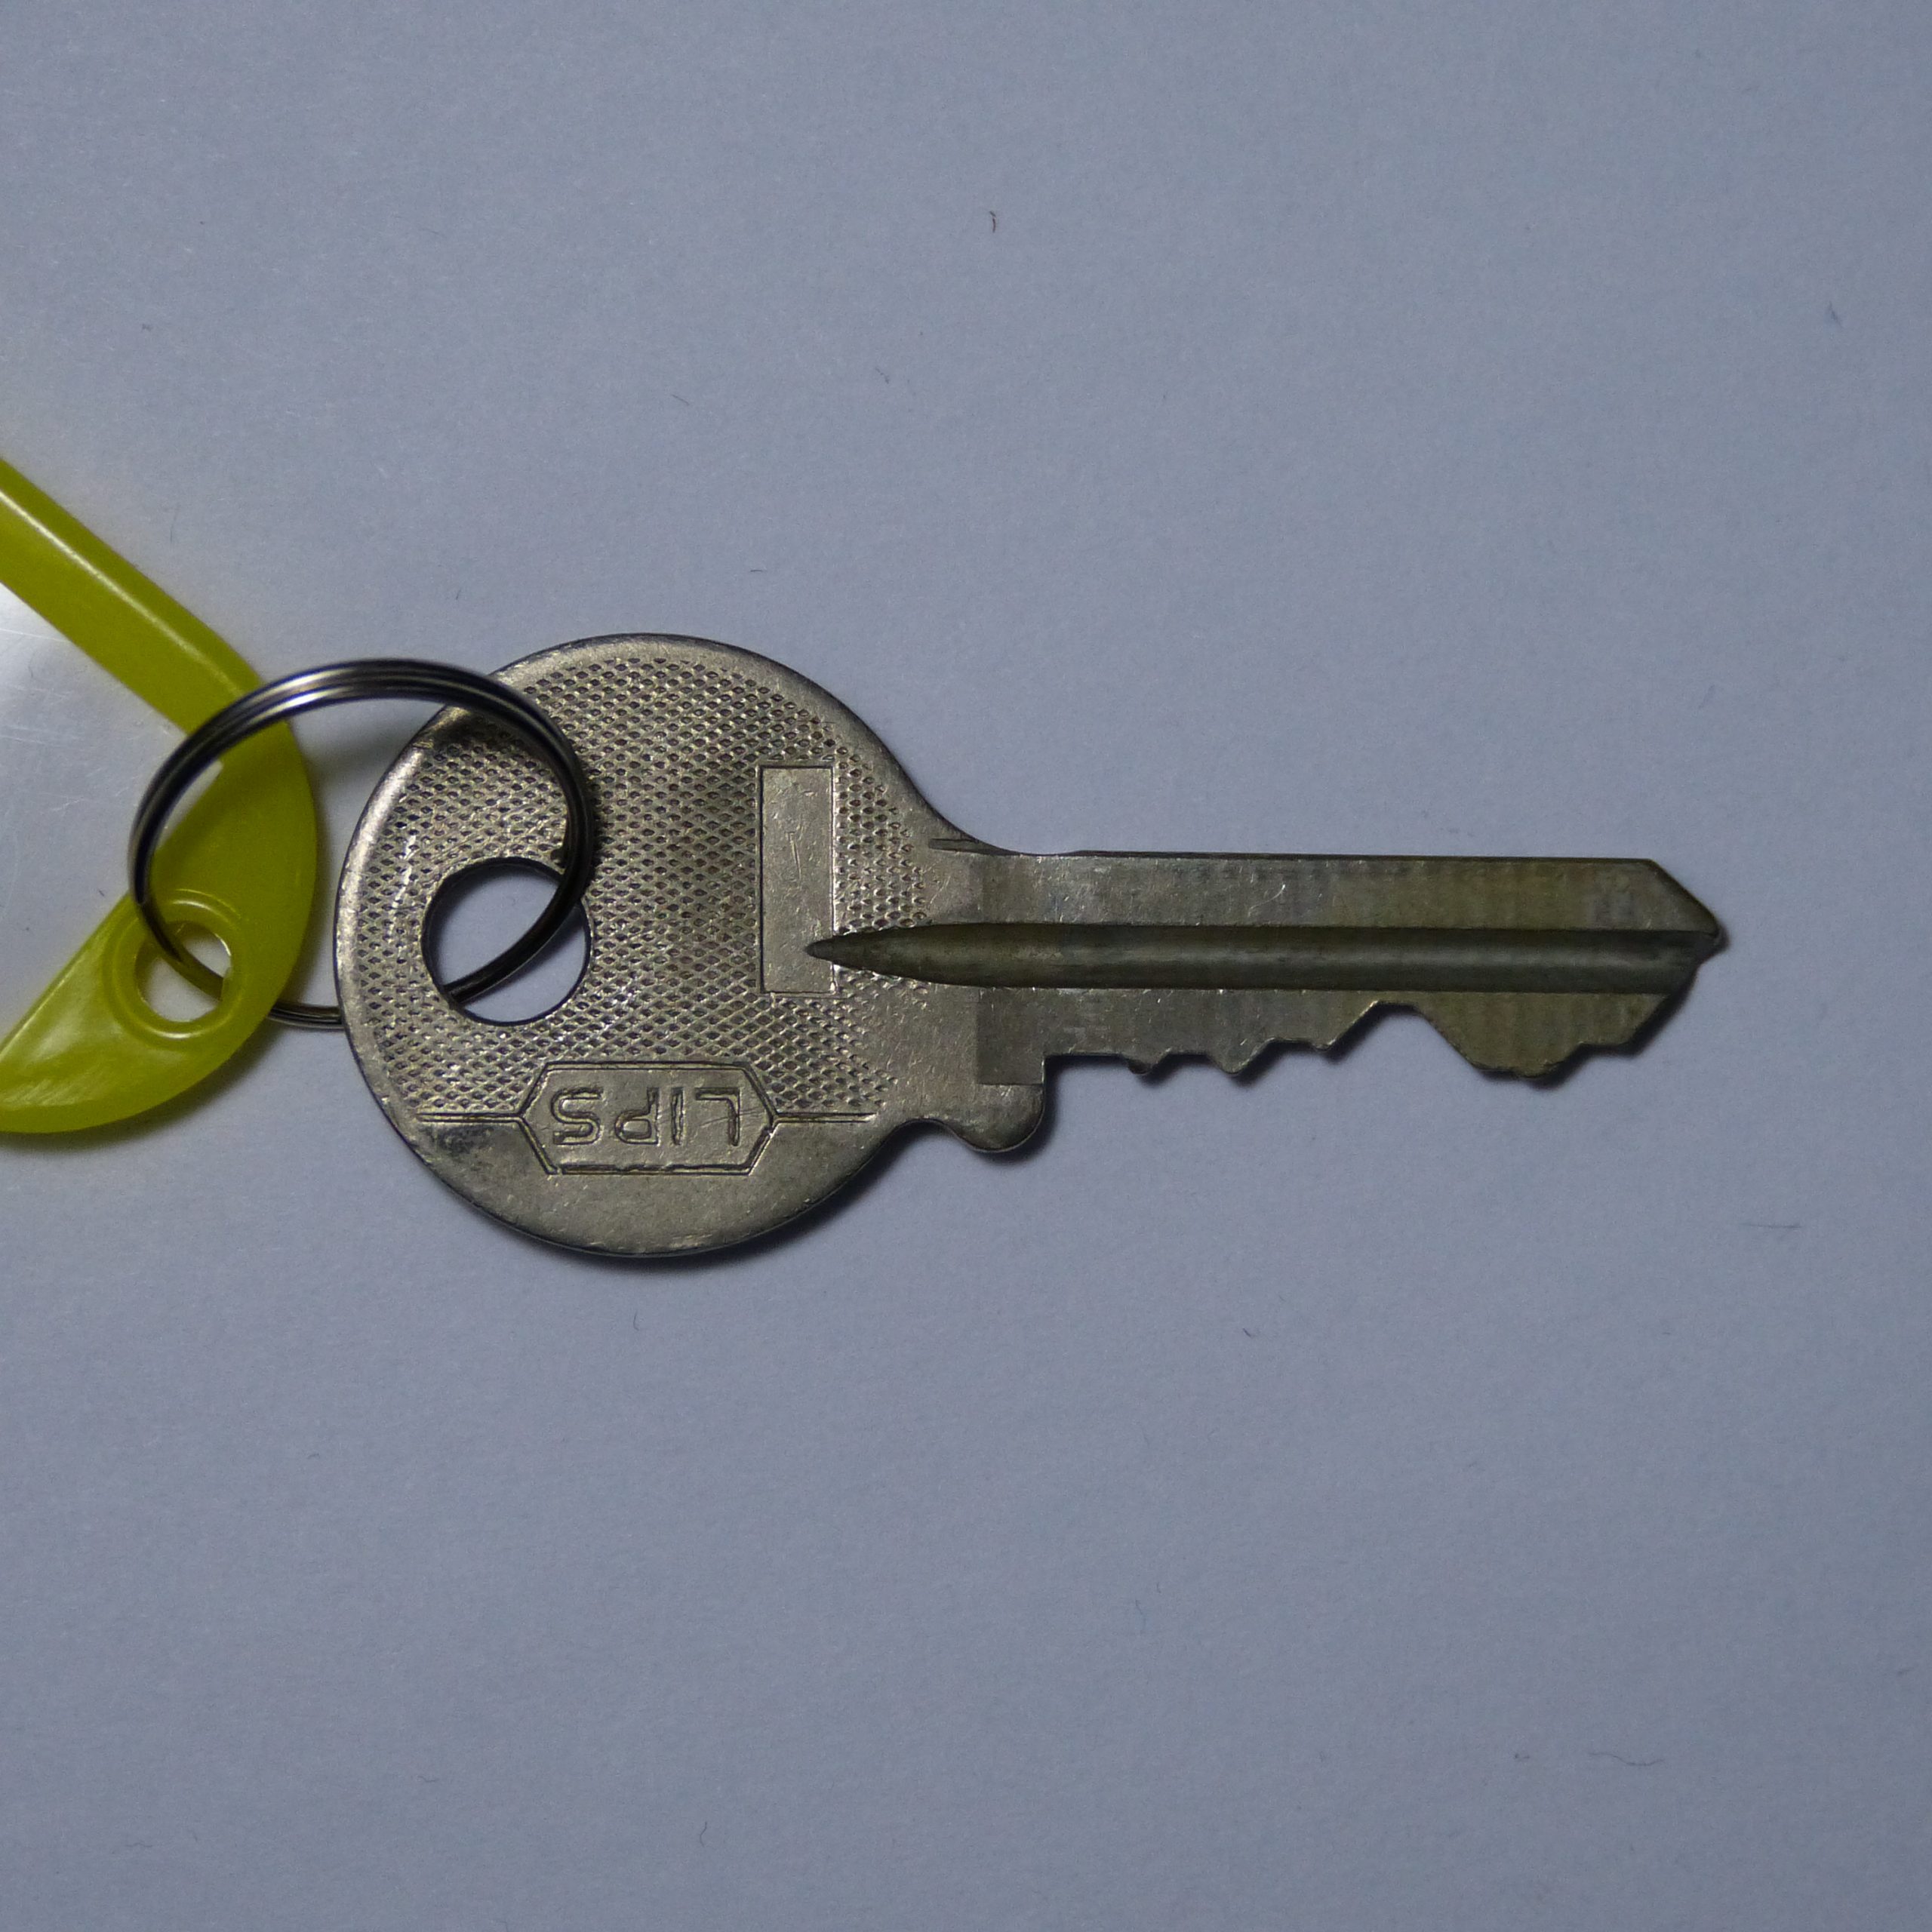
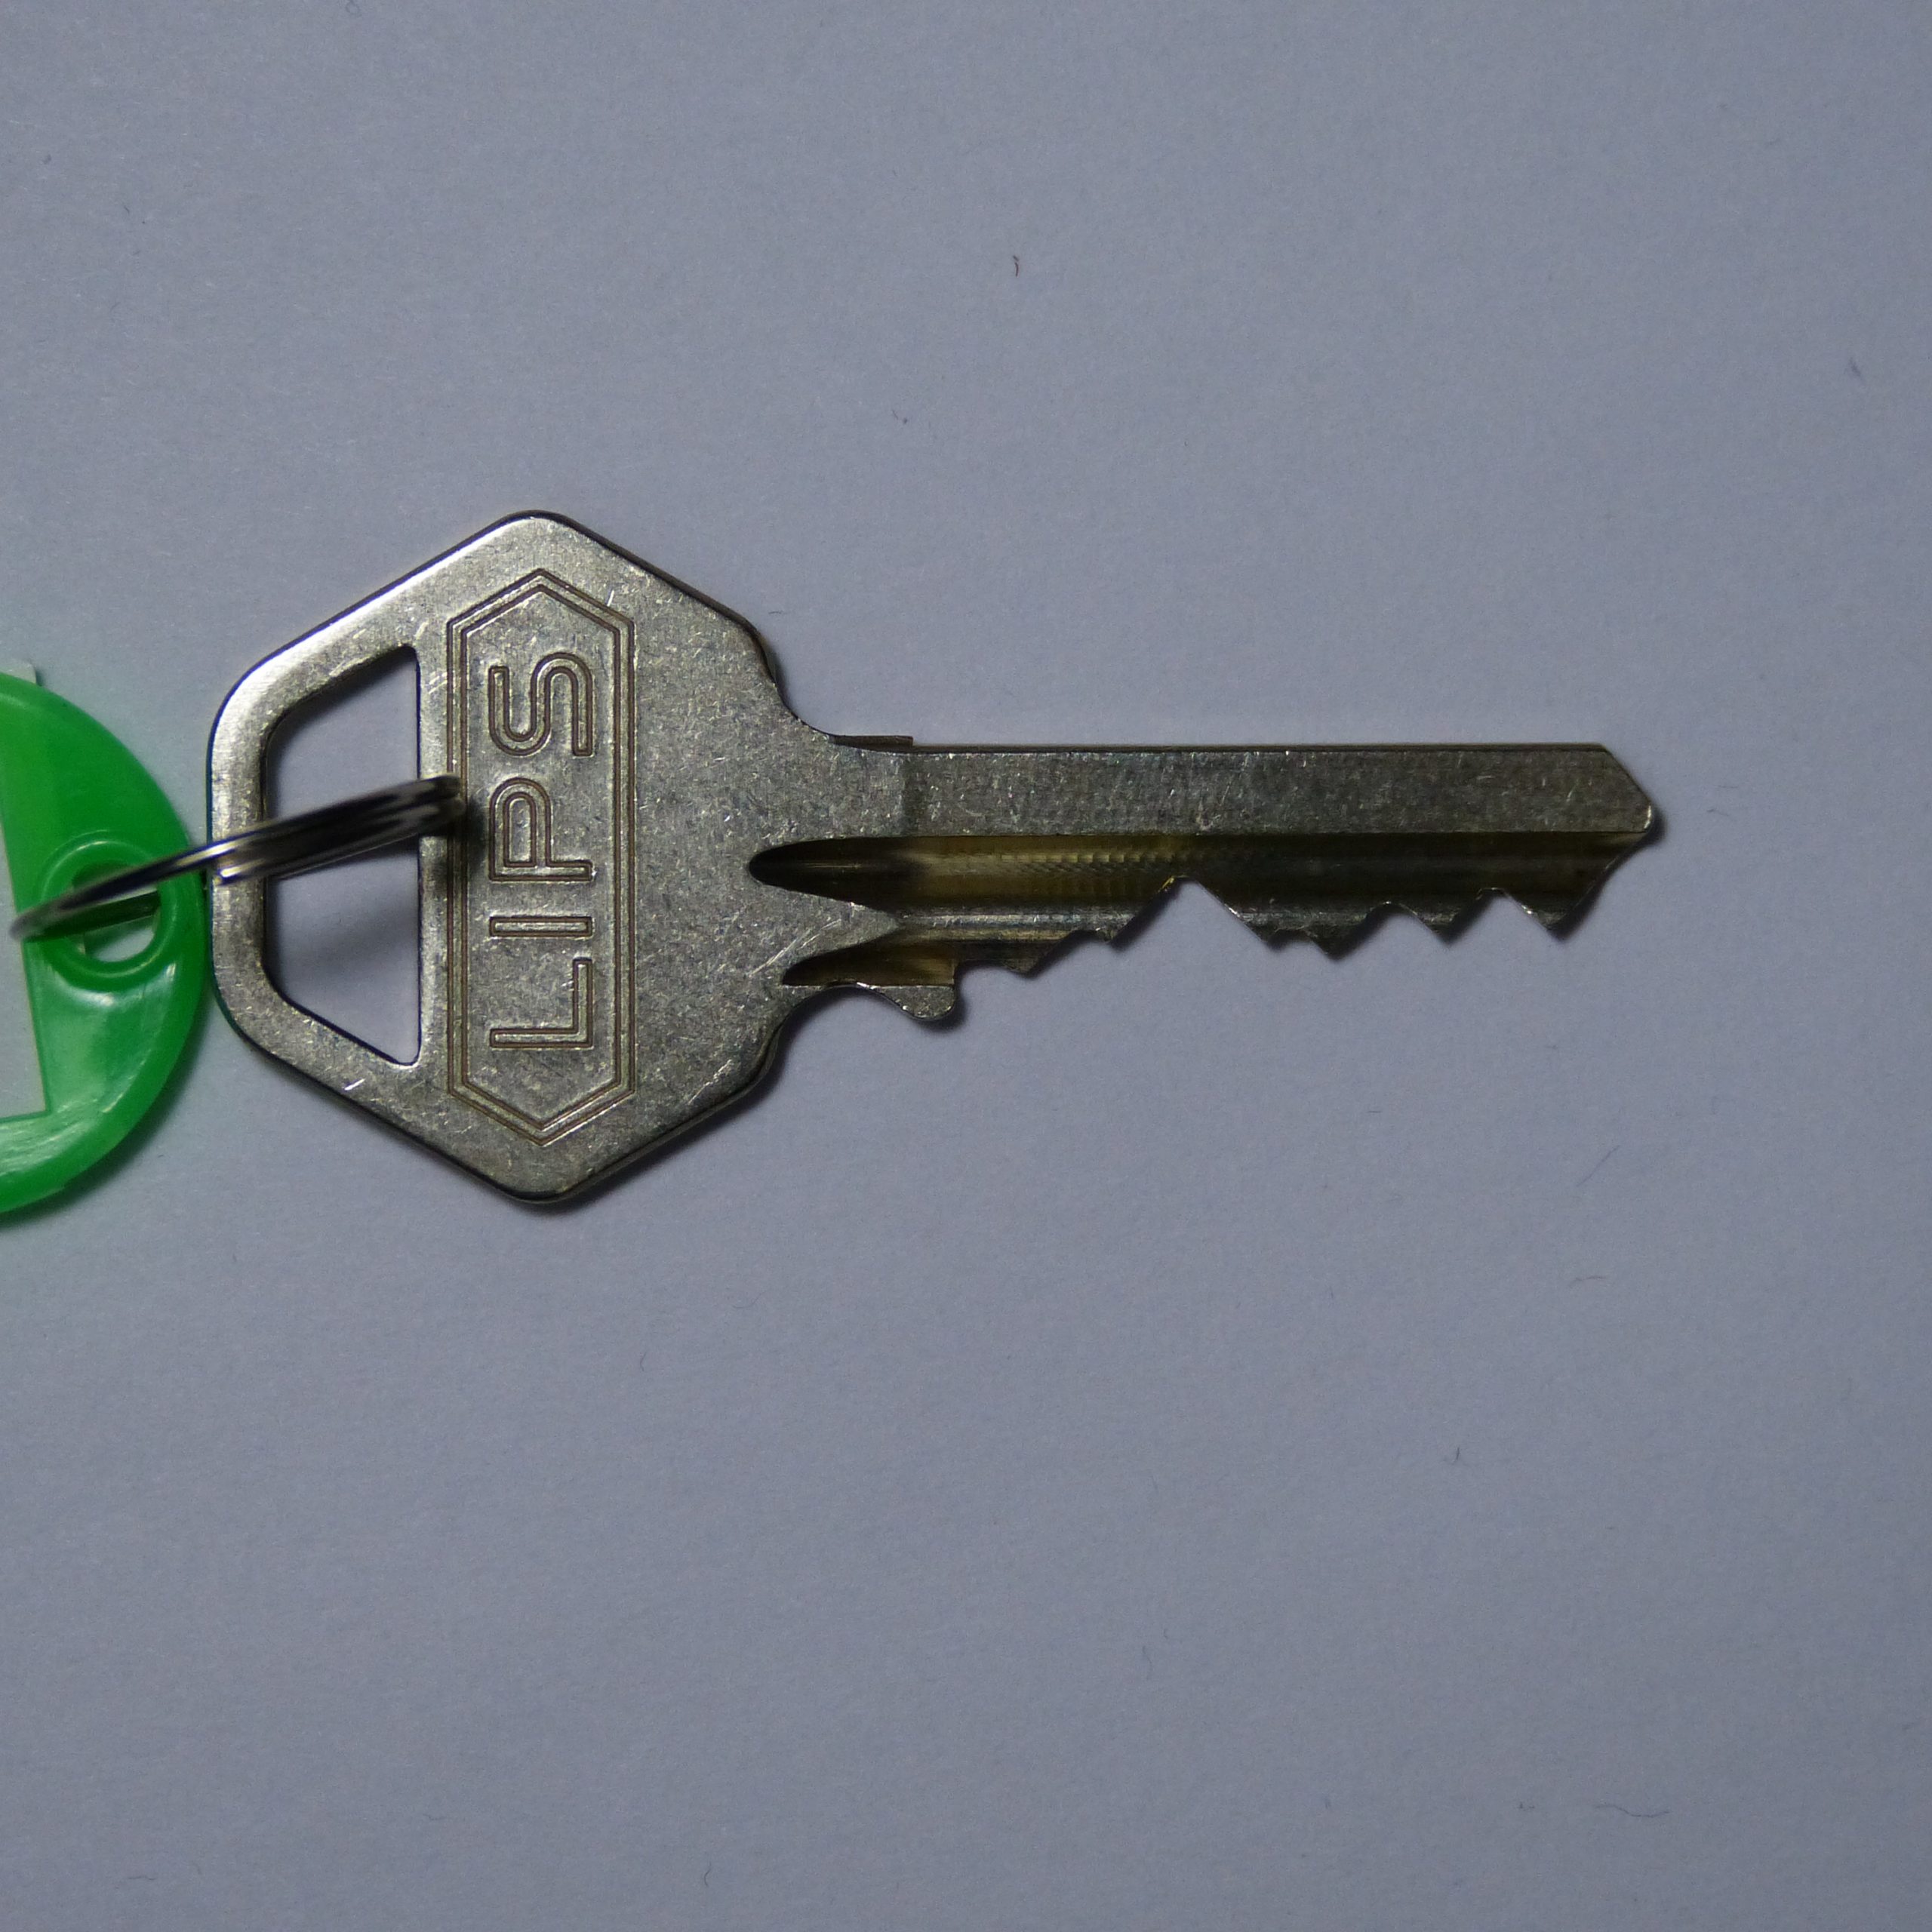
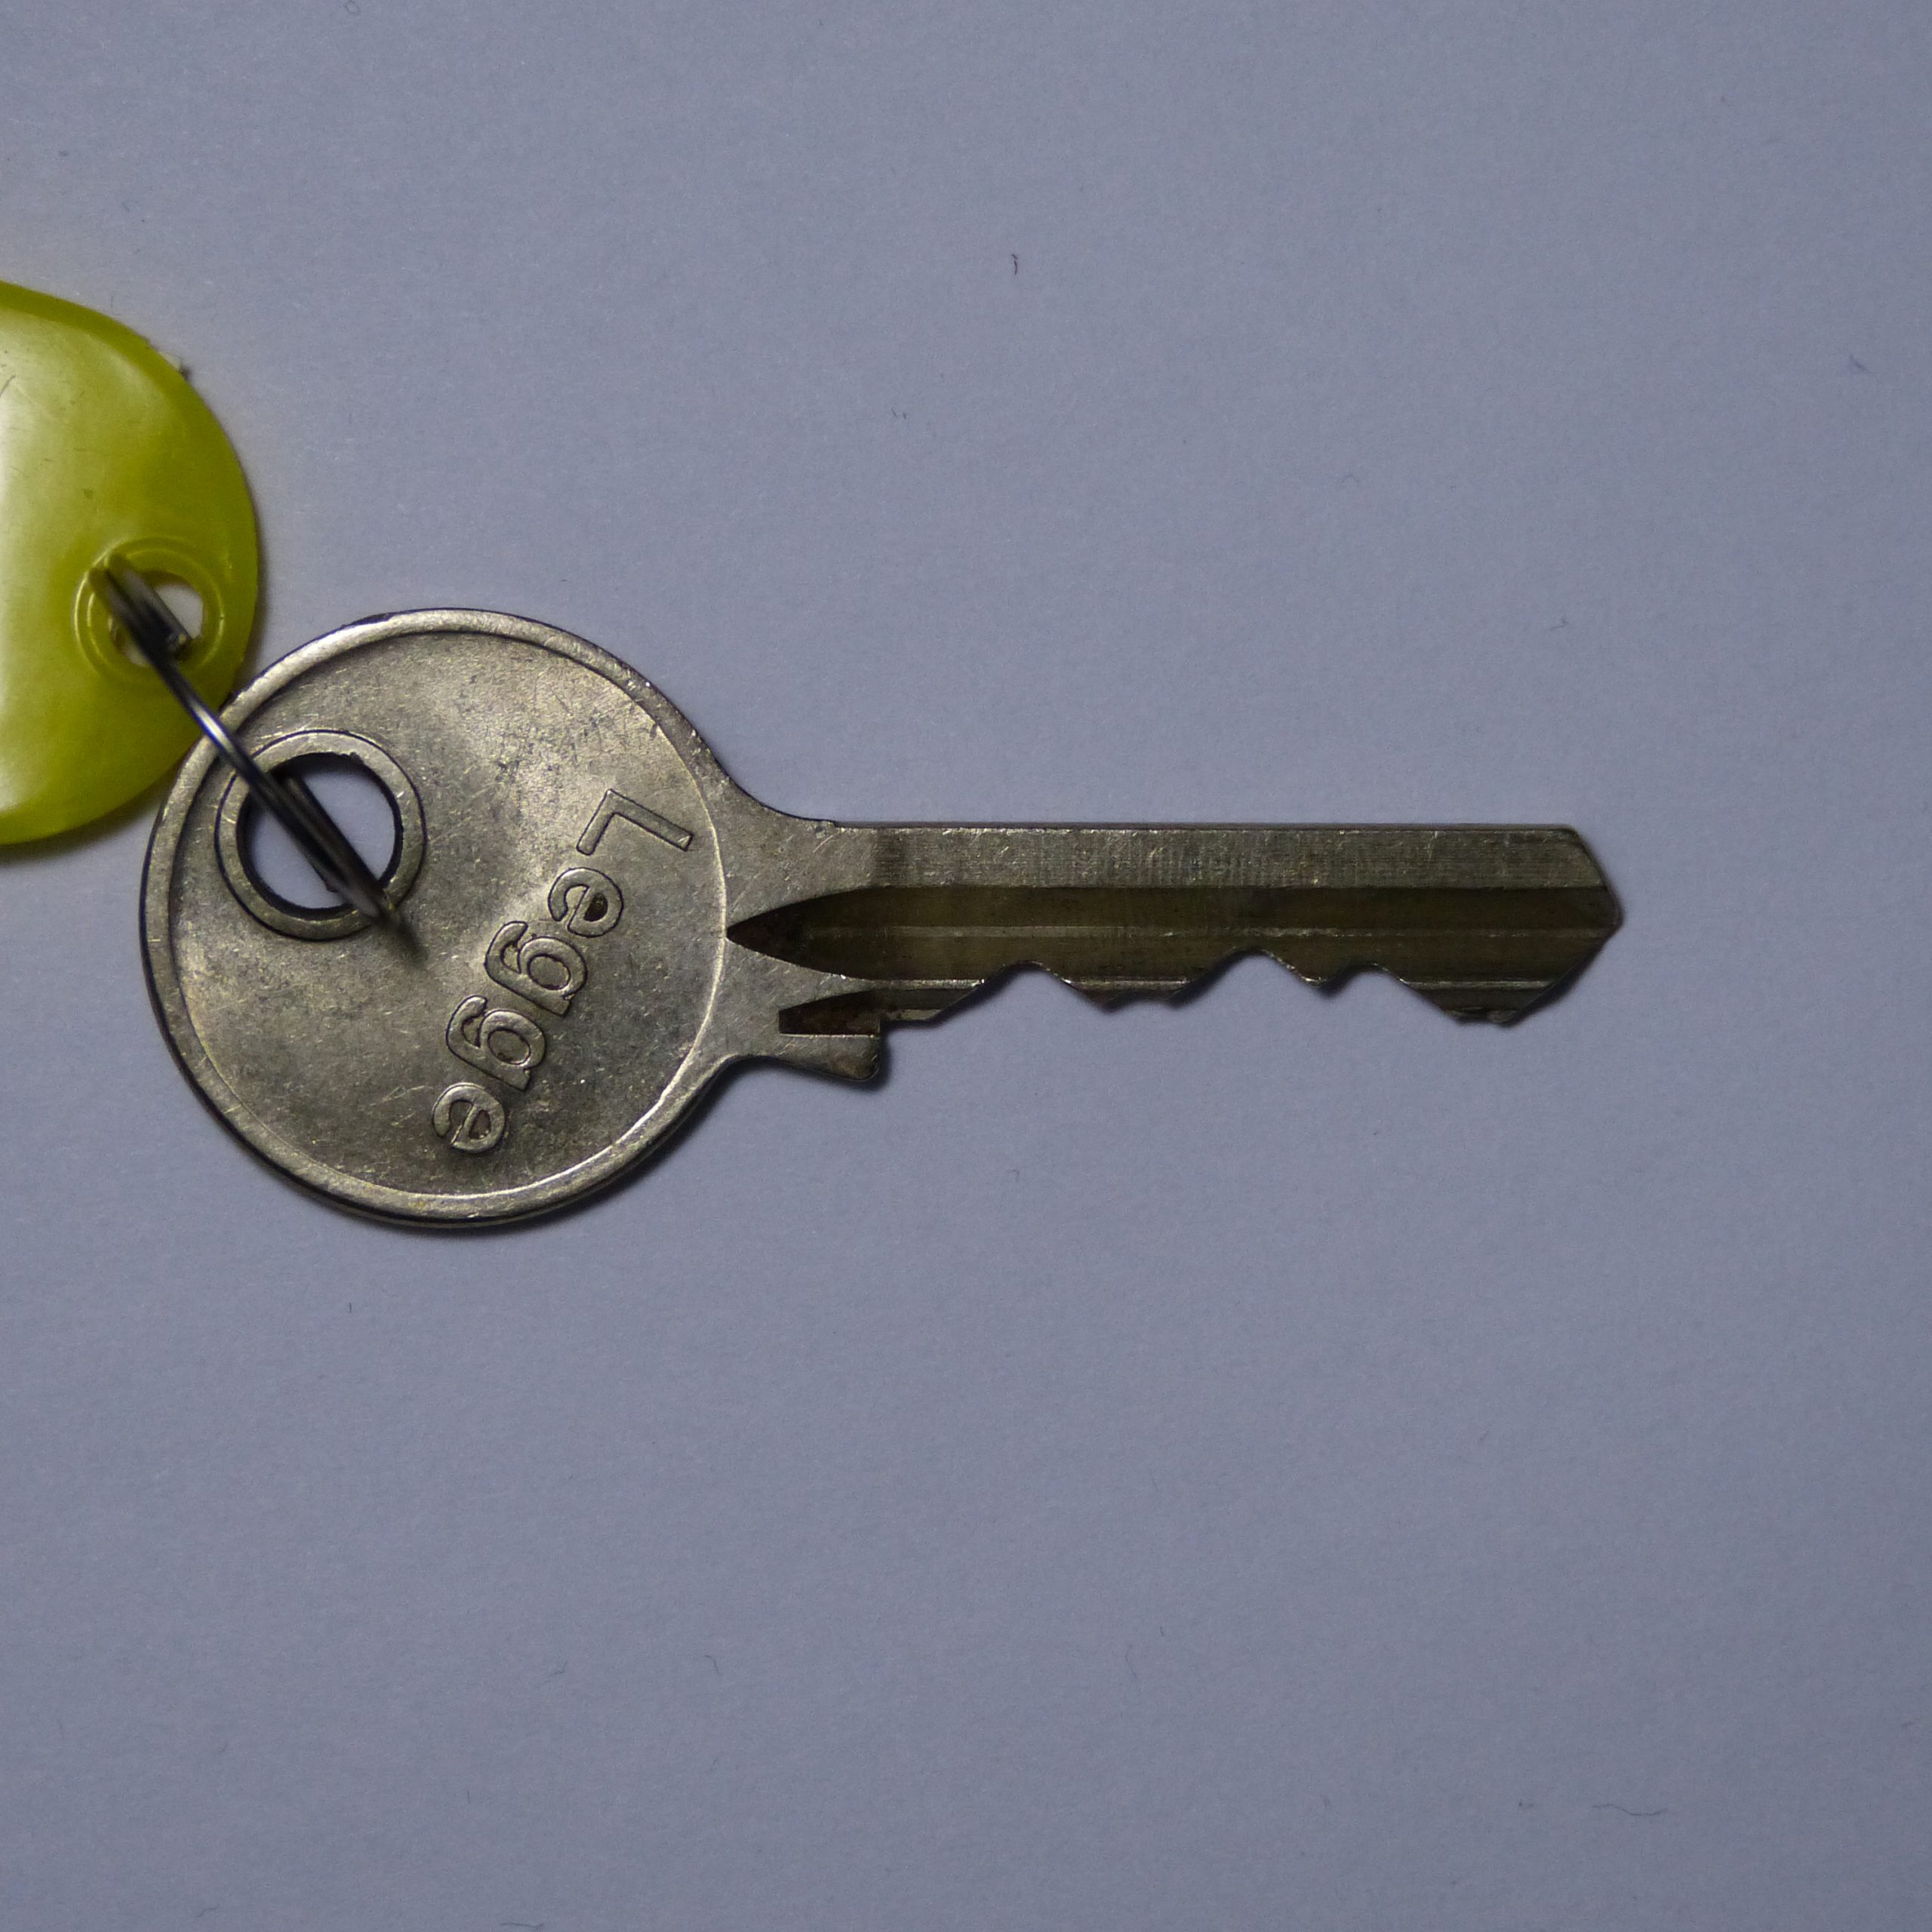
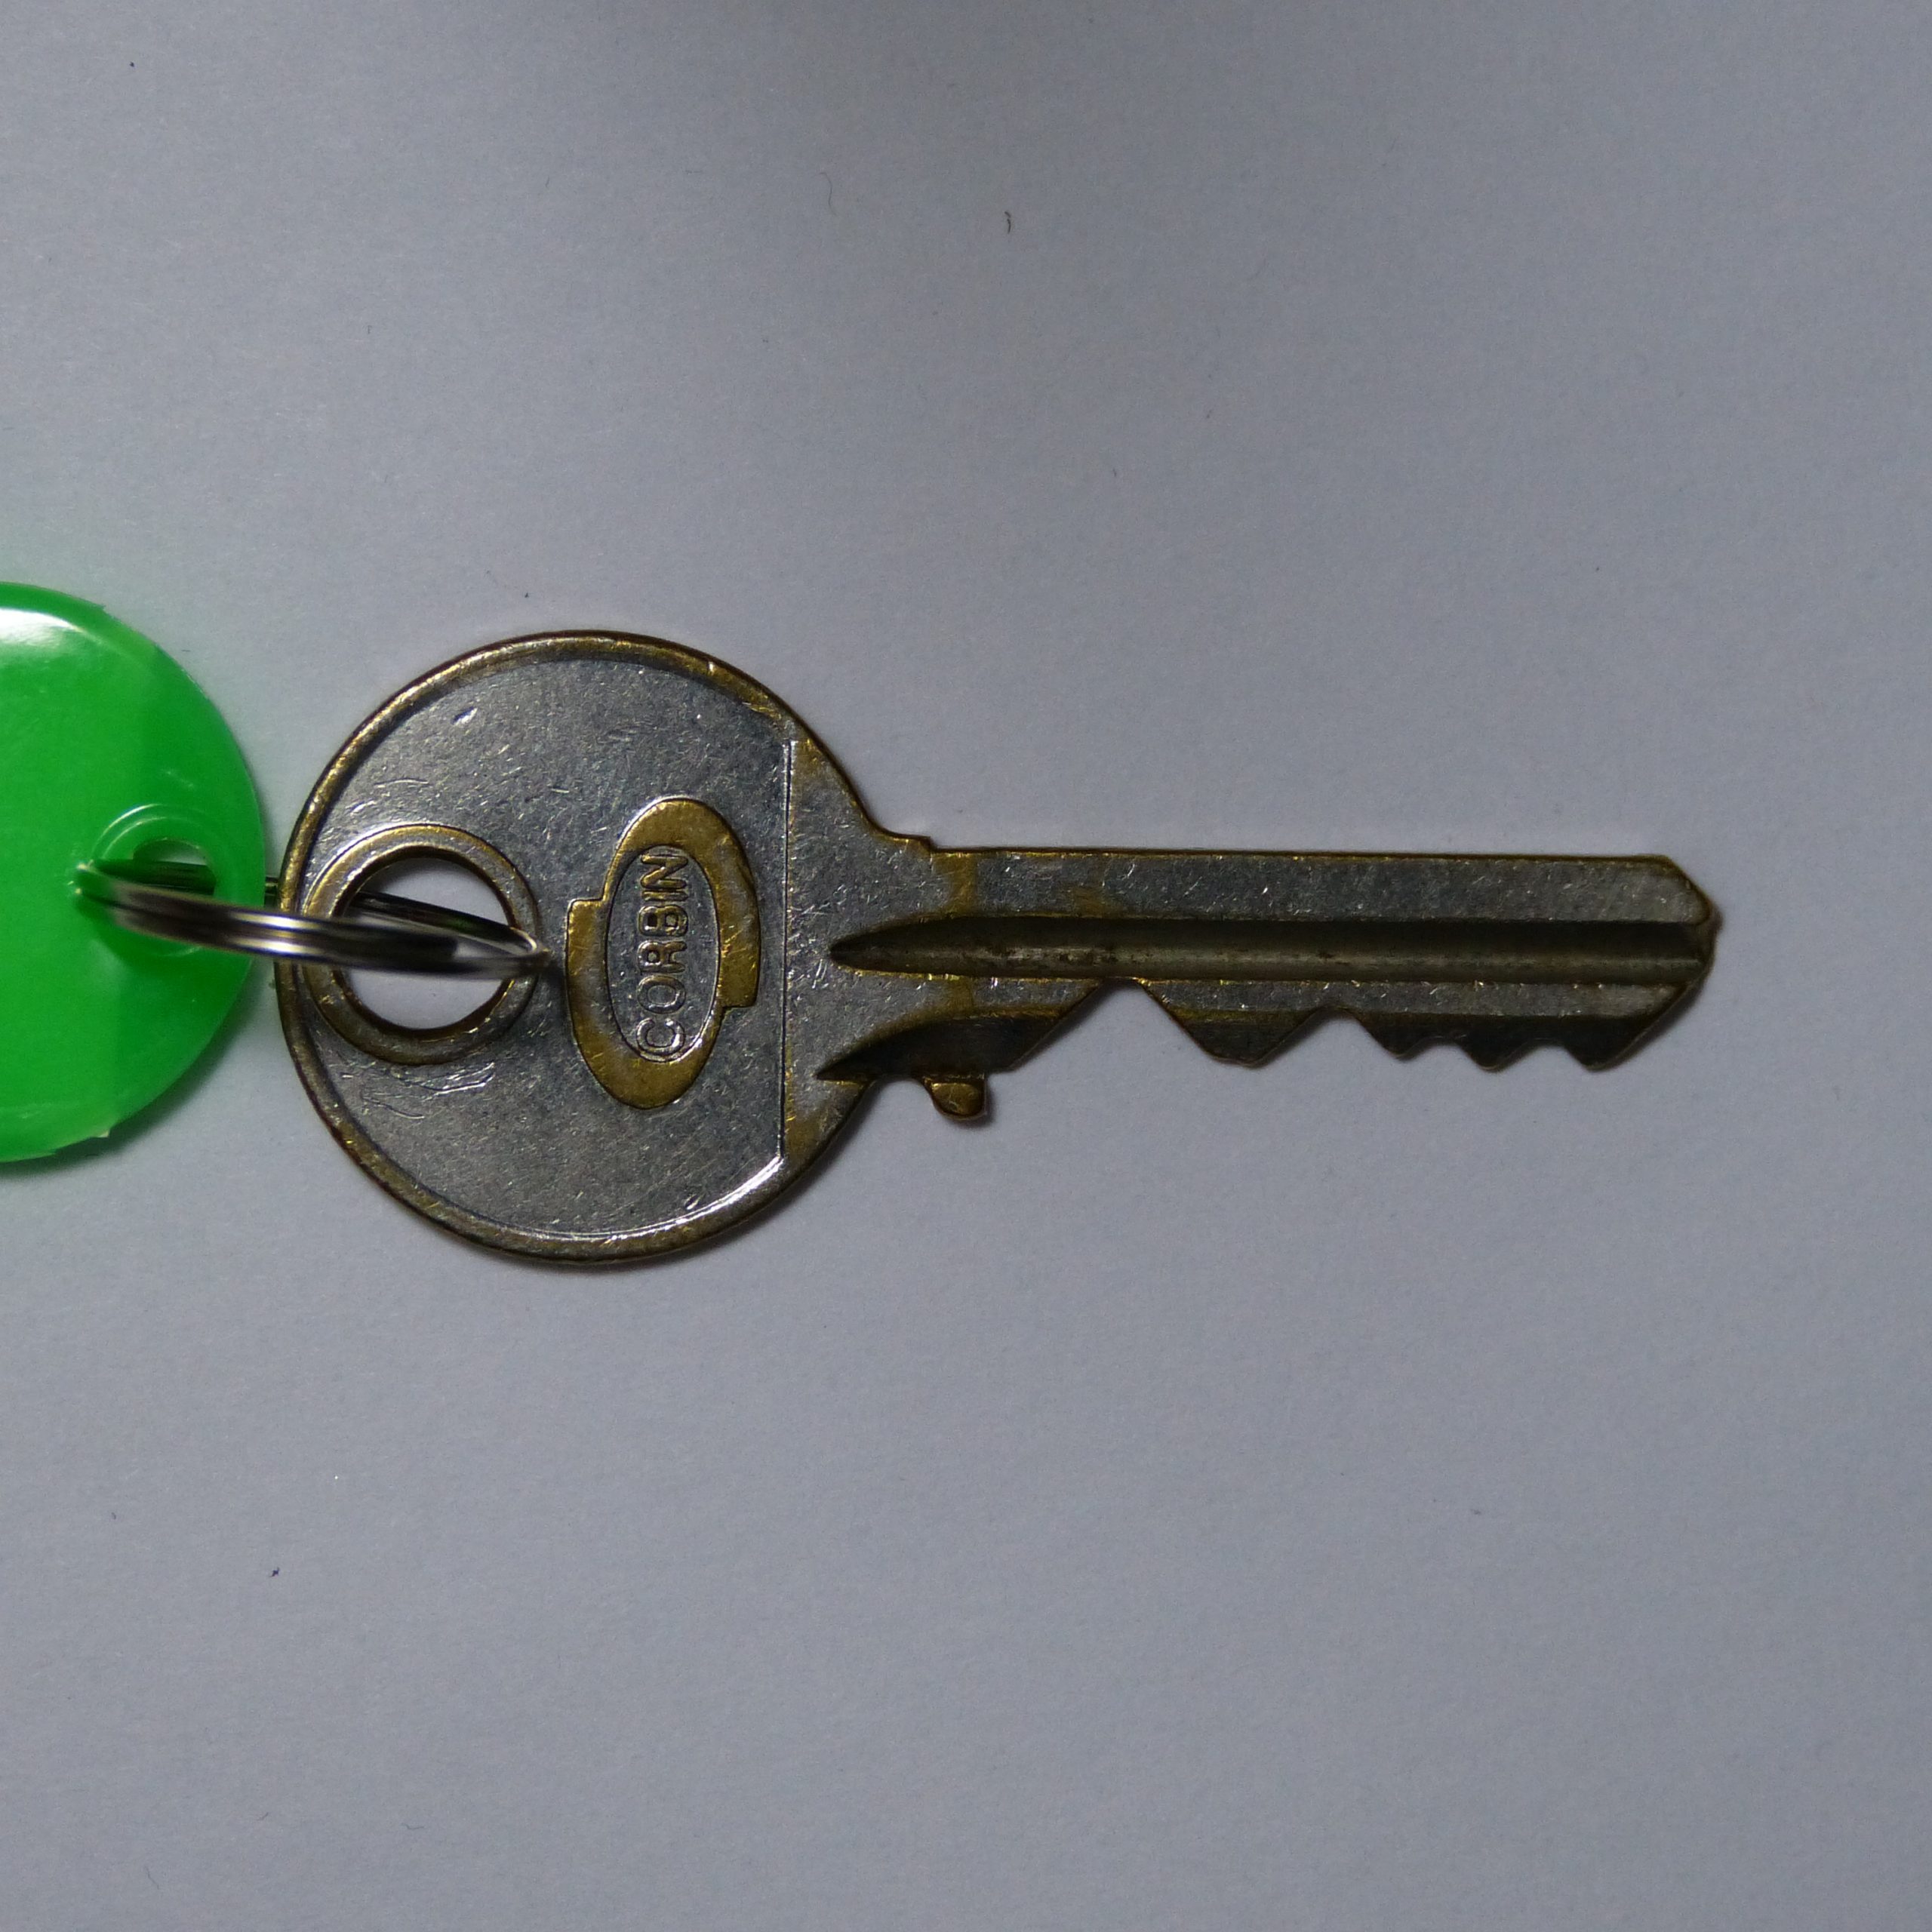
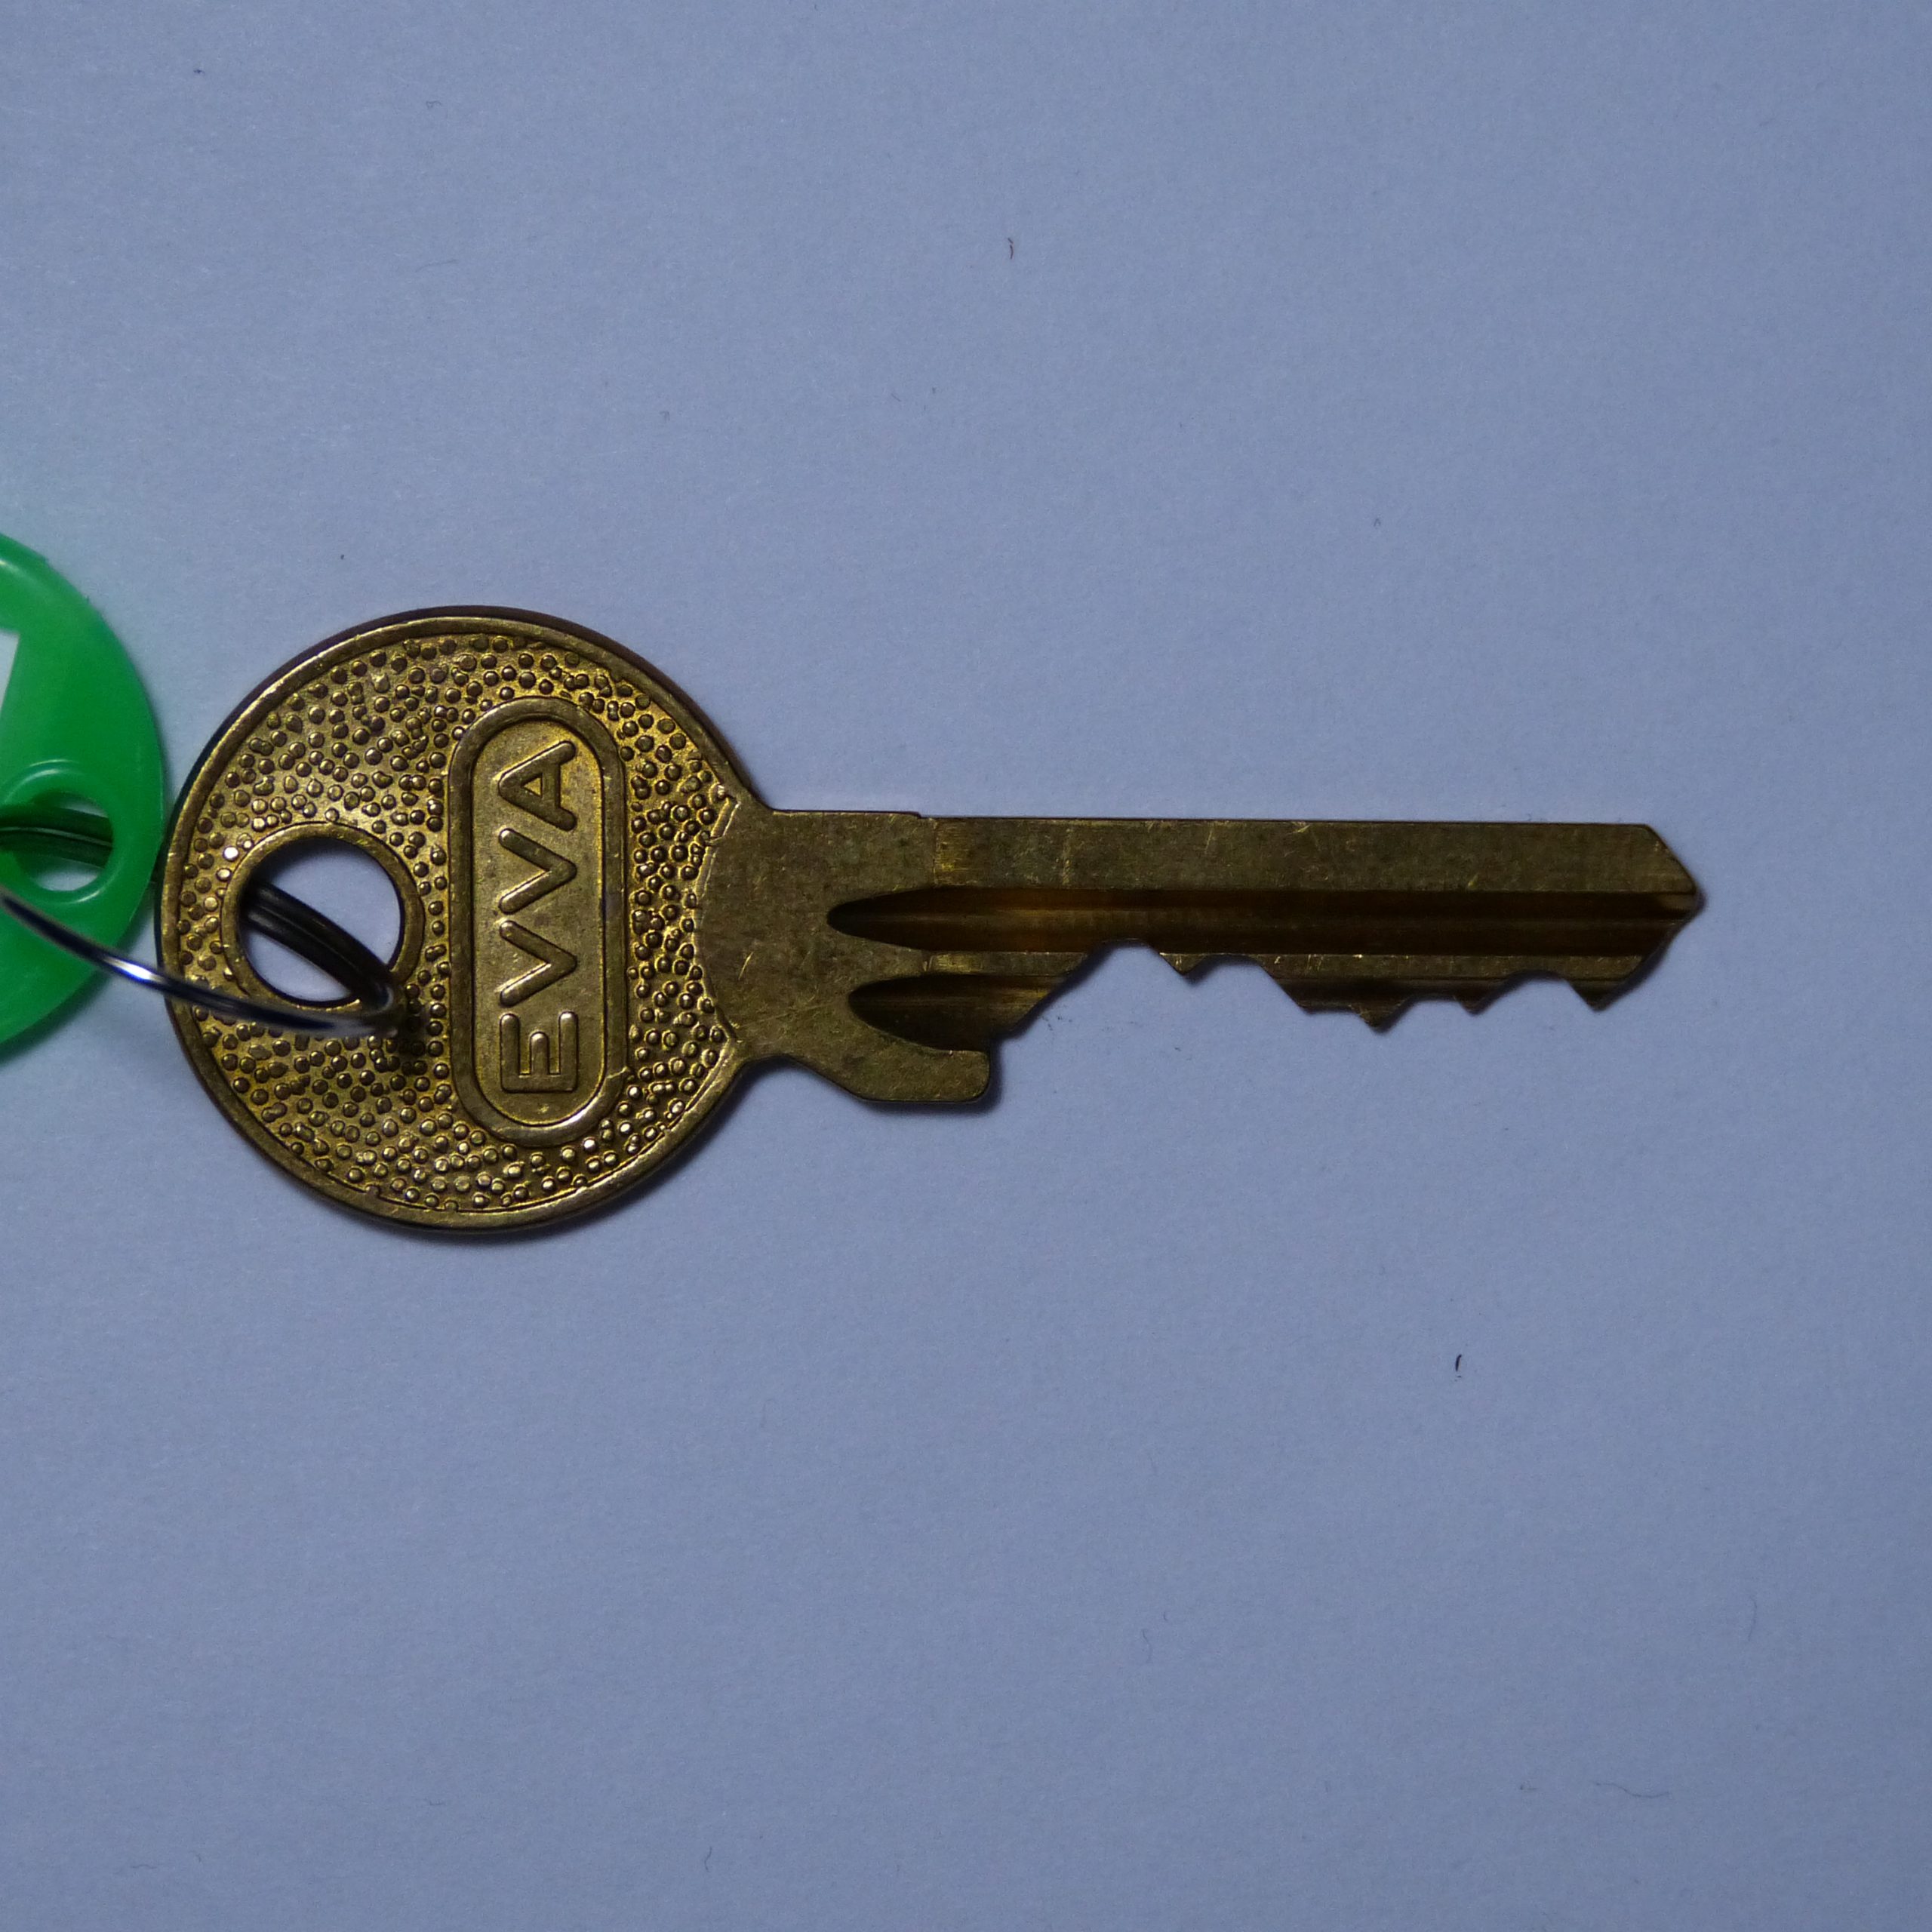
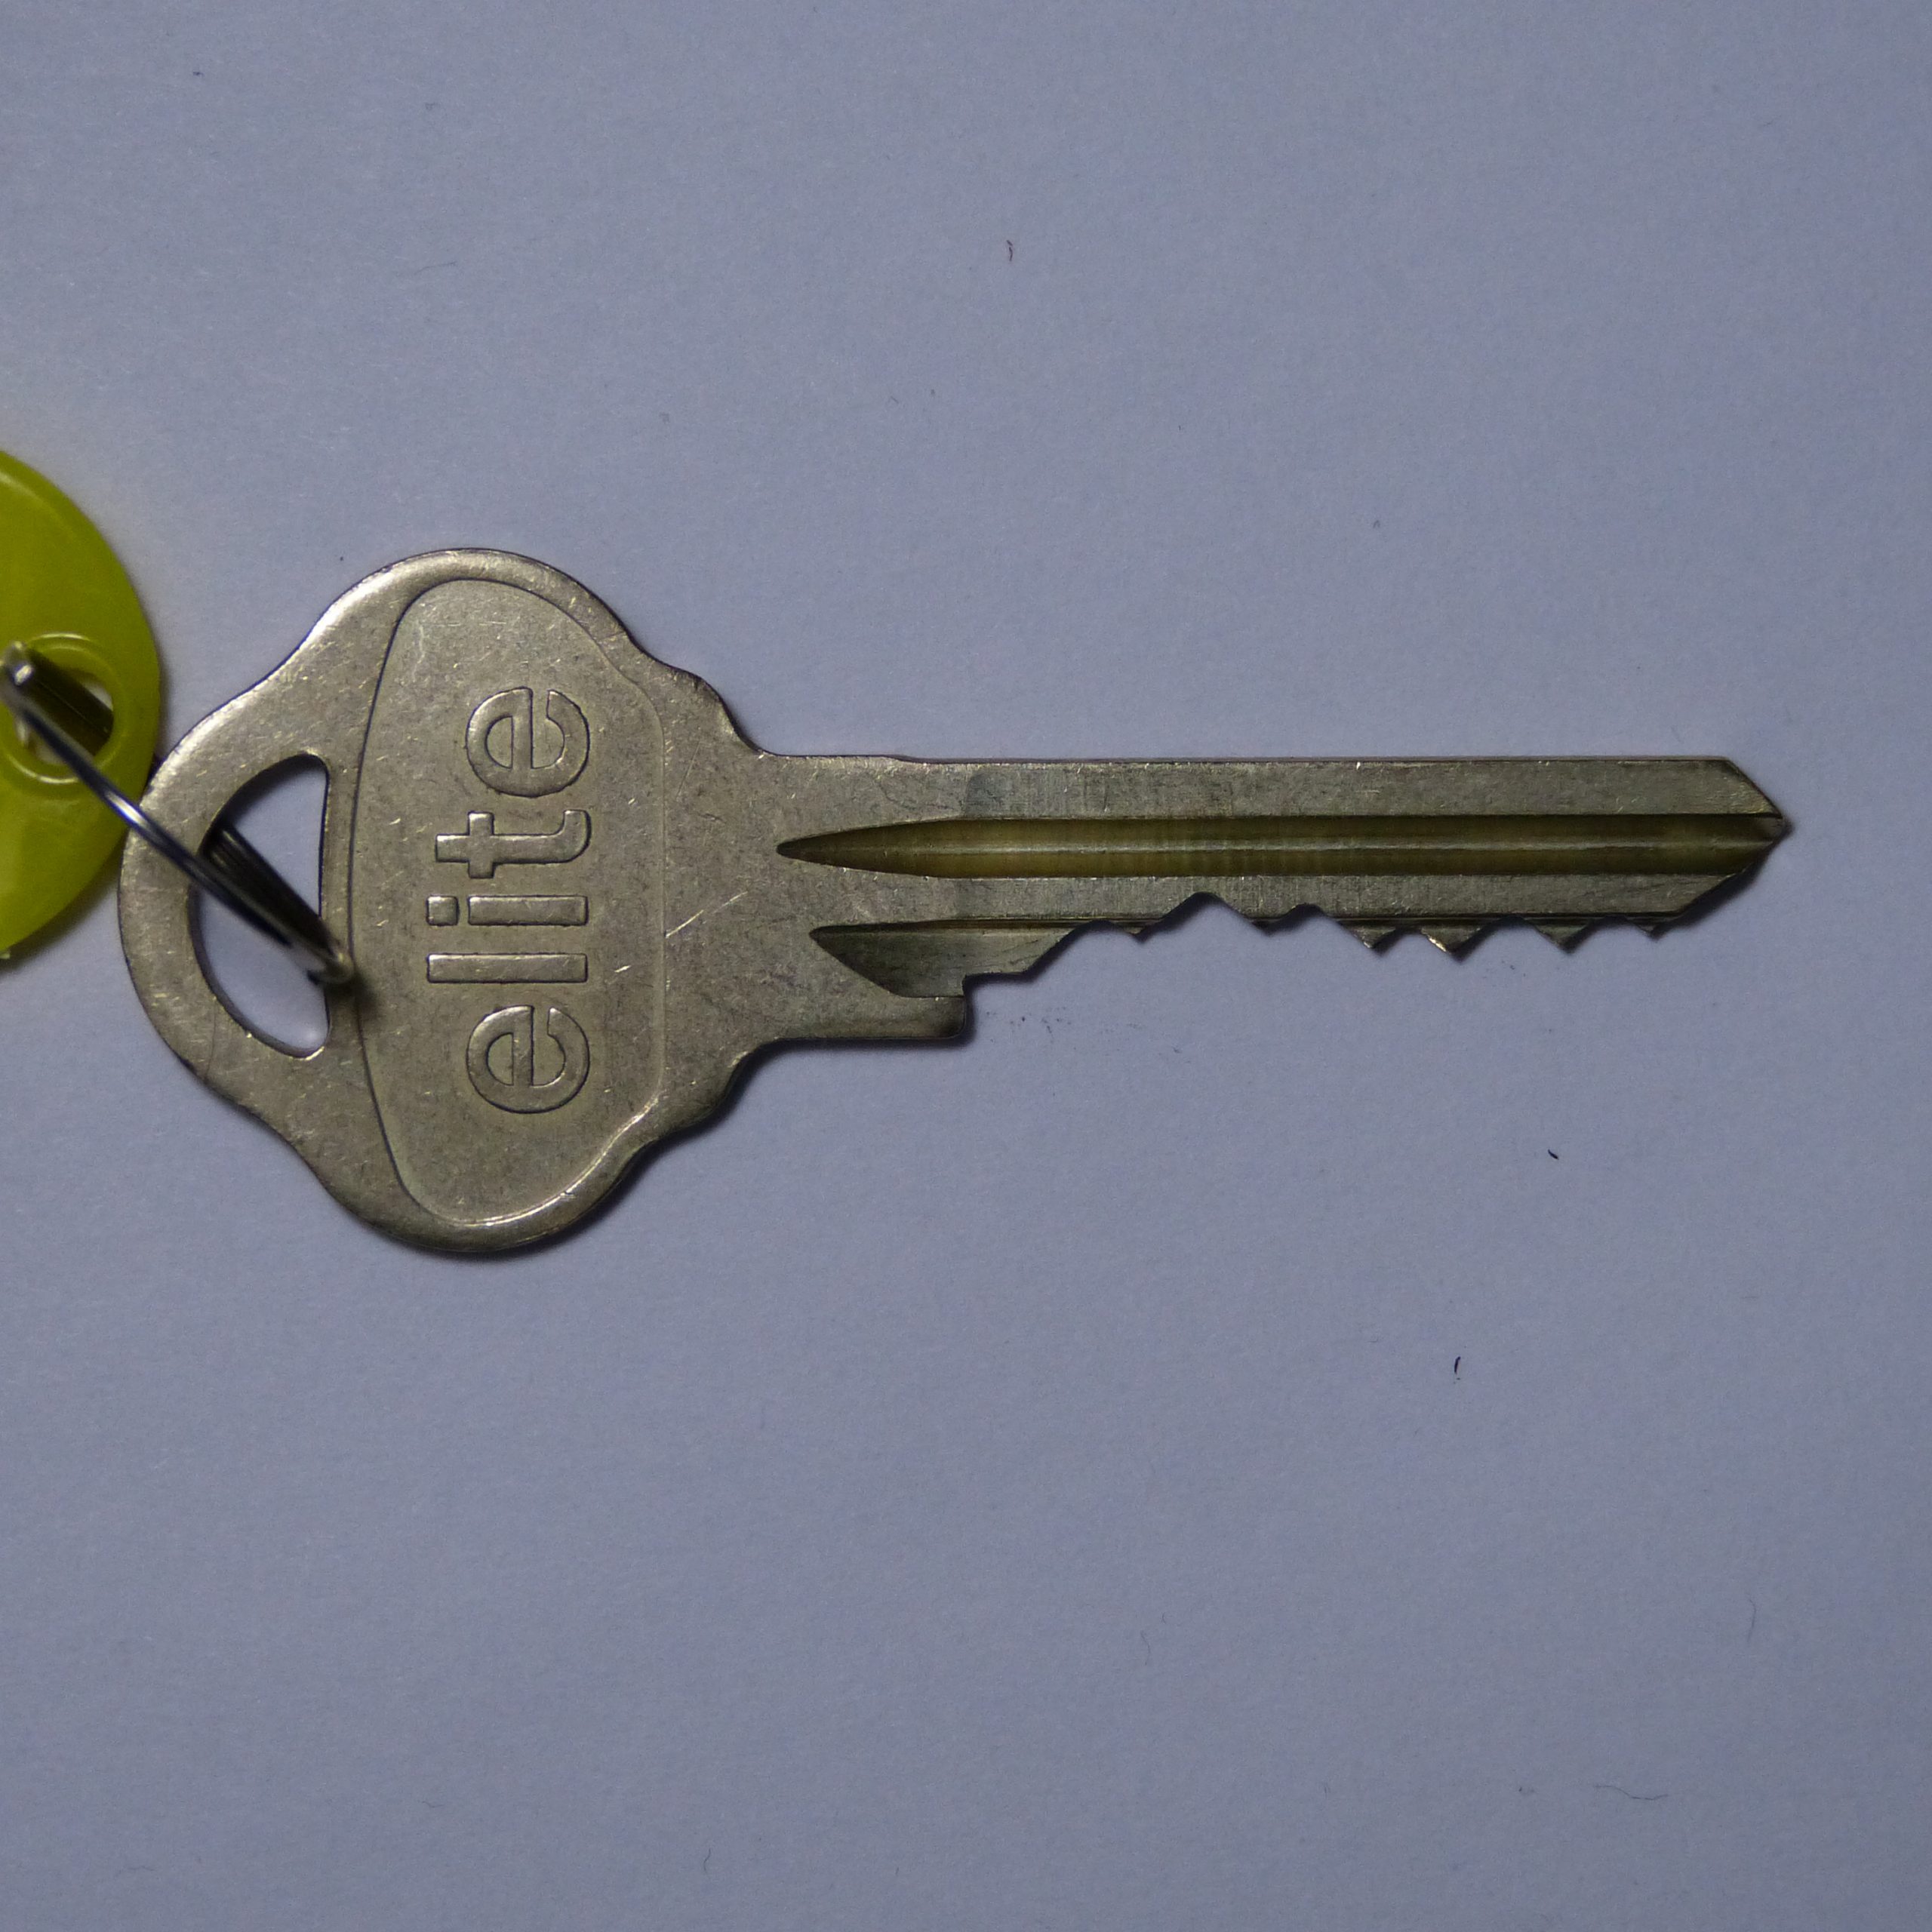
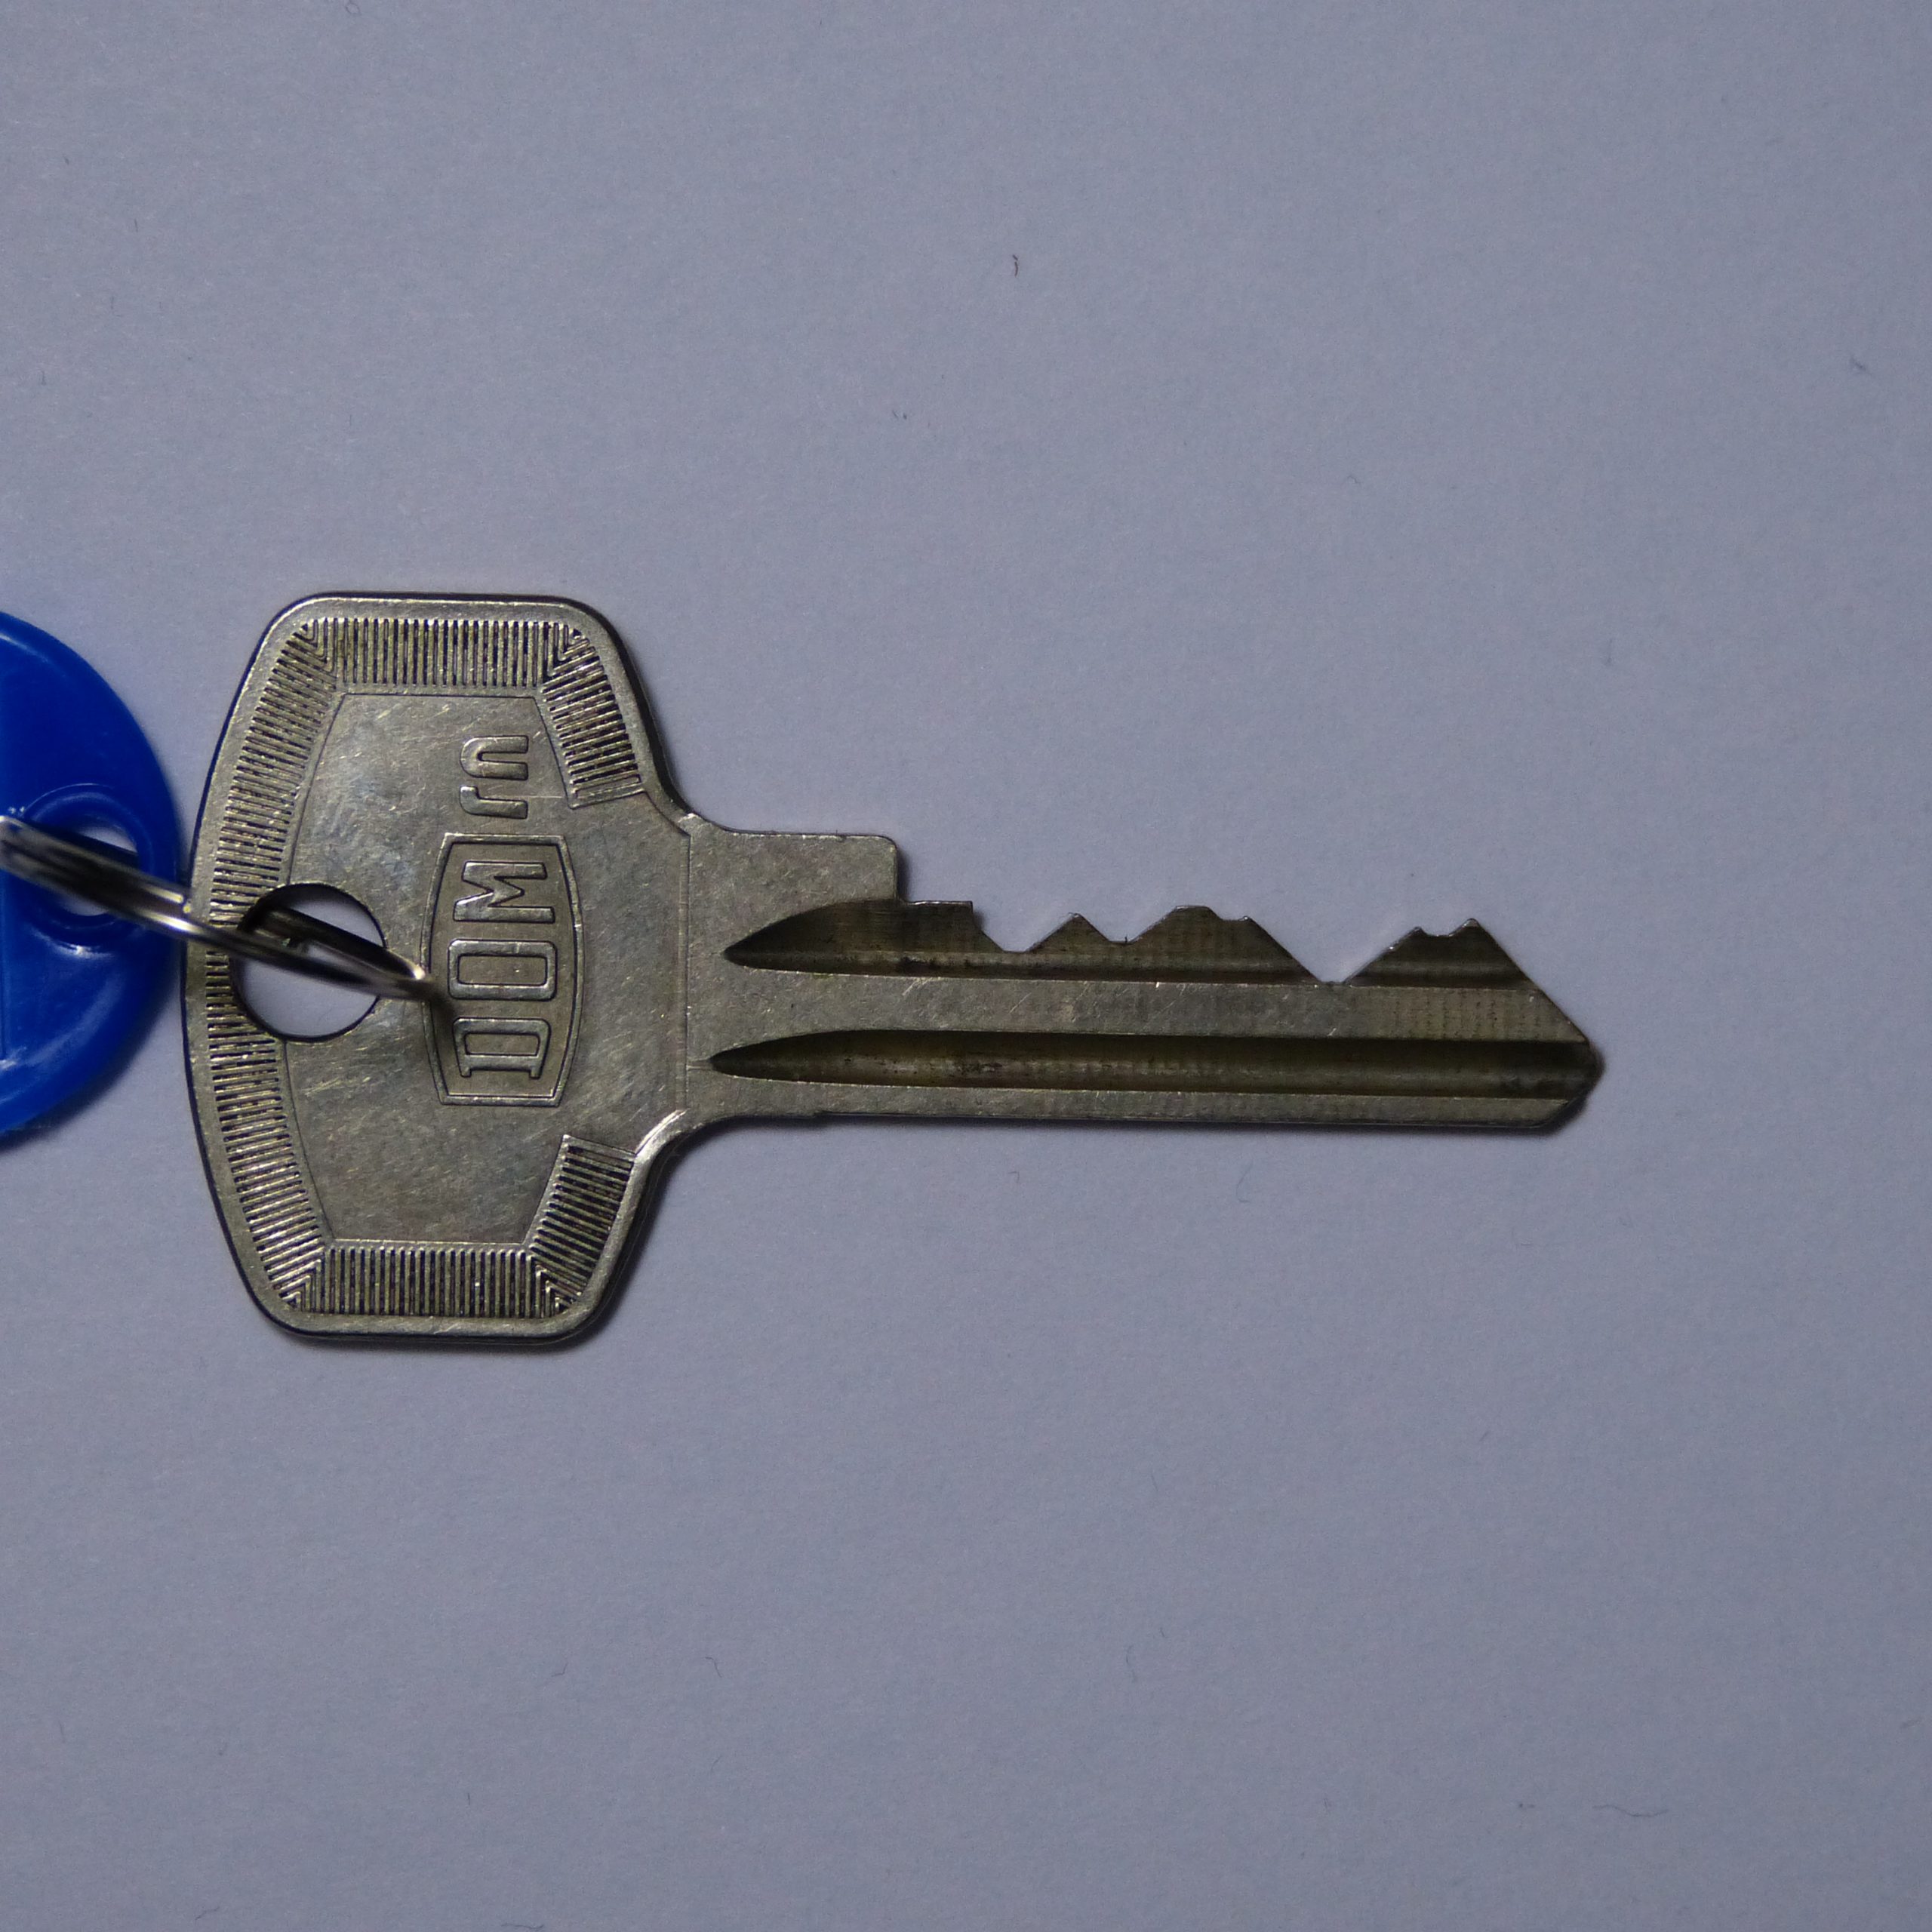
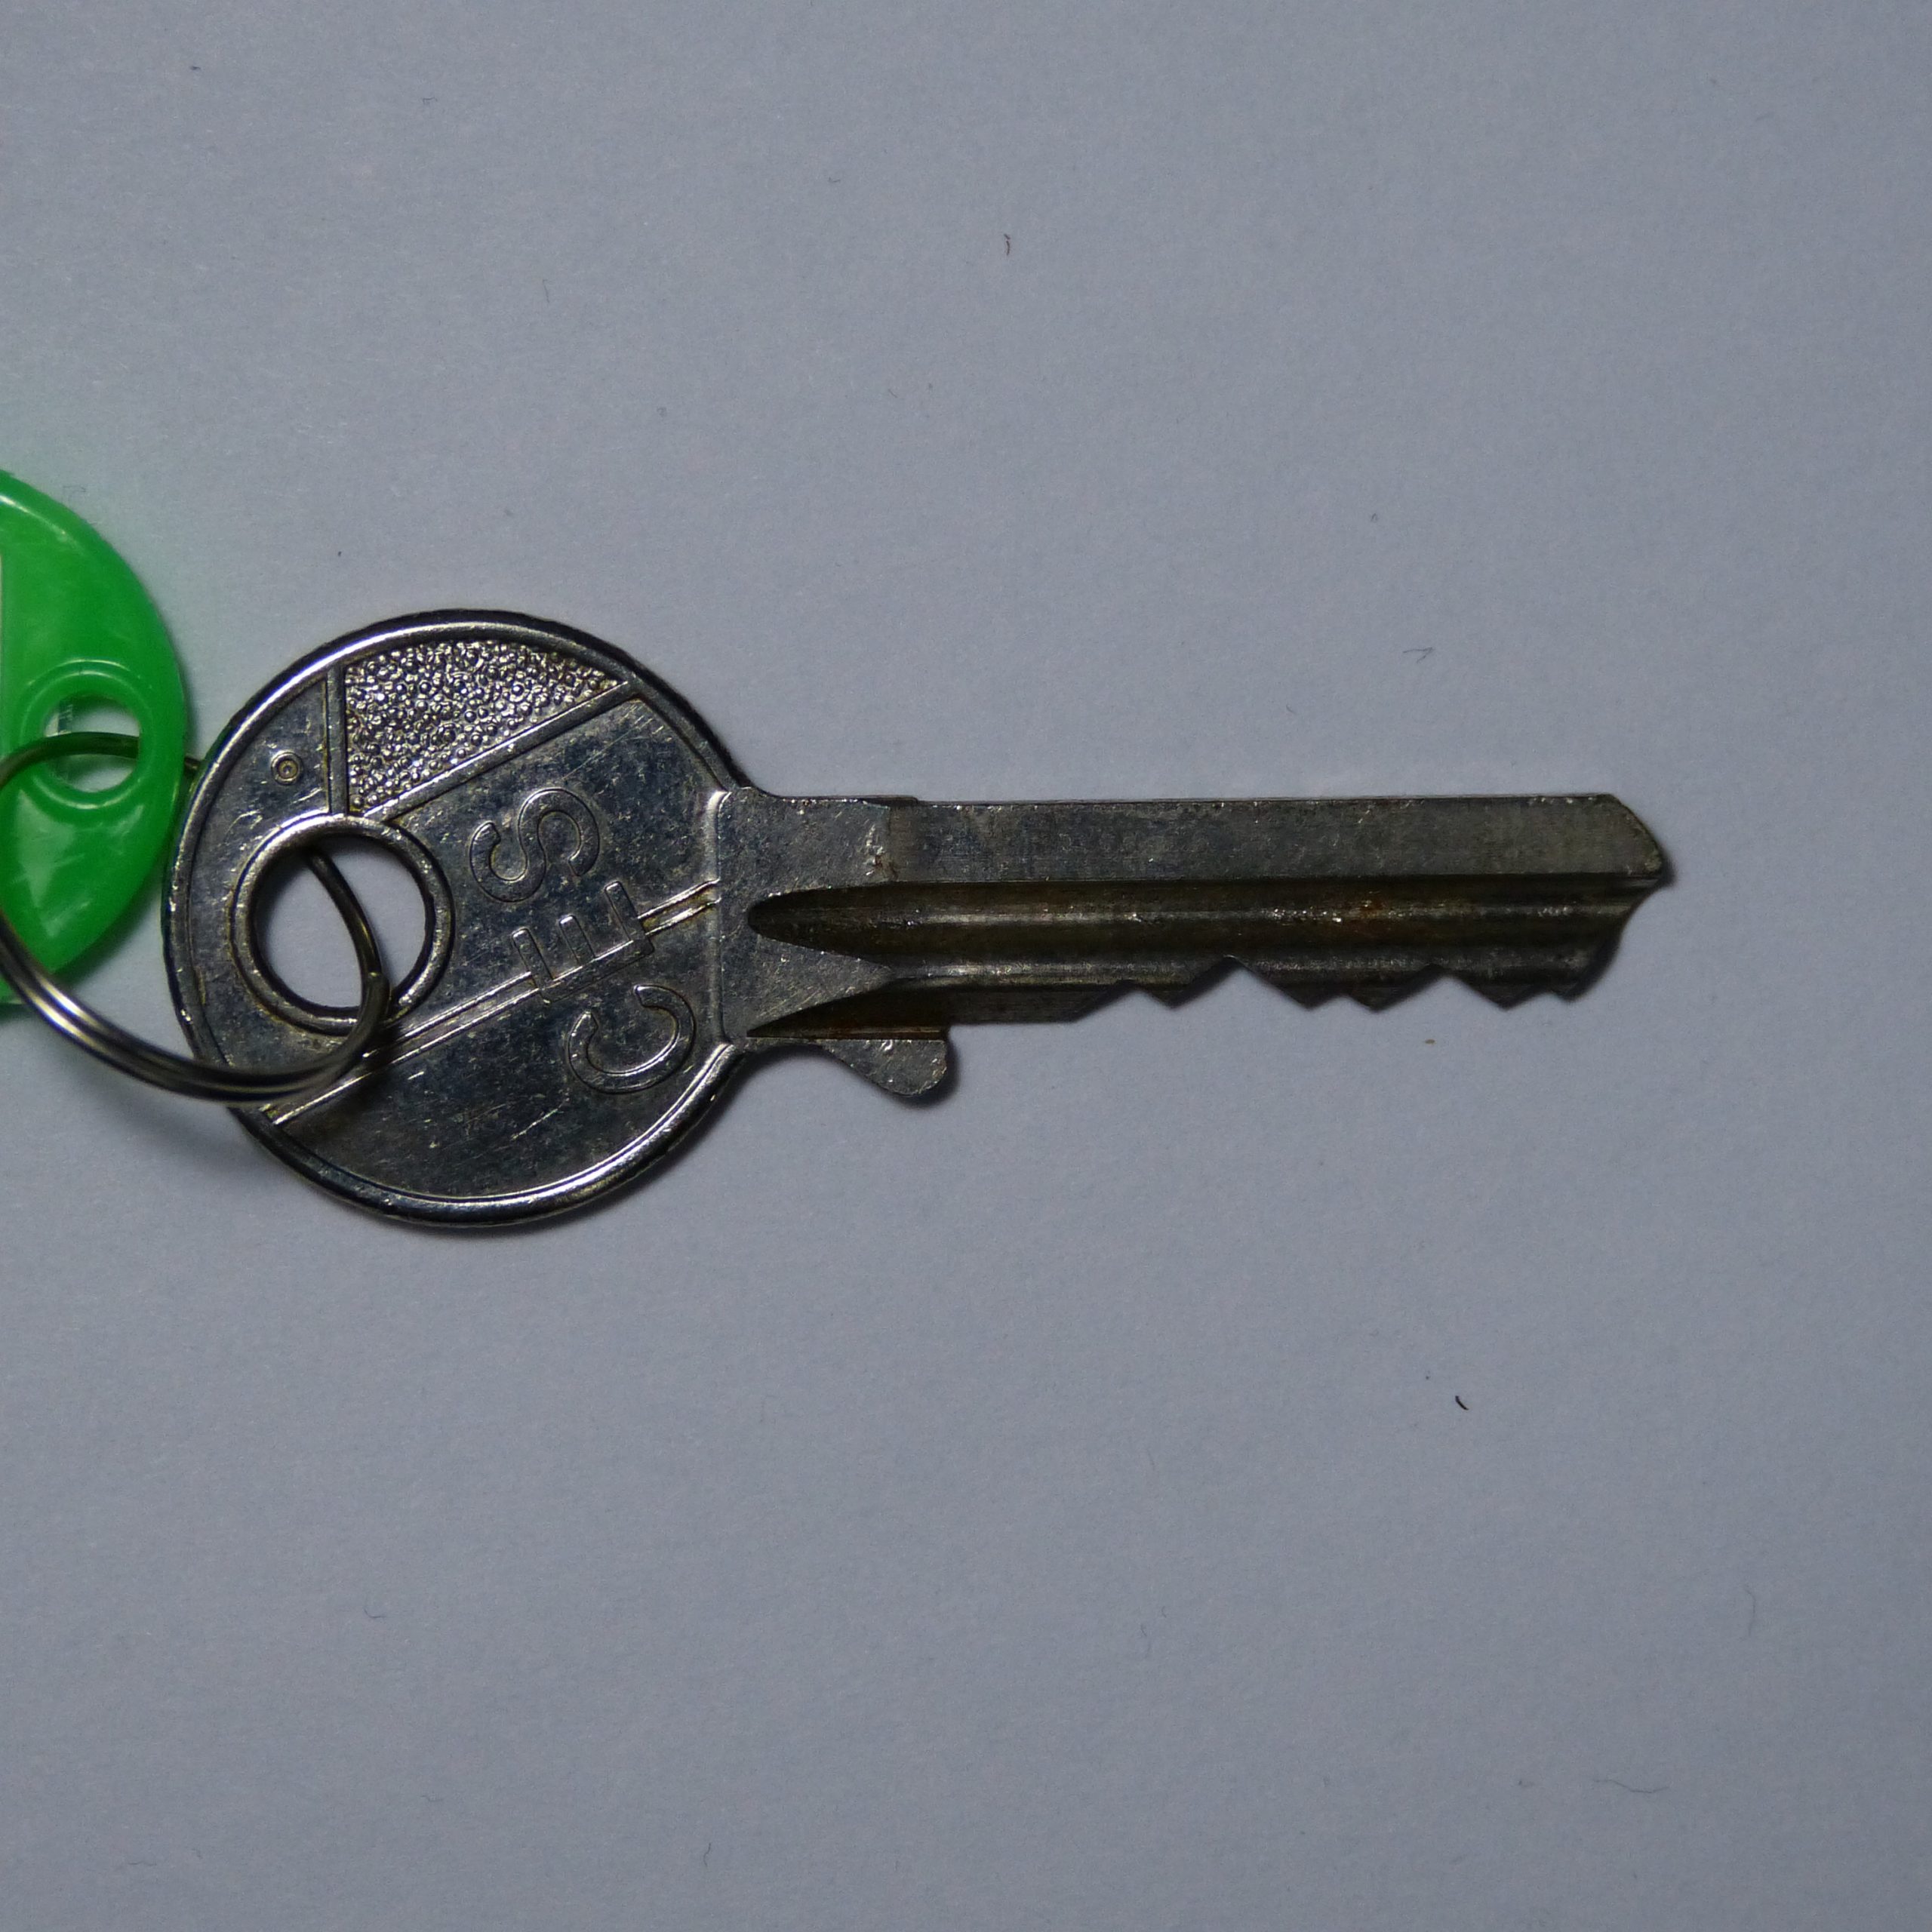
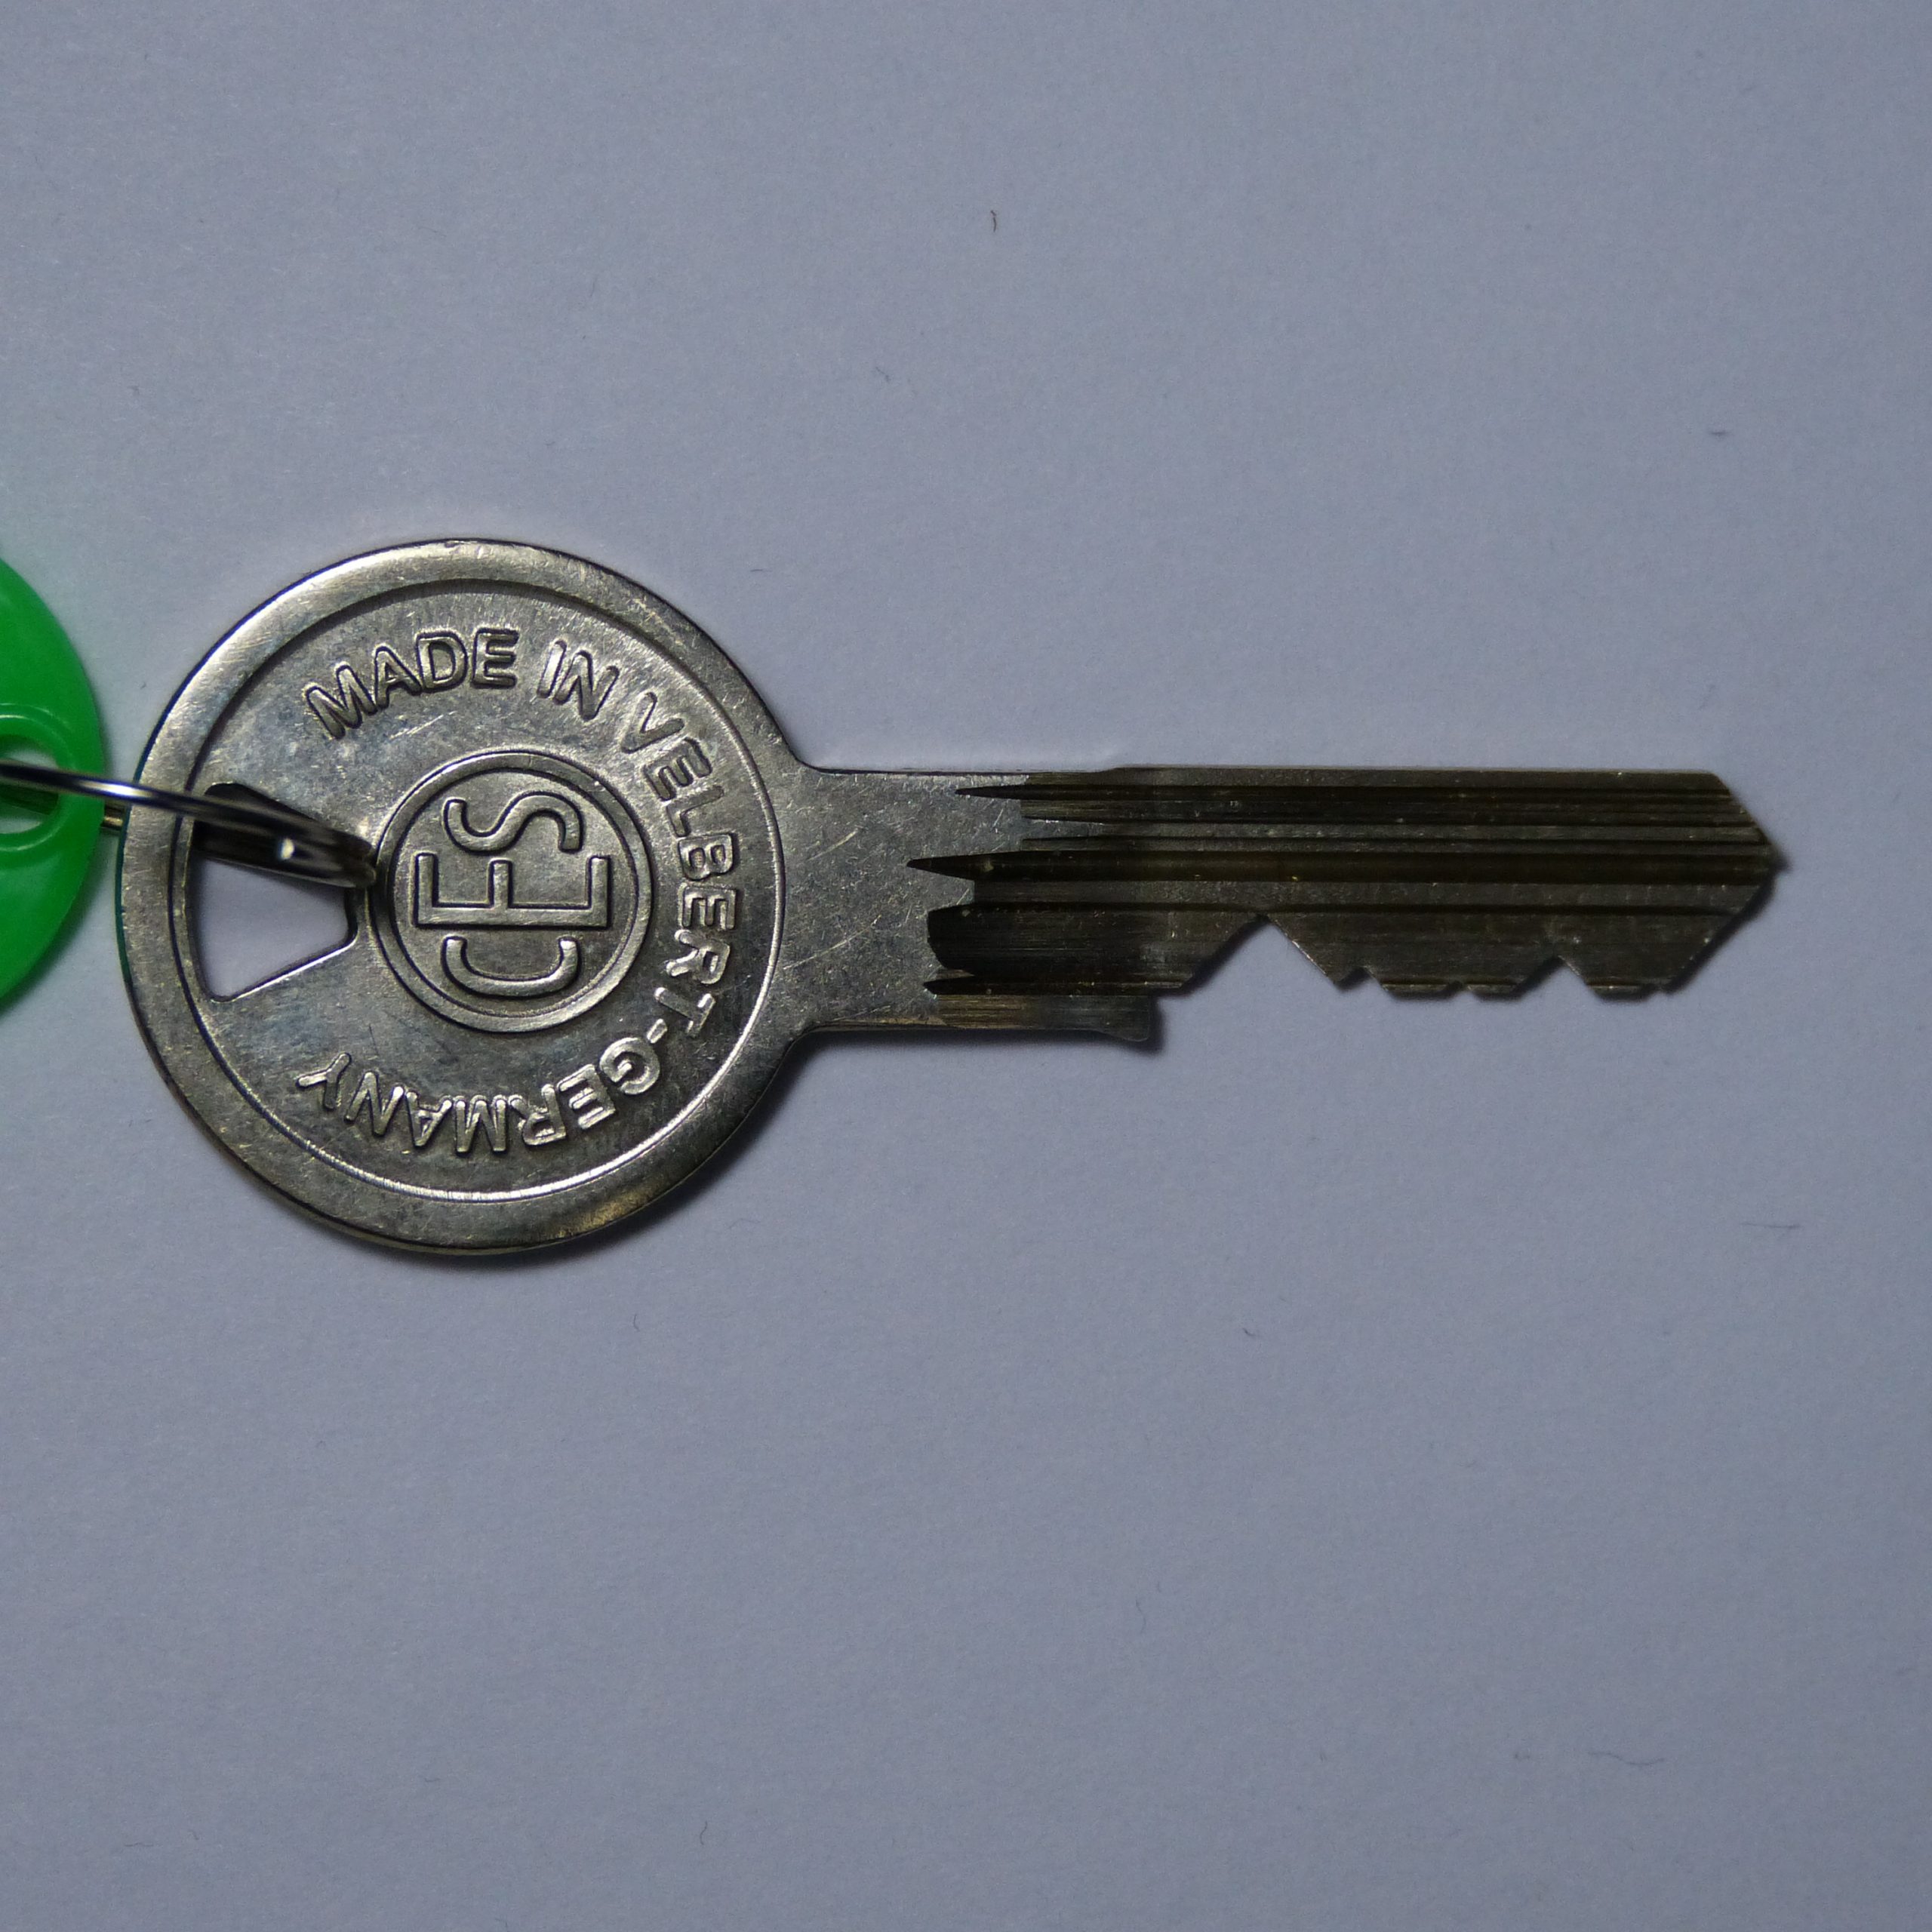
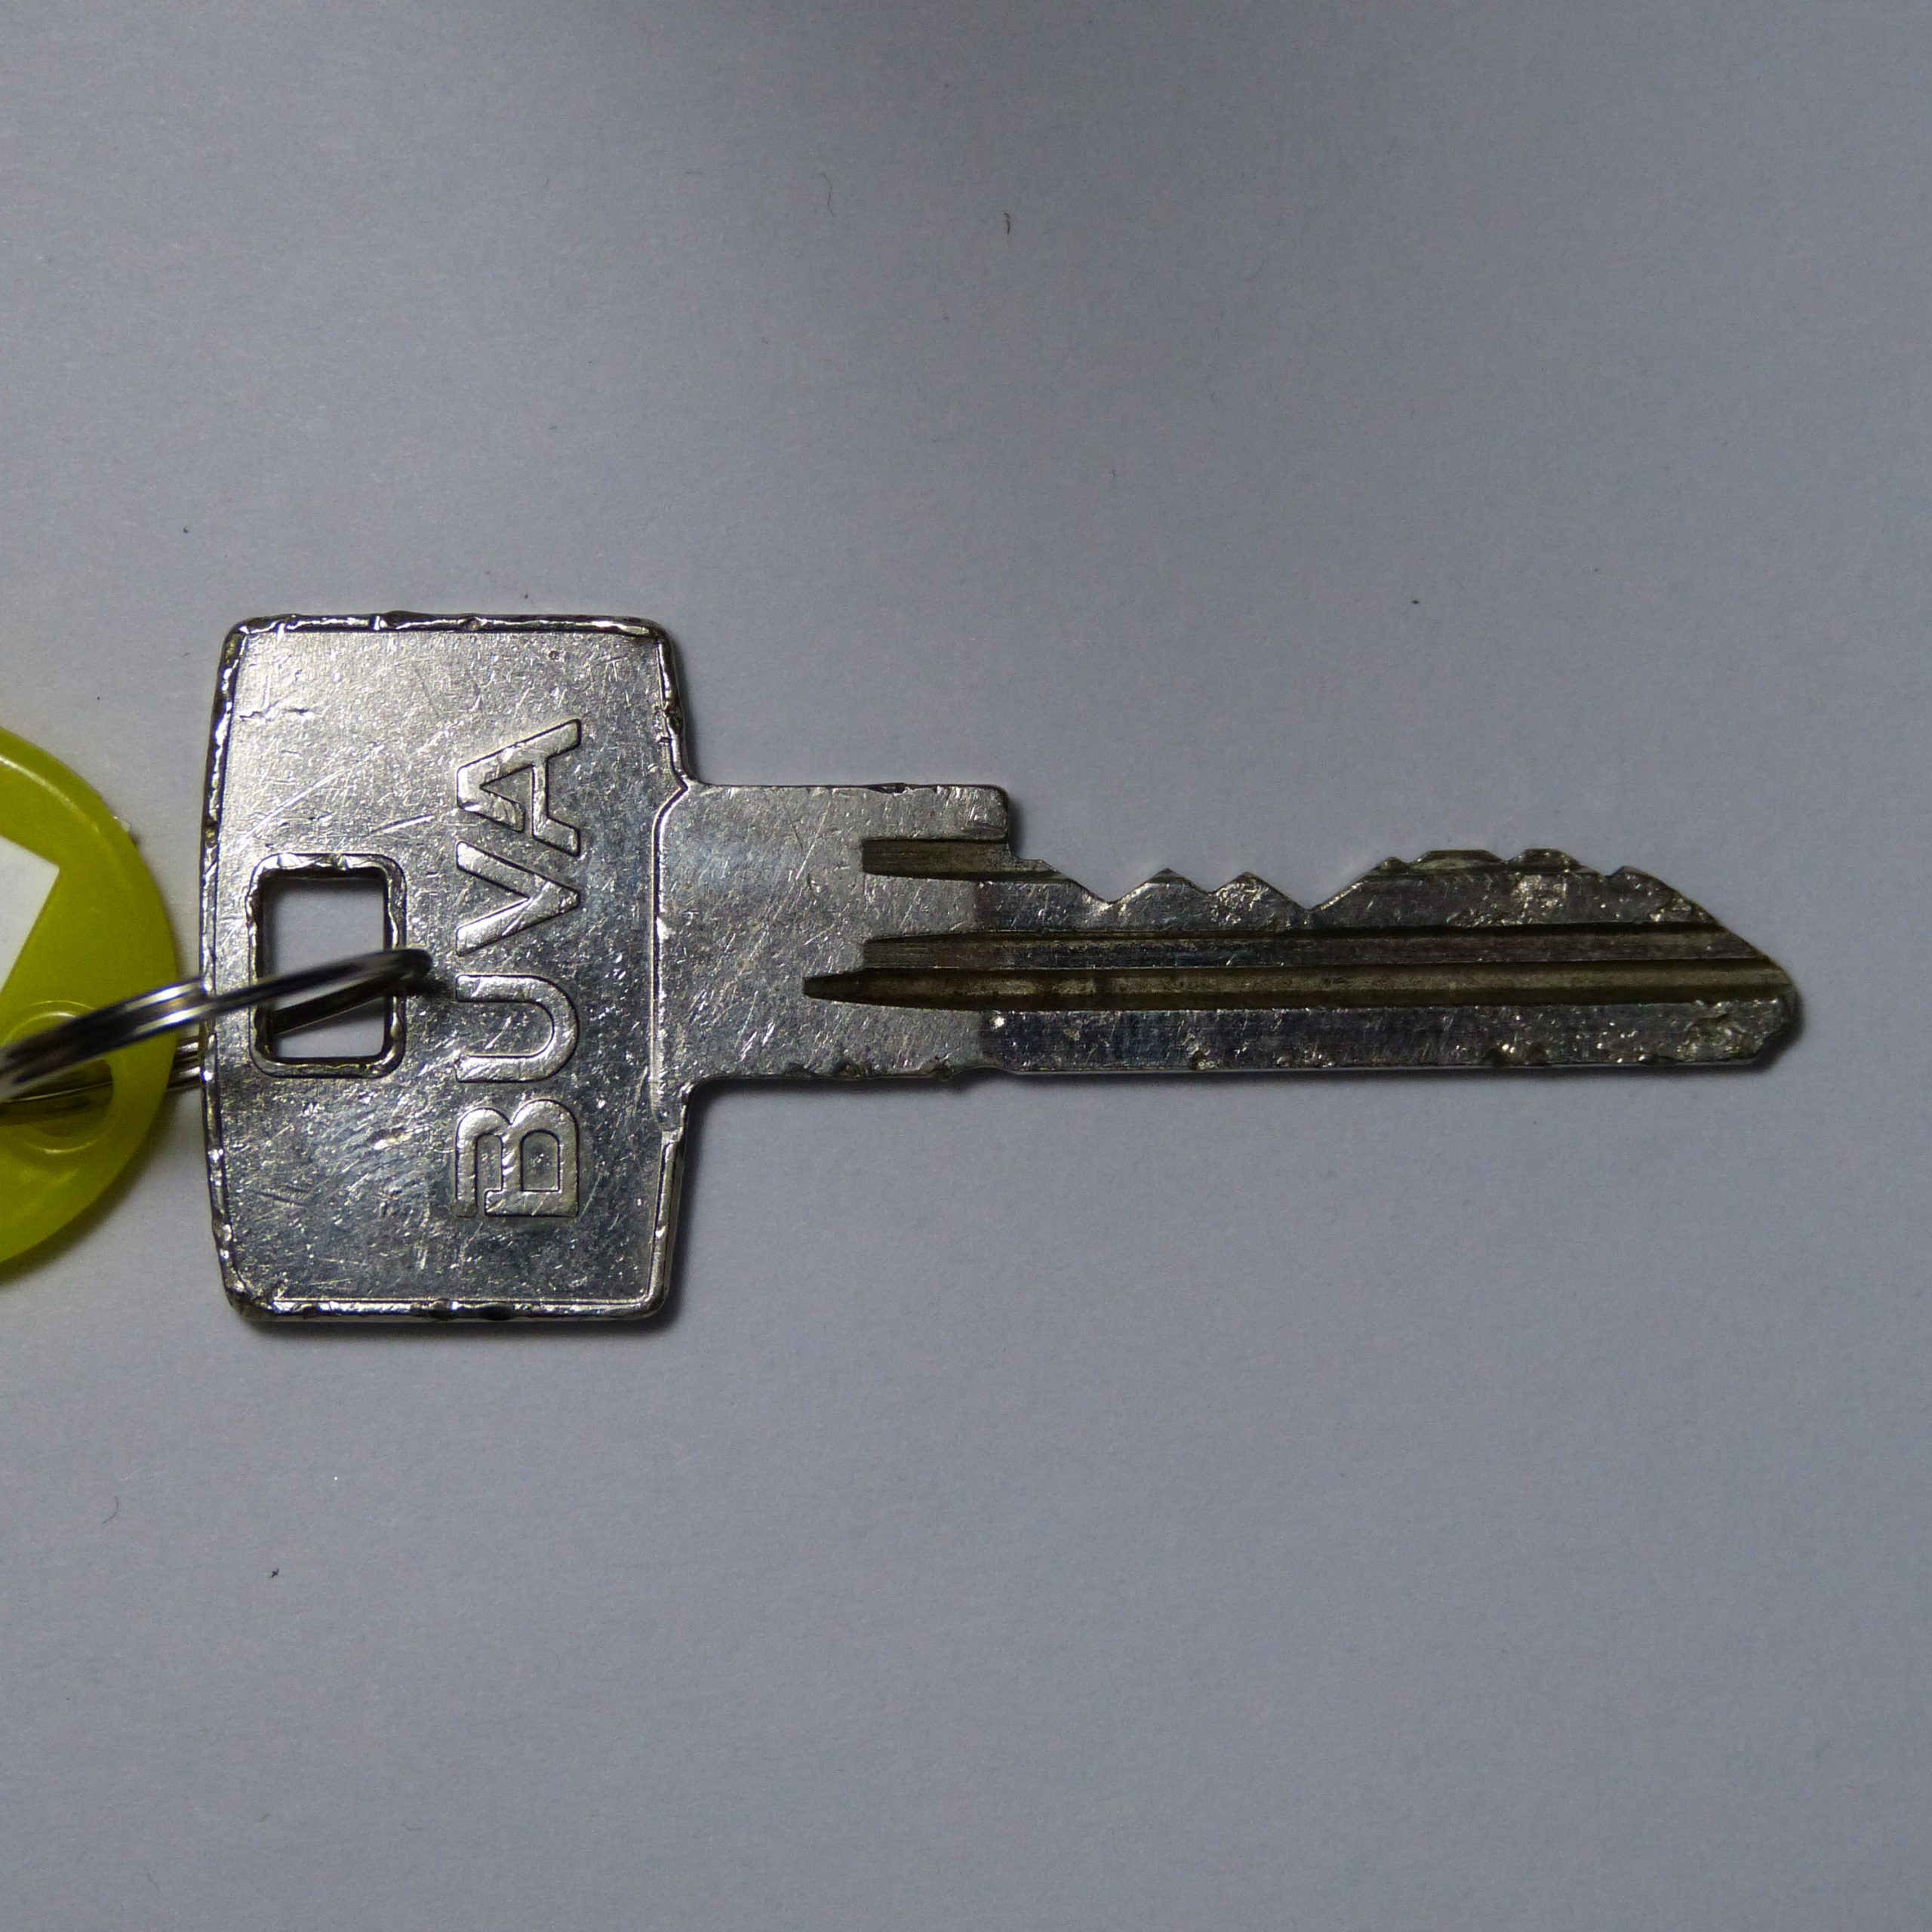
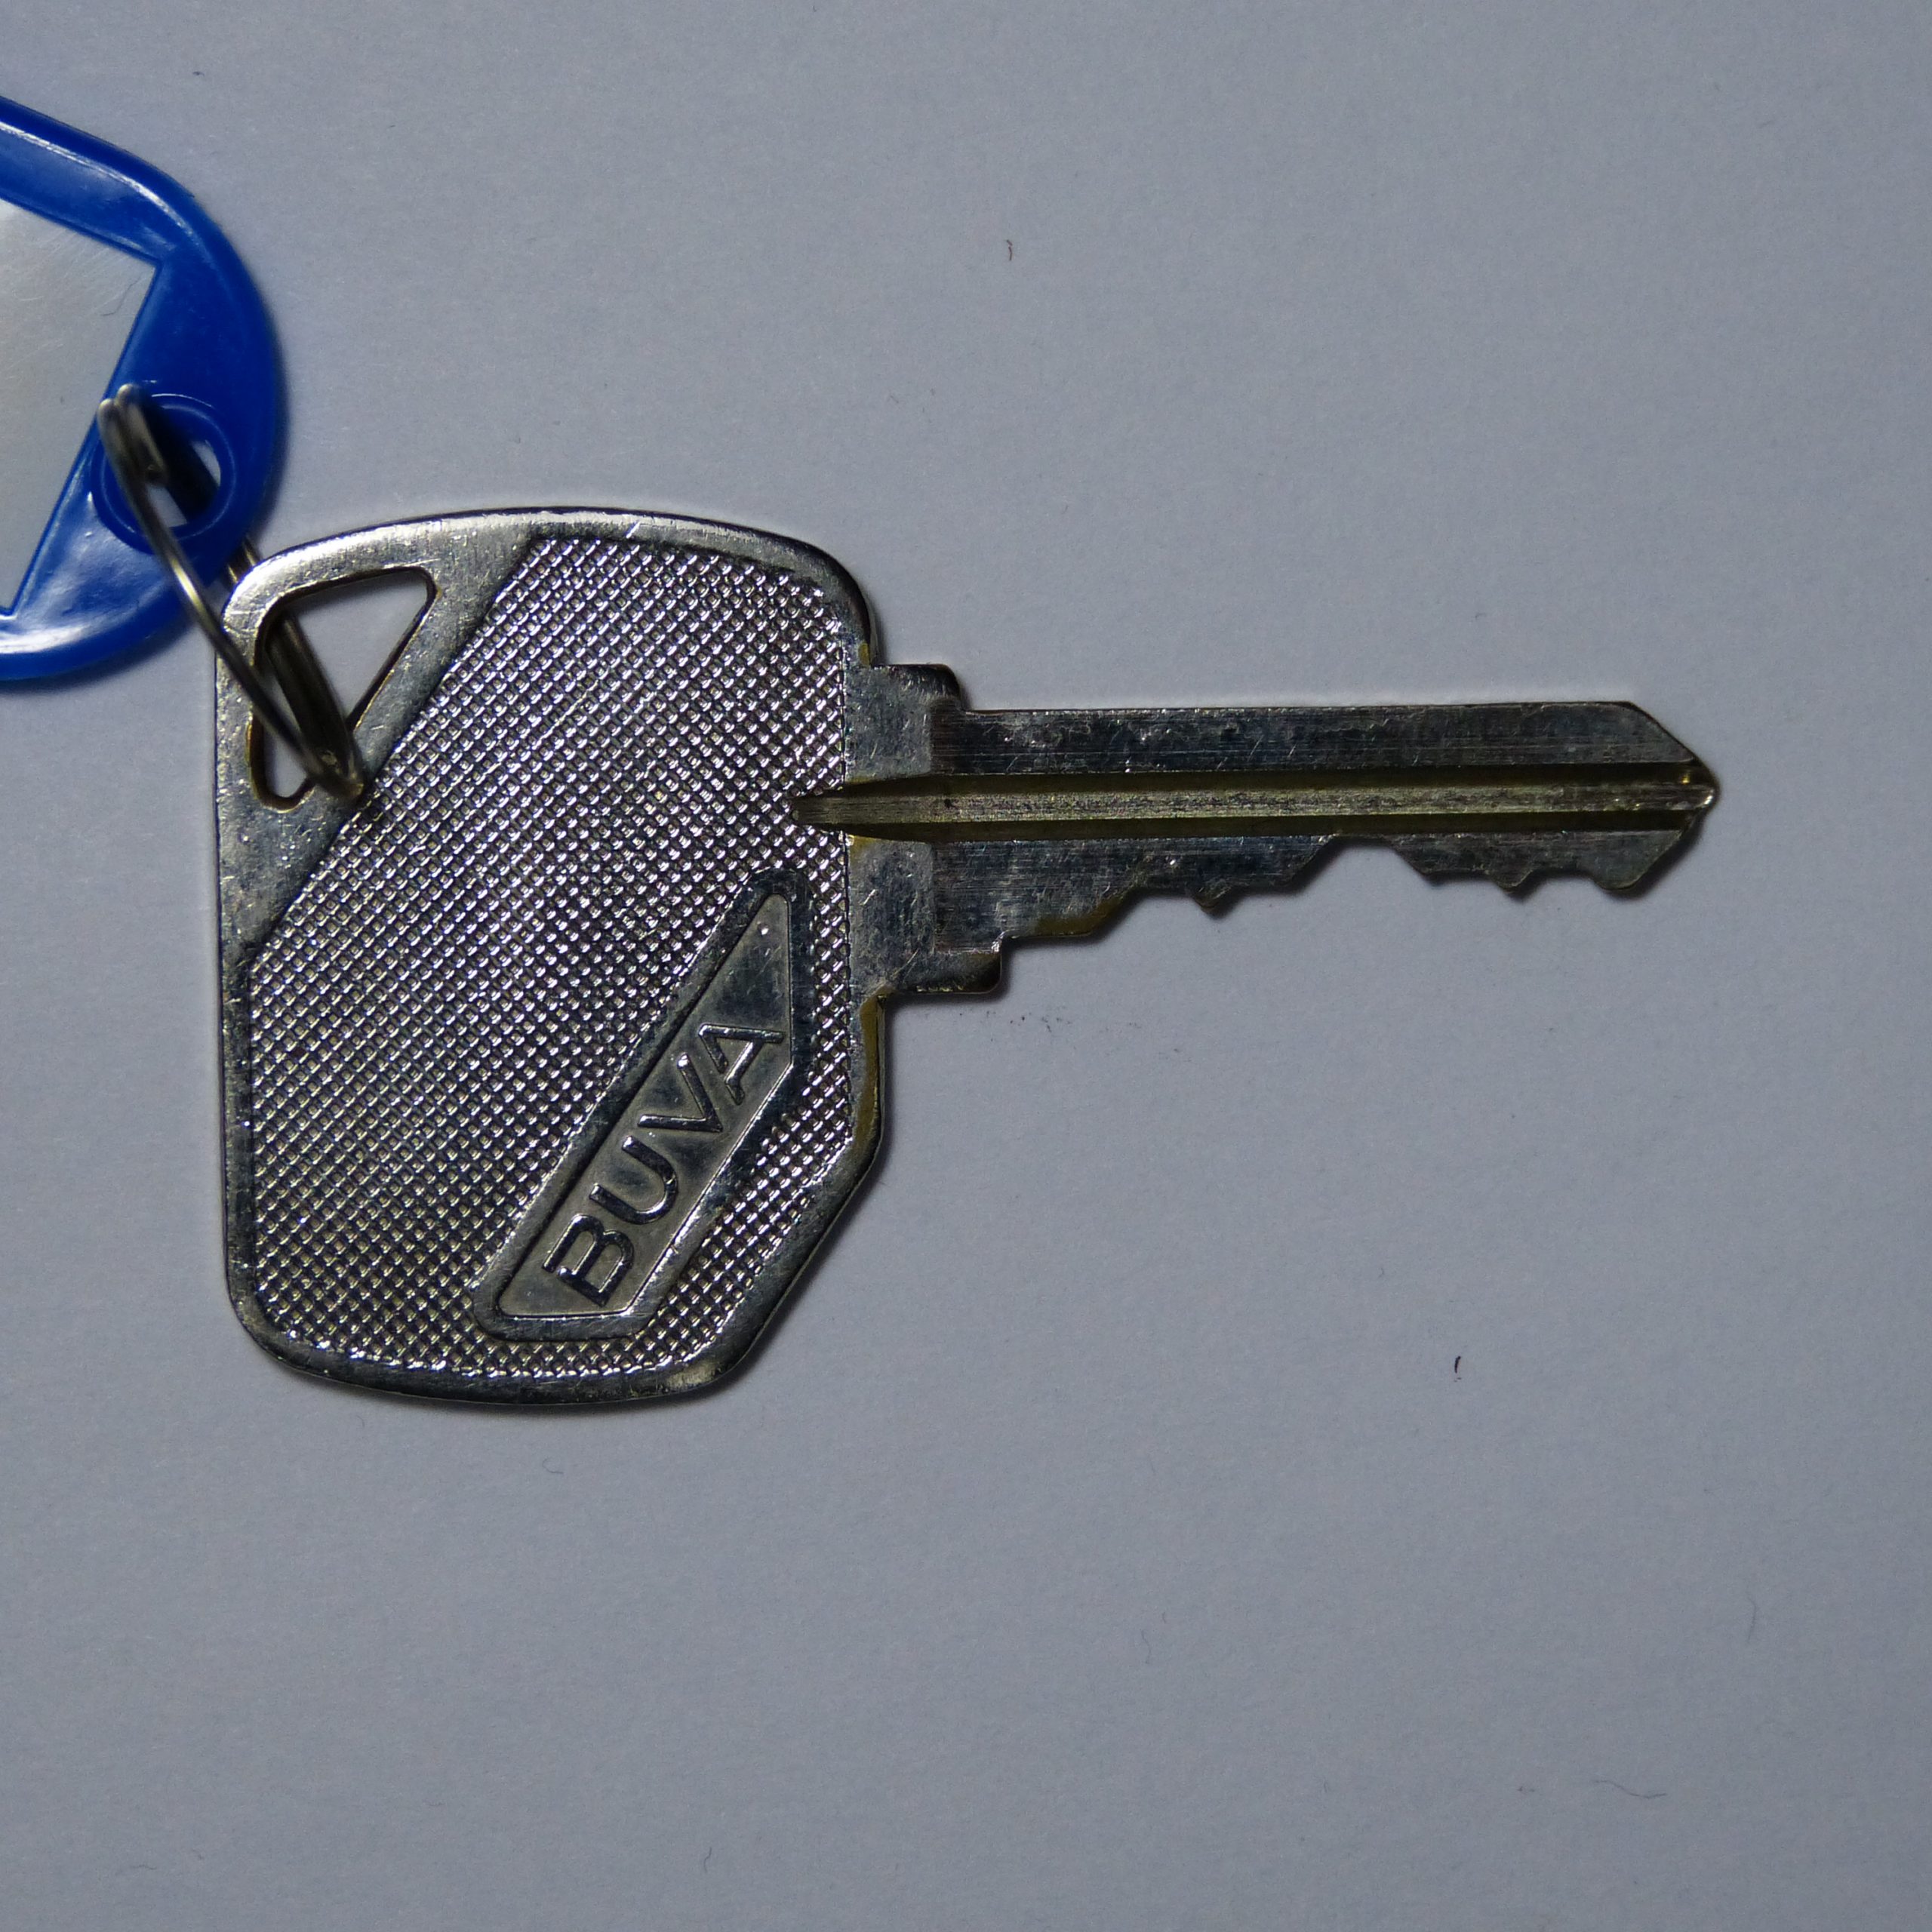
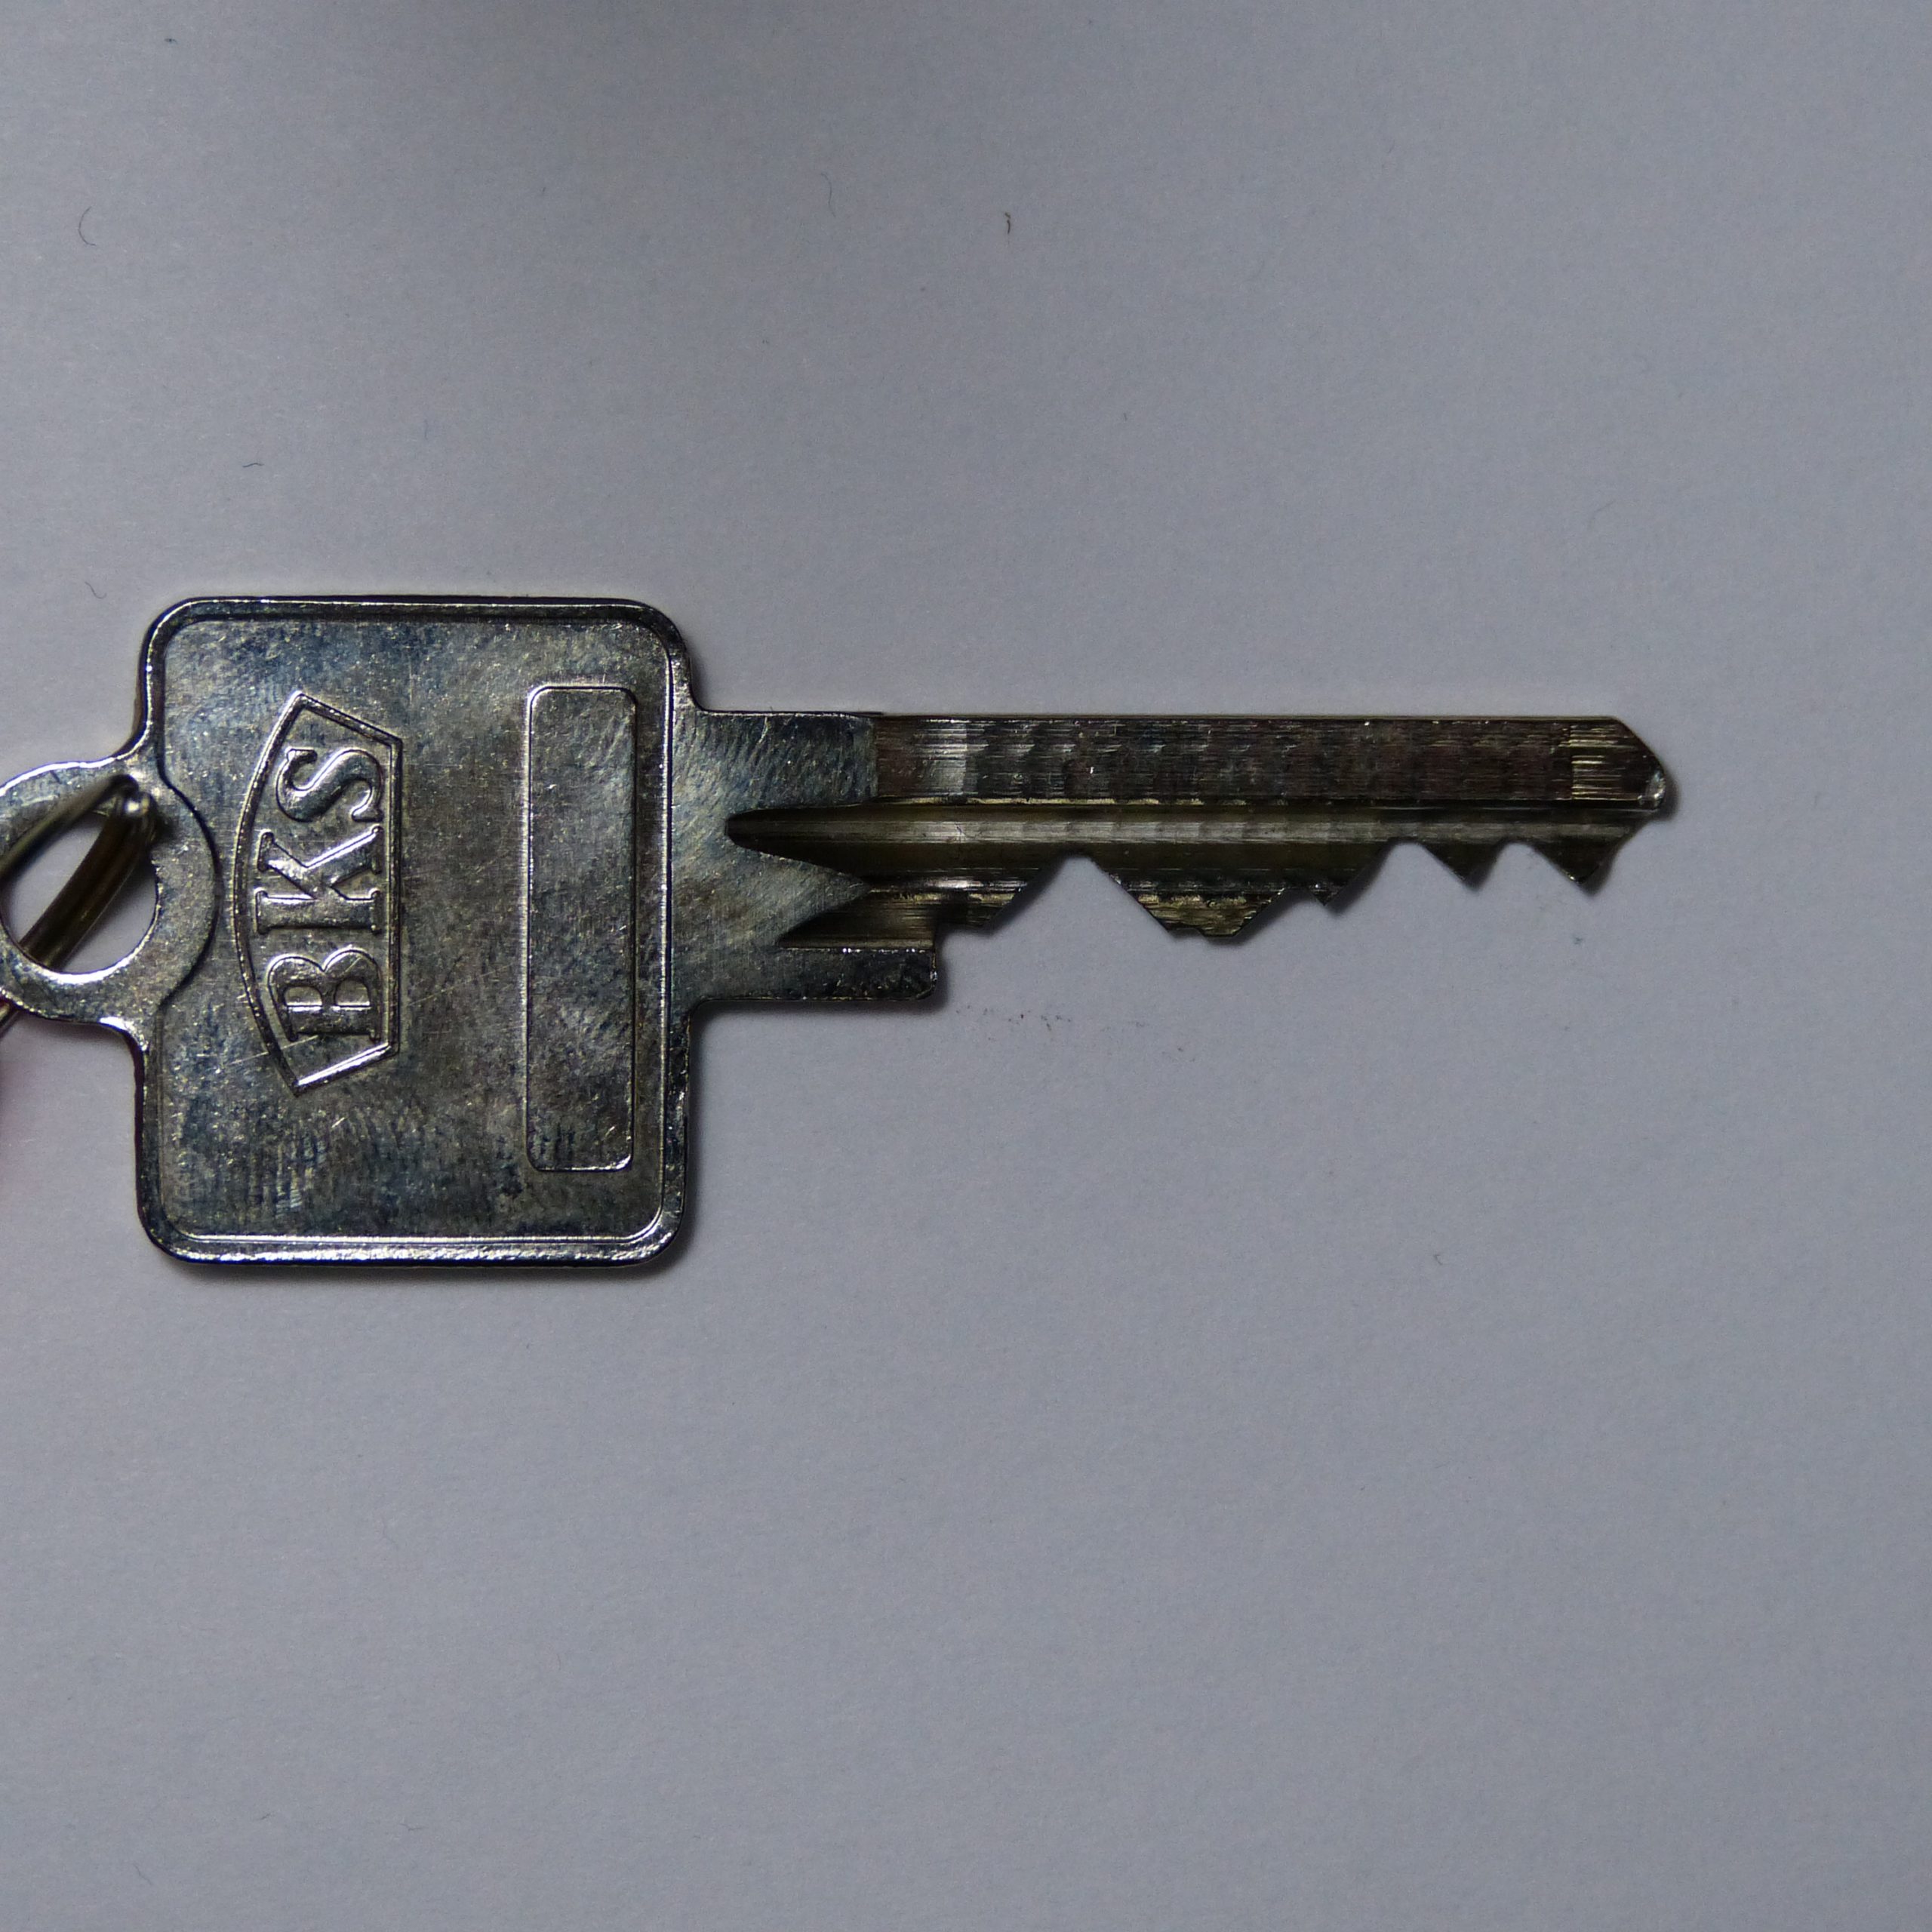
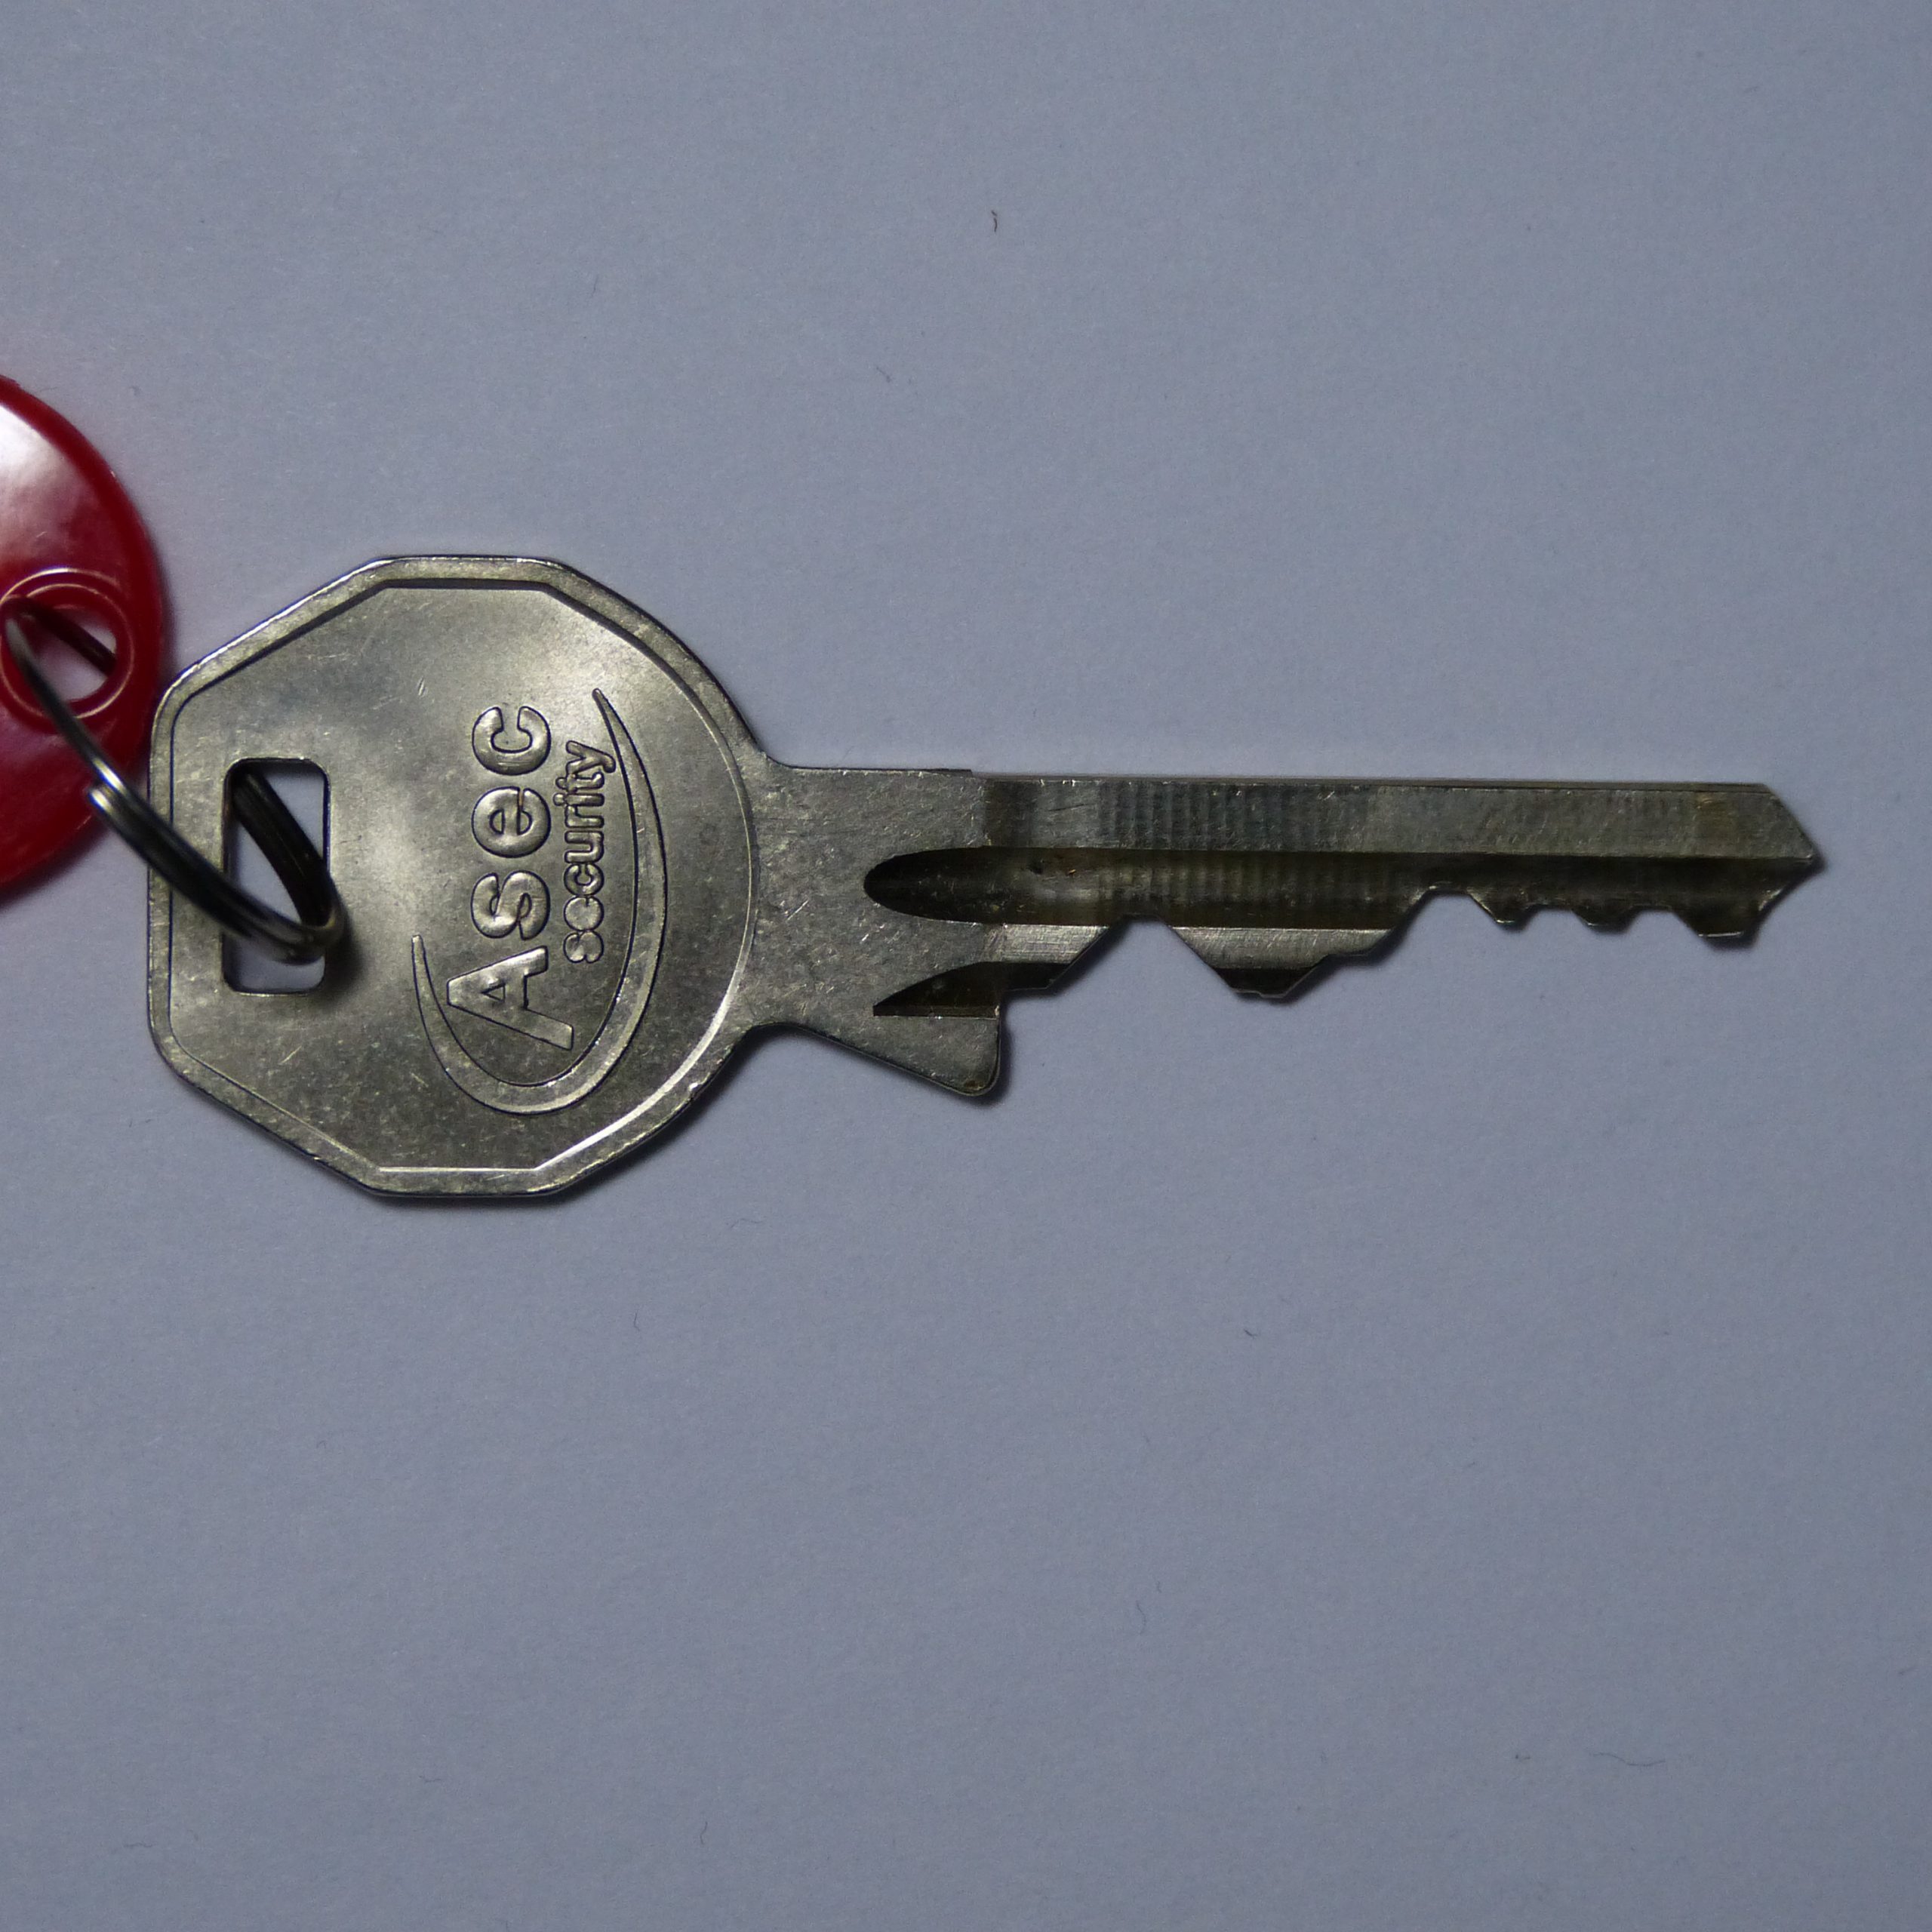
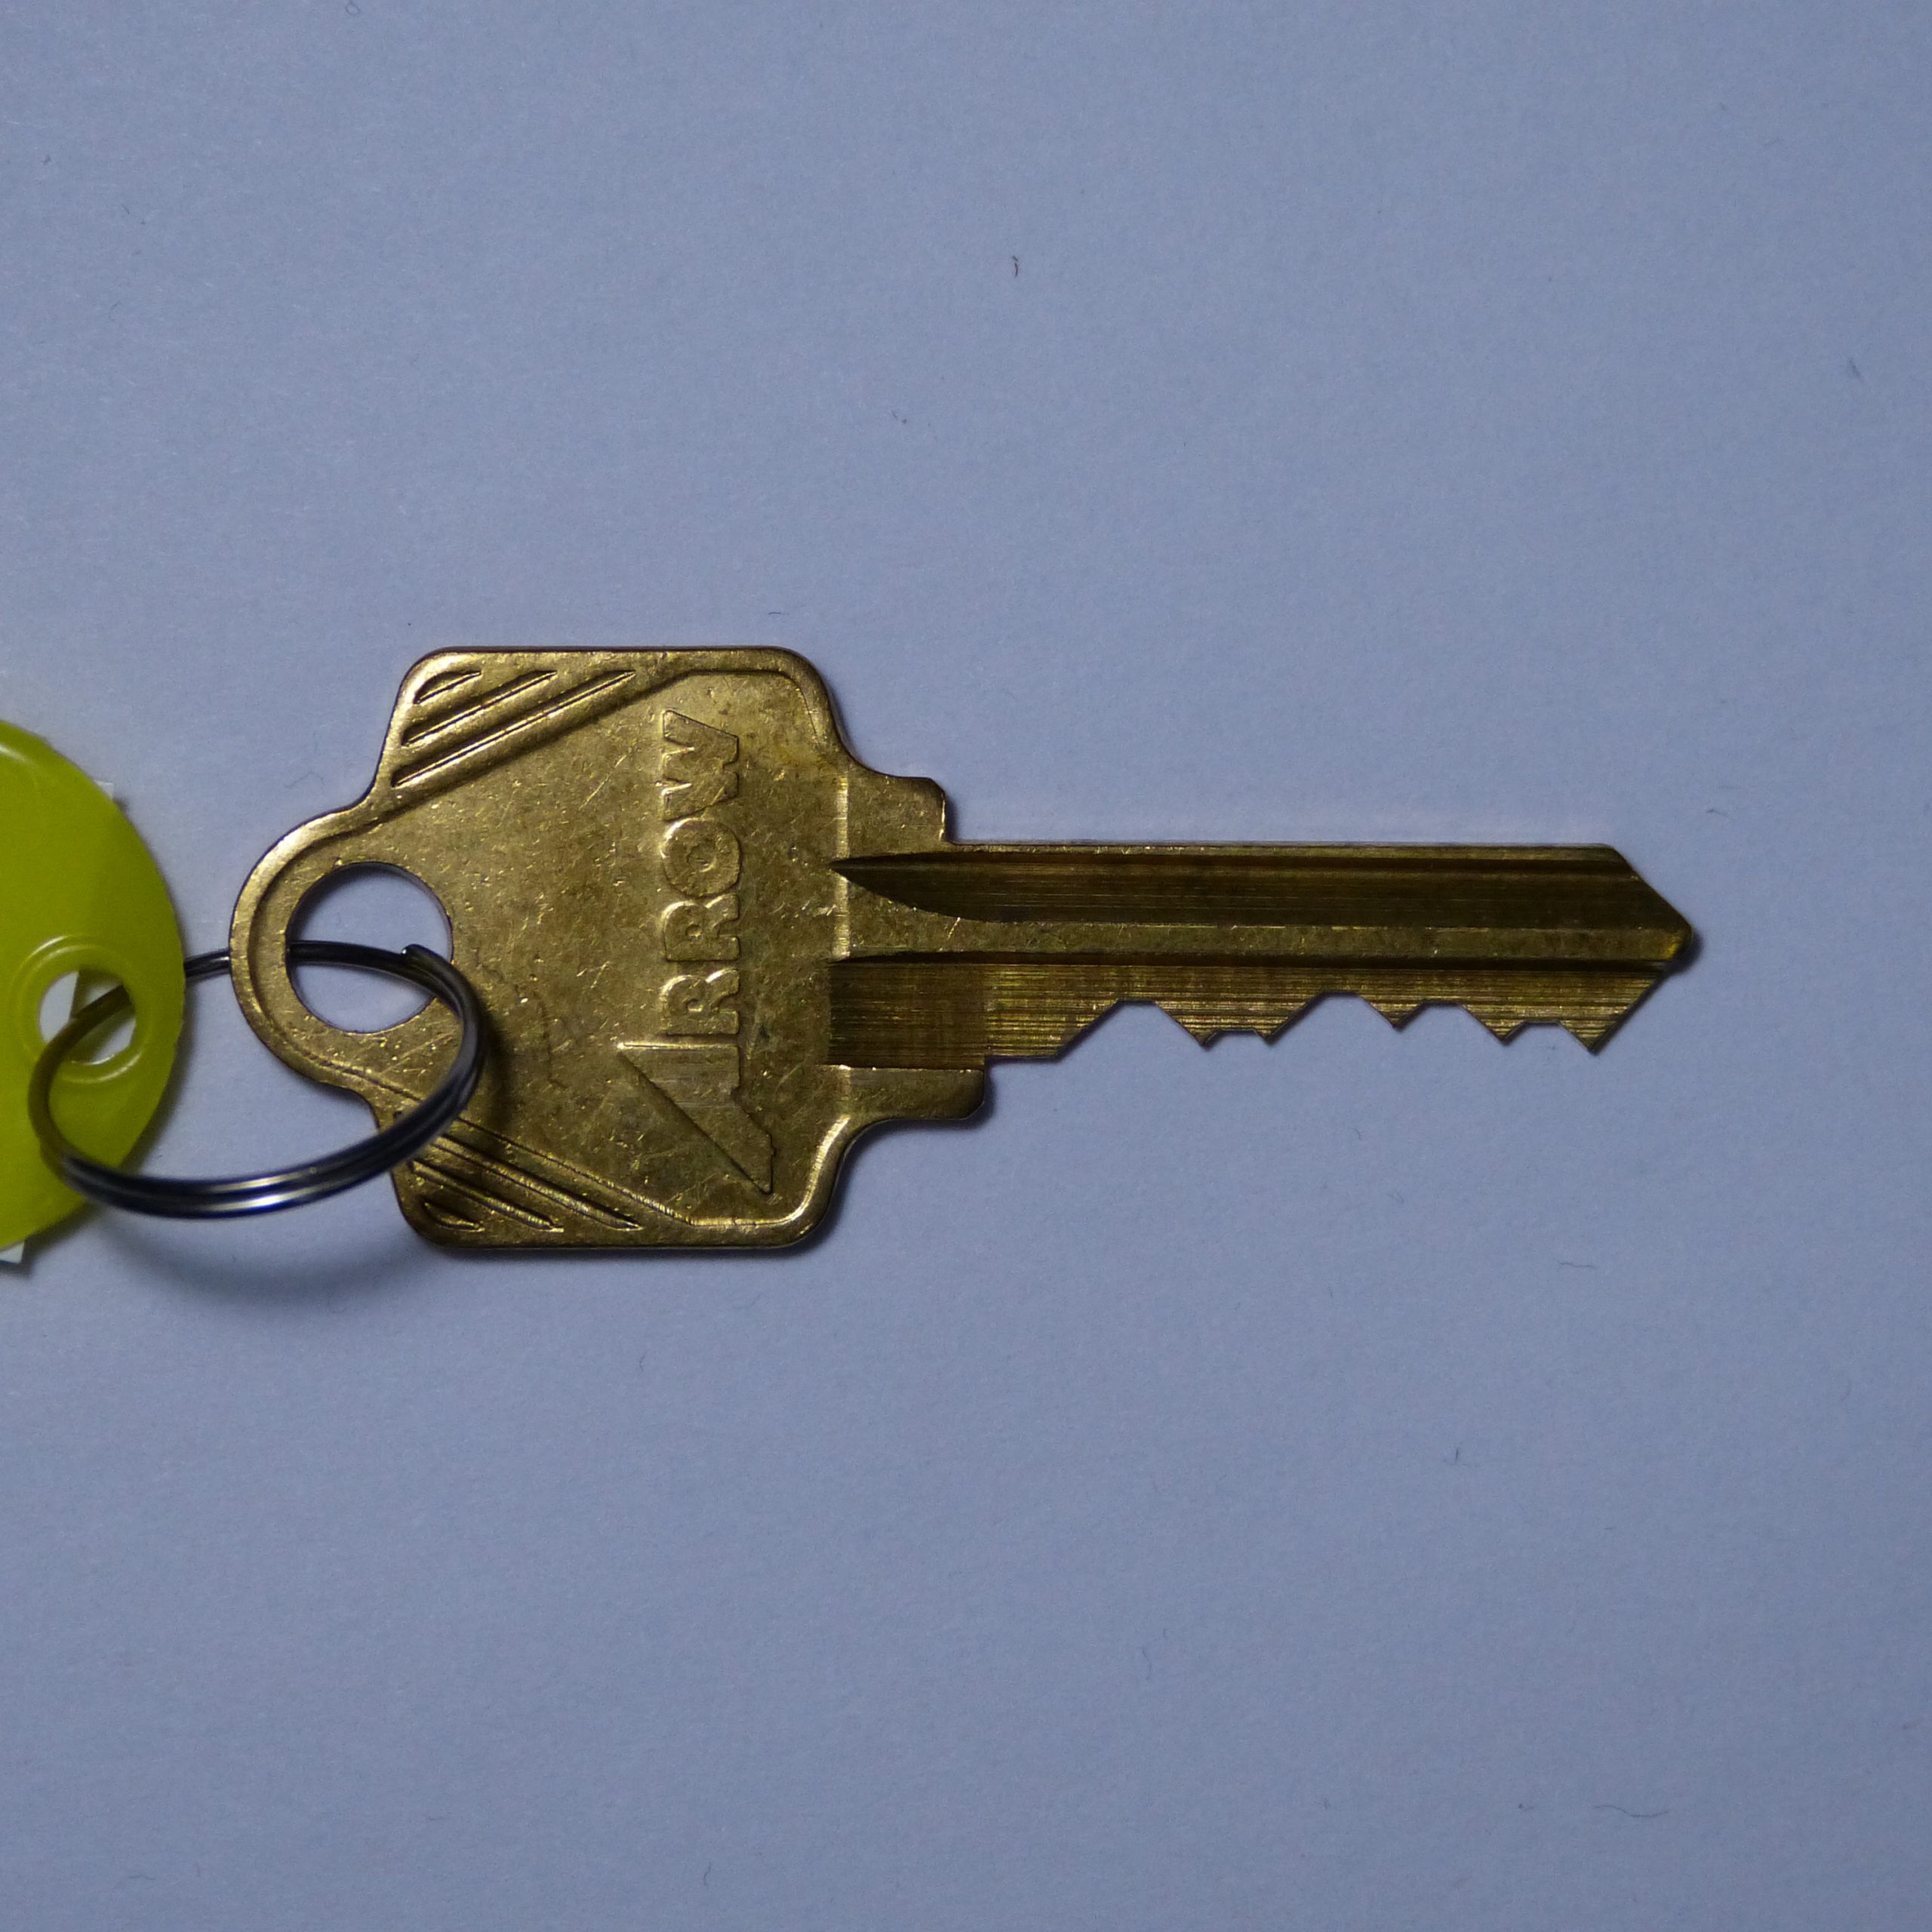
The photos are: key, pins, key, pins. The photos of pins are arranged with the brand and number. The keys have ‘key’ in the name. The Titan with a key engraved D5474 will have the pictures: TitanD5474-1key-1-scaled.jpg and TitanD5474-1-1-scaled.jpg.

The pictures are by Jan-Willem Markus. CC BY 3.0. https://creativecommons.org/licenses/by/3.0/
In short: you are free to use, modify and share these photos as long as you give attribution. If you plan on selling them or using hem in a blog/paper/book please notify us.

The end.